I’m so excited to share with you our (almost) completed Master Bedroom closet. The January Michaels Makers Challenge – organizing came at the perfect time – read on to see how we transformed our closet into a space that we actually want to be in!
I just looked at the before photo and WOW – does it look SO much better! The closet took longer than anticipated, but seeing the before photos definitely made it worth it!
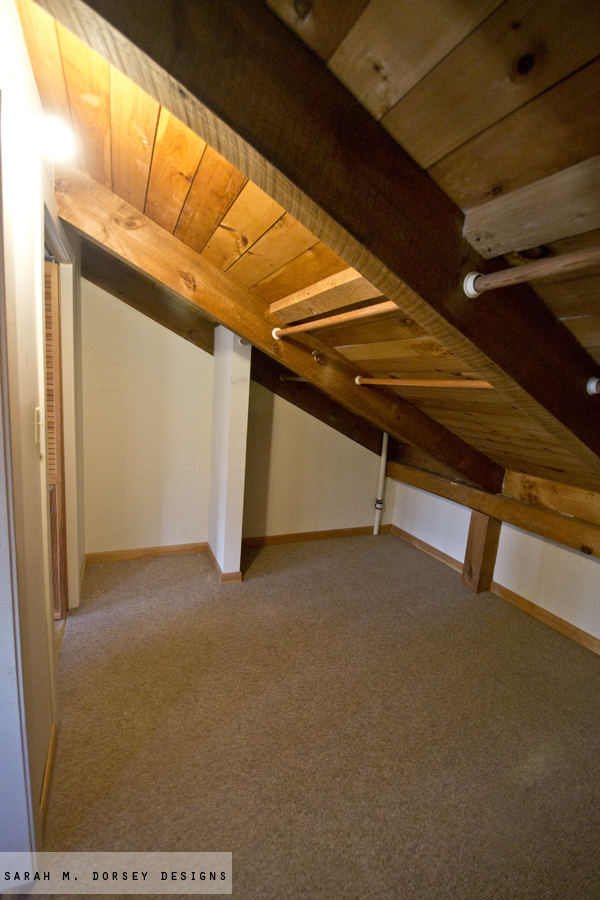
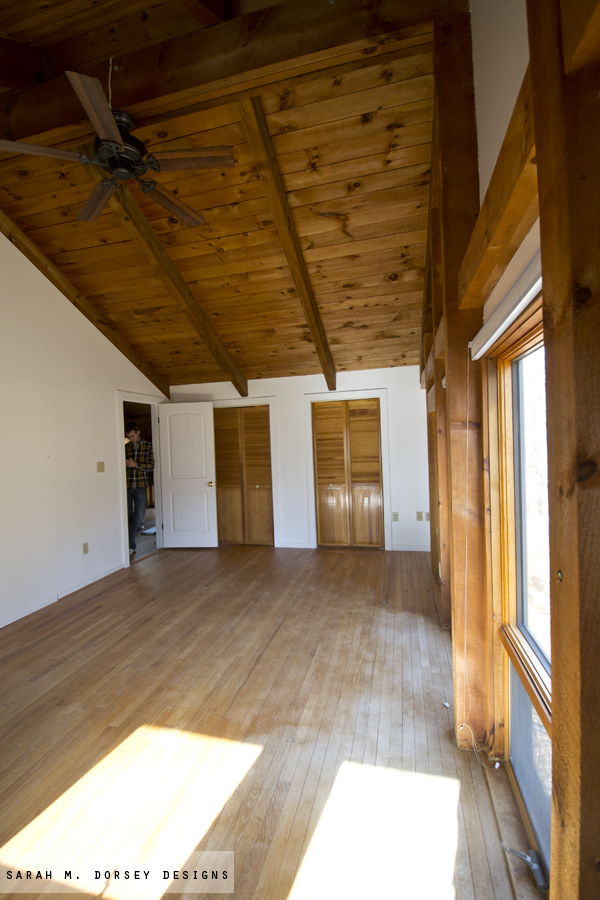
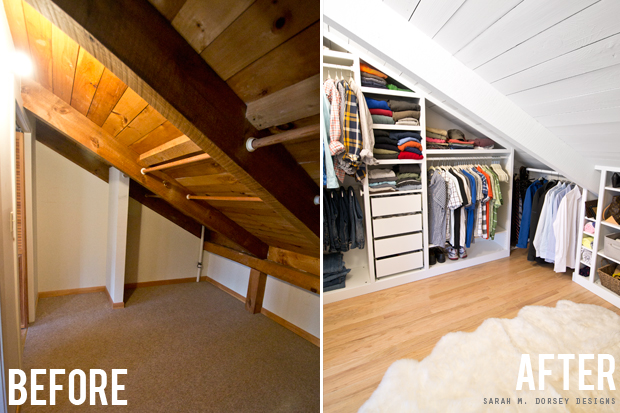
Here’s the before – it was dark (wood ceiling and one bare light bulb), had old carpet, storage potential wasn’t maximized. I didn’t take a before with clothing, but it was cramped (felt like a bowling alley) and you couldn’t find anything in the back row (that would work for off season clothes .. though, I’ve never been big on switching out my closet twice a year)
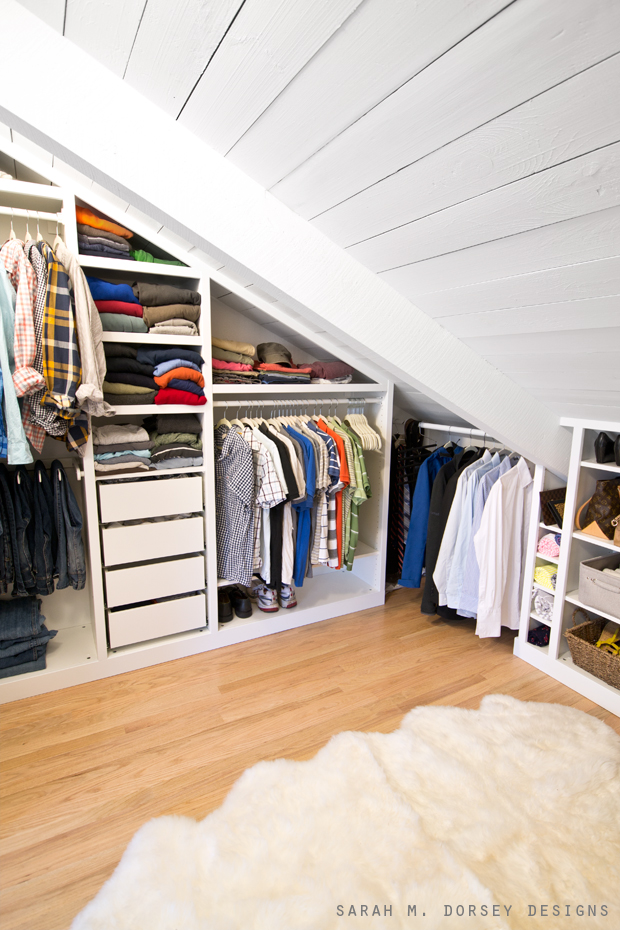
We ripped out the carpet and ran the hardwood in from the bedroom – re did the drywall – now we have one opening (we will be adding a door soon!) customized Ikea’s Pax line to fit with our space and organized with a few items from Michaels new line Cre8ted Space.
We were originally going to build our own closet system out of a hardwood plywood (since nothing we purchased would fit, as is), but once I started thinking about painting all those boxes and shelves – I changed my mind. The morning before we started on the shelving – David agreed that Ikea’s Pax system would be easiest – we quickly wrote down what we needed and got everything that morning. We typically like to (and recommend to) plan more, but this worked out in the end 🙂
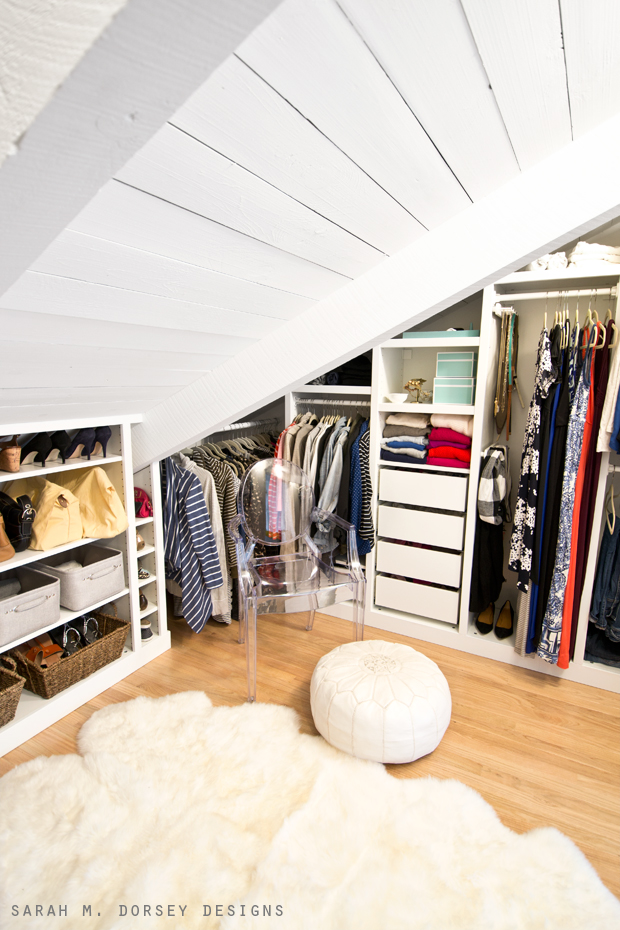
Also, I’m planning to buy a large round ottoman for the center, but haven’t found one yet, so if you can recommend one (around 34″ in diameter) – let me know!
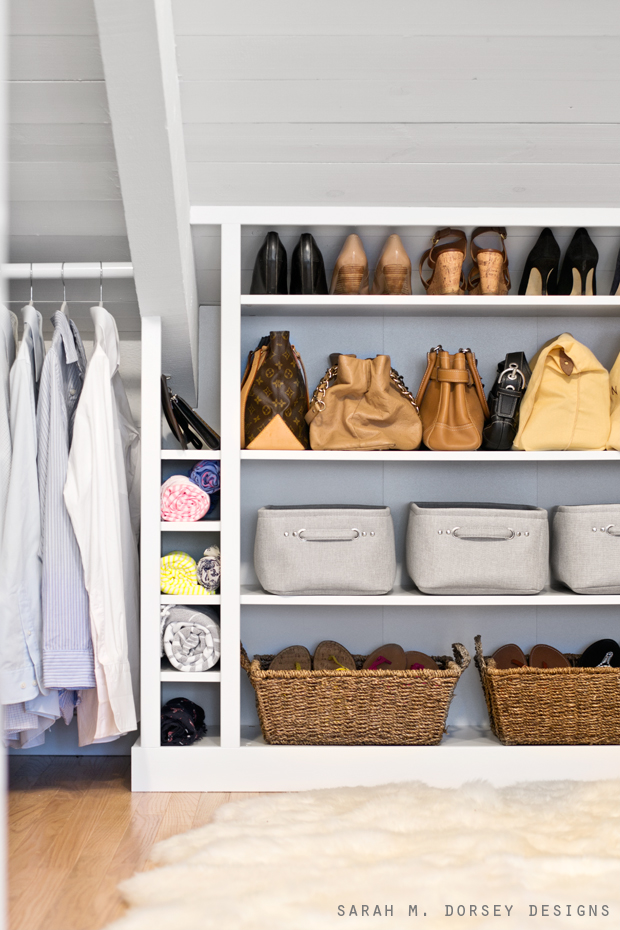
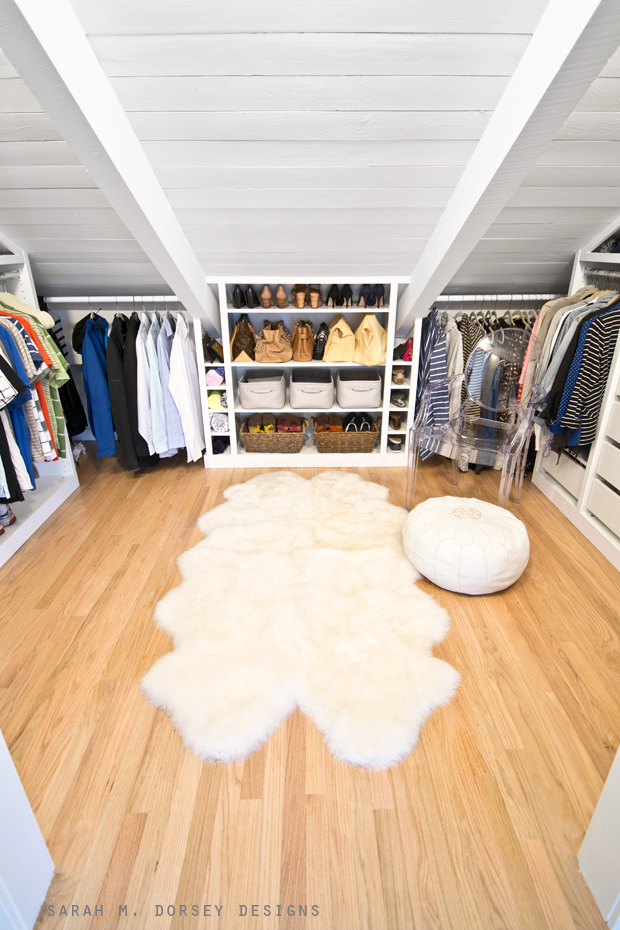
The back section was created with the largest width of Ikea’s Pax and we added cubbies (made from extra pieces when we cut down the other Pax pieces) on the sides so that it would align with the beams.

I added some storage baskets from Michaels, my purses, and some of my shoes that I don’t wear on an everyday basis (I keep the rest of my shoes by the door)
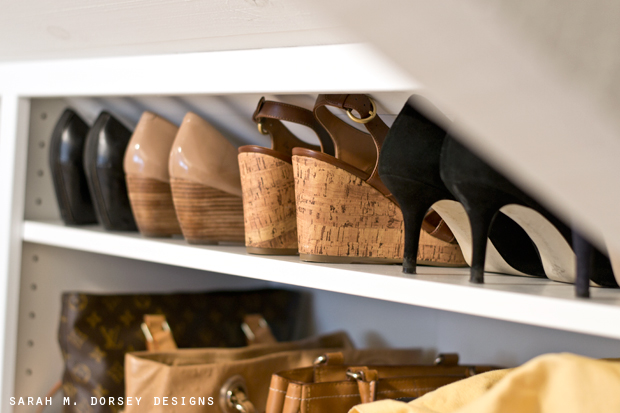
The first thing David’s dad said when he saw this top section was that it would be perfect for high heels and he’s right! They fit just right with the slanted ceiling.
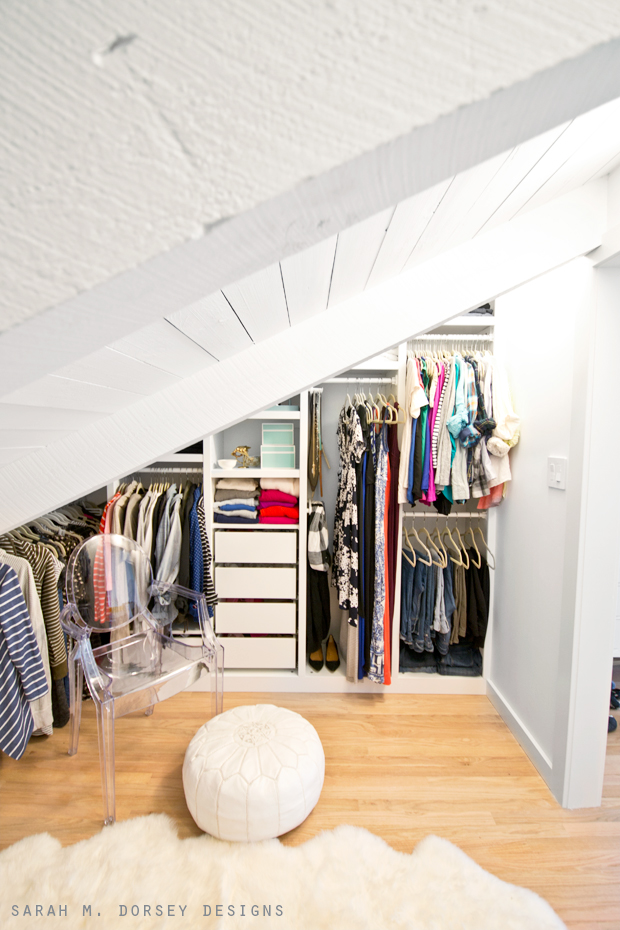
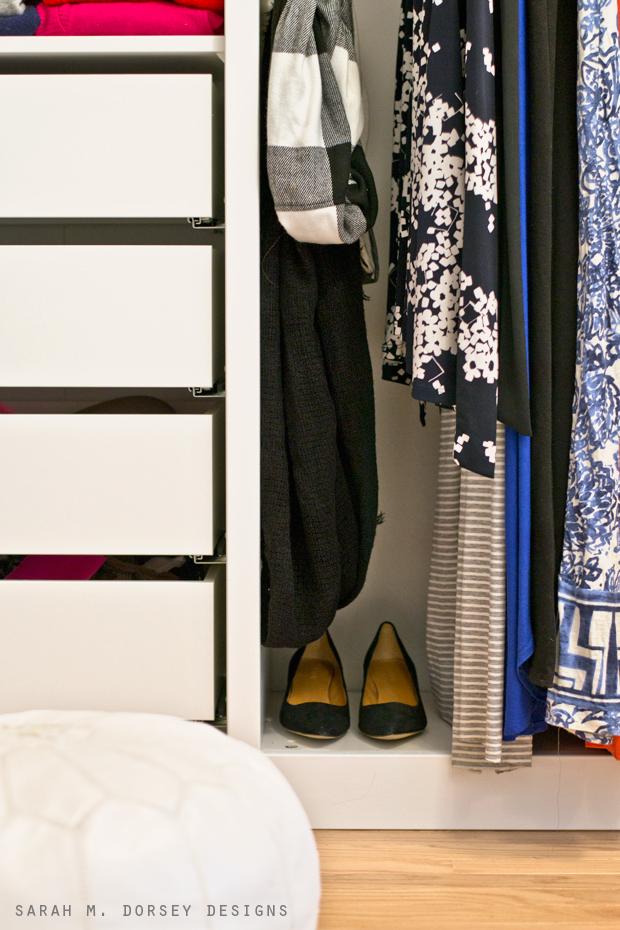
Here’s my side. Things that I wear the most are on the far right (that way they are the easiest to access without bending). We were considering adding another unit on the right wall, but once we thought about it, we’d have to walk in and duck, so that’s definitely not ideal. Being cramped (like our old closet) was what we wanted to avoid.
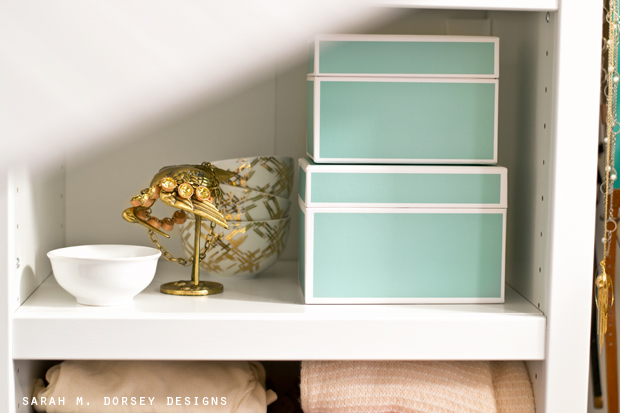
The boxes are from Michaels Cre8ted Space line. The bird was thrifted and the bowls are from Target.
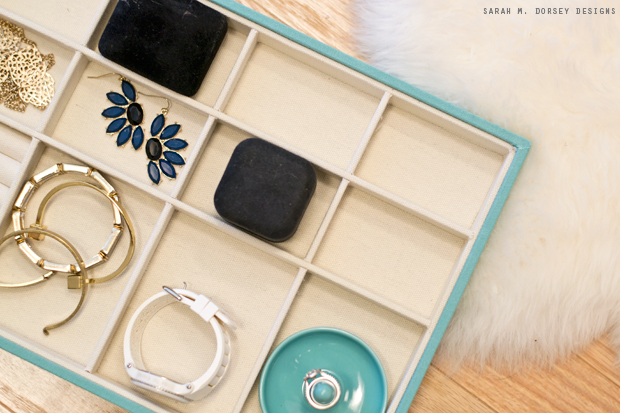
Here’s my jeweler organizer – also from Michaels Created Space line – it’s currently on the top shelf, but I plan to buy a slide out shelf from Ikea next time I’m there.
Here is David’s side – pretty similar to mine, just no tall storage and his end unit bigger (I have two instead of one)
To give it a built in look – we added trim to make it look like it was custom made for the space (more on that later!)
One more before and after! We calculated the rod storage and it was the same as the original AND we can see everything at the same time! Also, I didn’t take a photo of the the new lighting, but we installed three 6×6 LED panels in the wall – it’s SO much better than one incandescent bare bulb! We have a few more plans for the closet – hooks on the tall wall, a round ottoman for the center, additional lighting for the shelving, and a closet door.
I’ll be back later this week to share a few more process photos – too much for one post!
The New Year always feels like a fresh start – so the perfect time to get organized! If you’re looking for inspiration to get started, check out Michaels for more ideas and also be sure to check out the other 49 Michaels Makers January organizing projects!

What a transformation! It's amazing how much larger the space looks now that it's bright and organized. I love that you maximized every square inch! Great job on another beautiful makeover.
Wow it looks so bright and great! Love how everything is visible!
WOW, sarah! so bright and beautiful!
Beautiful closet! Lighting and light colored surfaces made such a huge difference! I would suggest the Roundabout ottoman by LaZBoy- 35" diameter or a pair of Leo ottomans also by LaZBoy- has storage, casters, and a flip tray top!
Looks awesome!!! Happy New Year! Looking forward to seeing you do more beautiful things like this closet this year!!
It looks so amazing, Sarah! Great work as always!
Love it! This couldn't be timed better because I am seriously comtemplating put in some pax wardrobes and would love to see how you added the trim and matching paint color to the pax wardrobe to make it all come together. Can't wait to read about the process!!
This looks terrific!!