David and I don’t disagree on too much but when it comes to gardening we do. Every year, I want to plant anything and everything, but we’ve never had an ideal situation. Mostly not enough light or space. So David reluctantly agrees .. This year we have a good bit of space and 8+ hours a day of light, so I went a little crazy, 14 tomato plants to start and lots of peppers and other veggies and herbs.
I’m not the best gardener (probably part of the reason David is hesitant) but practice makes perfect, right?
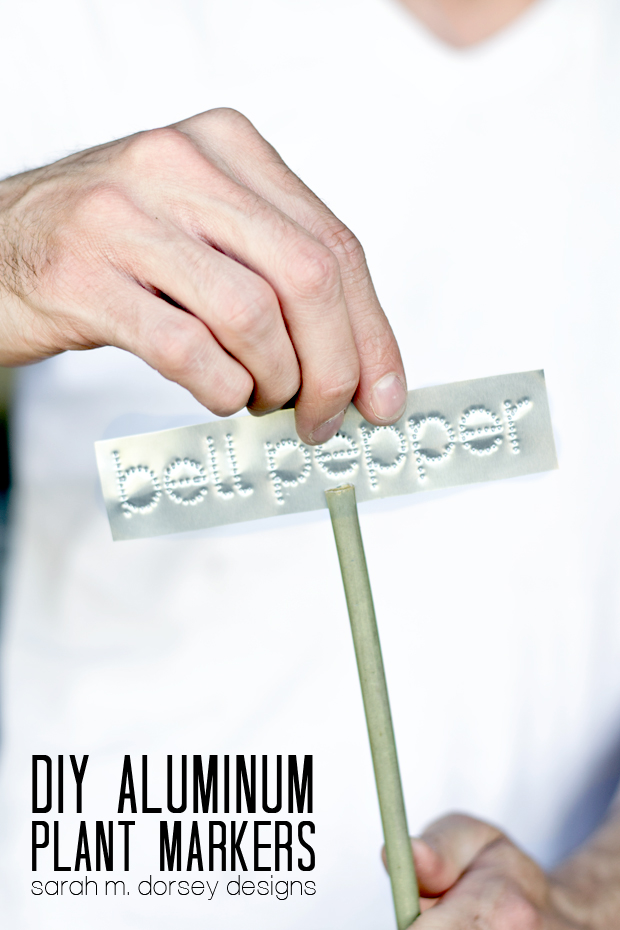
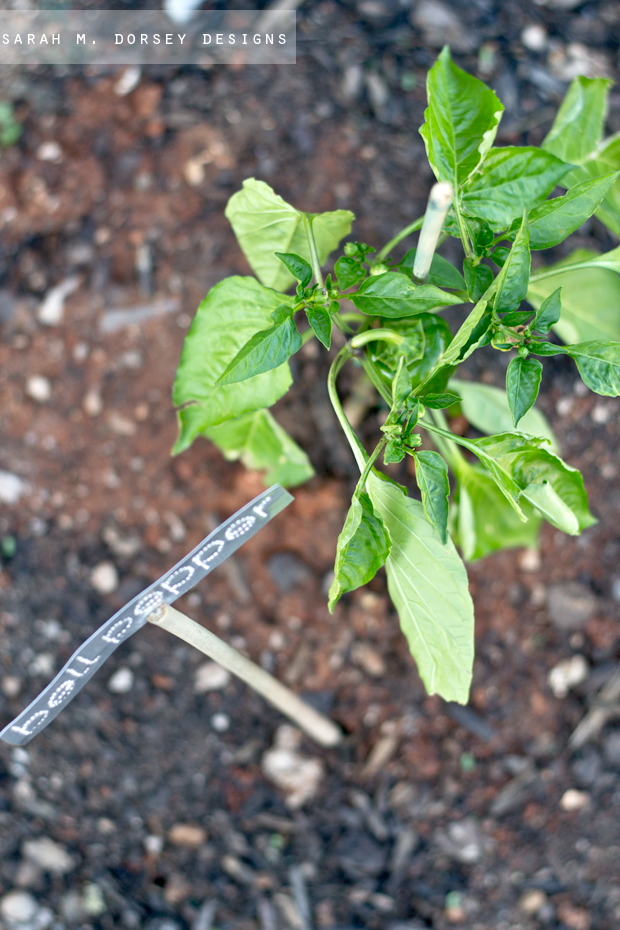
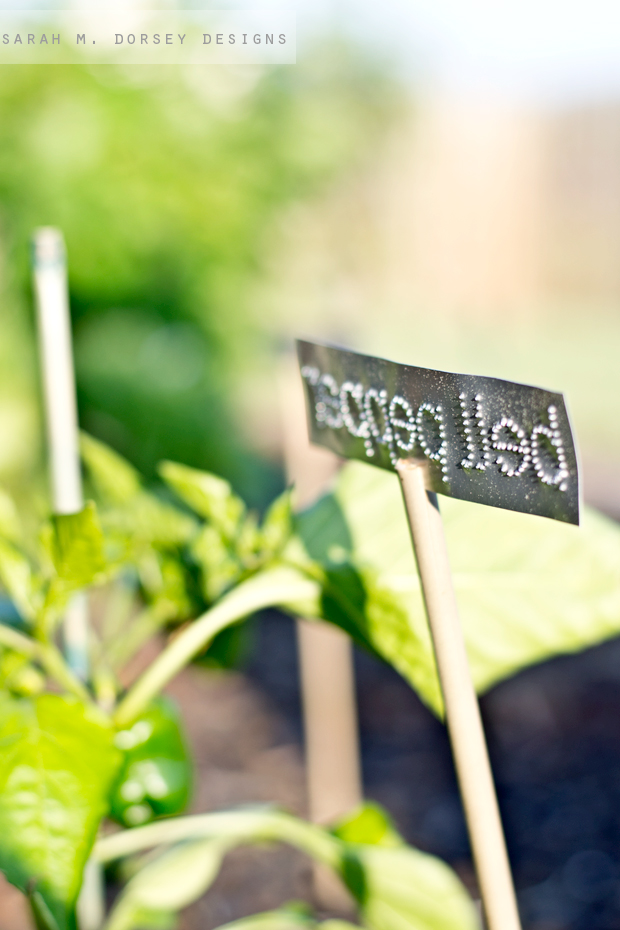
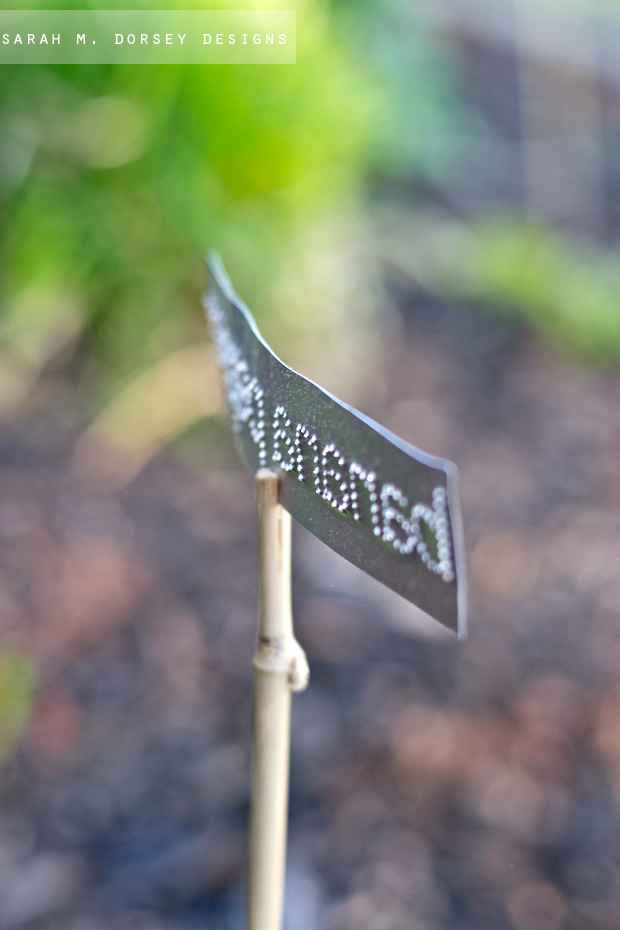
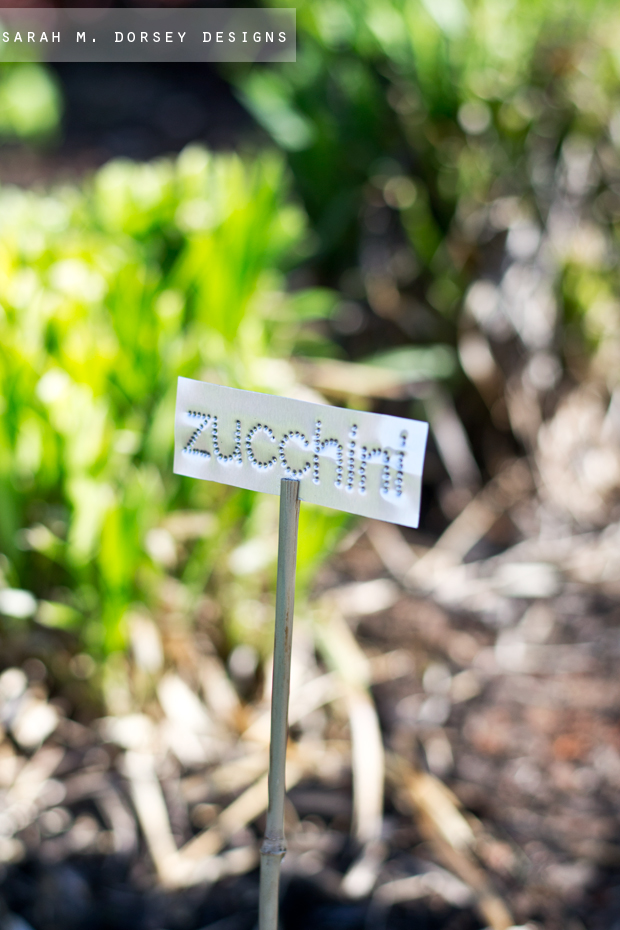
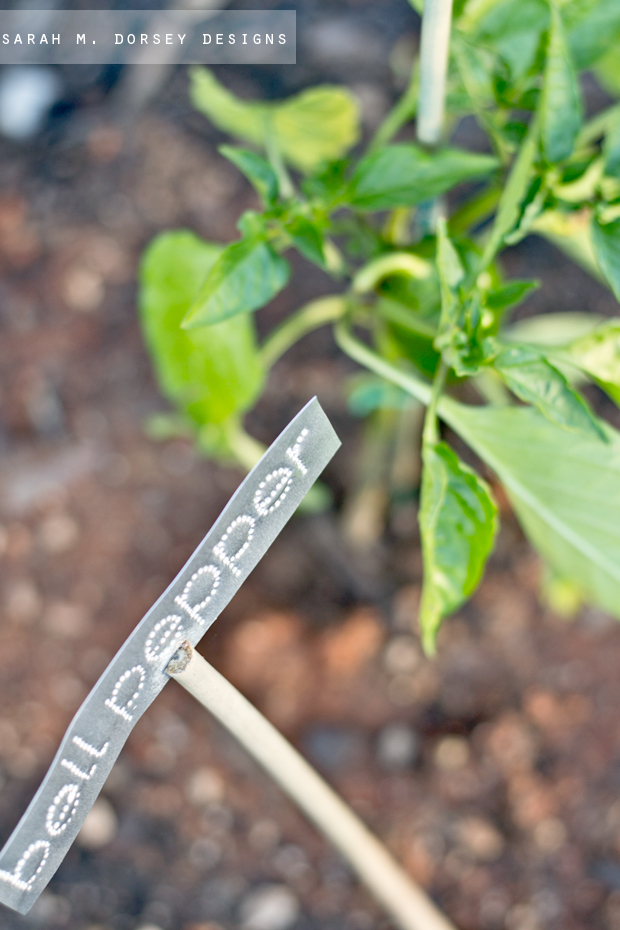
This summer, I’ll probably be doing a few garden related posts and today I’m sharing these simple DIY aluminum plant markers.
Here’s how we did it:
*Note: these are raw aluminum, so the edges are sharp – probably not good for houses with kids or pets that might bump into them. Just a heads up. You could take an extra step to seal the edges (maybe hot glue?) but we wanted to keep it simple and streamlined.
_________________________________________________________________________________
MATERIALS + TOOLS:
6″ wide aluminum flashing
Awl (like a screw driver, with a small rounded point. Used for marking metal)
Raleway Dots font, available here
Scrap block of wood
Masking/Painter’s tape
Bamboo sticks (available in garden section)
Scissors
Gardening shears
Safety gloves when handling aluminum
SKILL LEVEL:
Easy
TIME INVESTED:
About 10 minutes per sign
_________________________________________________________________________________
1.
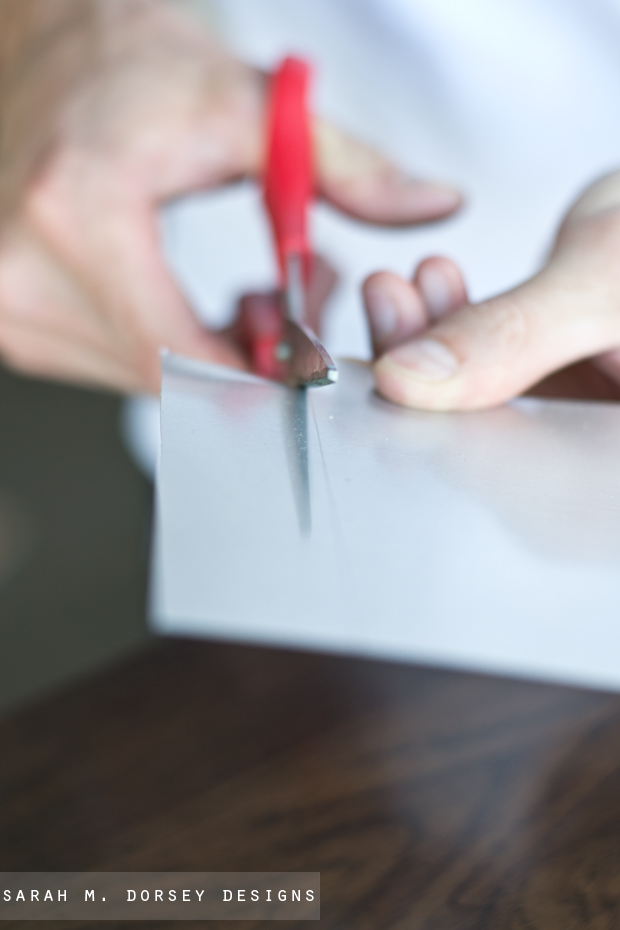
First we cut the the 6″ aluminum flashing into strips. We made it the width of a ruler to make it easy – marking the line with a pencil.

2. We cut the flashing with general craft scissors. Since we weren’t bending and handling the metal a lot, we didn’t wear safety gloves. It is very sharp, so we would recommend wearing them to be extra safe.
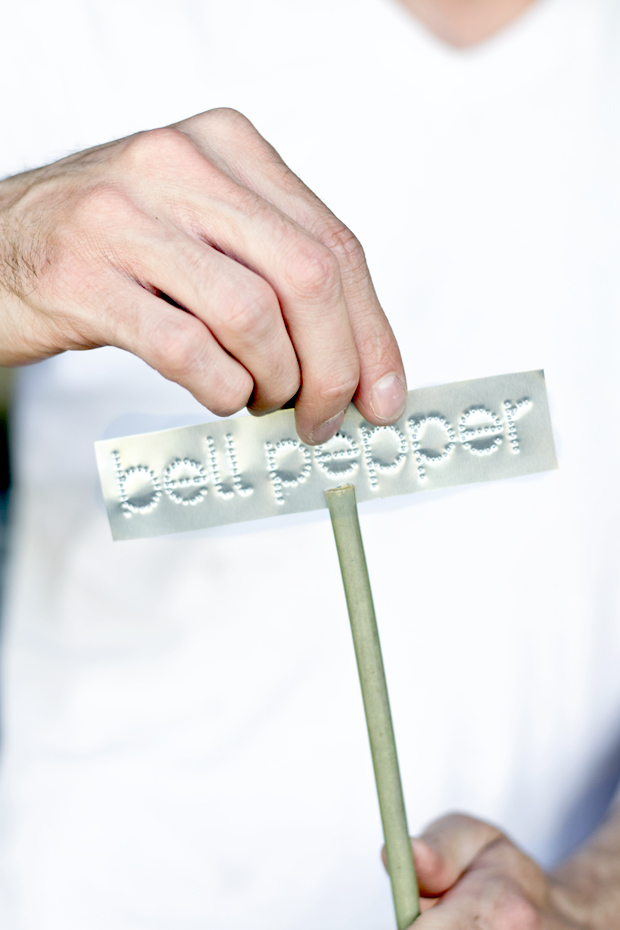
3. Next, we squared up the the metal, placed our template on top (font is Raleway Dots) and secured it with tape on a scrap piece of wood.
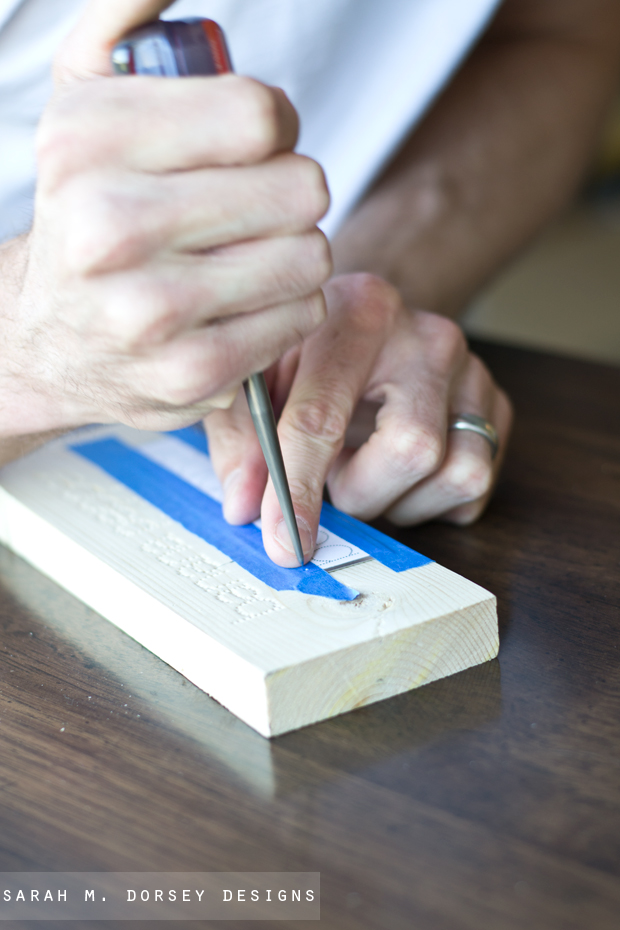
Here’s a close-up of the tip of the Awl.
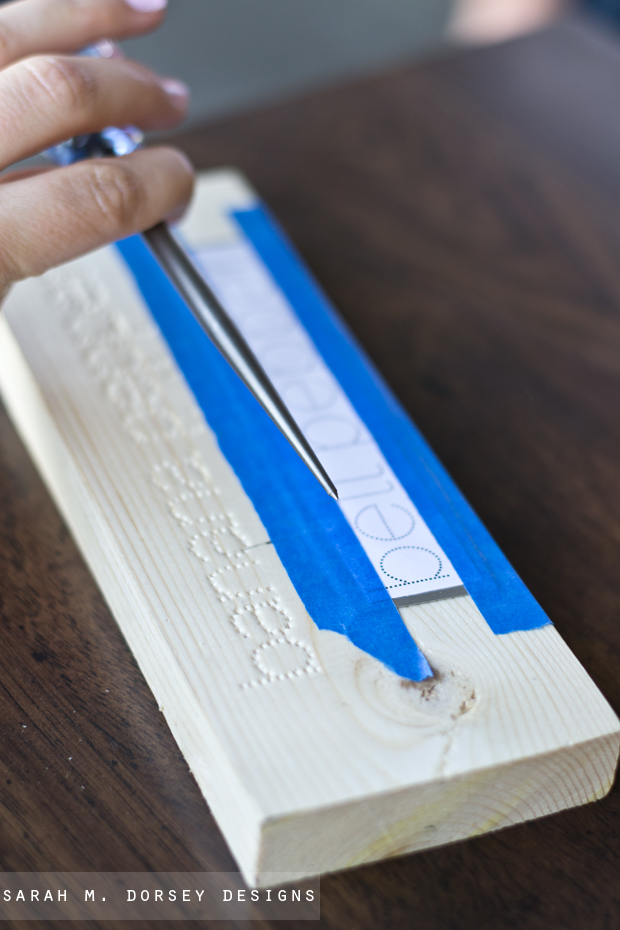
4. Then we punched every other hole on the template with the Awl. It was pretty easy just pushing down.
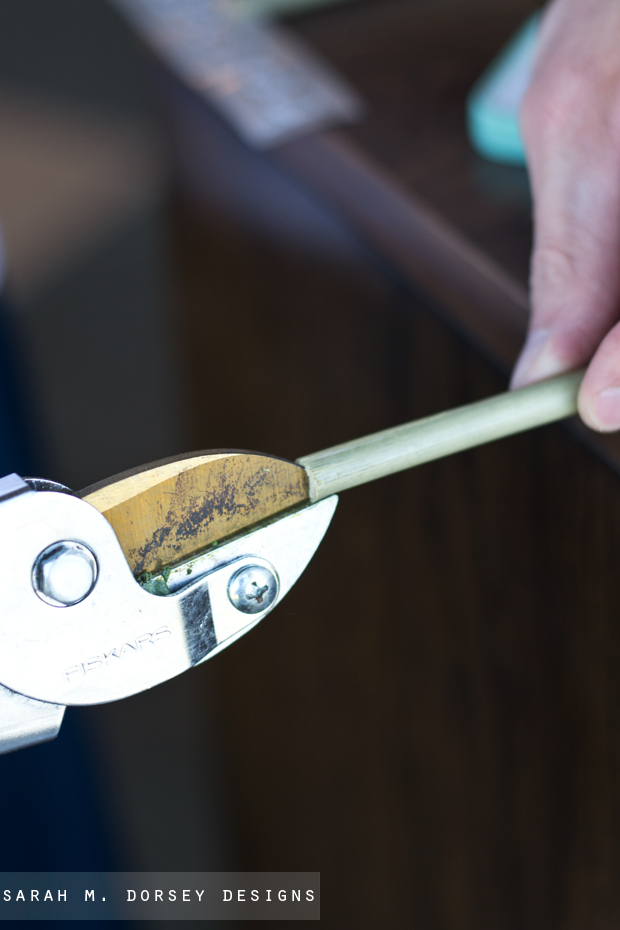
5. Next, we prepared the bamboo sticks. We cut them into 18″ sections (12″ out of ground and 6″ in the ground) with garden shears. Then we cut a small slit in the center of the top of the stick to slide the aluminum into.
6. We put a little gel super glue in the crack.
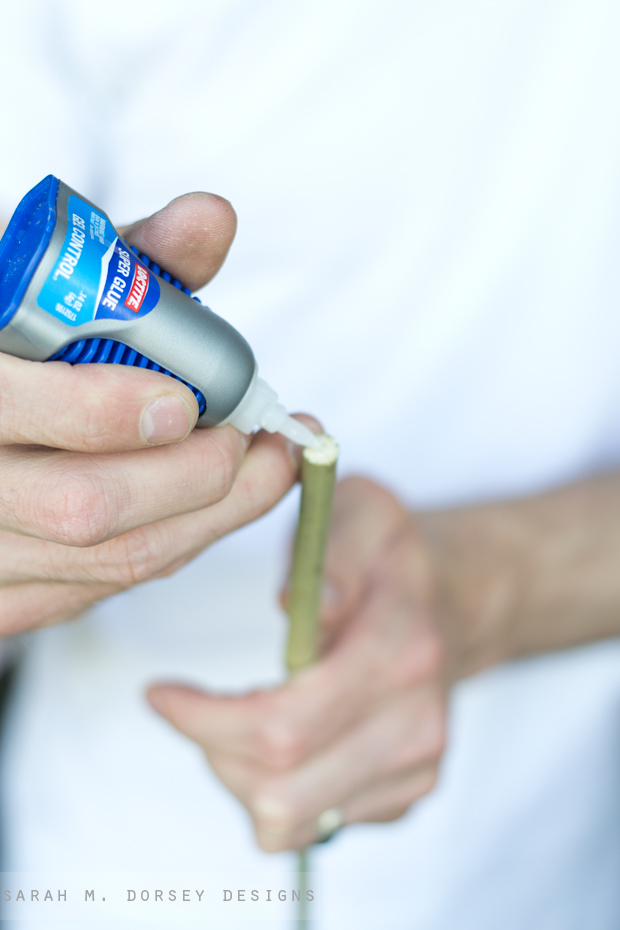
7. Then we slide it in and held it for a few seconds until it set.
and stuck it into the ground!

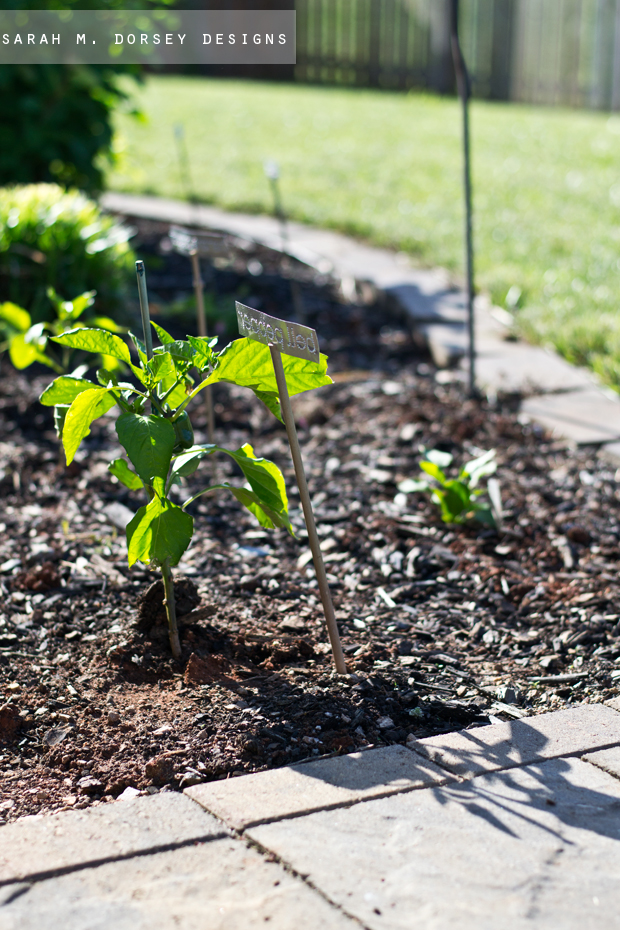
I have one pepper growing! Success!
So are you a hopeful but novice gardener like me? Or a pro? If you have any tips on how to make my garden successful, I’d love it hear your advice!
adorable! these would be fun to write sayings on, too, for plants you are giving as gifts!
Such a cool idea! Love it!!
Pretty sure those are the prettiest plant markers I've ever seen! Love the look of the dotted font!
Cute idea! I just planned out our garden for this year and I may have gone a little overboard to 🙂 It's my first year growing food, so we'll see how it goes! I loved tending my first flower garden last year. I couldn't plant yet this year because of SNOW yesterday and today, but hoping for this weekend! Definitely practice makes perfect!
Okay, you are a flippin' genius. Those are so cute. Who thinks of these things? You, that's who!
Those are so creative and pretty!! I wouldn't expect anything less of you! 😉
Those are so cute. Love!
http://www.designsbykaty.com
I think I will make them for our herbs. Got all the supplies too
great idea!
This is such a great idea. Love it. Raleway is my new favorite font. I have already designed a couple of websites with it. It's so clean and modern. Love how you used it here in the dotted form.
This is so great! I wonder if they also double function to keep away birds? I imagine the light reflecting off of them is so pretty!
Oh my gosh, I LOVE these!! SO crafty and beautiful!
Nice…I liked your choice of font as well
These aluminum plate markers are a great idea! Most people would do it on cardboards or sometimes on wood, both of which can be ruined by water or moisture. At the very least, you're sure that these aluminum markers will last way longer than those two. Anyway, thank you for sharing this wonderful idea with us, Sarah. All the best!
Bernice Parsons @ BadgeranodisingUK
I love this idea! I adore copper, especially as it develops a patina. I would substitute this soft metal to make the plant markers. Brilliant idea, Sarah!! Thanks so much!
Don't forget you can use copper flashing or copper sheets from a craft store to make a more elegant version of these as well. Use a duller awl and different scripts to enliven them as well.