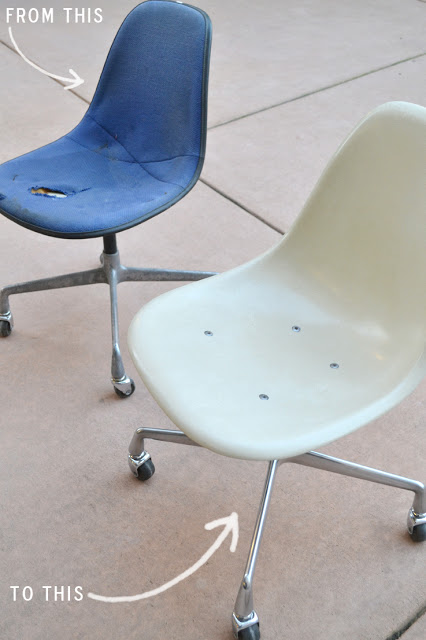
The Eames chairs are finally almost done! After many hours of sanding they are looking worlds different!
If you follow me on instagram @sarahmdorseydesigns you probably saw how close we were
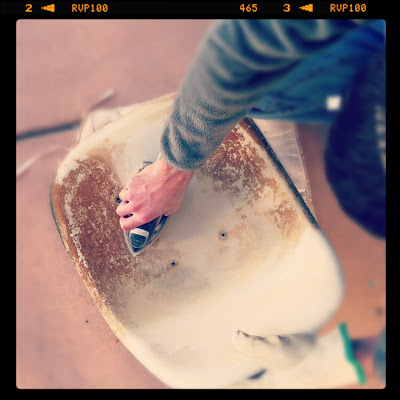
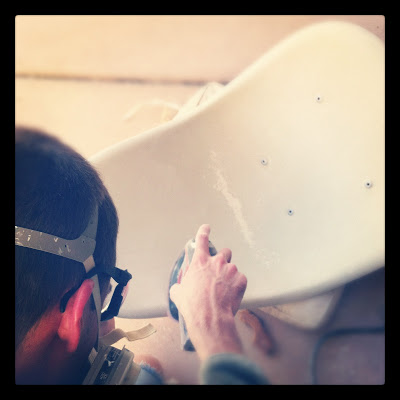
First we sanded with 120 grit with the orbital sander, then 220 grit, and finally with 320 grit (by hand) Respirator and eye protection is a must!!
At the second sanding, it was already looking so much better!
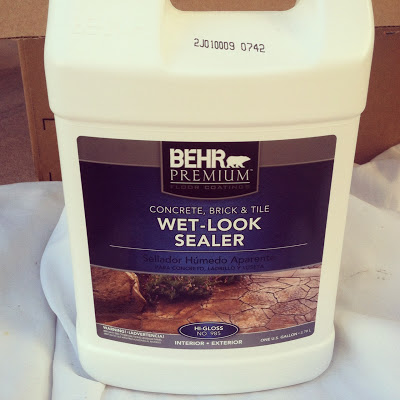
After doing a lot of research it seemed that short of getting the chairs professionally sealed, using Pentrol was a good solution. After going to a few store and seeing the spot on the shelf, but no product we were told that it is illegal to sell in CA because of the vocs … whoops! So onto, plan B. We stopped by a fiberglass shop that specializes in making and repairing surfboards. We asked them if they could seal it or recommend a product. They recommend a patio sealer that they use on their surfboards from Home Depot.
Behr Wet-Look sealer. Since it is for a patio, they only had it in a gallon size, so it was a little pricey at $27, but Pentrol is about the same. We figured if they use it on surfboards, it has to be durable!
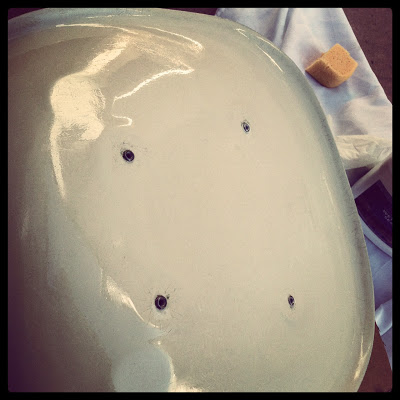
Here it is with the first coat (still wet so looking very shiny). They recommended 4 coats, so we are going to let it dry for about a day and wet sand with a fine grit sand paper in between coats. We are hoping that it it’ll be about this glossy when finished.
Our journey (on the first chair) is almost complete! Just a little more sanding/sealer and a cushion for the bottom and we’ll be done!
This process is has definitely not been easy or quick, so I could only recommend attempting if you have a love for original Eames chairs (we both do!) and lots of patience (luckily David does!)
I’ll give a full break down on our process once we have finished photos, but for now click here, here, and here to see other posts.
—
This week I have a very exciting Humpday giveaway planned with two prizes, check back on Wednesday to enter!
and also check back throughout the week for project updates, our new statement piece for the gallery wall, new stencil design, and hopefully more!
You and David are troopers. Definitely seems like it's been a lot of hard work but it is looking really wonderful. And when you're sitting in beautiful and comfortable Eames chairs I'm sure you'll be so happy you stuck with this!
Thanks Jennifer! David did most of the sanding, so a big thank you to him! The next one should go a lot faster since we now know what we are doing! I can't wait to ditch our dining chairs, they are so uncomfortable!
Wow… what a lot of work you've put into them! But, I'm sure they're going to look amazing on their final reveal. I looked back at your other posts, but maybe I missed it… what are you planning on using them for? Office chairs, dining room, living room occasional seating? They're great!
Hi Jeanette! We'll be using them as office chairs (currently using dining chairs and I can't wait to get rid of them!) The second one will go so much faster, now that we know what we are doing 🙂
Lookin' good. Thanks for putting in all the hard work! Reminds me of restoring an old car or something. Not sure I'd be able to take it on, but I surely appreciate when others do. Can't wait to see them in situ!