When I read about Design Sponge’s Painter’s Tape DIY Contest I knew that I wanted to enter because I love DIY and I love painter’s tape 🙂
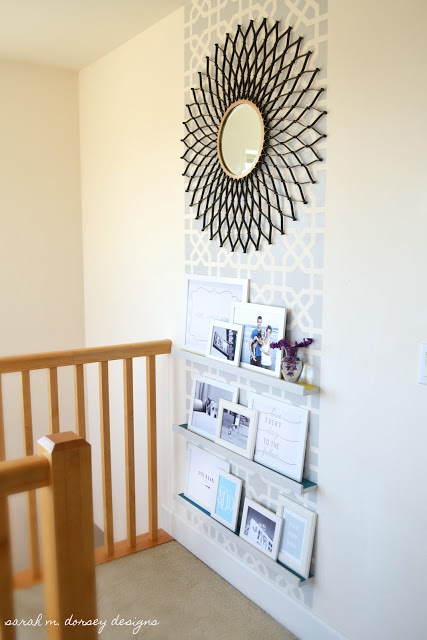
When thinking about what I would do, I instantly thought about the wall at the top of the stairs because 1. it could use a little livening up! 2. a frame shelf could also be installed (a recent obsession of mine) and would work perfectly with the narrow space!
I was inspired by Caitlin Wilson Textiles: Jade Byblos fabric
So gorgeous -this Moorish pattern is perfection!
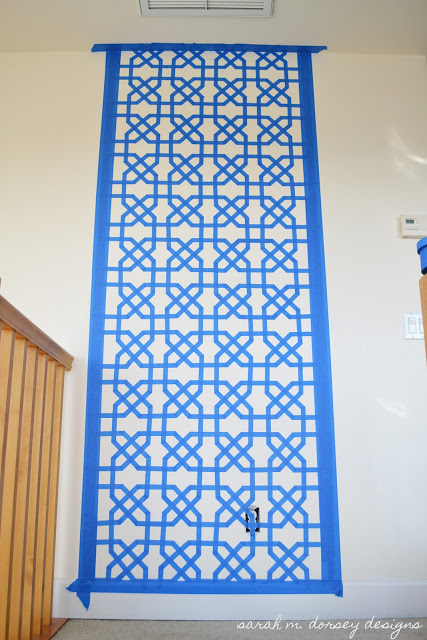
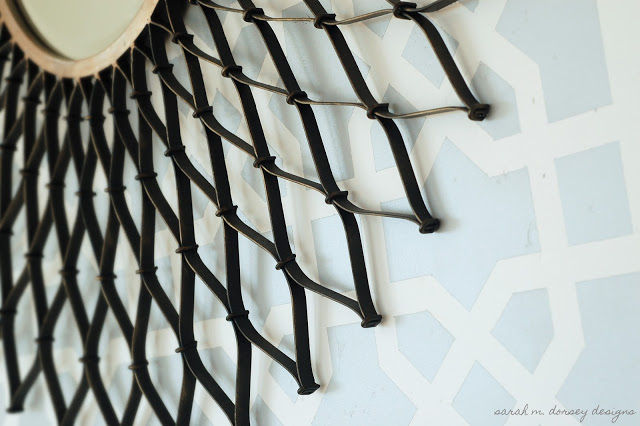
We created the pattern with overlapping octagons made out of 3/4″ 3M blue painters tape … a lot of them!
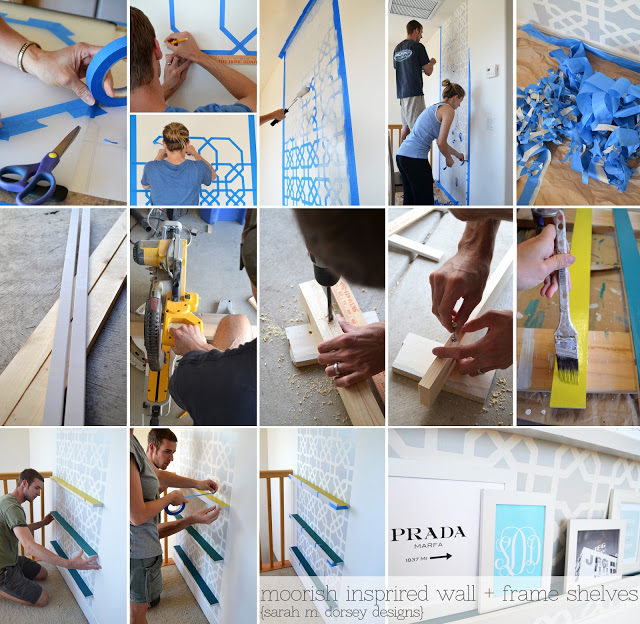
Below is a summary of our process:
The corners of the octagon were marked on a large cutting board – my Mom was here to help and created all of the octagons, while David measured and I laid them out. This process took a little a lot longer than anticipated (about 6-7 hours) …
While the painting took only about 5 minutes, so I guess it balanced out … we peeled off the tape, there was a lot of it – we used about 1. 5 roles
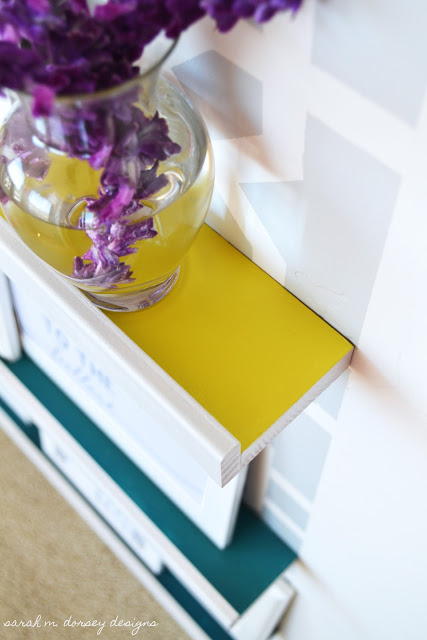
We picked up some 1x3s and square trim at Home Depot, cut to the dimensions of the mirror and painted section of the wall. Next, holes were drilled for the anchor screws. The top of the shelves were painted with citron, turquoise and teal paint and the fronts were painted SW Big Chill (same as the wall)
Shelves were attached to the wall with the anchor screws and the fronts were glued on with wood glue
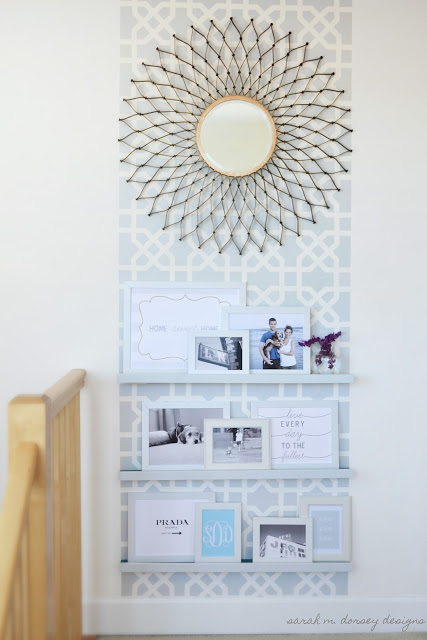
I had a hard time painting and taking the tape off of the wall, since it had a lot of time invested in it … but obviously it had to happen haha. I love the subtle contrast between the light gray and the wall color!
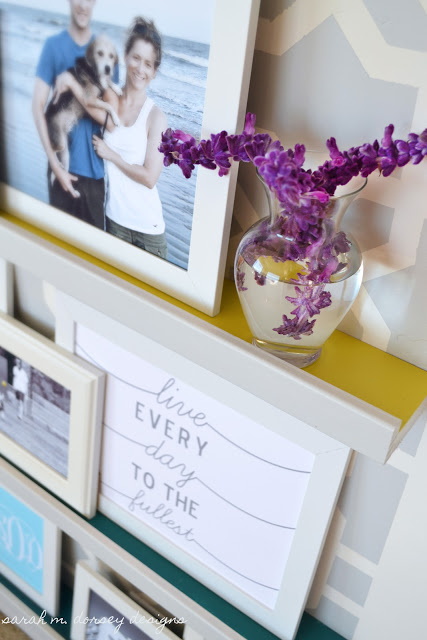
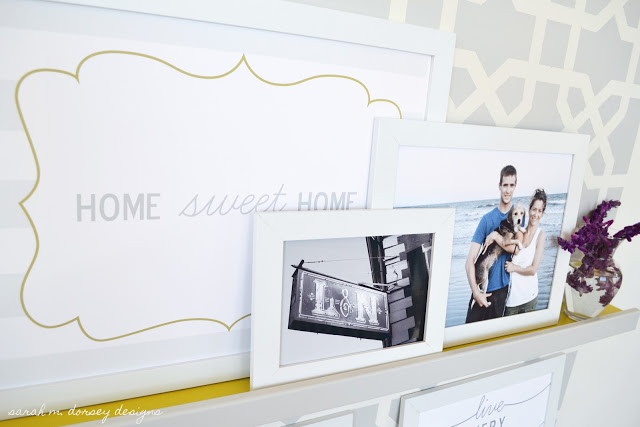
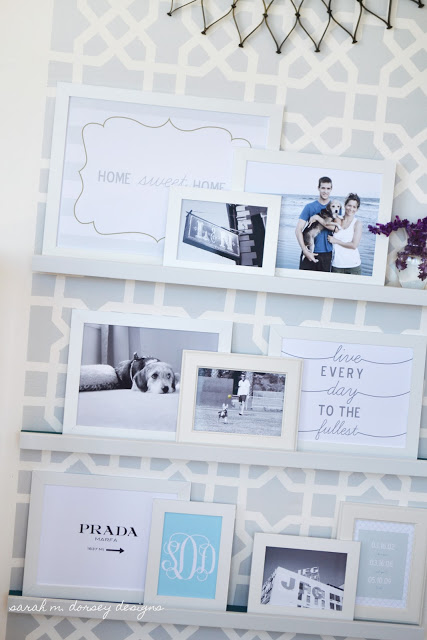
I made the “Home Sweet Home”print, L&N photo we took while we were living in Knoxville, and the beach photo was Annabelle’s first time at the beach, Hilton Head, SC (when we discovered her love for the sand and fear of the water 🙂
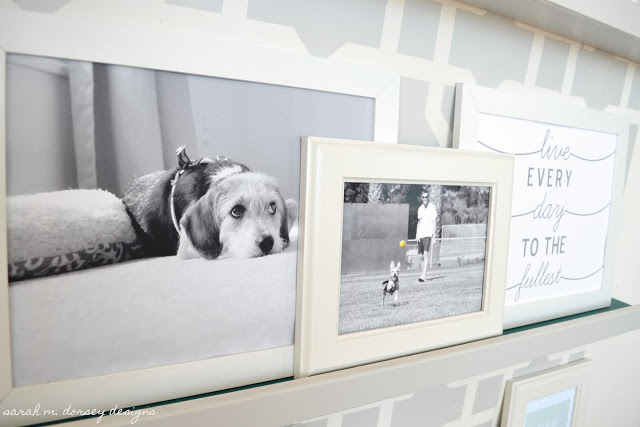
One of my favorite photos of Annabelle, and a photo of her playing fetch, I made the “live every day to the fullest” print
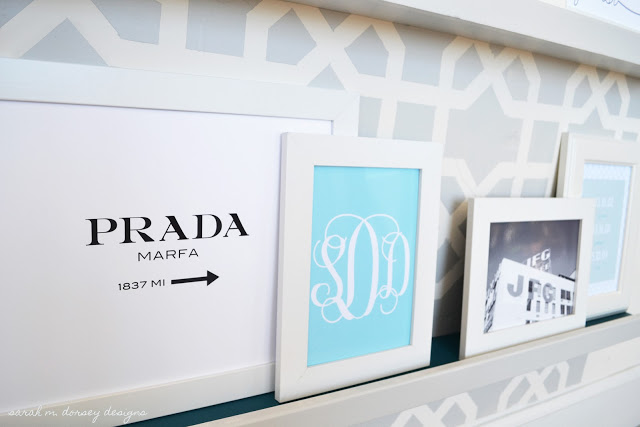
and my version of Gossip Girl’s Prada Marfa sign, a custom monogram – thanks for the idea April! head over to see how to make yours for free!, JFG photo taken in Knoxville, and the custom date print I talked about last week
I love the hidden pop of color 🙂
and I finally hung my chrysanthemum mirror that I wrote about a while ago 🙂
This wall is located at the top of the stairs – I’ve been searching for a good solution for this space since it is narrow and the shallow picture frame rail was perfect!
The whole process ended up taking longer than anticipated, but I love the end result!
Project Cost:
1x3s $8
Trim $9
Tape $7
Paint (leftover from other projects)
Frames $20
Total $44

holy COW!!!!!!!! you've got some patience!! I absolutely *LOVE* it though; WELL worth all that effort!
Thank you!! having help definitely helped me be more patient!
That looks amazing! I am in love with the pops of color on the shelves! Now i need to muster up the courage to take on a project like that! Great work 🙂
I think the pops of color are my favorite part (and the easiest!) Thank you!
You make it look way too easy. I'm officially inspired and am going to try something similar in my bathroom. I have this odd "nook" that used to be for the mini washer and dryer. This technique may make it look like it's actually supposed to be there. Thanks for sharing! I LOVE, LOVE, LOVE seeing the things you do!
haha hope I didn't make it seem too easy … because it definitely took a lot of patience (which I am working on!) and its not perfect 🙂 Could work great for your odd corner!
Wow! I am impressed that you were able to do this with painters tape! I just stenciled my hallway (using a stencil pattern and clip-on level) and even with all those tools, it was time consuming. Great job, this is beautiful!
WOW, you have so much patience – holy moly!
This would have been a two-weekend job for me 🙂 It looks absolutely fantastic. I'm super impressed with your neverending eye for detail. And so happy that you loved the monogram tip!
Fantastic Sarah. You are a creative lady! I was interested to find out that it's a moorish design. File in "things I did not know". Thanks!
That stencil is so impressive! It came out great. I love how the colors are so subtle yet you can tell its an intricate pattern.
I hope you win! That's very impressive and something I would never have the patience for, so well done. I want to try this with a regular stencil, but they're not cheap!
Wow! What an amazing idea! Love it!
did you make these frames too? how?
The frames are from all from Ikea, Nyttja and Virserum