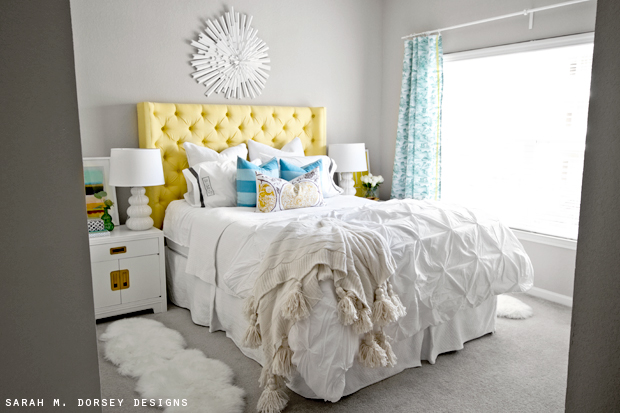
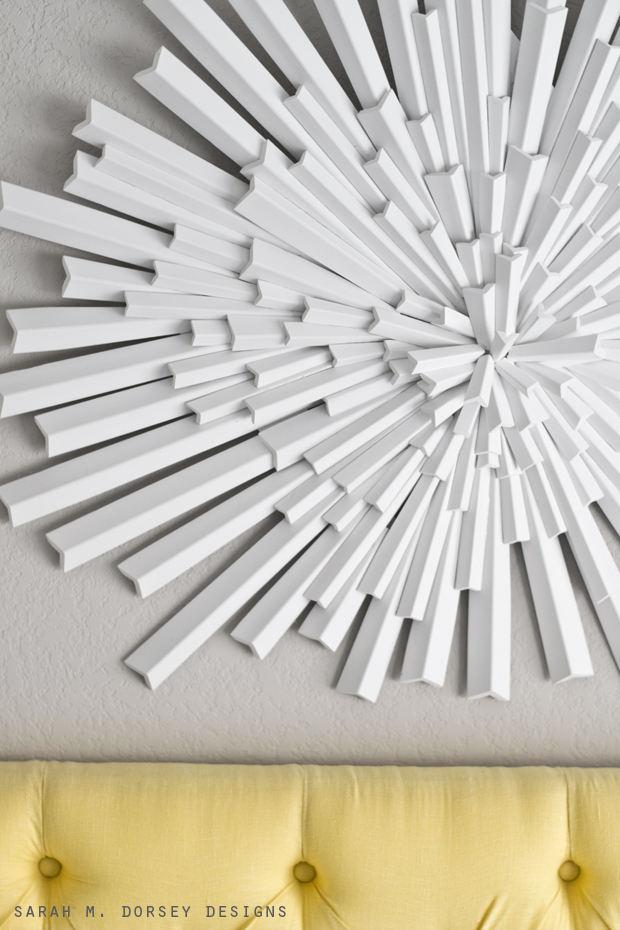
Today, I’m sharing another project from our TN bedroom – an asymmetrical starburst!
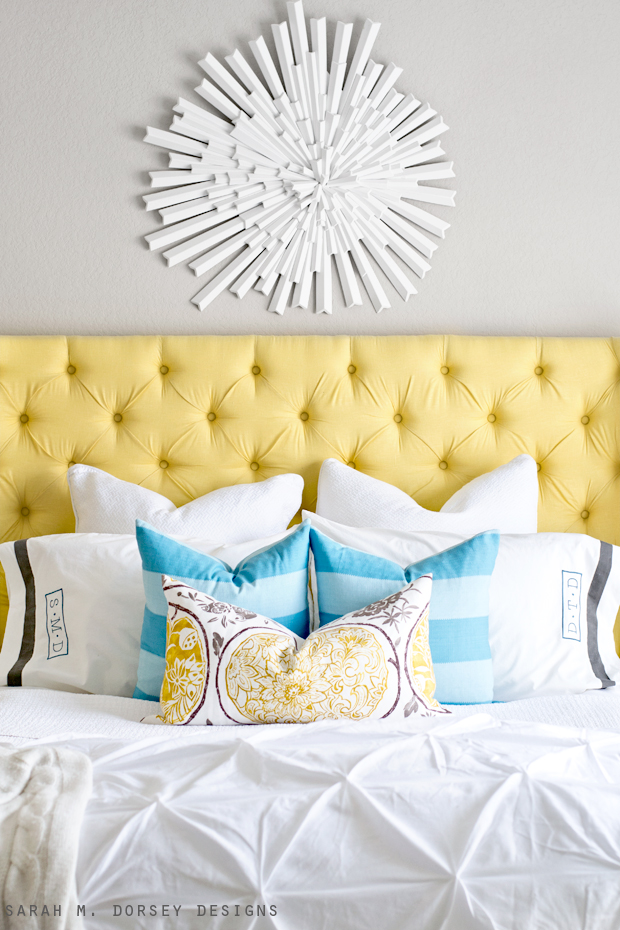
Inspired by this gorgeous space – we decided to create our version from white corner molding from the home improvement store.
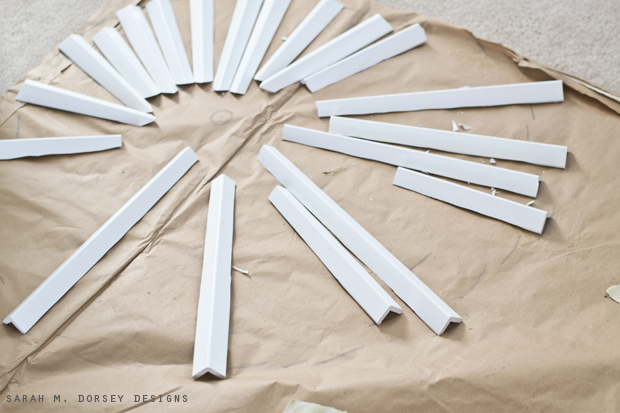
To get started, we roughly drew a template on a large piece of paper – showing where the ends of the starburst would be.
Materials:
-Interior White PVC Corner molding (located in wood section with trim) (various sizes) (interior is much easier to cut/sand than exterior, so check before buying!) (I believe we purchased around 10 – 10′ pieces)
– Flat 2″ PVC trim (for the back)
– Pencil/Marker/Ruler
– Cutting tools (chop saw would have been preferred, but we used a utility knife since that’s all we at in TN)
– Belt Sander 80 grit
– 120 or 220 grit sanding block or loose sander paper
– Epoxy glue
– Safety gear: cut proof gloves, respirator and goggles.
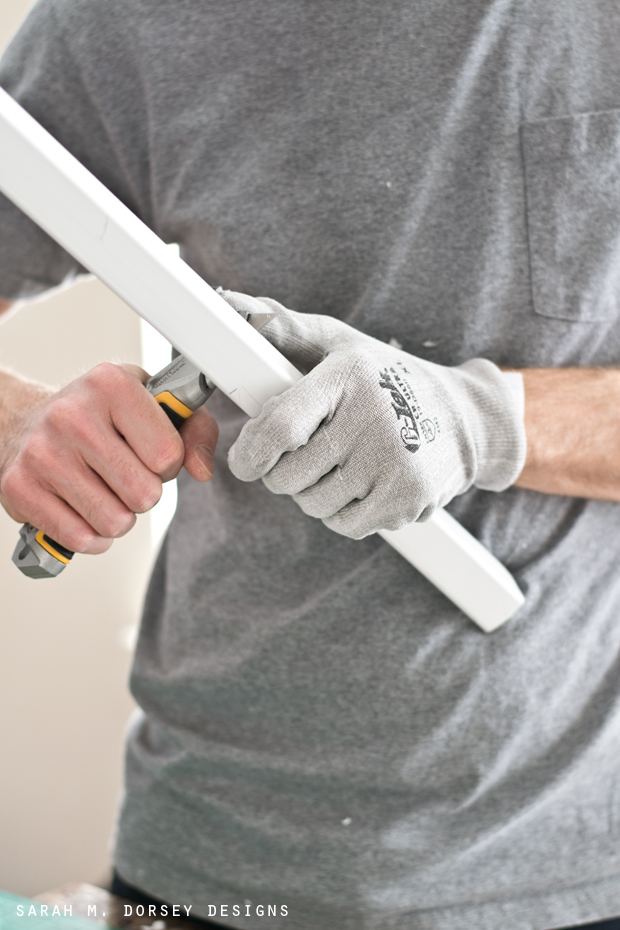
The trickiest part of this project was getting a piece that was square at the end to fit nicely at the center. Read on to see how we used cuts and sanding to make it fit!
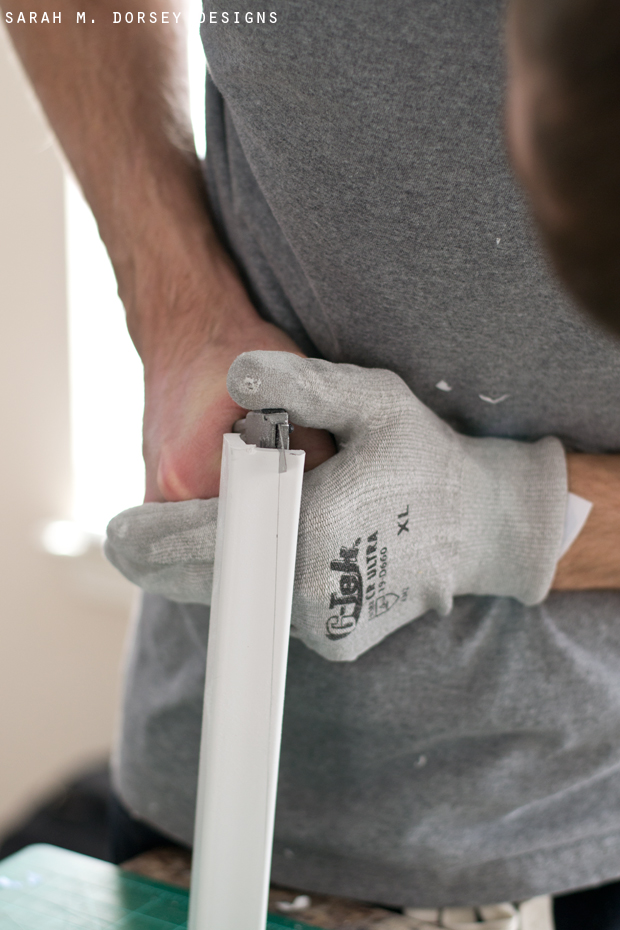
After laying out the general template – we cut pieces to length. We’d definitely recommend a chop saw, we used a utility knife, since that’s all we had in TN) If you’re cutting by hand, use a cutting mat and cut proof gloves to protect your hands. It is recommended to cut on the mat – we found that it was easiest to get started above and then move it to the mat.
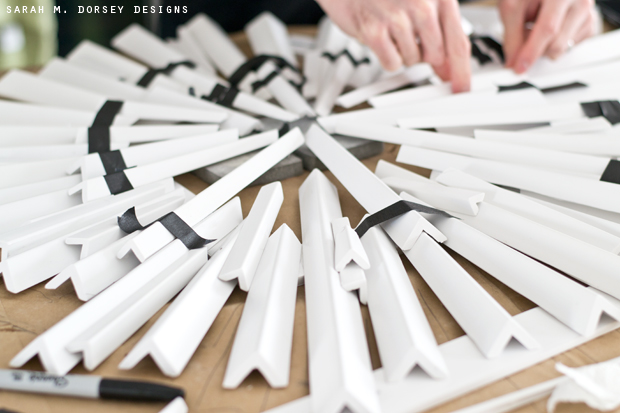
To reduce the sanding, we drew line on the tip and cut down that line. This helped make the tip smaller to later form a circle. We measured, but it was random and varied from piece to piece.
If you’re following a template – lay the pieces on the paper as you go and mark the back with a number so you know which piece goes where.
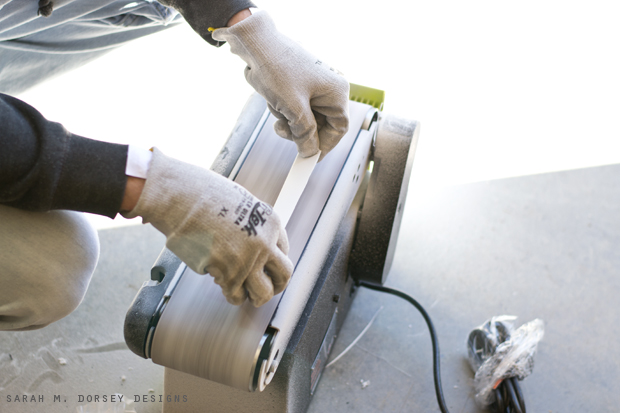
We purchased a belt sander for this project and used 80 grit sandpaper (we’ve already used it for a few other things, so it’s come in handy!)
We sanded the tip (which was cut in the previous step) so that it was fairly flat. When finished, the tip will be fairly pointy.
*Note: The piece was laying pretty flat, so it is important to wear cut proof gloves and use caution! It is very easy to sand your hands! Ouch! The process is very dusty, so use a dust collector or sand outside, and definitely wear a respirator.
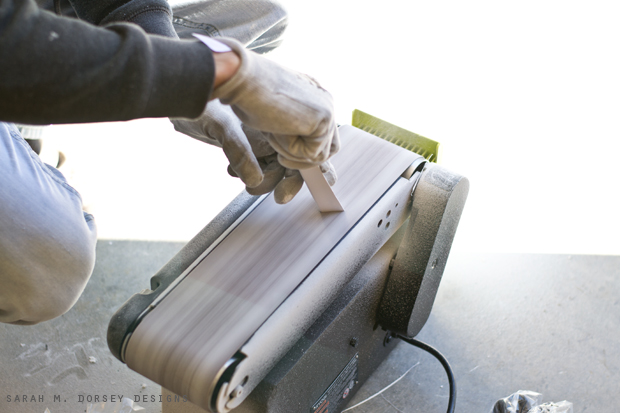
Sand the end – we sanded ours so it was at a slight angle, we thought it made it look a little more finished. Once sanded, we hand sanded the edges that were rough with 120 or 220 grit sandpaper, we could have bought another belt for the sander, but hand sanding was easiest for us – it was super quick.
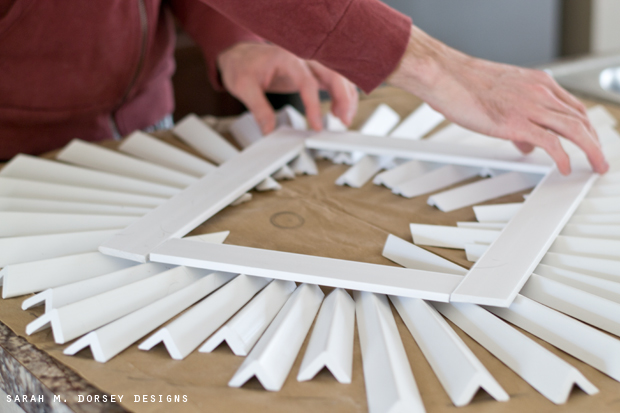
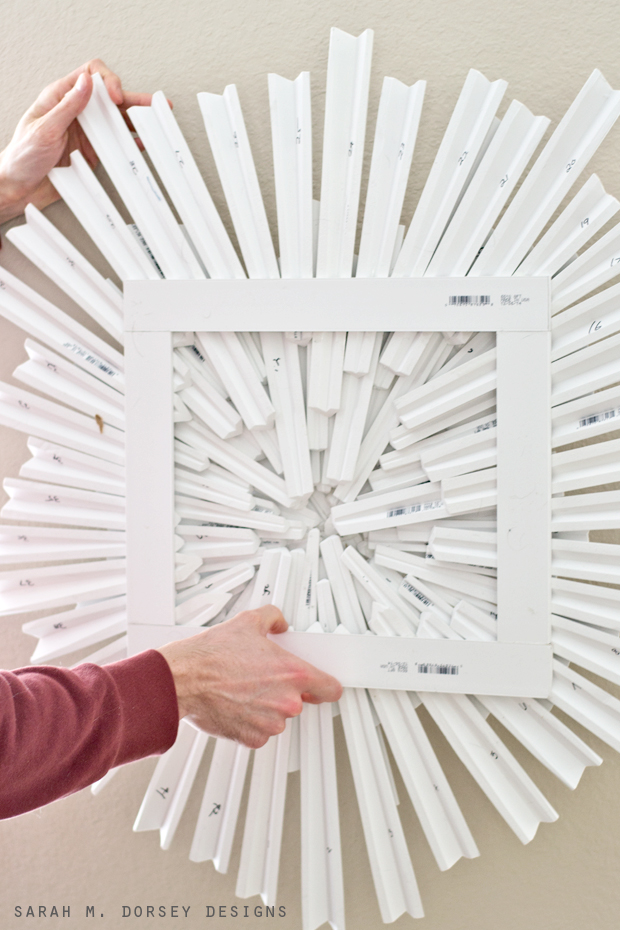
We created about three layers of angled pieces – the first row ended about 6 – 10″ from the center (see below)
Using the first layer as a guide, we created a square for the back of the starburst. It was removed from the starburst, and the corners were glued with epoxy.
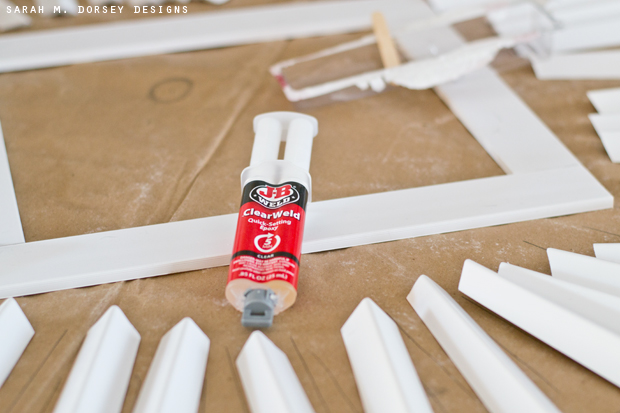
For the top layers, we used tape to help hold the pieces while the glue set.
At this point, we took a little break (a few weeks), we had other things going on, and getting the pieces to fit well towards the center wasn’t the easiest. We changed a few pieces, but in the end we got it to work. I’d recommend using a combo of long and short pieces, cutting and sanding some pieces as you go at the end, so you can cut to fit. Ours fit pretty well (in the end), but you could place white paper behind, to conceal any holes.
Here’s the view from the back (after it dried several days) It’s a lot of little pieces!
It was hung with two screws that rested on the square frame.
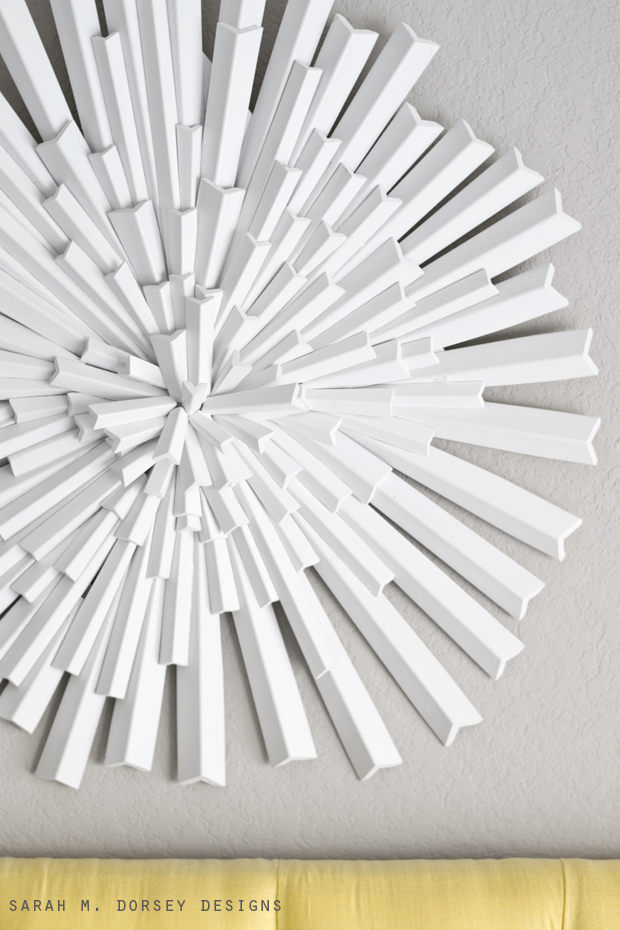
In the end, the project was a little more complicated than anticipated (most of our projects end up that way!) but I LOVE the look!
I definitely took this with me in my car when we moved – no way I was letting the movers take it!
I can’t wait to hang it in our new house!
That’s it for the DIY tutorials from the bedroom for now. I’ll be sharing the final tutorial – the yellow tufted headboard with curved arms in conjunction with the BHG article, it will be several months, but I’ll be sure to keep you updated!
Stay tuned for our TN Apartment tour later this week!
i just love this! it looks amazing!
SARAH you are crazy town ridiculously good, you must dream DIY! XXX j
so so pretty