• Home
  • About
  • Services
  • Shop
    • Bloglovin
    • Email
    • Facebook
    • Instagram
    • Pinterest
    • Twitter

Dorsey Designs

DIY and Interiors by Sarah + David

  • Home Tour
  • DIY TUTORIALS
  • friday favorites
  • design + build
  • art

get the latest straight to your inbox

Fabric Panel Wall Feature | Tutorial

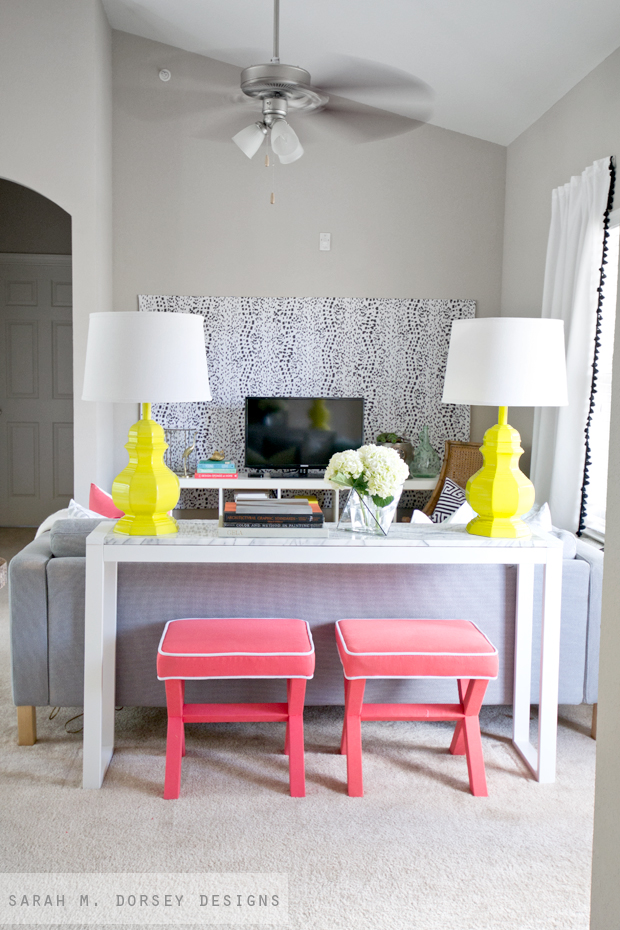
Today I’m sharing how to create a fabric panel wall! It makes a big impact with little effort and it can be renter friendly too!

Materials:

3 Yards of fabric
6×9 drop cloth
1/4″ x 3/4″ wood molding (two 7′ sections)
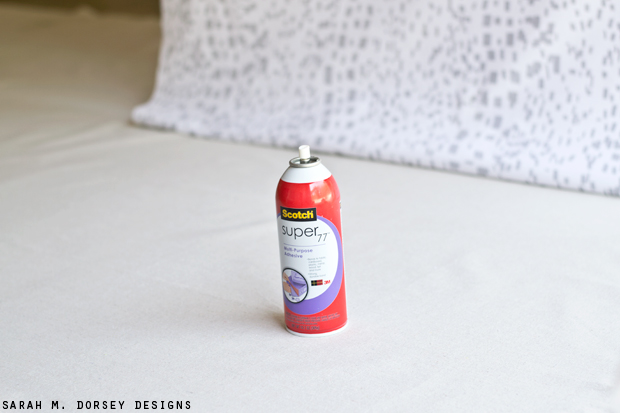
Spray adhesive
Iron
Fabric scissors
Permanent fabric glue
Tape measure
Staple gun with 1/4″ staples
Drill and screws (or 3M command strips)

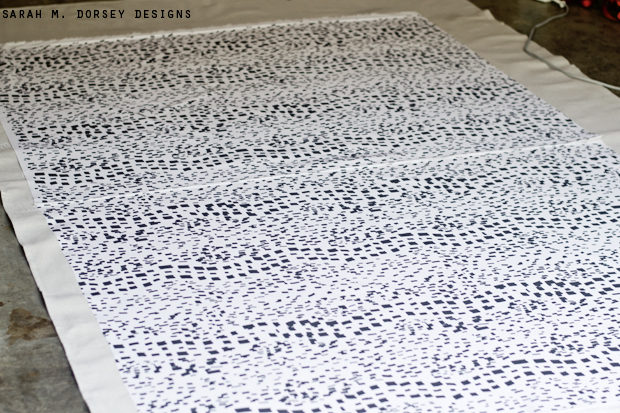
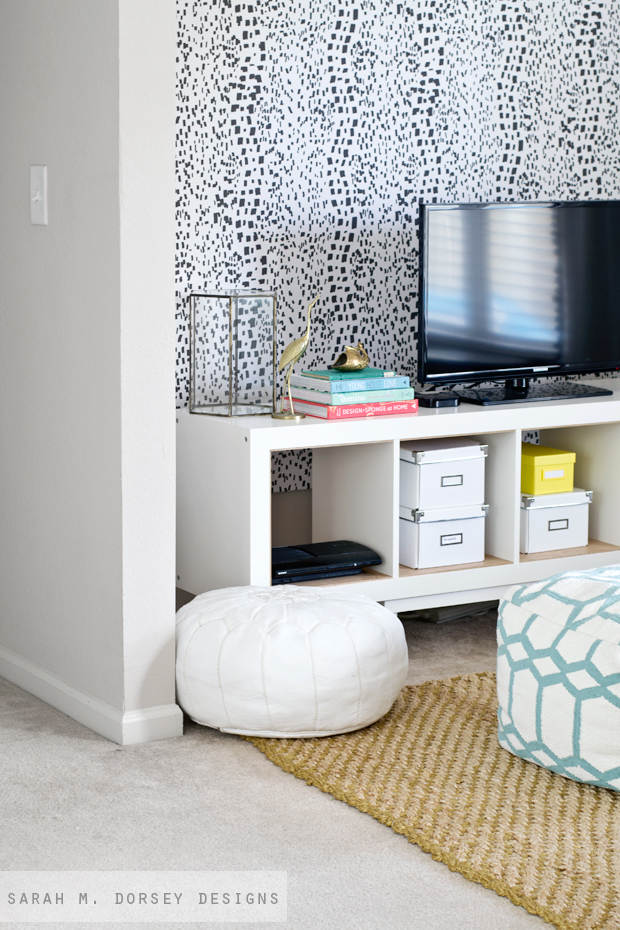
My panel measures, 84″ wide x 54″ high, I used 3 yards of fabric (42″ width) 2 yards across and 1.5 yards up. Referencing one of my favorite prints, I drew the pattern in Photoshop, and got it printed through Spoonflower.

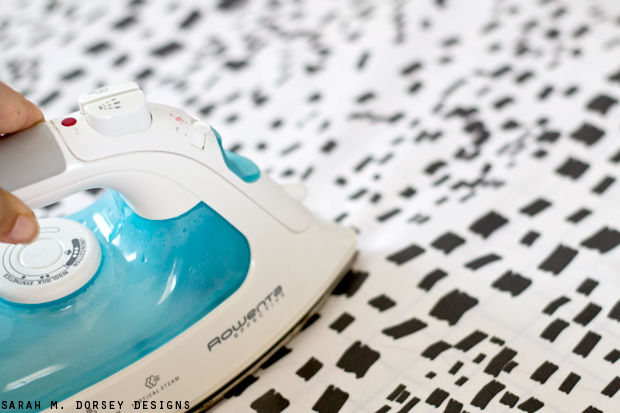
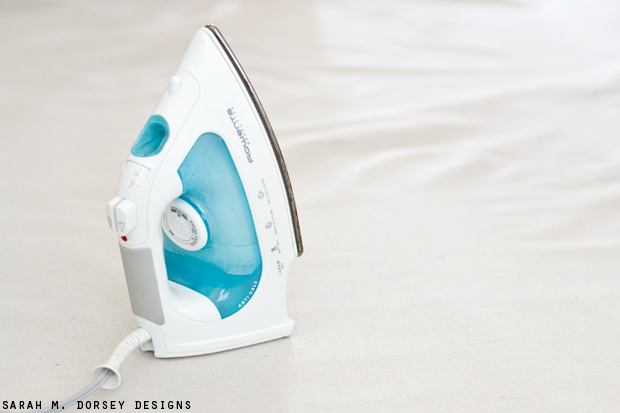
First, you want to iron your fabric (with steam) to remove any creases. Try to iron it where you’ll be working on the entire piece, moving it will create wrinkles and you’ll have to iron again. *Cut the top and bottom flush and leave the selvedge edge on the sides to wrap around the back. Iron the selvedge edge up, even with where the print starts.

Next, measure your fabric and make your cuts. 
To stiffen up the fabric, I purchased a drop cloth (6×9 for $10). I was originally going to use interfacing and iron it on the back, but I couldn’t get it to stick well and it was wrinkly .. 
Again, iron it well with steam to get all wrinkles out. I did this in the garage, directly on the concrete, which absorbed water .. I had to place a scrap piece of wood under and spot iron some spots so that they would dry .. so I’d recommend placing something under it if possible. 
To attach the fabric to the drop cloth, start away from the edge and plan to trim the excess drop cloth (since it’s very tricky to get it perfectly straight). Enlist an extra set of hands to hold it up, (I started at the top) work in small sections smoothing it from the center of the fabric, remove all as you go. If you get wrinkles, lift it up and re smooth. *Don’t attach the outer selvedge to the drop cloth. 
To get the width, I needed to join two two widths of fabric. For the center seam, leave one center seam raw. On the other center seam, fold it under about .25″ and overlap it. Iron it lightly without seam. Prior to moving it, let it dry for about 30 minutes. 

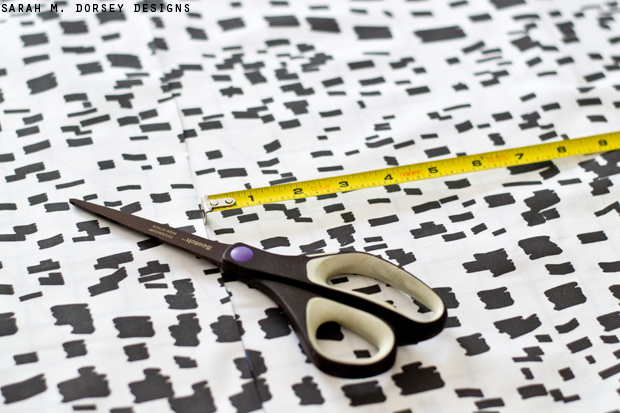
On the top and bottom, cut off the excess drop cloth even with the fabric.

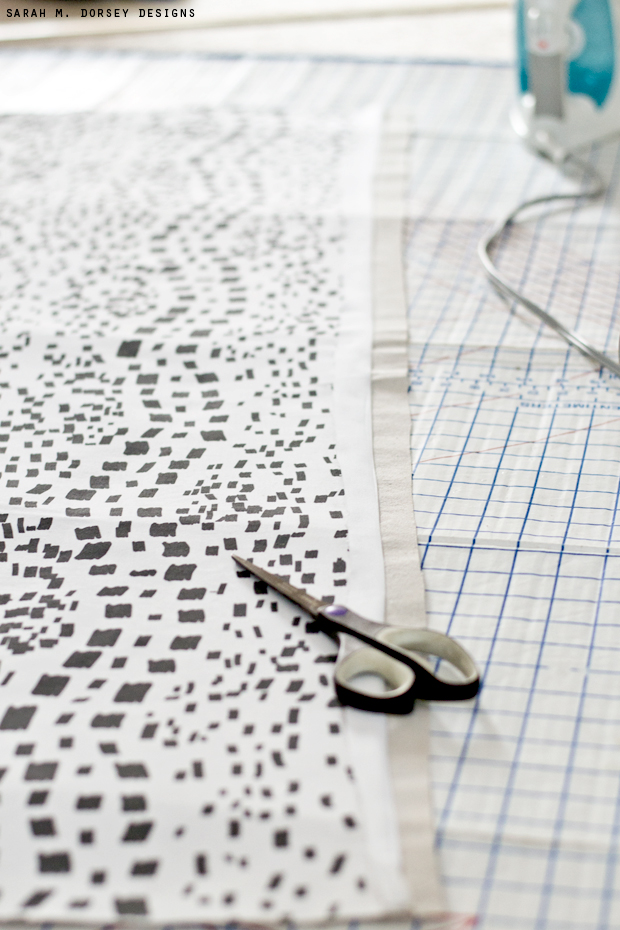
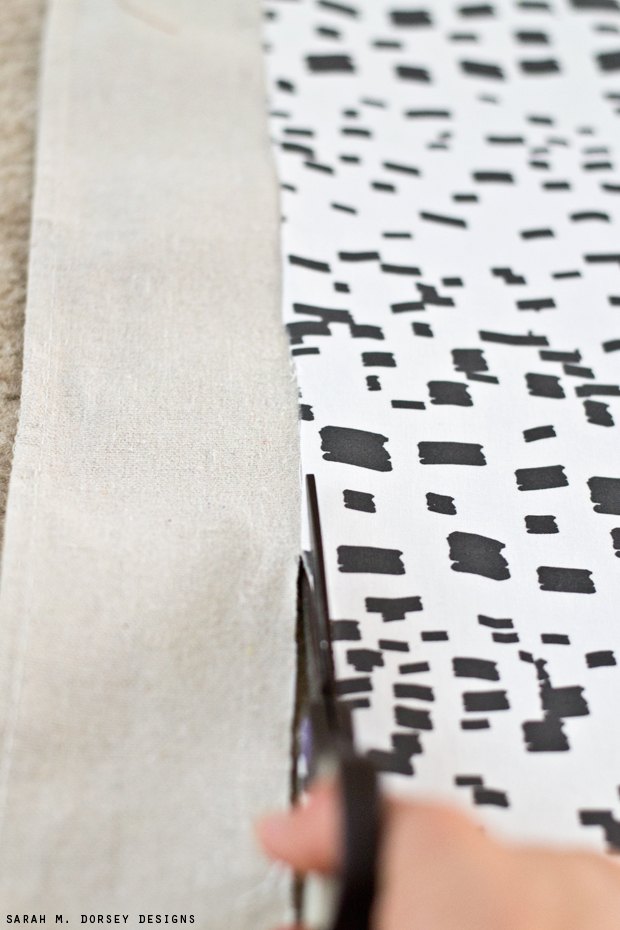
For the edges, with the outer selvedge edge ironed up (to use as a guide), carefully trim the excess drop cloth on the side.

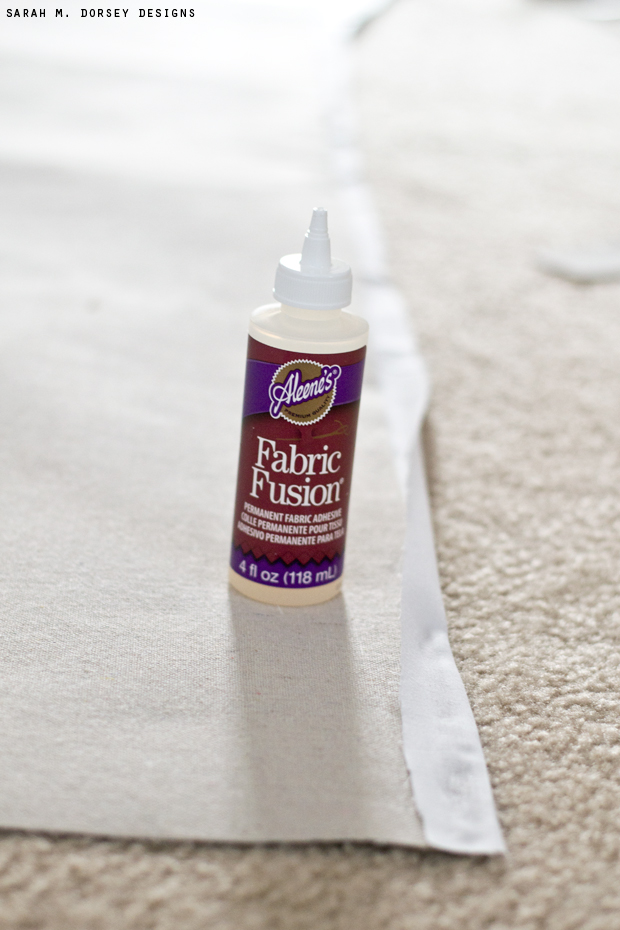
Flip it over, using permanent fabric glue, glue the outer edge on the back of the drop cloth.

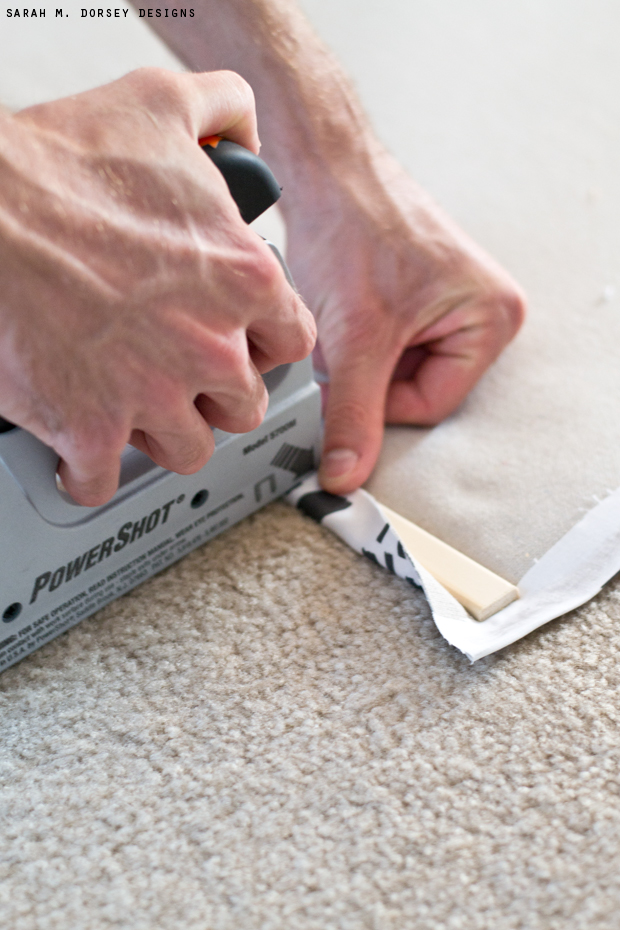
Attach the top and bottom trim to the panel to hang it. Using 1/4″ staples, fold the top edge of the fabric over and staple from the back. Repeat on the bottom.

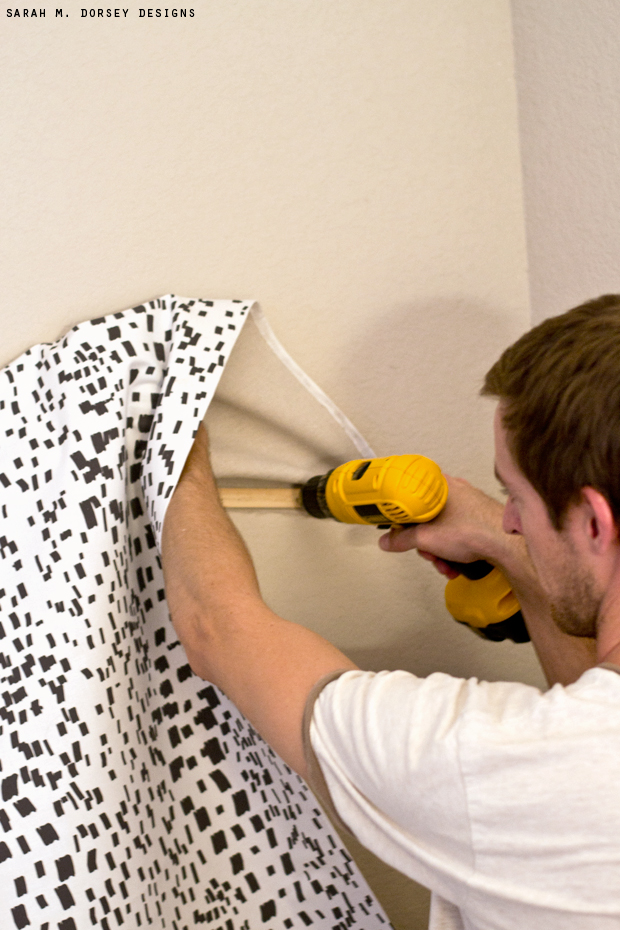
Attach it to the wall, measure and confirm that it’s level. We used small screws since we can put small holes in our rental walls (two on the top and two on the bottom) If you’d prefer not to put holes in your wall, use command strips at the top and let it hang loose at the bottom. It won’t be as tight, but as long as it’s pretty heavy, it should hang fine.
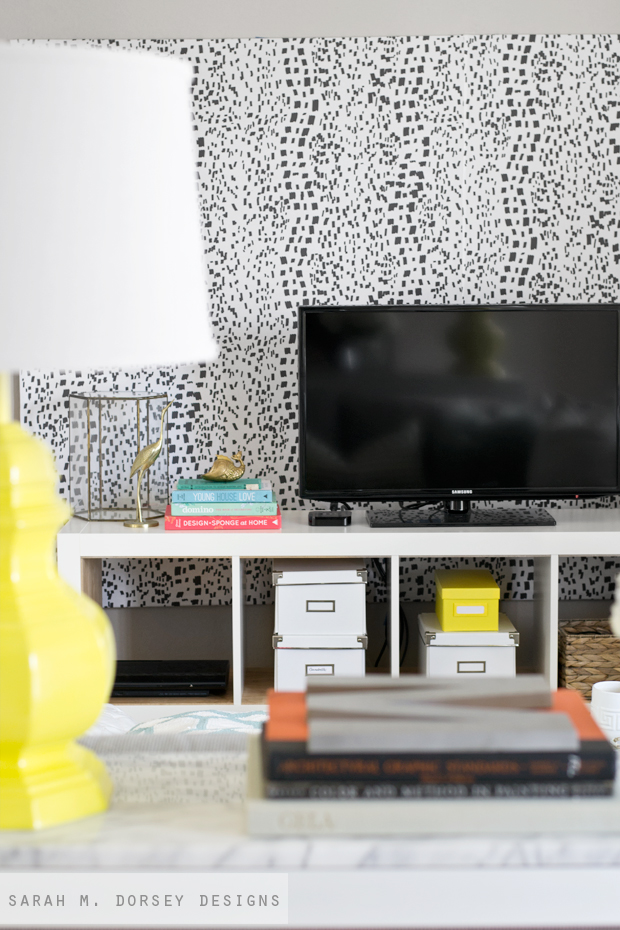
And that’s it!

Total time spent was a few hours and about $50. So, not too bad!!

I hope you’ll give it a try 🙂

DIY TUTORIALS// Living Room// Uncategorized// Uncategorized3 Comments

Subscribe

get the latest straight to your inbox

« Blogger Stylin’ Home Tour | Our TN Living Room
Friday Five »

Comments

  1. The DIY Homegirl says

    September 1, 2014 at 9:54 pm

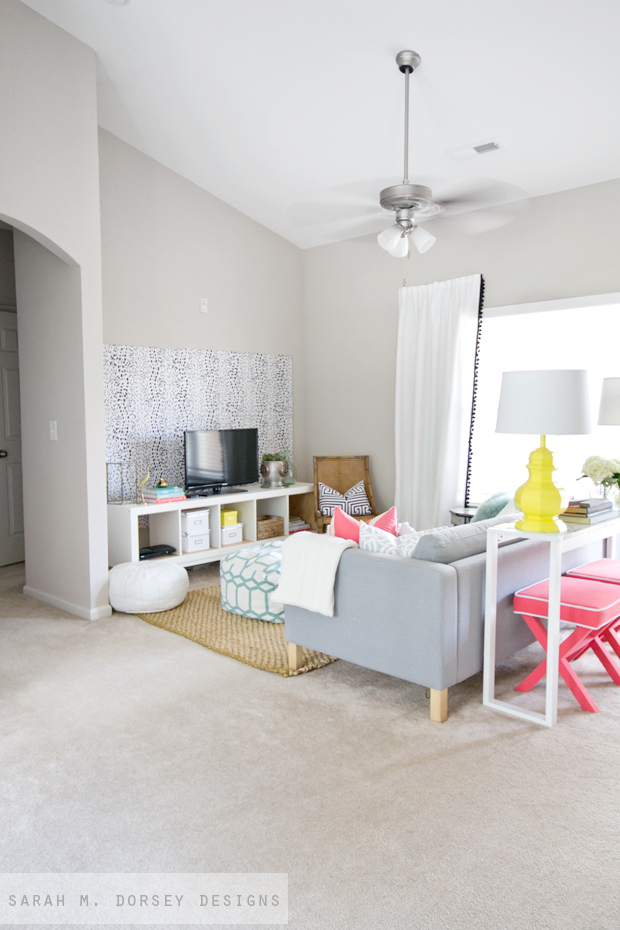
    What a great idea! I like how it helps define the zone in the living room also. Very creative!

    Reply
  2. skin candeez says

    September 9, 2014 at 2:53 pm

    Love it

    Reply
  3. Jes says

    January 28, 2015 at 6:31 am

    Love it!

    Reply

Leave a Reply Cancel reply

Your email address will not be published. Required fields are marked *

Contact Me

sarahmdorseydesigns{@}gmail{.}com

Stay Updated!

Get all the latest goods straight to your inbox!

This error message is only visible to WordPress admins

Error: No connected account.

Please go to the Instagram Feed settings page to connect an account.

Must Reads

Custom Peg Board + DIY Circle Art | FrogTape

Custom Peg Board + DIY Circle Art | FrogTape

Main Level Refresh with The Home Depot

Main Level Refresh with The Home Depot

Sponsor

2016 Daily Simplified Planner

Popular Projects

Blogging 101 | How to Make Money Blogging

Blogging 101 | How to Make Money Blogging

October 21, 2015 By Sarah 4 Comments

Blogging 101: Growing a Blog

Blogging 101: Growing a Blog

October 14, 2015 By Sarah 6 Comments

{charcoal} DIY Zimba Draperies in the Office

{charcoal} DIY Zimba Draperies in the Office

April 15, 2013 By Sarah 12 Comments

Blogging 101 | How to Grow Your Blog

Blogging 101 | How to Grow Your Blog

October 7, 2015 By Sarah 6 Comments

Layered Headboard for only $20 | Contributing Article at Houzz

November 5, 2013 By Sarah 12 Comments

  • DIY TUTORIALS
    • design + build
    • furniture redo
    • diy in 1 hour or less
  • free printable
  • friday favorites

Disclosure

Occasionally, affiliate links are used when they are available. I do earn a small commission when items are purchased using those links. As always, I only link to things that I truly love. I also link to items that I love when an affiliate link is not available. Thanks so much!

  • Home
  • About
  • Services
  • Shop

Copyright © 2025 Dorsey Designs

MENU
  • Home
  • About
  • Services
  • Shop