• Home
  • About
  • Services
  • Shop
    • Bloglovin
    • Email
    • Facebook
    • Instagram
    • Pinterest
    • Twitter

Dorsey Designs

DIY and Interiors by Sarah + David

  • Home Tour
  • DIY TUTORIALS
  • friday favorites
  • design + build
  • art

get the latest straight to your inbox

DIY statment art + frame | tutorial

Last week I talked about tackling a woodworking project by myself and I’m happy to report that it was a success!

In attempts to rely less on David and do more by myself, I set out to build a simple frame for my new painting.

I originally wanted to use only supplies that I had on hand, but for the large scale (without piecing the back together) I needed to buy an 1/8″ piece of luan. I measured my trunk and asked Ace Hardware to cut it to the maximum size that my car would allow. Putting it in the car, I realized that I measured the back opening of my trunk and not the front opening … luckily since it was thin, it bent enough to fit. Whew! 

Next, I’m going to talk about how I made a frame to sit on top of an 1/8″ piece of luan. Feel free to skip if you already know how 🙂

David had previously ripped a 2×2 on the table saw, which worked perfectly for a frame! Honestly the table saw still scares me, so I’m glad that this step was taken care of. I feel comfortable working with the chop/miter saw since it’s more compact and easier to control. A miter box and hand saw would also work well. I’d definitely recommend working with what your comfortable with and when in doubt, go slow and double check that your fingers are clear from the blade.

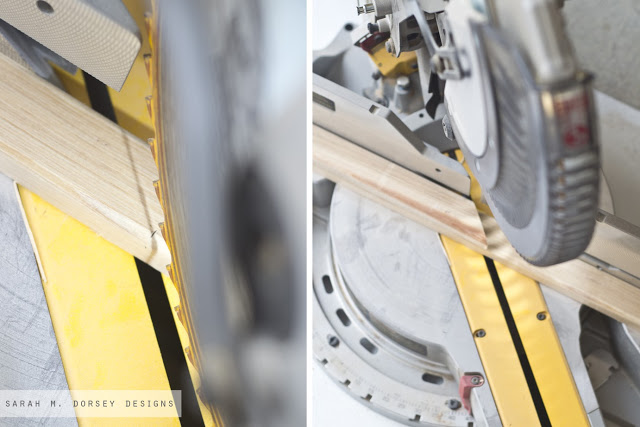
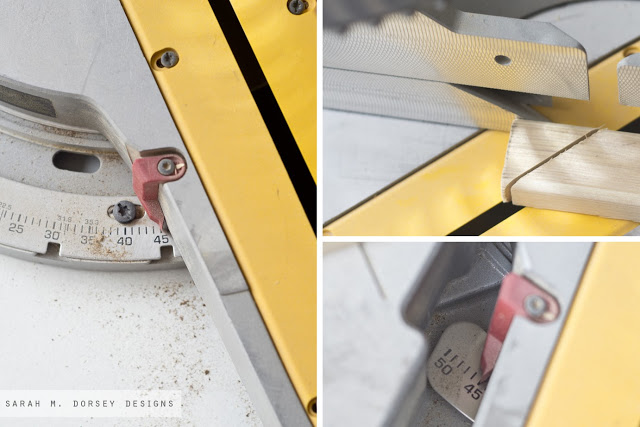
First, I put on my safety glasses – wood can easily go flying, so better safe than sorry! I set the saw to 45, cut the end off. Moved my saw to the other 45. For each side you want to cut on both 45s, I found it easiest to move it back and forth, but you could cut all your sides at once and then flip it. I like to lay it out as I go.

Next, I measured for my frame. My luan was 40″ x 54″ and I decided that I wanted an extra .5″ on the sides so that the frame would slightly extend. Since the board is thin, the frame floats slightly from the wall. I could have made it even, but then I’d have to fill the line between the luan and the frame with wood filler.

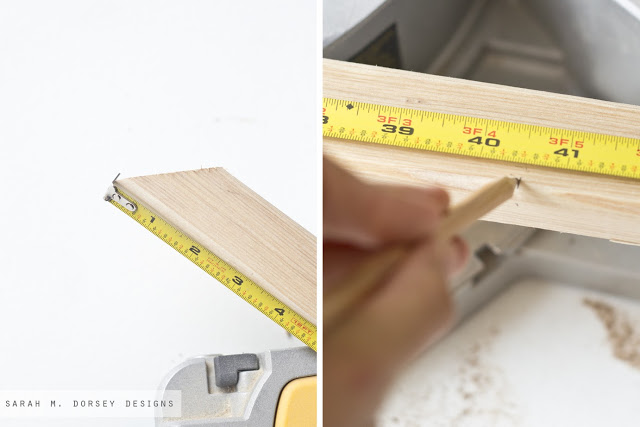
So from the tip of the 45 angle, I measured 40.5″ for the top and bottom and 54.5″ for the sides for my 40″x54″ board.

Lining up my cut, I accommodated for the blade by cutting at the far edge of the line. Our saw has a light built in which makes it easy to see exactly where the blade will go. I repeated this process for all sides. 

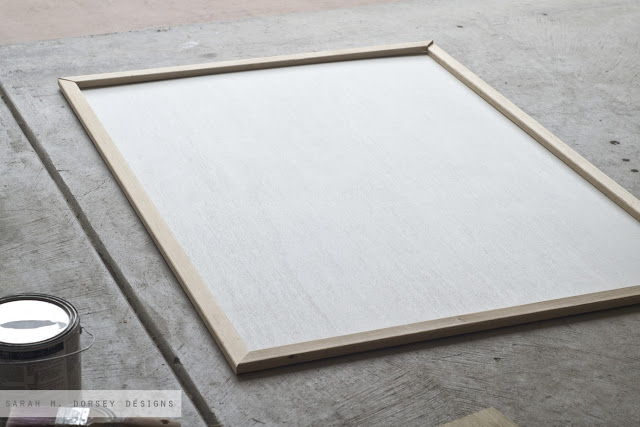
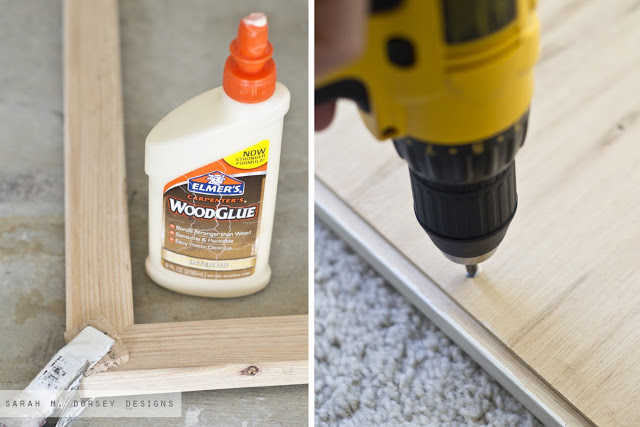
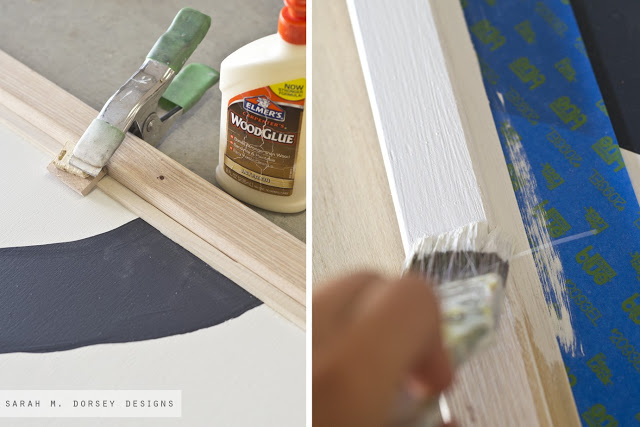
I placed the wood around the frame and decided, to glue the frame together off of the board (to avoid measuring 🙂 I used wood glue and clamped the corners with a scrap piece of wood on the front to avoid the clamp damaging the wood. 
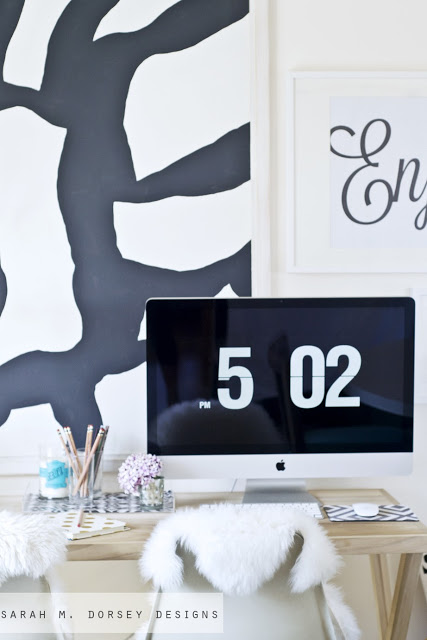
Meanwhile, I painted my luan with extra white semi gloss latex paint. I then referred to my inspiration image and sketched my pattern with a pencil. Then I used a deep charcoal latex matte paint (left over from my large wall stencil) following my pencil lines. I forgot to take photos of this step … but it was pretty simple. You could also use a projector if you’re not comfortable free handing.
Once the painting was dry, from the back, I centered the frame on the wood and connected them with screws. I pre drilled holes to avoid the wood cracking and then used small screws (shorter than the luan and ripped 2×2). 

We had thin .5″ pieces of wood left over from when David ripped the side pieces for the herringbone driftwood table, so I decided to make a small inner frame to make it a little chunkier (using same process as above, but I measured it to fit exactly inside the outer frame). I used wood glue and clamped it in place, using extra wood to protect the top again.

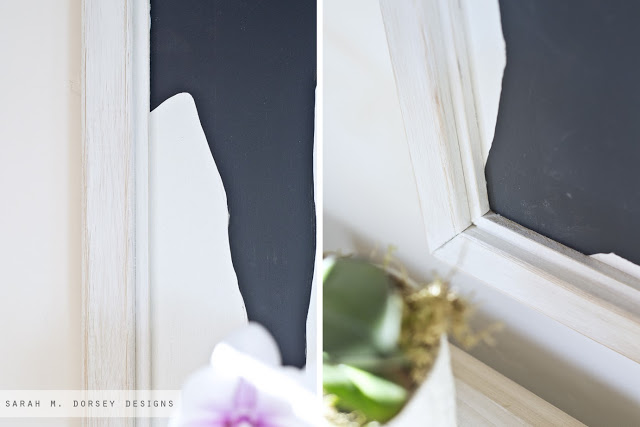
Finally I taped off the painting the painted edges. It made the most sense to me to do this last since the final part of the frame was glue in place. I used one coat of white paint and then sanded a little once dry to give it a white washed look.
I mounted a picture hanging wire from another frame on the back and that was it! 
I was originally planning on giving the frames a second coat of paint, but I love the extra depth that the distressing gives.
Total cost for this project $13 for the 1/8″ luan since I had the frame supplies and paint on hand!! 
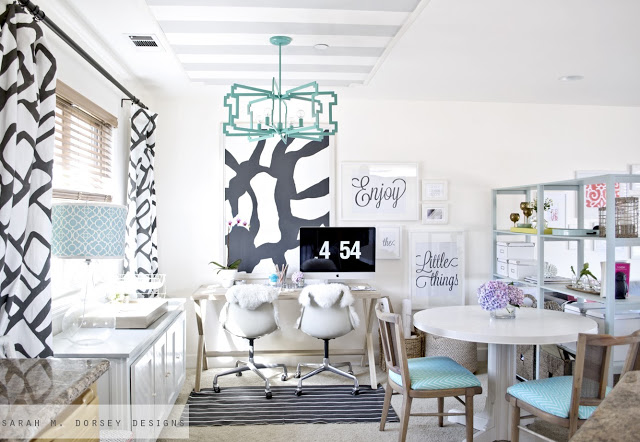
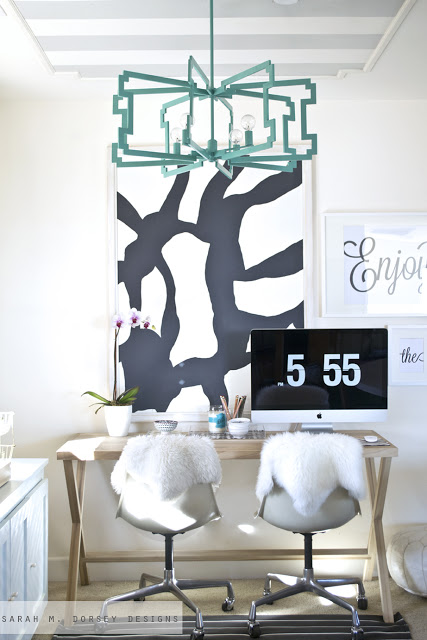
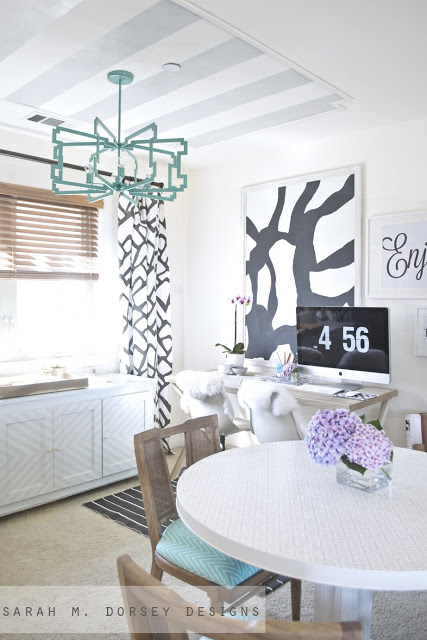
I’m so happy with how the office pulled together! Making the light for Creating with the Stars caused the re design, since it didn’t fit with our current office. I’m so glad because now it feel more me 🙂
TDC Before and After

art// DIY TUTORIALS// office// Uncategorized// Uncategorized13 Comments

Subscribe

get the latest straight to your inbox

« Large Black and White Abstract Art for the Office
Nesting Tables | What Would You Do? »

Comments

  1. Jennifer@The Chronicles of Home says

    August 6, 2013 at 5:31 pm

    Nice work with the saw, Sarah! I could have guessed you had it in you 🙂

    Reply
    • Sarah says

      August 6, 2013 at 5:42 pm

      Thanks Jen 🙂 definitely not a difficult project, but proud of myself because I didn't mess up and have to re cut anything! ha!

      Reply
  2. Cassie @ Primitive & Proper says

    August 6, 2013 at 7:27 pm

    it looks amazing, sarah! love the large scale!

    Reply
  3. Elizabeth @ The Little Black Door says

    August 6, 2013 at 8:09 pm

    What can't you do my friend?! Good work!

    Reply
  4. Krista @ Goodwill Glam says

    August 7, 2013 at 12:20 am

    I'm sure I couldn't have attempted this on my own! Awesome work! It looks amazing!

    Reply
  5. Julia Konya says

    August 7, 2013 at 5:57 am

    Not only did you do an amazing job but you managed to take beautiful photos along the way which I stink at every time. I want to get the stuff done and then I forget to take pictures or I snap horrible iPhone pics 😉

    Reply
  6. Gwen, The Makerista says

    August 7, 2013 at 2:51 pm

    great work, sarah!

    Reply
  7. Angelina- JoJo & Eloise says

    August 7, 2013 at 6:00 pm

    SERIOUSLY!!!! How is it you don't already have your own HGTV show.. You guys are RIDICULOUSLY talented!!! I Love all that you do. 🙂
    xoxo

    Reply
  8. Sarah {Lacquer and Linen} says

    August 7, 2013 at 7:57 pm

    This looks great! I love the graphic punch it gives the room! 🙂

    Reply
  9. AngelaMuir says

    August 10, 2013 at 1:02 pm

    love love love your home. gorgeous! i too need to do more diy wood projects by myself instead of begging my husband to do all the work 🙂 thanks for the inspiration!
    http://www.handmadeintheheartland.com

    Reply
  10. Rupa says

    September 3, 2013 at 11:10 pm

    Beautiful! I searched your site but couldn't find where you listed the tutorial for the art itself. Have you posted that yet?

    Reply
    • Sarah says

      September 4, 2013 at 1:28 am

      Hi Rupa! I never posted a specific tutorial. I hand sketched from my inspiration image (link in post) in pencil and then painted over it with matte soft black paint. If you're not comfortable free handing it, you could use a projector. Hope this helps!

      Reply
    • Rupa says

      September 4, 2013 at 9:14 pm

      Thanks! It does help. It looks gorgeous and I can't wait to try it for my house.

      Reply

Leave a Reply Cancel reply

Your email address will not be published. Required fields are marked *

Contact Me

sarahmdorseydesigns{@}gmail{.}com

Stay Updated!

Get all the latest goods straight to your inbox!

This error message is only visible to WordPress admins

Error: No connected account.

Please go to the Instagram Feed settings page to connect an account.

Must Reads

Custom Peg Board + DIY Circle Art | FrogTape

Custom Peg Board + DIY Circle Art | FrogTape

Main Level Refresh with The Home Depot

Main Level Refresh with The Home Depot

Sponsor

2016 Daily Simplified Planner

Popular Projects

Headboard Cost Breakdown

Headboard Cost Breakdown

June 13, 2012 By Sarah 6 Comments

How to lenghten your cafe rod for $1

How to lenghten your cafe rod for $1

March 20, 2012 By Sarah 2 Comments

diy rug process – third times the charm!

diy rug process – third times the charm!

May 23, 2012 By Sarah 4 Comments

Large Scale Banana Leaf Prints | DIY

Large Scale Banana Leaf Prints | DIY

April 28, 2015 By Sarah 29 Comments

Blogging 101 | How to Make Money Blogging

Blogging 101 | How to Make Money Blogging

October 21, 2015 By Sarah 4 Comments

  • DIY TUTORIALS
    • design + build
    • furniture redo
    • diy in 1 hour or less
  • free printable
  • friday favorites

Disclosure

Occasionally, affiliate links are used when they are available. I do earn a small commission when items are purchased using those links. As always, I only link to things that I truly love. I also link to items that I love when an affiliate link is not available. Thanks so much!

  • Home
  • About
  • Services
  • Shop

Copyright © 2025 Dorsey Designs

MENU
  • Home
  • About
  • Services
  • Shop