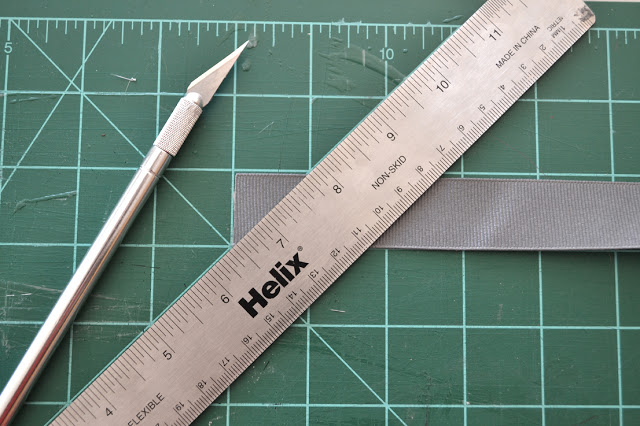
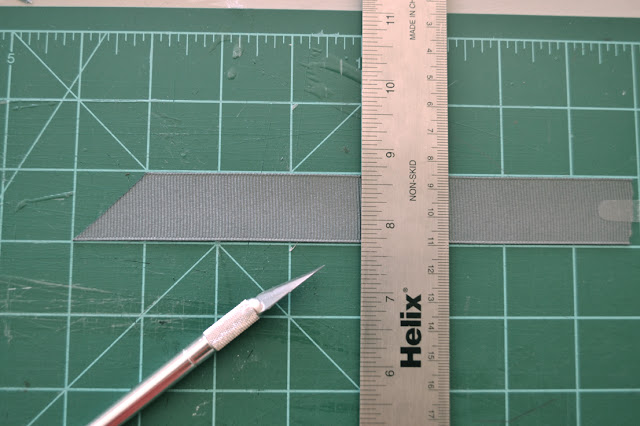
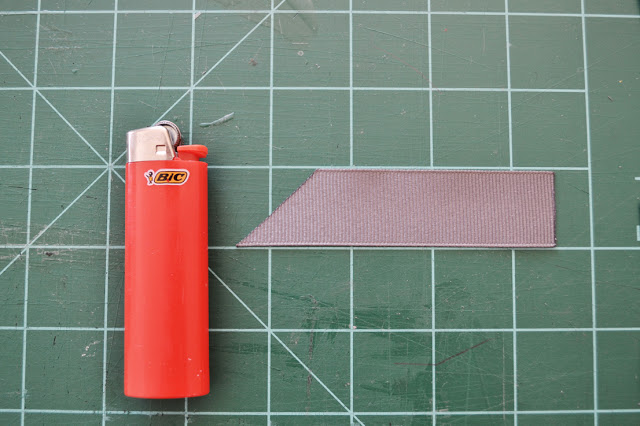
Then measure your desired length for the straight edge. Again, the cutting mat helps with this too, since each square is 1″. My measurements above are from the tip of the 45 to the straight edge. and repeat this for all of your pieces.
I love putting my hiccups on here because you help me figure them out! A big thank you to Jani for giving me the idea to burn the ends!
I found that using a lighter gives the most control since you want it to be as even as possible. I did use a candle (to save my finger) for a lot of the ends. Since that gets covered, it isn’t as important if it is straight.
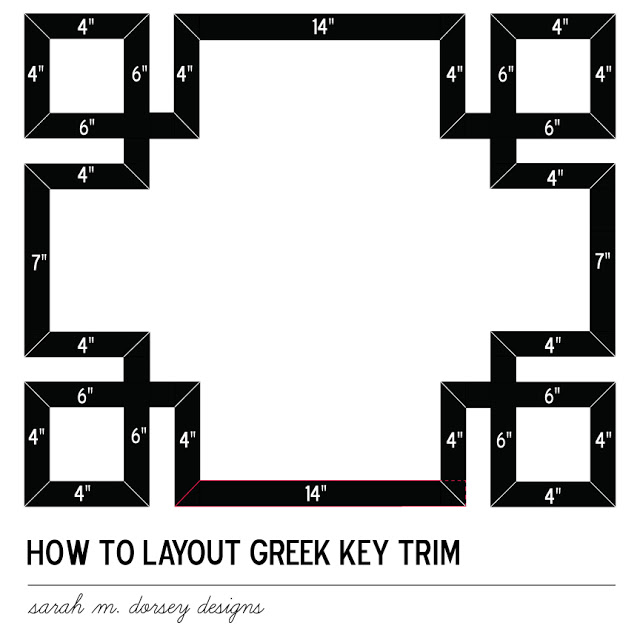
Then I centered it on the pillow (adding up the entire width and height and subtracting the respective difference from the ends). It’s really easy to get the spacing off, I recommend laying it all out and double checking your measurements before adhering.
* pink outline shows original ribbon and how the edges meet.
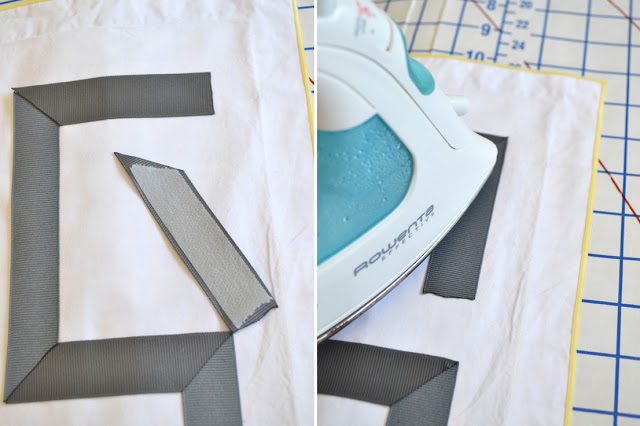
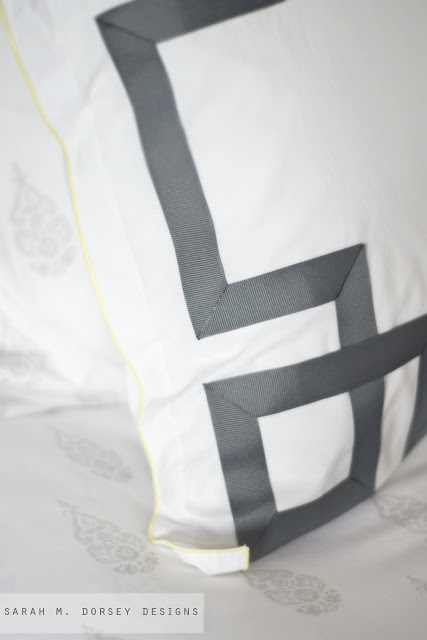
I started with the long 14″ piece on the bottom (45 pointed left and straight edge right) and worked right overlapping the 45s on the straight edge. After testing two samples of adhesive that I had (to make sure that it didn’t show through) I used one roll of 3/4″ heat n’ bond super. Last time I used heat n’ bond regular and had issues with it showing through, but I’m thinking that it’s because I had to iron so many corners that it got too liquid and bled through. The important thing is not to iron too long. I had my iron on fairly hot, pressed for a few seconds and then if it felt pretty secure, I would move to the next. It’s hard to tell until it is cool if it is really adhered, so I went back at the end and touched up any spots that were a little loose. For the touch up spots, I flipped the sham over and ironed from the back. The extra layer of fabric helped prevent it from getting too hot and bleeding through. Make sense? 🙂
I tried to make the heat n’ bond as close to the edge as possible, but after I was finished, I put little pieces in the corners that needed a little more and then ironed. and make sure that your iron is dry (I had just dumped out the water in mine).
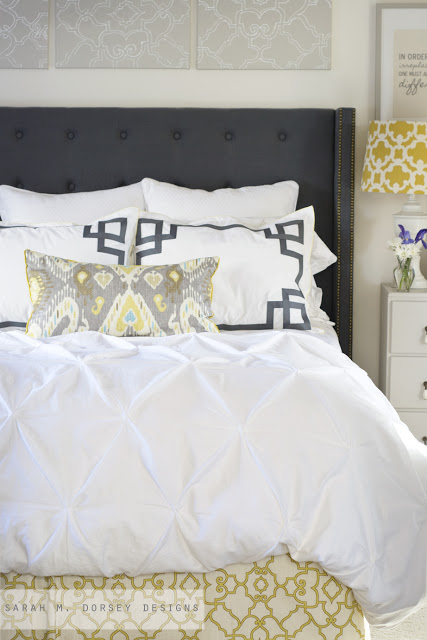
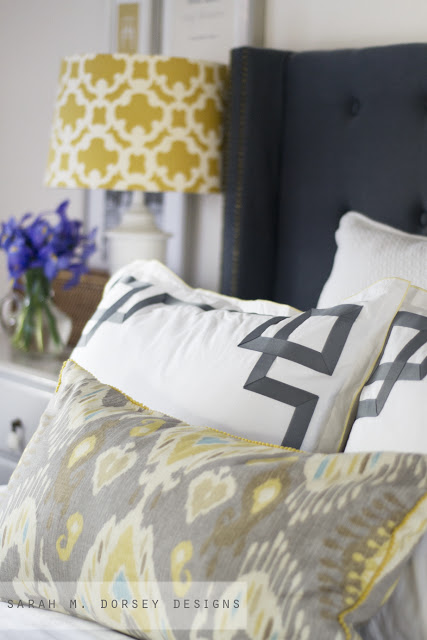
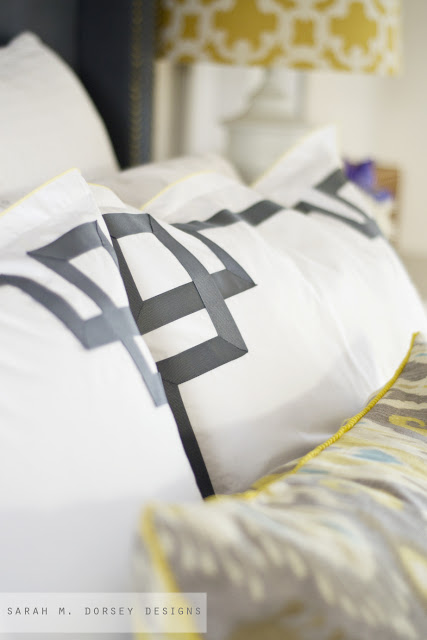
and that’s it! This was so much easier to get precise then folding every corner and ironing!!
It took about 30 minutes to cut and seal the trim per pillow and about an hour to hour and a half to lay it out and iron it down. So about 1.5 to 2 hours per pillow.
Also, for those who don’t want to cut at a 45, cutting straight with scissors would also work well and give a very similar look!
Price breakdown:
Ribbon – pewter grosgrain 7/8″ x2 = $4.00
Heat n’ Bond 3/4″ Super = $2
Total = $6
So is it worth the time or would you rather buy? I think it’s worth it, but that may be because I enjoying doing this kinda stuff 🙂
Also, I haven’t forgotten about the trim on the draperies for the bedroom … just trying to find something that doesn’t cost more than the draperies themselves … looks like I may be adjusting my idea!
—
Update: Also see my latest tutorial on how to apply greek key trim with one continuous piece of ribbon, here

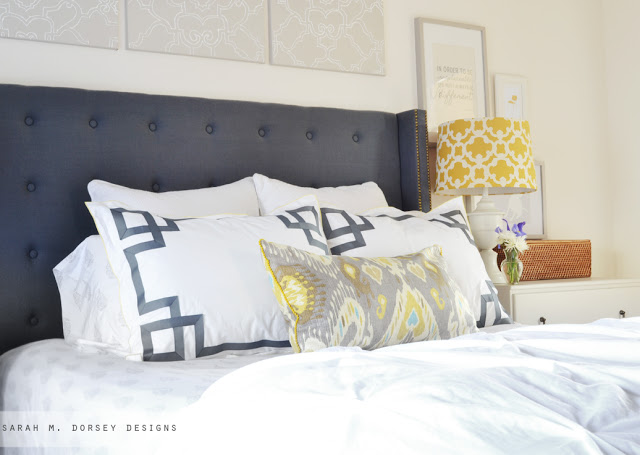
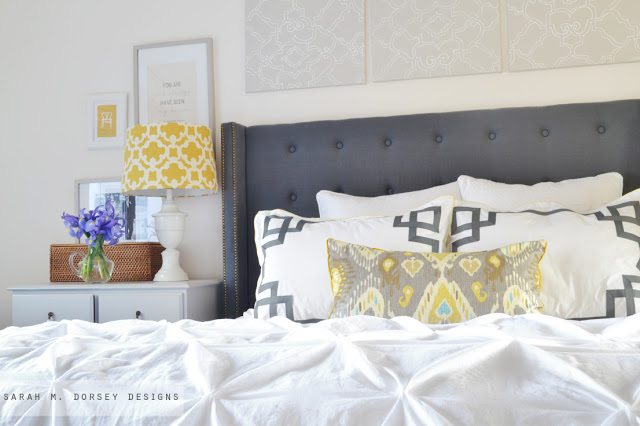


They look amazing! Thanks for sharing the details!!!
Thanks Elizabeth! 🙂
Great step by step instructions that seem very easy to follow! I have to try this one out!
So glad that instructions were easy to follow, let me know if you try it!
They look really beautiful. I'm so glad you were able to figure out a solution because they look so great on your bed! Oh, and your new profile pic is so pretty!
Thanks Jennifer! I love them on my bed too, I'm so glad it worked! It's been about a year, so definitely time for a new pic 🙂
Your results are gorgeous! I'm so glad the lighter tip worked for you, good to know for when I try to tackle this. Totally worth the DIY time for me! And thanks for the link back!
Thanks for the tip Jani! It worked perfectly!! 🙂
Awesome tutorial Sarah – the perseverance was definitely worth it for the beautiful end product.
Thanks Lyndsay! I'm glad I didn't give up! Love the end result!
These turned out great! I learned that trick when I was making hairbows for my daughter, it works so well!
It is amazing how well it worked!! and so easy!
I imagine there will be lots of greek key shams diy'ed now cause yours look great and you provided wonderful instructions. I'm also searching for trim for drapes that doesn't triple the cost of my window treatments so looking forward to hearing what you may come up with!
So well worth the effort considering the price for a purchased sham. You do beautiful work!
Definitely worth the time!! I have two white shams that are boring me and was thinking about doing this exactly. Thanks for posting a tutorial and making it possible!!!
Hi Ellie, Let me know if you try it, I'd love to see! 🙂
I will certainly let you know what happens! I am aiming to do this next week and I am curious if the ribbon lengths are from the outer corners or the inner corners. So for that first bottom piece of ribbon, is the 14" the shorter edge (on top) or the longer edge (on bottom)?
It's 14" from tip to tip (left tip of 45 to straight edge on the right) 🙂
Thanks!! Next up: buying the ribbon and heat n' bond. Why does Boston make it so hard to get sewing materials and fabric?!
I FINALLY bought ribbon and heat n' bond. Hopefully the 5/8" heat n' bond works ok with the 7/8" ribbon. Let's see how this goes sans cutting mat…
Good luck! 5/8 should work great! Let me know how it goes 🙂
You have no idea how timely this post is for me! I am working on a greek key design on some roman shades – and it is taking forever to figure out the most pleasing proportions. Thanks for your work on this!
Hi Kate, Yes the proportions took me a while to figure out! Glad that this helped! 🙂 Let me know if you try this on Roman Shades, I'd love to see!
Hi Sarah – LOVE your blog and you're an inspiration to make my own things around the house. I wanted to know – did you have a tutorial on how you made your bed skirt?
Hi Auralee, Thanks so much!! 🙂 Here it is: http://sarahmdorseydesigns.blogspot.com/2012/10/how-to-make-custom-bedskirt-from.html
Thanks Sarah – I just found it – perfect! Now, if I weren't so afraid of using my sewing machine I could get a lot done, right? 🙂
Yes, it is intimidating at first! This is a good project to start on because there isn't a lot of fabric to maneuver around the machine and it's straight lines. Go for it! 🙂 Let me know how it goes!
Hi, great tutorial. I wanted to know if they withstood a wash. Do let me know
It has held up!