• Home
  • About
  • Services
  • Shop
    • Bloglovin
    • Email
    • Facebook
    • Instagram
    • Pinterest
    • Twitter

Dorsey Designs

DIY and Interiors by Sarah + David

  • Home Tour
  • DIY TUTORIALS
  • friday favorites
  • design + build
  • art

get the latest straight to your inbox

Pin it. Clip it.

I love Pinterest. It is a great way to organize and track your thoughts, but there is something about seeing it in front of you. I mean having something tangible that you can glance stare at all day. It gets in your head so you can see things more clearly and work through any issues. 
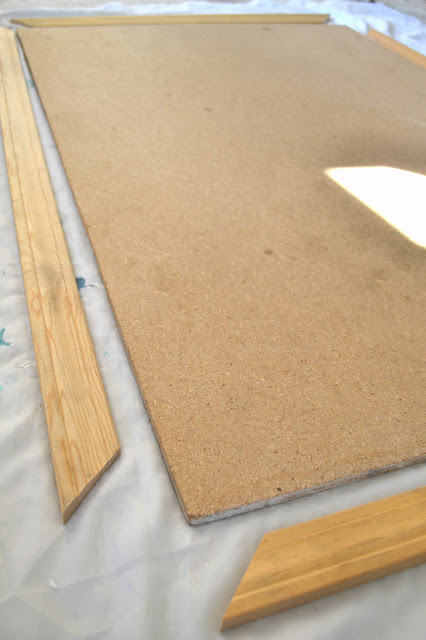
I found a piece of MDF at Habitat Restore for $2.50 and texted David that it was about the perfect size, but VERY heavy. He said go for it, hanging it wouldn’t be too bad (more on hanging below) I also found trim at Habitat for about $1/ft (not as cheap as the MDF but still cheaper than buying new). So total spent on the board and trim was only $15!
The trim was at 45s with the chop saw, two coats of primer and two top coats were rolled on. 
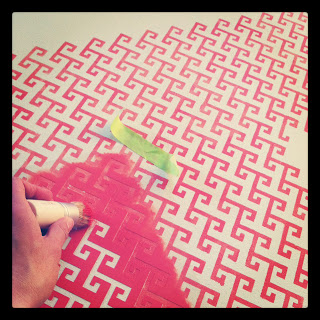
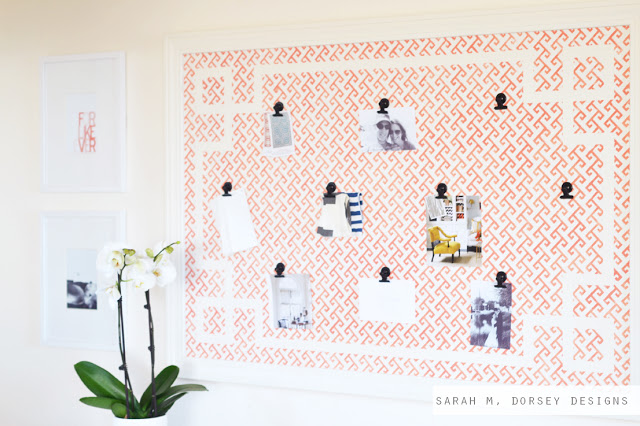
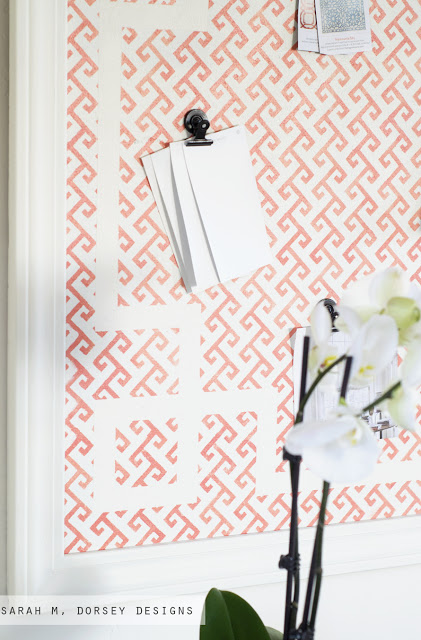
We designed (in illustrator) and cut a stencil (with the silhouette cameo, we got ours from here) and painted with SW Ardent Coral. Stencil is now available in my Etsy shop, click here to view. 
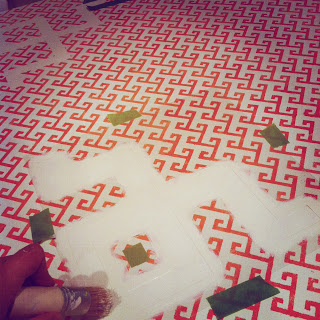
and the next night, we cut out a greek key pattern for the corners and connected the straight lines with painter’s tape. 
We attached the trim afterwards because it is easier to stencil to a level line than a raised edge (ie trim) 
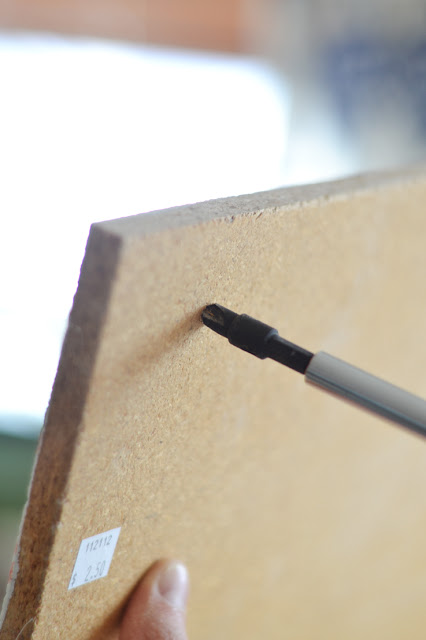
We cut the trim so that it would sit on the board but overhang slightly (about .25″) Since it sits flush against the wall this gives it a little dimension, and hides the MDF edge. To attach the trim, we drilled through the back with a drill bit that countersinks the hole so that the screw would sit flush with the board. From the back, we used 4 screws (making sure they weren’t too long, don’t want the screw to come all the way through the trim!) on the long side and 3 on the shorter. See that $2.50 price tag? I got lucky! 
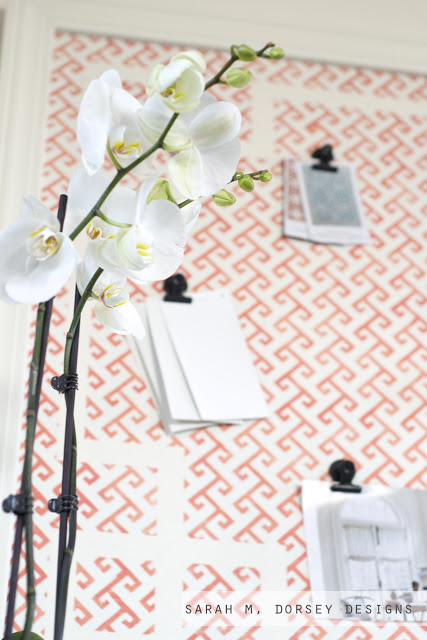
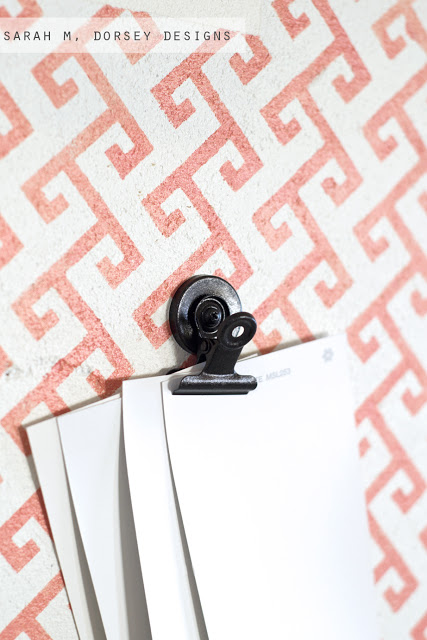
I then picked up a few magnetic bulldog clips at wal-mart (4 for $1.88). A brilliant idea from this project at The Hunted Interior. 
We broke the magnet out (tapping with a screw and hammer from the back). and gave them (and a few screws) a few light coats of Rustoleum oil rubbed bronze. Clipping them to a paint stick is a good way so you can get all sides. 

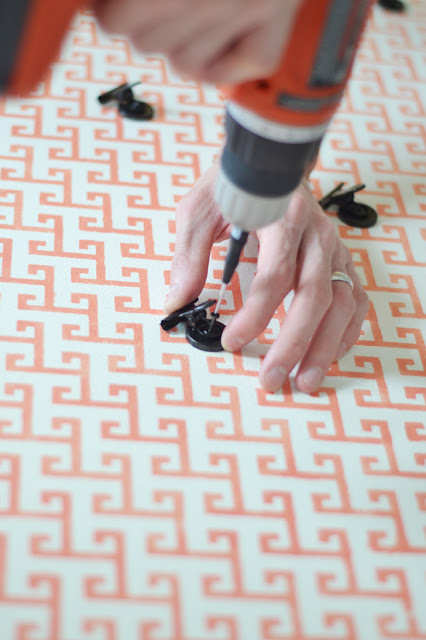
We measured and installed them with a small bit. It’s actually our small screwdriver for fixing sunglass arms. David popped off the end and it fit in the drill!

Finally, hanging it. Since the MDF was very heavy we used D-hooks from a kit like this and wall hangers like this. To be safe, we got supplies that were rated for 50 lb, when in doubt, always go higher! We centered the hangers on the credenza and so far, so good. No loud crashes! 

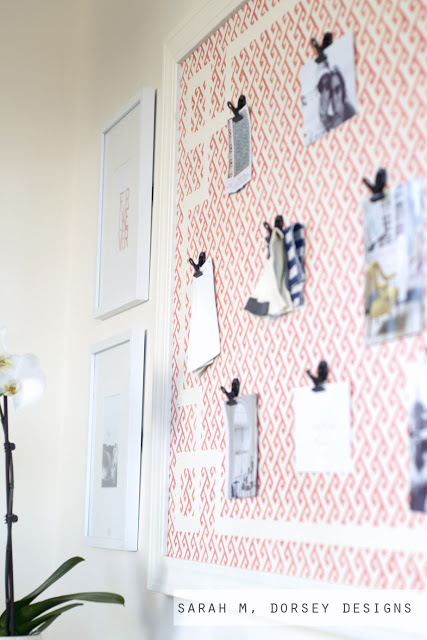
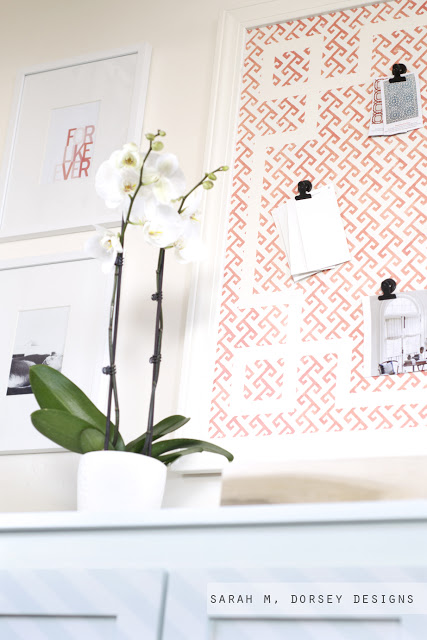
and that was it! I love the large scale, pop of small pattern with the larger greek key overlay! 

The orchid is from Trader Joes (hopefully I can keep it alive!)
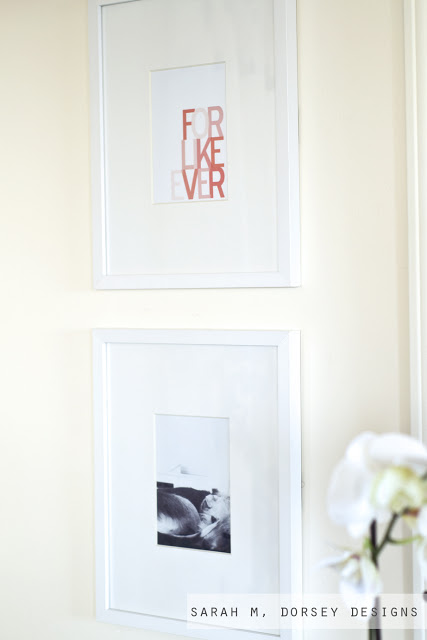
I made the “For Like Ever” print and also framed one of my favorite recent photos of Annabelle. 
Using clips is a great way to avoid pin holes.

Price breakdown:
Wood, $15
Clips, about $6
paint already owned
Total: $21
and total time invested: Painting about 3 hours (could be avoided by not stenciling or using fabric) Construction, about 1.5 hours = 4.5 hours 
So, do you have a real pin board, or just Pinterest? I like having a digital place (check out my Pinterest boards here) for future ideas and things I want to store quickly and a tangible one for more immediate planning. 

The office is almost done! Just the desk (preview in this post), and a few more textiles! oh and also the Eames chairs, how could I almost forget those!

—

Don’t forget, today is the last day to enter last week’s giveaway from Taylor’s Eclectic
DIY TUTORIALS// office// Uncategorized// Uncategorized15 Comments

Subscribe

get the latest straight to your inbox

« Statement piece for the office (almost done!)
Winners!! »

Comments

  1. Lindsay says

    January 28, 2013 at 4:44 pm

    I love it! I love the patterns and color! I made magnetic board for my inspiration pictures. I did it all out of scraps! Aren't those the best projects when you don't have to spend any money?
    Here is mine! Thanks for sharing yours!
    http://lindsayandandrew.blogspot.com/2012/09/scraps.html?m=1

    Reply
    • Sarah says

      January 28, 2013 at 11:48 pm

      Thanks Lindsay! That's great! I love it when I can use what I have laying around the house! 🙂

      Reply
  2. Genevieve Chambliss says

    January 28, 2013 at 6:11 pm

    Love this! I've been wanting to paint a pattern on my cork board. Thanks for the inspiration!

    Reply
    • Sarah says

      January 28, 2013 at 11:49 pm

      Yes, this would work great on a cork board too! I liked the MDF because it kinda resembles cork 🙂

      Reply
  3. Elizabeth @ The Little Black Door says

    January 29, 2013 at 1:10 am

    You guys are stencil geniuses. Love the design, the colors and the so smart clips. PIN!

    Reply
    • Sarah says

      January 30, 2013 at 5:22 pm

      haha 🙂 Thanks Elizabeth! We've really gotten into making stencils recently, it's so fun!

      Reply
  4. Jennifer {The Chronicles of Home} says

    January 29, 2013 at 1:47 am

    Really love this. Art and function together!

    Reply
    • Sarah says

      January 30, 2013 at 5:23 pm

      agreed!! I was going to make it pretty plain, but I'm glad I went for it!

      Reply
  5. cammilee says

    January 29, 2013 at 4:41 am

    Super cute! I love the pattern and the coral against the white really makes it pop! I really like the "For Like Ever" print, too!

    Reply
    • Sarah says

      January 30, 2013 at 5:26 pm

      Thanks Cammi! I'm loving the bright addition!

      Reply
  6. Sarah K says

    January 29, 2013 at 4:56 am

    Perfect. Love the greek key detail

    Reply
    • Sarah says

      January 30, 2013 at 5:26 pm

      Thanks Sarah! I think that was my favorite too! 🙂

      Reply
  7. Julia Konya says

    January 29, 2013 at 12:33 pm

    I love this and your photography is always so beautiful too. I just did a small gold greek key project too and this makes me want to go big next time 🙂

    Reply
    • Sarah says

      January 30, 2013 at 5:21 pm

      Thanks Julie! I'm loving the large scale! 🙂

      Reply
  8. katherinne says

    February 14, 2013 at 9:27 pm

    This project is the best of printerest.very nice job!x

    Reply

Leave a Reply Cancel reply

Your email address will not be published. Required fields are marked *

Contact Me

sarahmdorseydesigns{@}gmail{.}com

Stay Updated!

Get all the latest goods straight to your inbox!

This error message is only visible to WordPress admins

Error: No connected account.

Please go to the Instagram Feed settings page to connect an account.

Must Reads

Custom Peg Board + DIY Circle Art | FrogTape

Custom Peg Board + DIY Circle Art | FrogTape

Main Level Refresh with The Home Depot

Main Level Refresh with The Home Depot

Sponsor

2016 Daily Simplified Planner

Popular Projects

Gallery Wall Update

Gallery Wall Update

December 20, 2012 By Sarah 3 Comments

DIY Leather Stools

DIY Leather Stools

October 26, 2015 By Sarah 24 Comments

Anthropologie Inspired Ruffled Draperies + Master Bedroom Update

Anthropologie Inspired Ruffled Draperies + Master Bedroom Update

March 9, 2012 By Sarah 1 Comment

Deep Tufted Headboard In Process

Deep Tufted Headboard In Process

September 23, 2013 By Sarah 13 Comments

MBR Headboard Update

MBR Headboard Update

April 10, 2012 By Sarah 2 Comments

  • DIY TUTORIALS
    • design + build
    • furniture redo
    • diy in 1 hour or less
  • free printable
  • friday favorites

Disclosure

Occasionally, affiliate links are used when they are available. I do earn a small commission when items are purchased using those links. As always, I only link to things that I truly love. I also link to items that I love when an affiliate link is not available. Thanks so much!

  • Home
  • About
  • Services
  • Shop

Copyright © 2025 Dorsey Designs

MENU
  • Home
  • About
  • Services
  • Shop