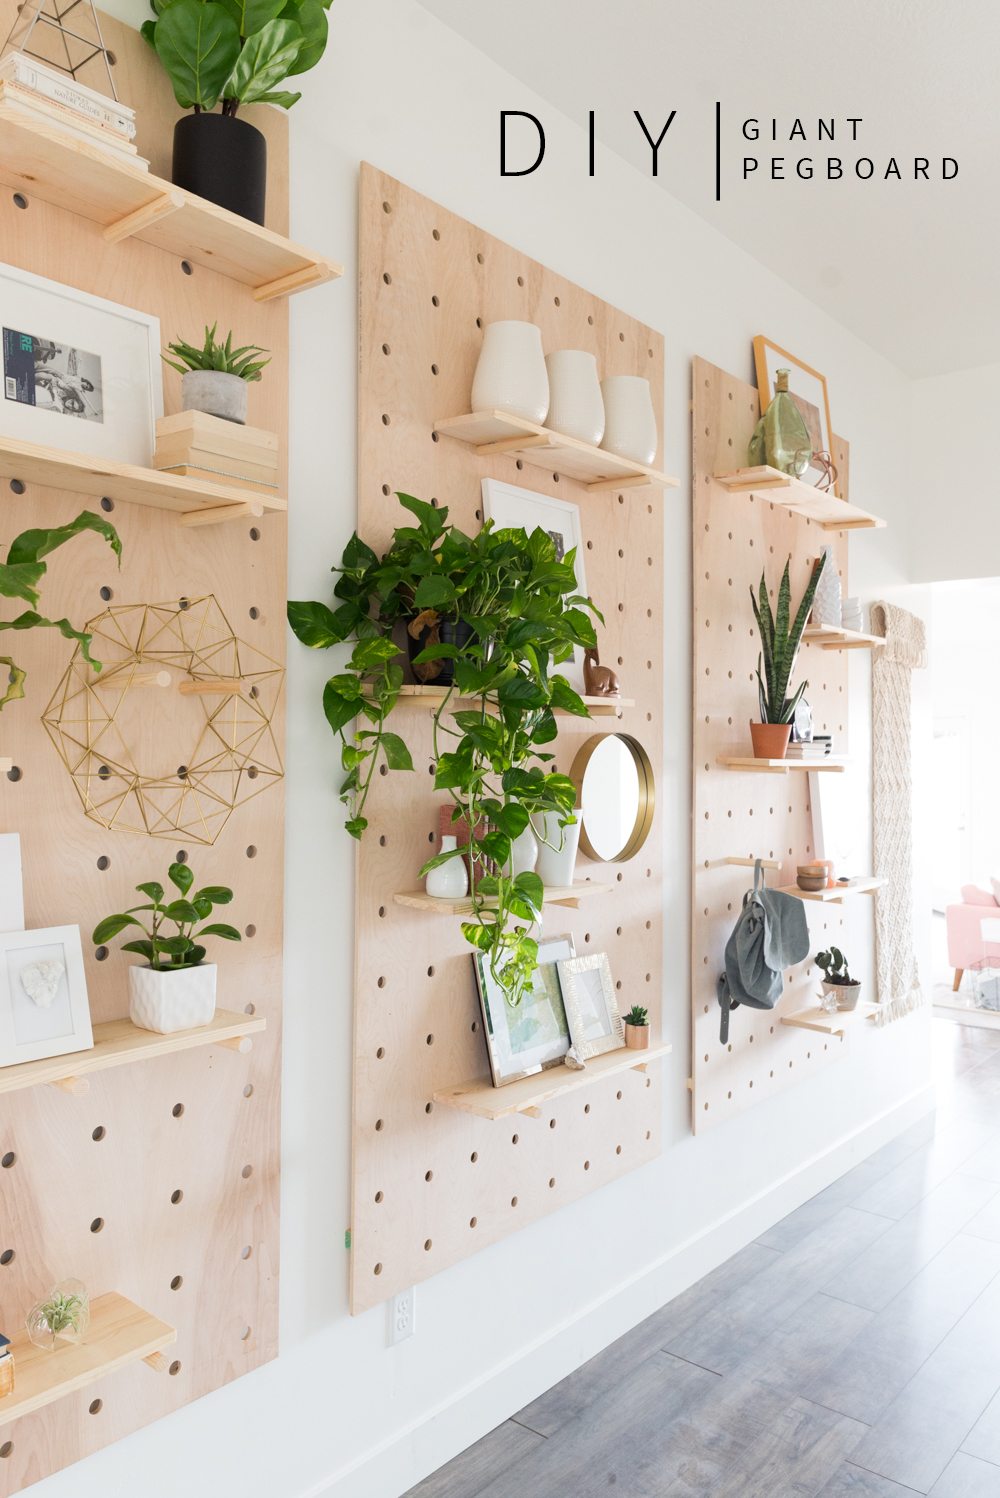
Did you catch our hallway and closet tutorial with Behr’s 2019 color palette? If not, check it out here! Today, I’m sharing a tutorial for the custom shelving system that we made. I was inspired by the peg board in one of Jenny’s most recent projects and Mandi’s custom peg board! Unfortunately, I don’t have any process photos – we had a tight deadline to get the project done and time is definitely stretched thinner when you have a toddler! But, this is fairly simple – so much so that it doesn’t require photos (at least I hope 🙂 Read on to see how we did it!
Cut List
1×4 ripped in half (or 1×2) 61″ long (Qty 4 finished pieces) (we used Maple which looks close to Birch)
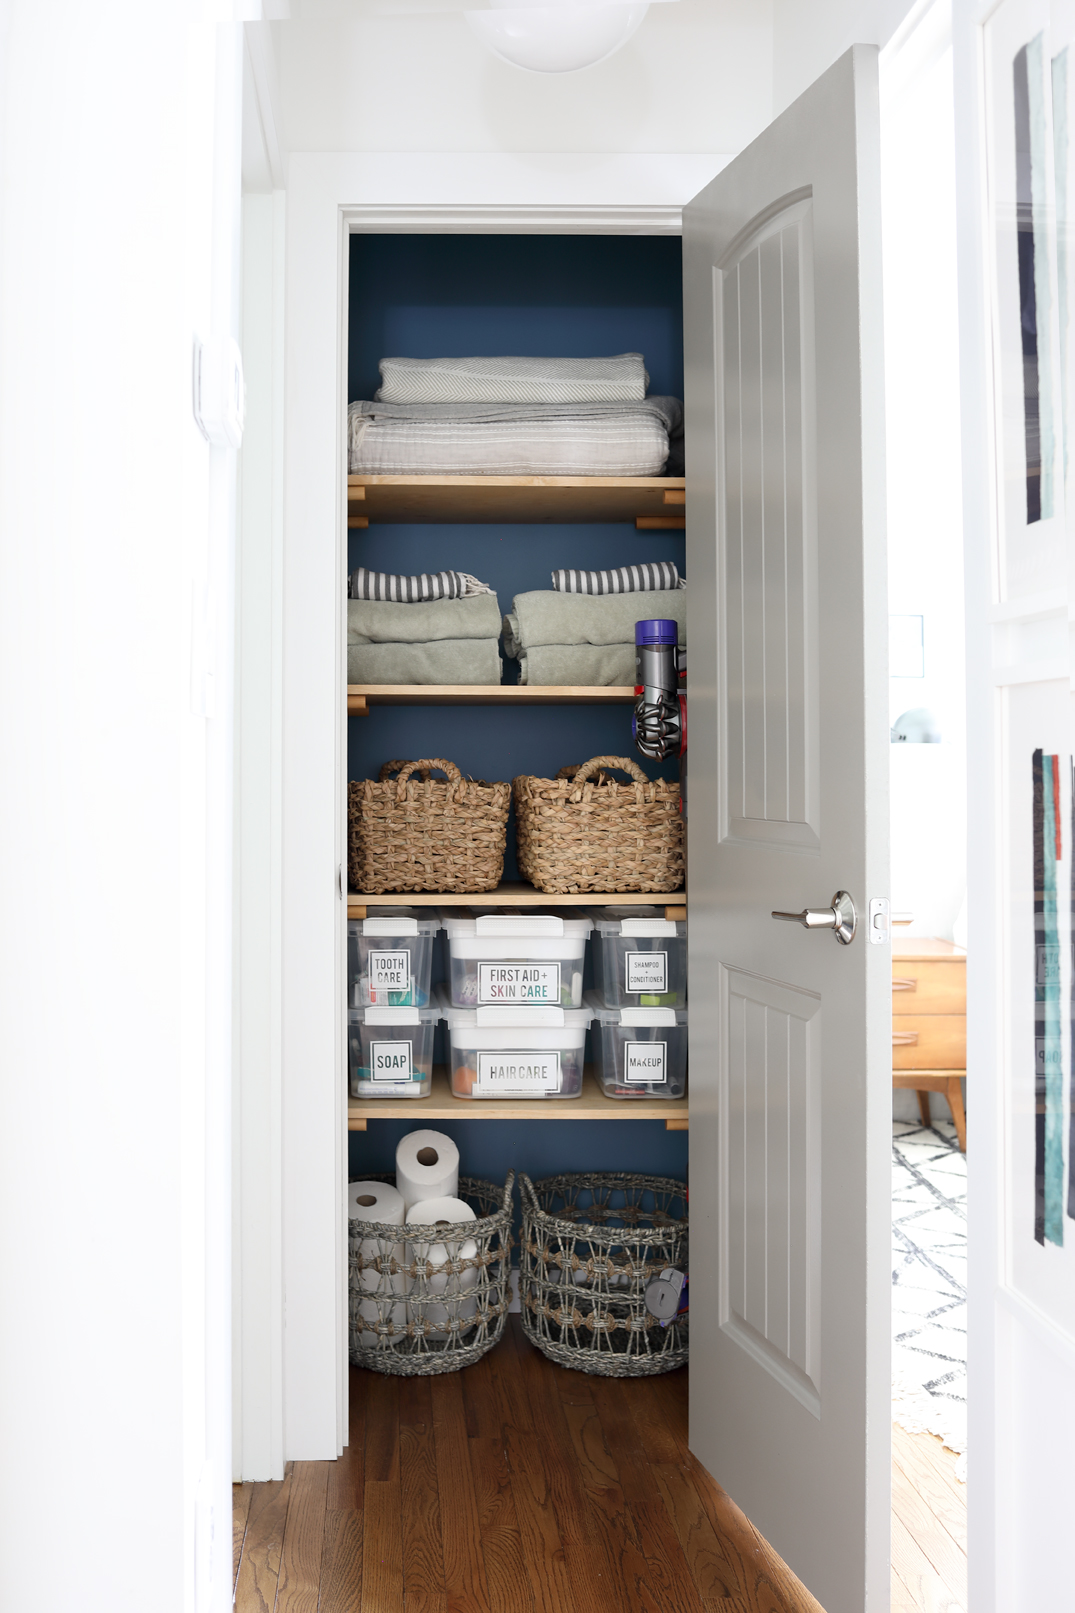
Birch 3/4″ Plywood (Qty 4) width of your closet minus the thickness of 1x wood (Qty 2) Depth is dependent on closet depth, we allowed room in the front to mount our vacuum. For our 39″ w closet, our plywood measured 37 1/2″ W x 17″ d (Qty 4)
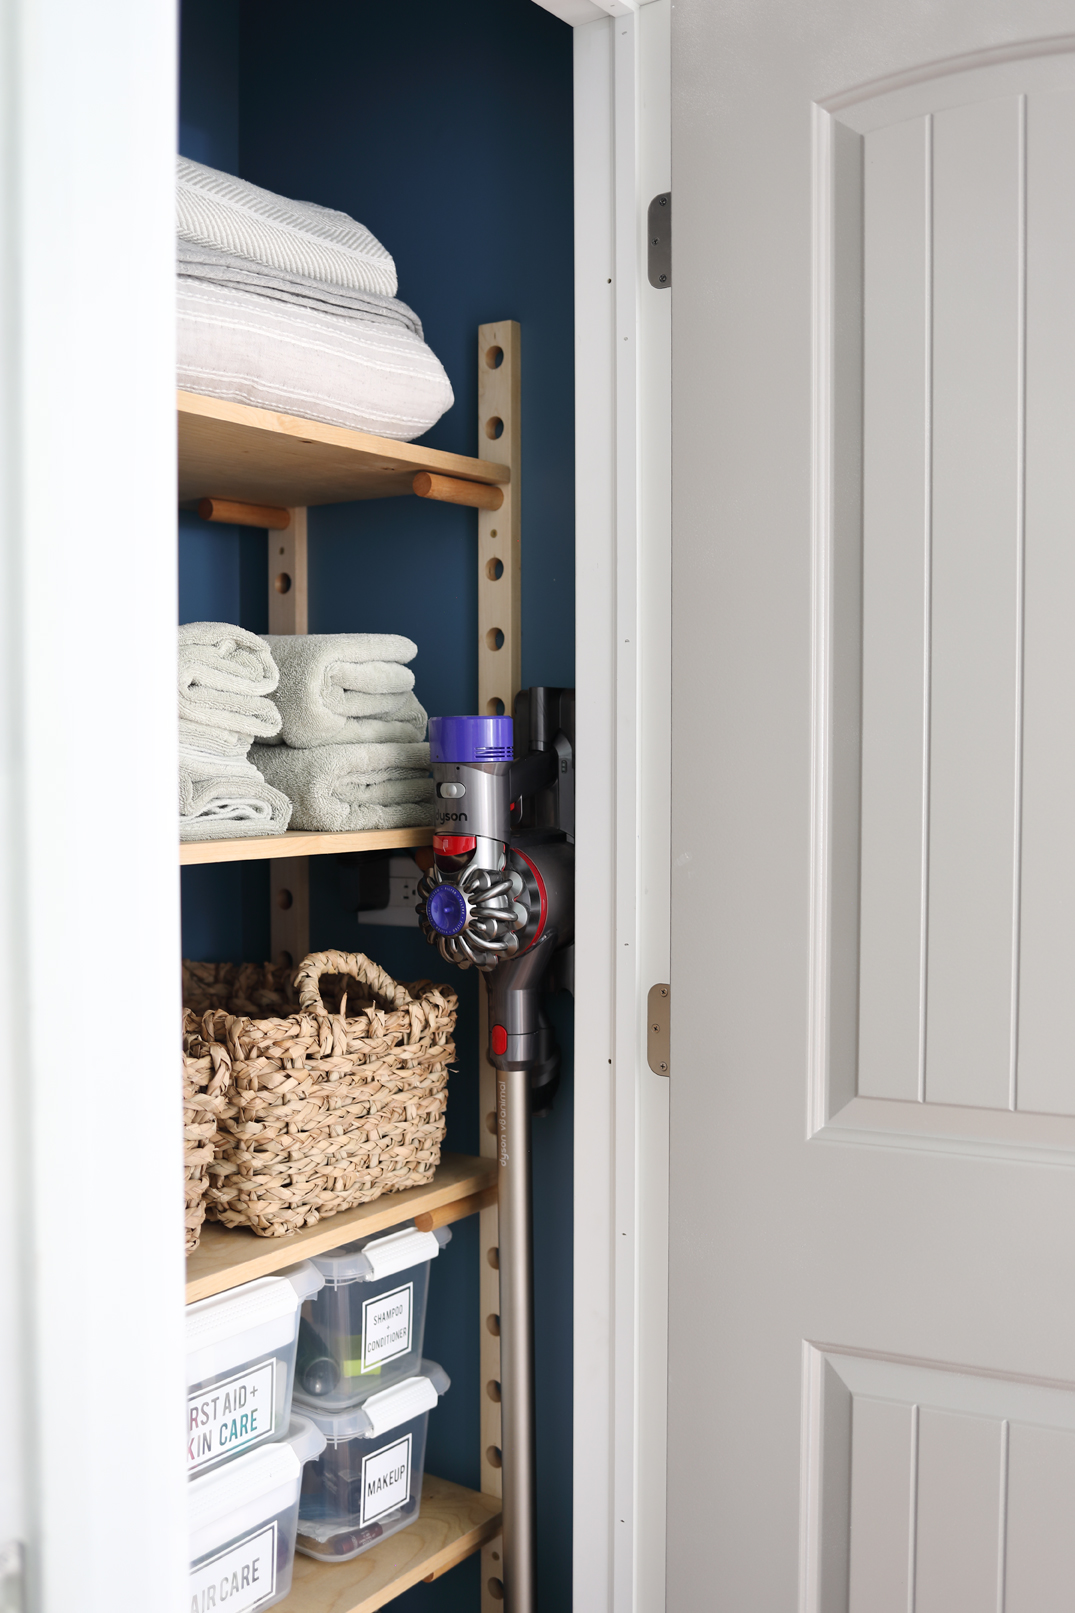
1″ dowels (Qty 16, or Qty 4 per shelf, 6″ sections) Birch, or select a contrasting wood
Materials
Table Saw (or Track Saw) and Chop Saw
1″ Forstner drill bit
Drill press or Drill
3/4″ wood veneer tape
Iron
Sealant if desired ( we used cutting board oil)
Tape measure /pencil
Drywall anchors (50 lb used)
2 1/2″ screws (will be exposed, brass looks great!)
For the side rails, we ripped two maple 1x4s in half. This is what we had on hand, a 1×2 for each piece would work as well. cut to 61″ for our 8′ ceilings. This is flexible depending on how much space you want at the ceiling and floor. Qty 4 – 2 per side.
Then, finding center on the maple, we measured 1.5″ on both top and bottom and marked with a pencil, and then 3″ increments in between. We did this on one piece, to be used as a template for the rest. These measurements may flex depending on the length of your side pieces. Measure to confirm that your holes will be evenly spaced.
On those marks, use the 1″ Forstner drill bit to drill through the marks created in previous step. We used a drill press, if you don’t have one, a drill will also work.
Once all the holes were drilled in one side piece, we laid it on top of another side piece, clamped the two pieces together and drilled through the second board. This was repeated until all 4 side pieces had holes drilled.
On the side pieces, sand any stray edges with 220 grit sandpaper. We used an orbital sander.
Cut the Birch shelving. With a table saw or track saw cut the 3/4″ birch plywood to size. The width should be the width of your closet minus the thickness of 1x wood (x2) Depth is dependent on closet depth, we allowed room in the front to mount our vacuum. For our 39″ w closet, our plywood measured 37 1/2″ W x 17″ d (Qty 4)
On the front edge of the shelf, apply 3/4″ Birch veneer. Start on one edge, and secure veneer with iron, trim at the end once secured. Sand with 220 grit sandpaper if needed.
Cut 1″ dowels to length – we did 6″. Measurement is flexible depending on how much you would like to send. Sand with 220 grit sandpaper if needed. Our dowels were old, inherited from my Grandfathers wood stash and were a little bigger than 1″, so we had to sand the end that fits inside the shelf. David says new 1″ dowel rods should fit fine with the 1″ bit with no sanding, but you may want to test it before moving forward.
Apply sealant or stain if desired to plywood, side shelves and dowels.. We used cutting board oil, so it was zero VOC. Sealant may not be necessary if your closet won’t be exposed to water.
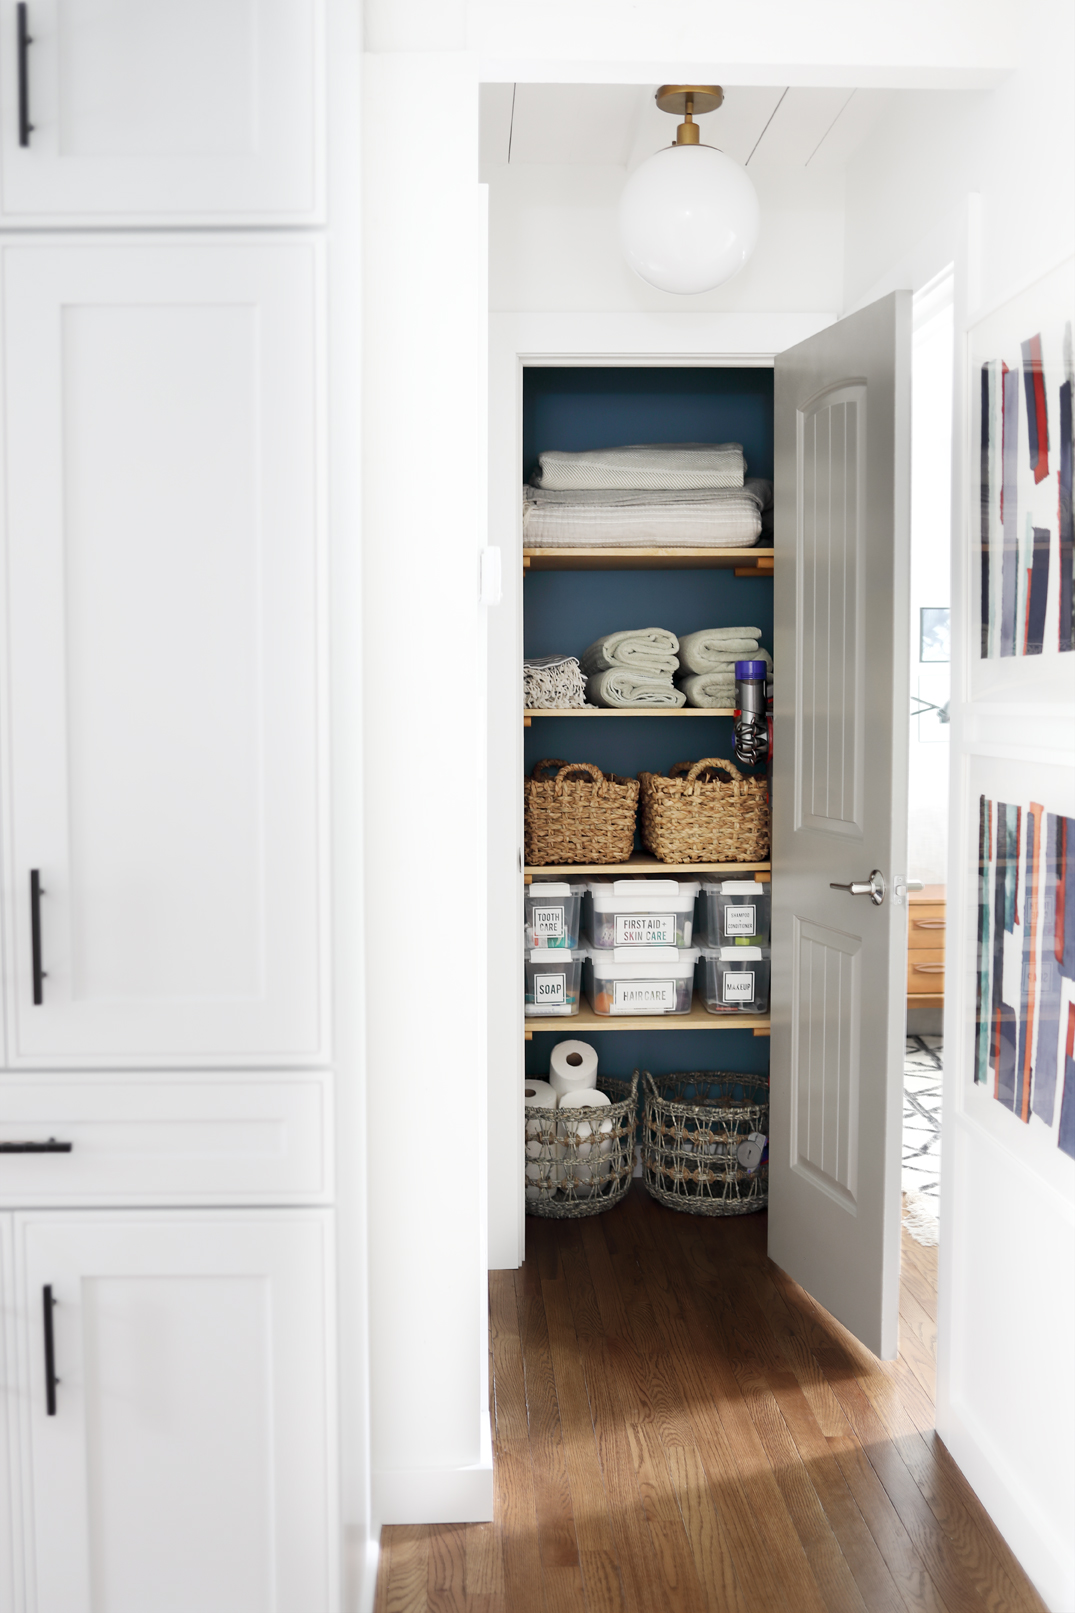
Prepare your closet. Determine where you want your side rails mounted. In addition to measuring, use a level to make sure that all the anchors are straight, this will help the shelf sit flush. Our front side piece, was flush with the front of the shelf and the back side piece was a few inches from the back. Chances are, your wall studs will not align with where you want the side pieces mounted, so you will need to install drywall anchors in the drywall where there are no studs. We used 50 lb drywall anchors.
On your side pieces, pre drill with an 1/8″ countersink bit, where the drywall anchors were installed.
Install the side rails with 2 – 1/2″ screws. Since these will be visible, Brass looks great!
Place dowels in holes, Qty 4 per shelf. Our shelves were 5 holes apart. Place the shelf on top. Since there is a wall and trim in our closet in front of the shelf on the sides, we didn’t secure the shelf, it simply sits on top. If your shelf will be easy to pull out, secure the dowel to the shelf by placing a 1″ screw through the dowel and shelf. And that’s it! Hopefully this was fairly clear without photos, if you have any questions, please let me know.
Also, if you’re waiting on our loft built in reveal and tutorial it’s coming soon 🙂
Sources // vacuum (which we are obsessed with, total game changer!) // Paint sources // Baskets // Custom labels for bins // door hardware // art (sneak peek from my BOOK, to be released in 2019!)
Leave a Reply