This post has been sponsored by FrogTape
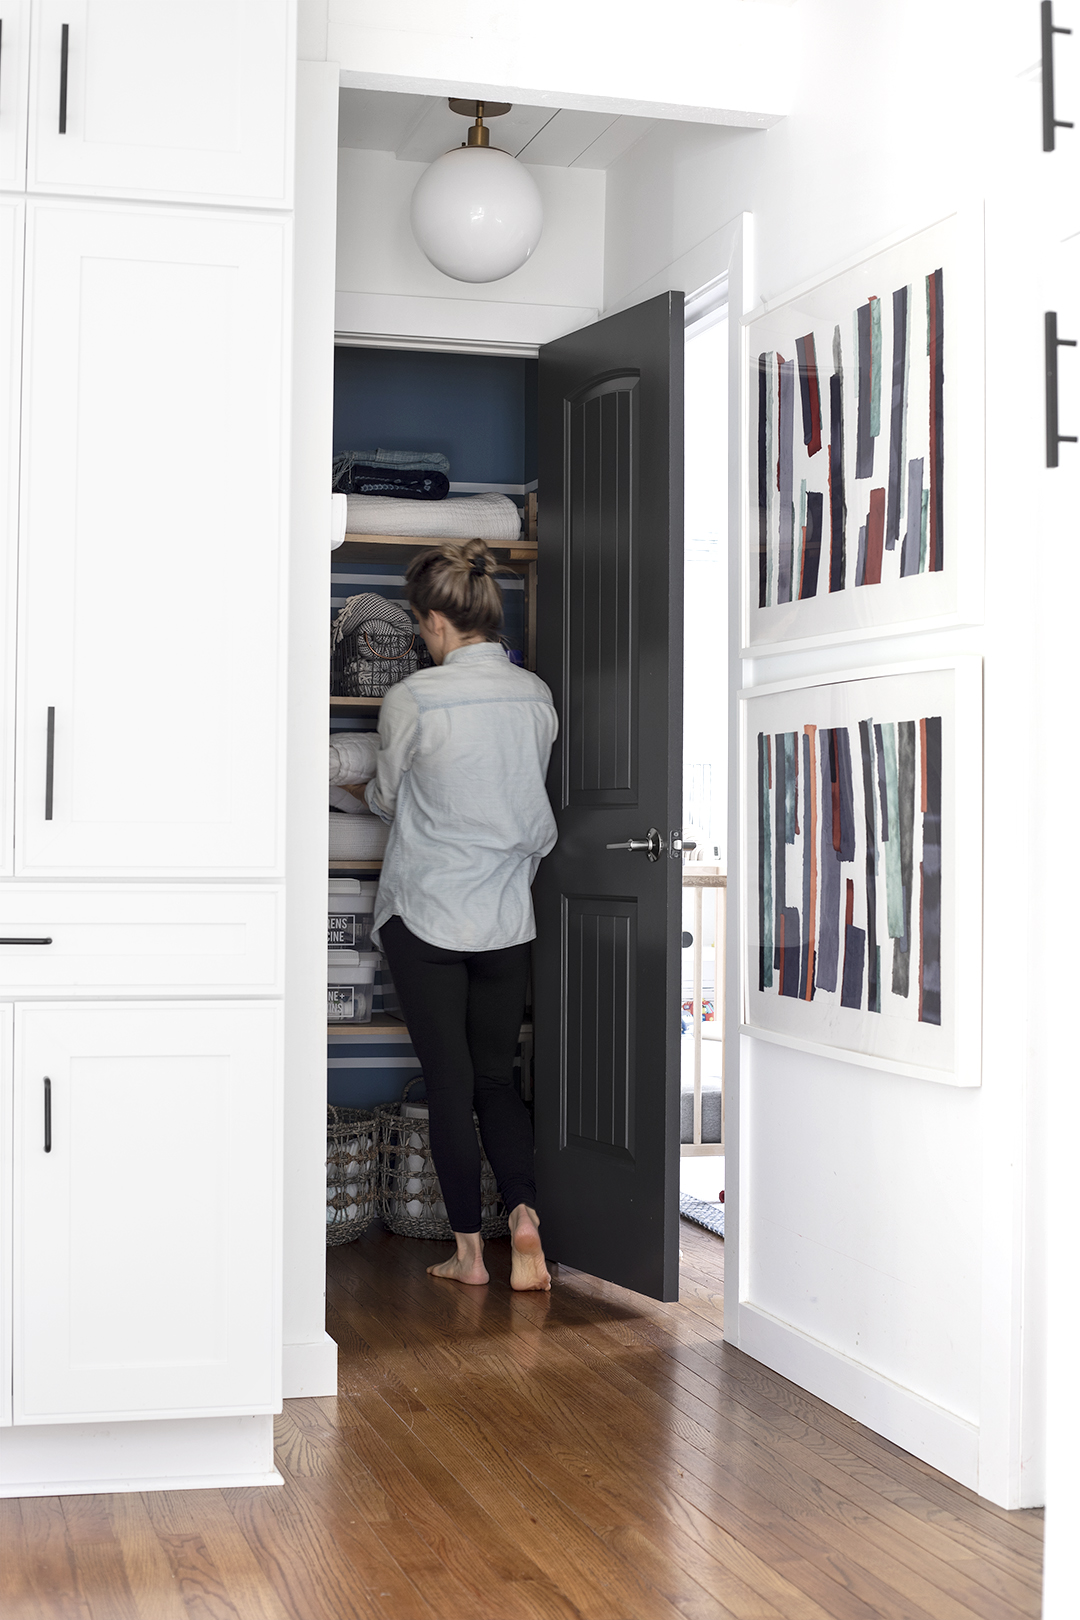
Our linen closet is one of the hardest working spots in our home! It’s stayed fairly organized, but I wanted to add a little more organization AND a pattern inside! Using FrogTape to create the pattern was an easy, almost free option and I LOVE how it turned out! Read on to see how we did it!
BEFORE (I took this photo after we removed the shelving)
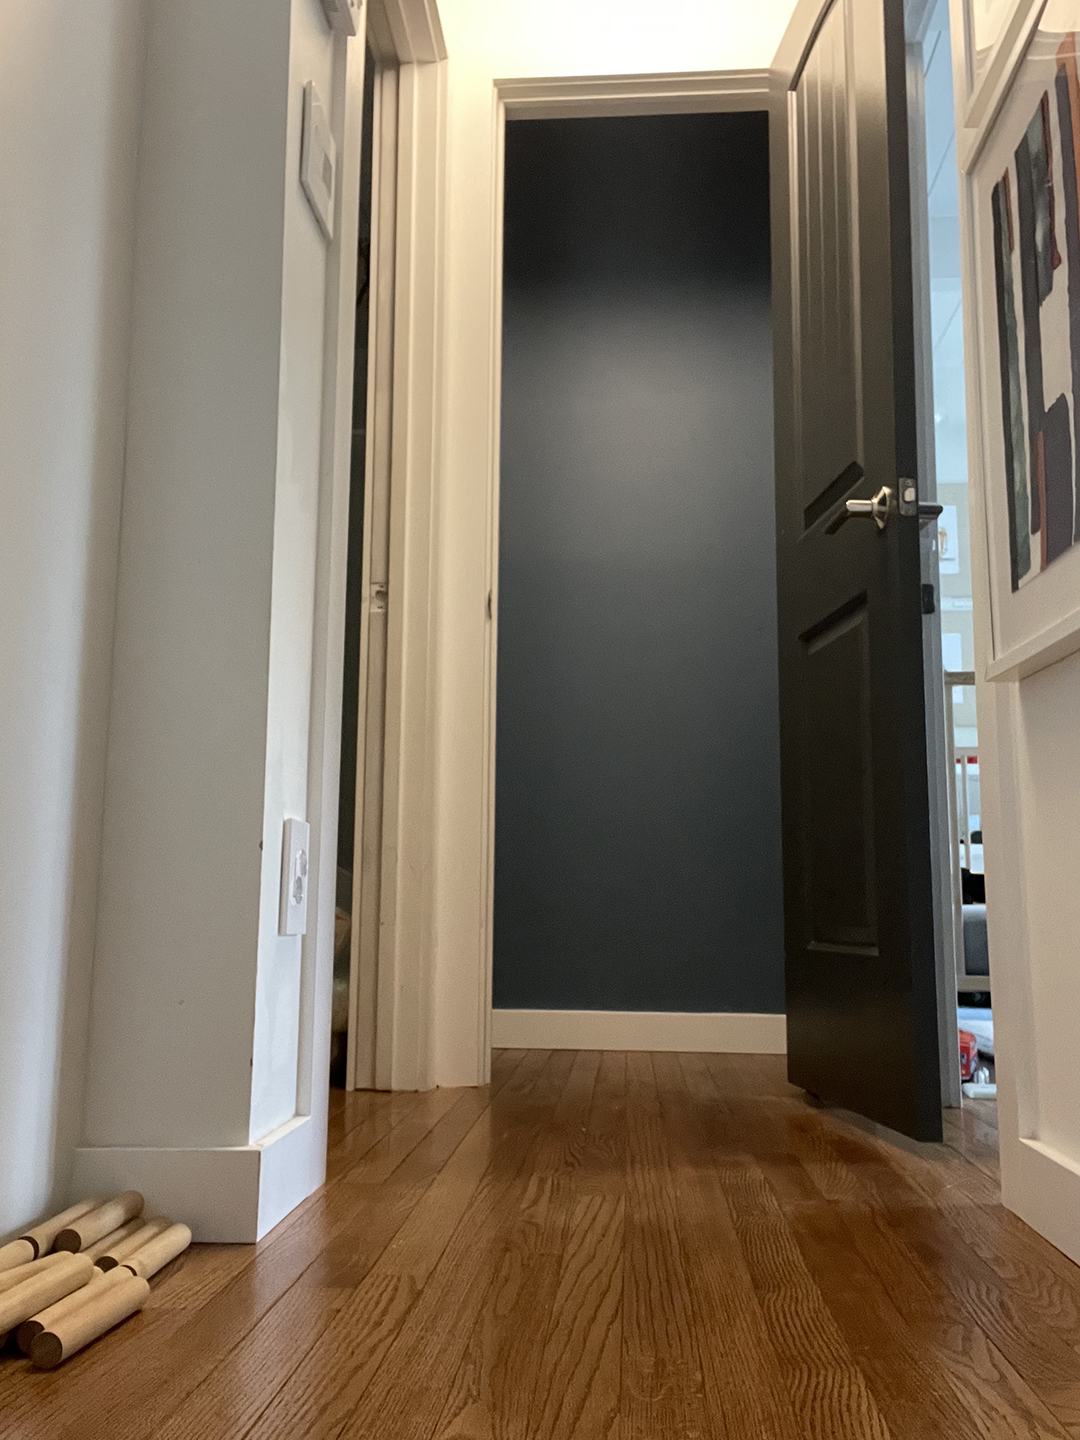
We started with our linen closet that we painted blue a few years ago. I was inspired by THIS rug pattern, so I used that as my jumping off point!
MATERIALS
FrogTape 1.88″ and .94″ (I used Delicate, but Multi-Surface would work as well, on painted drywall)
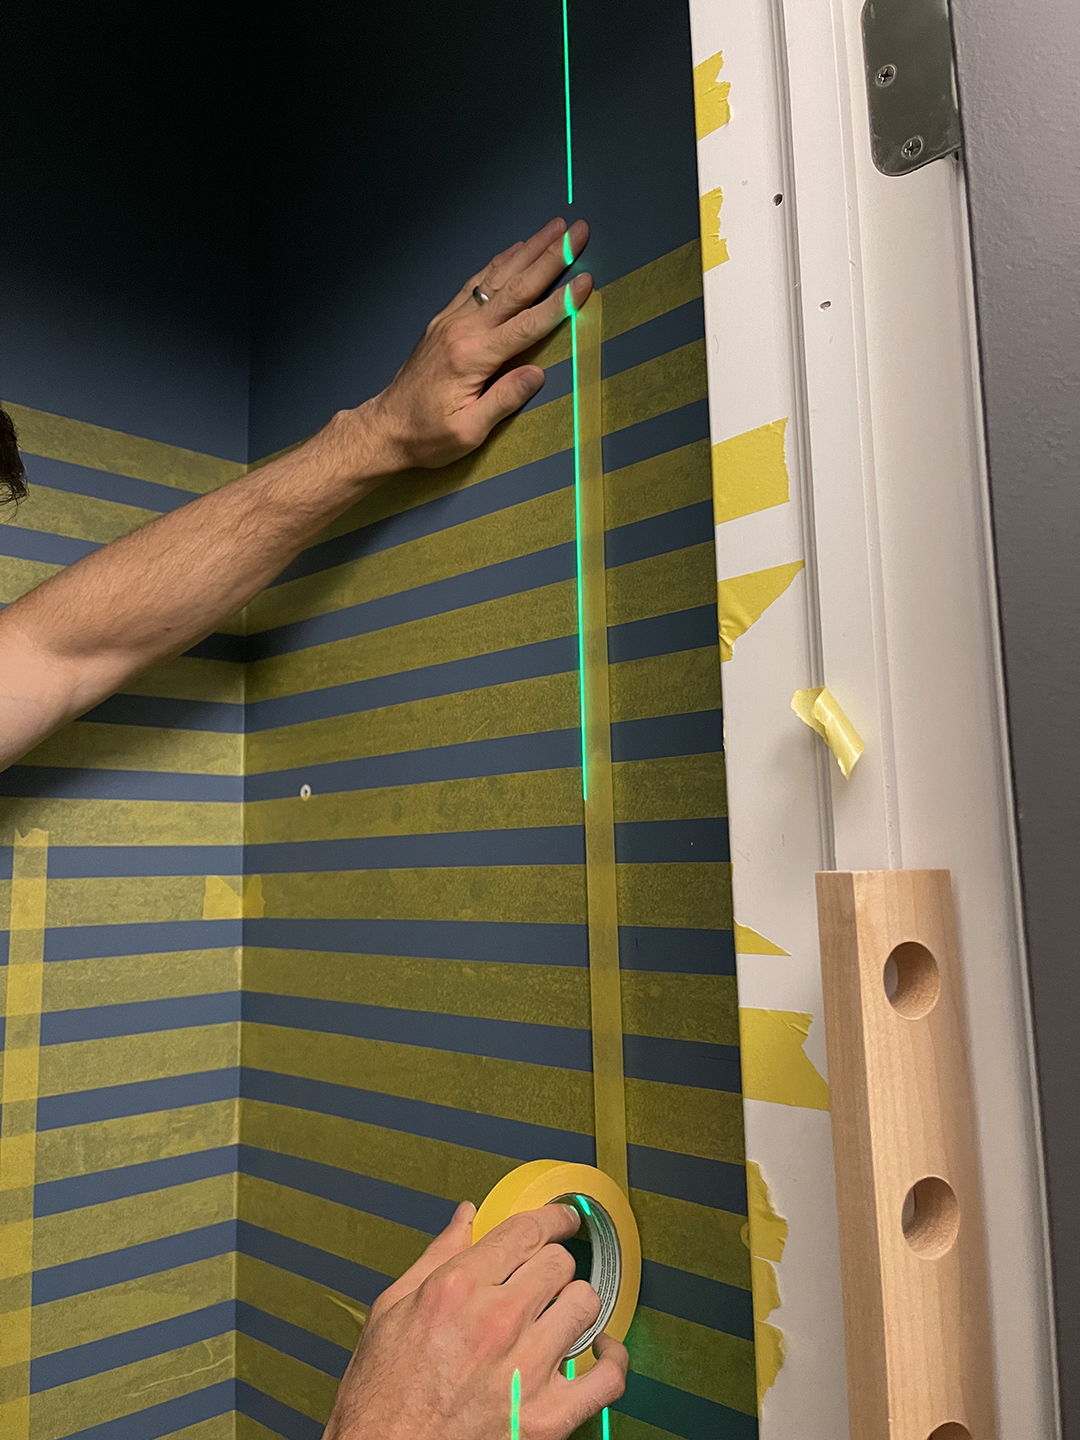
Laser level (can also measure with ruler)
Wall Paint (mine is Behr Blueprint)
White Paint
Plastic scraper
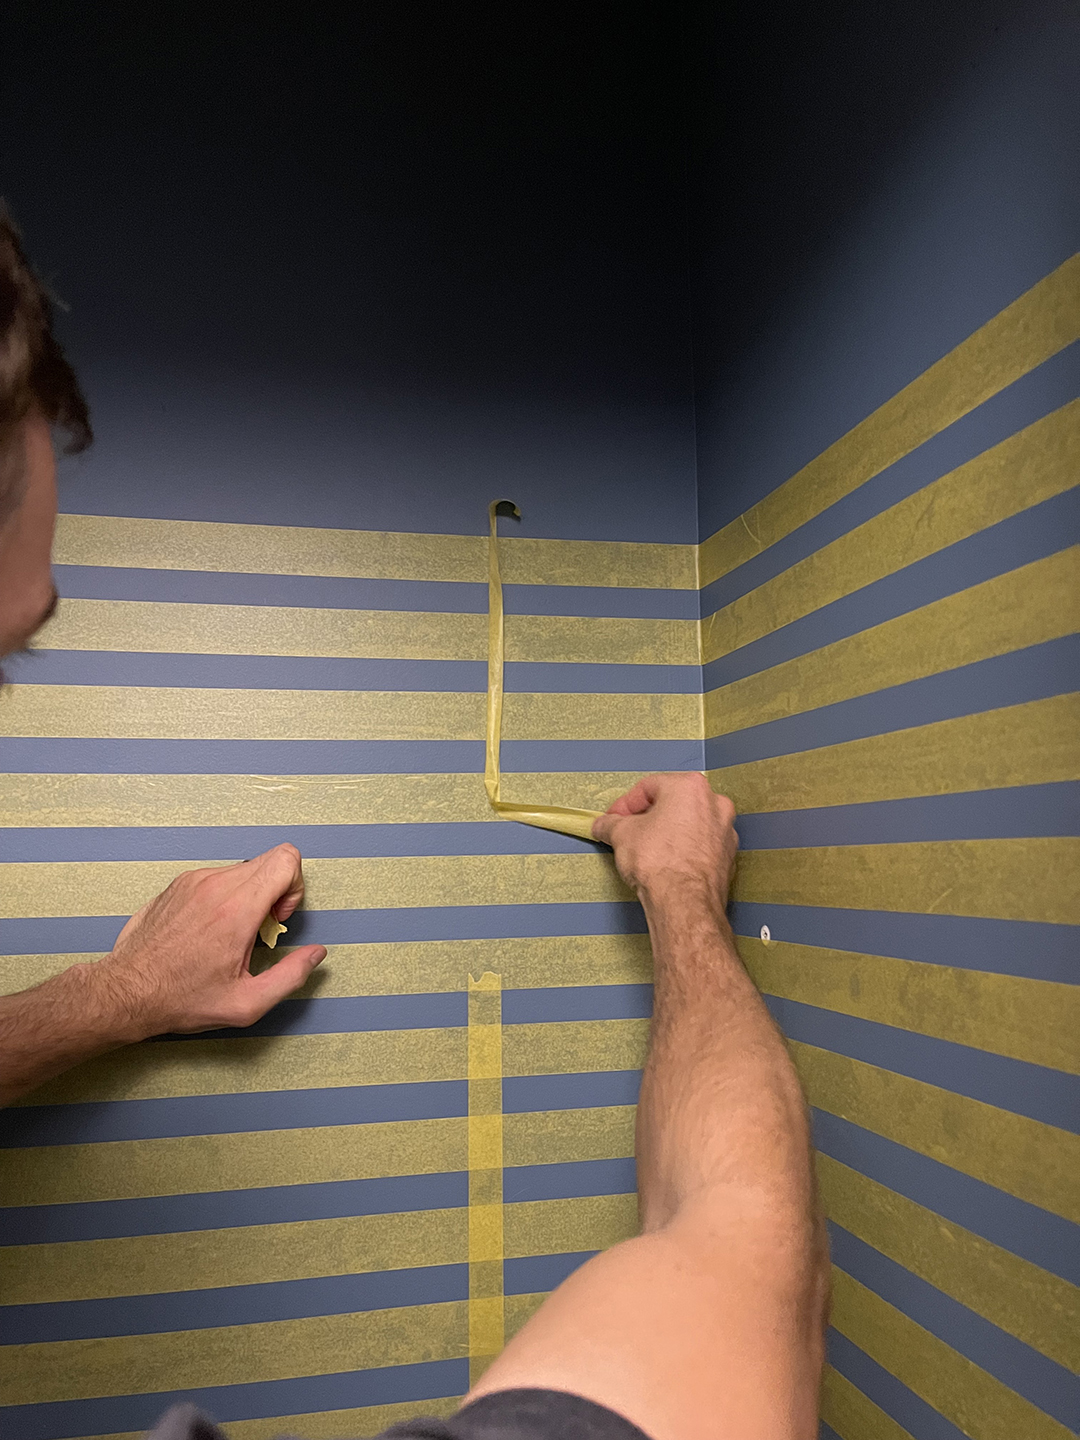
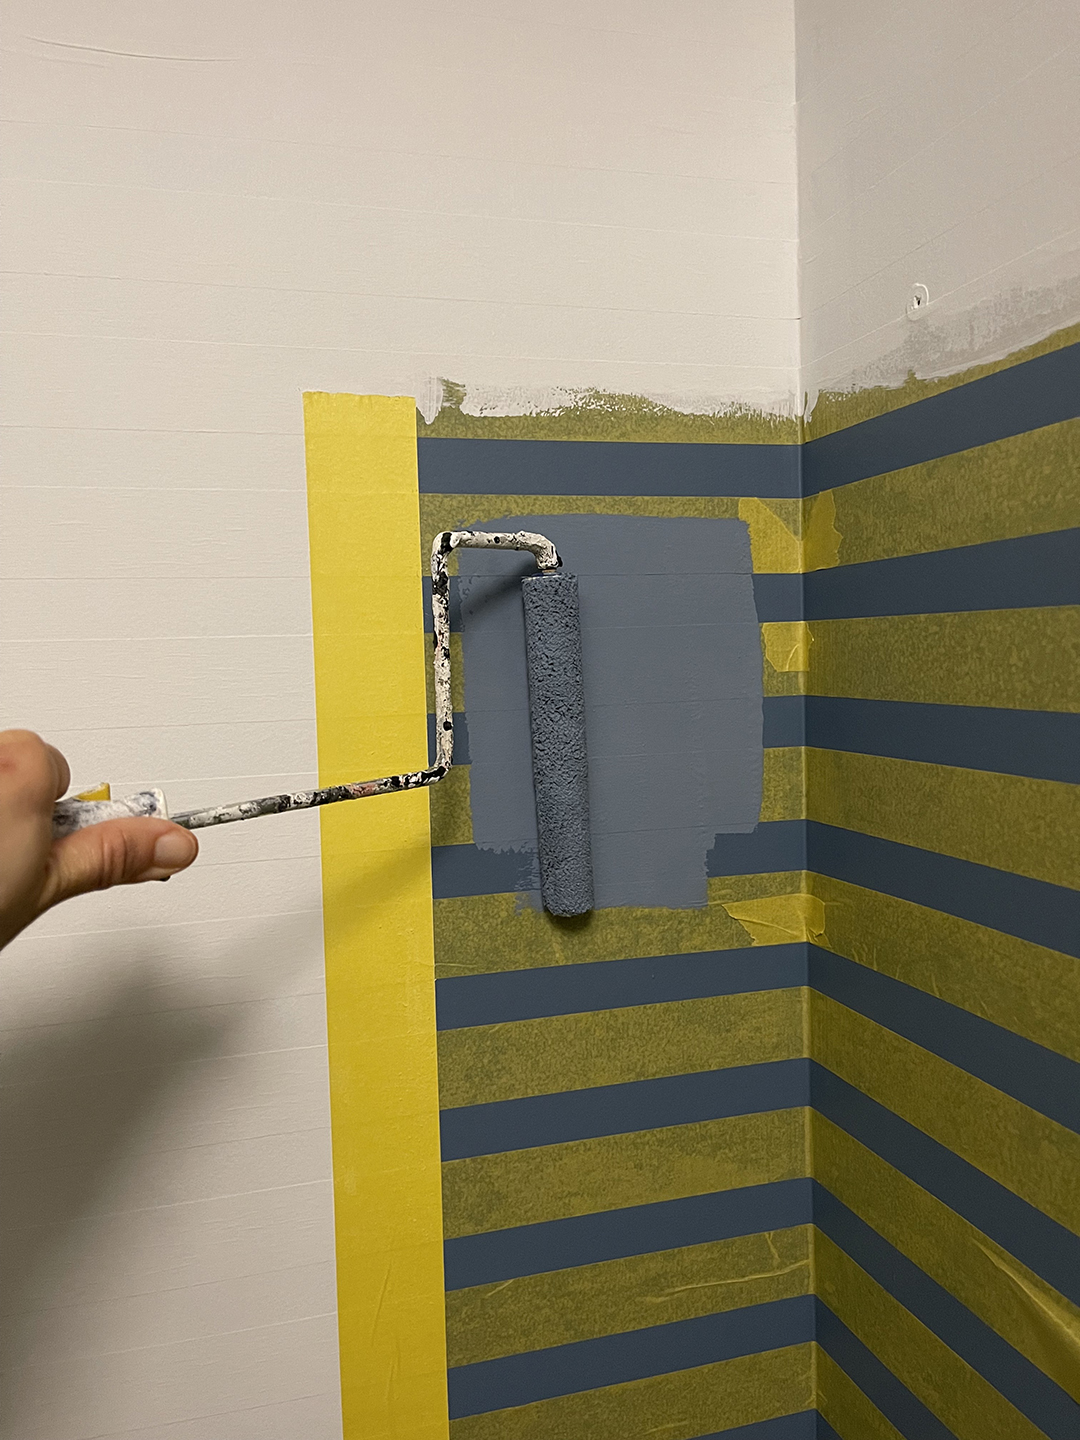
To get started, layout your center line with a laser level. This can also be done using a ruler. Apply FrogTape 1.88″
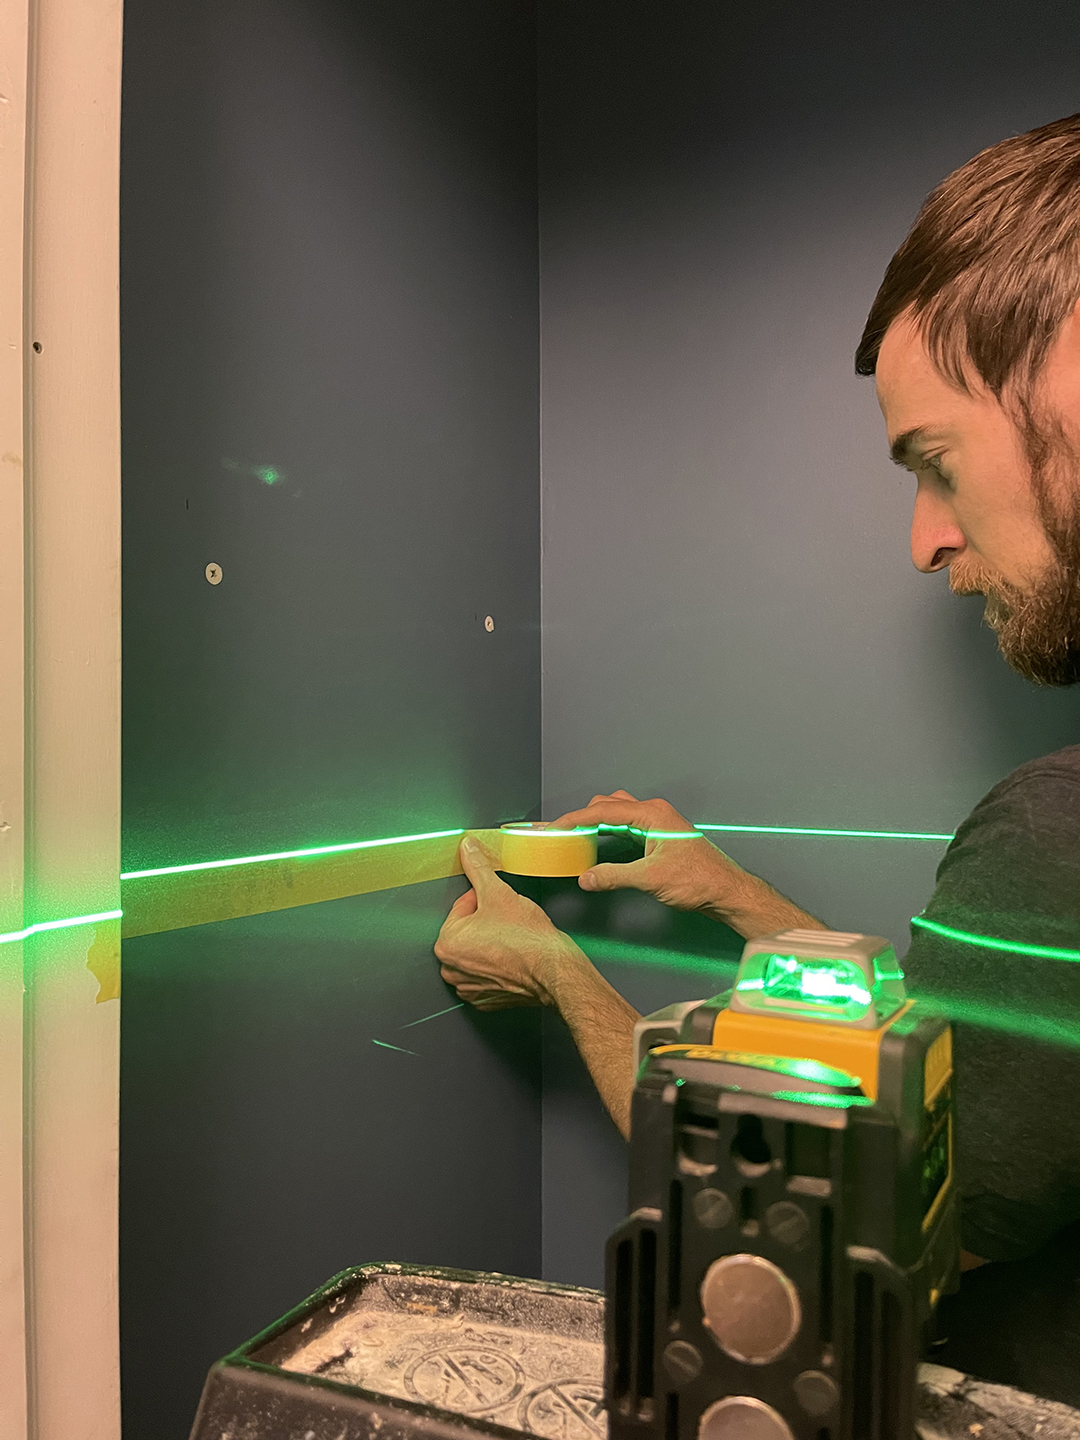
Use FrogTape .94″ as a spacer by applying a small piece every 12″ or so. This will help keep your line straight as you go row by row. No need to measure or use the laser level for each row. Keep laying out for desired pattern height. I went a few rows above and below my shelving.
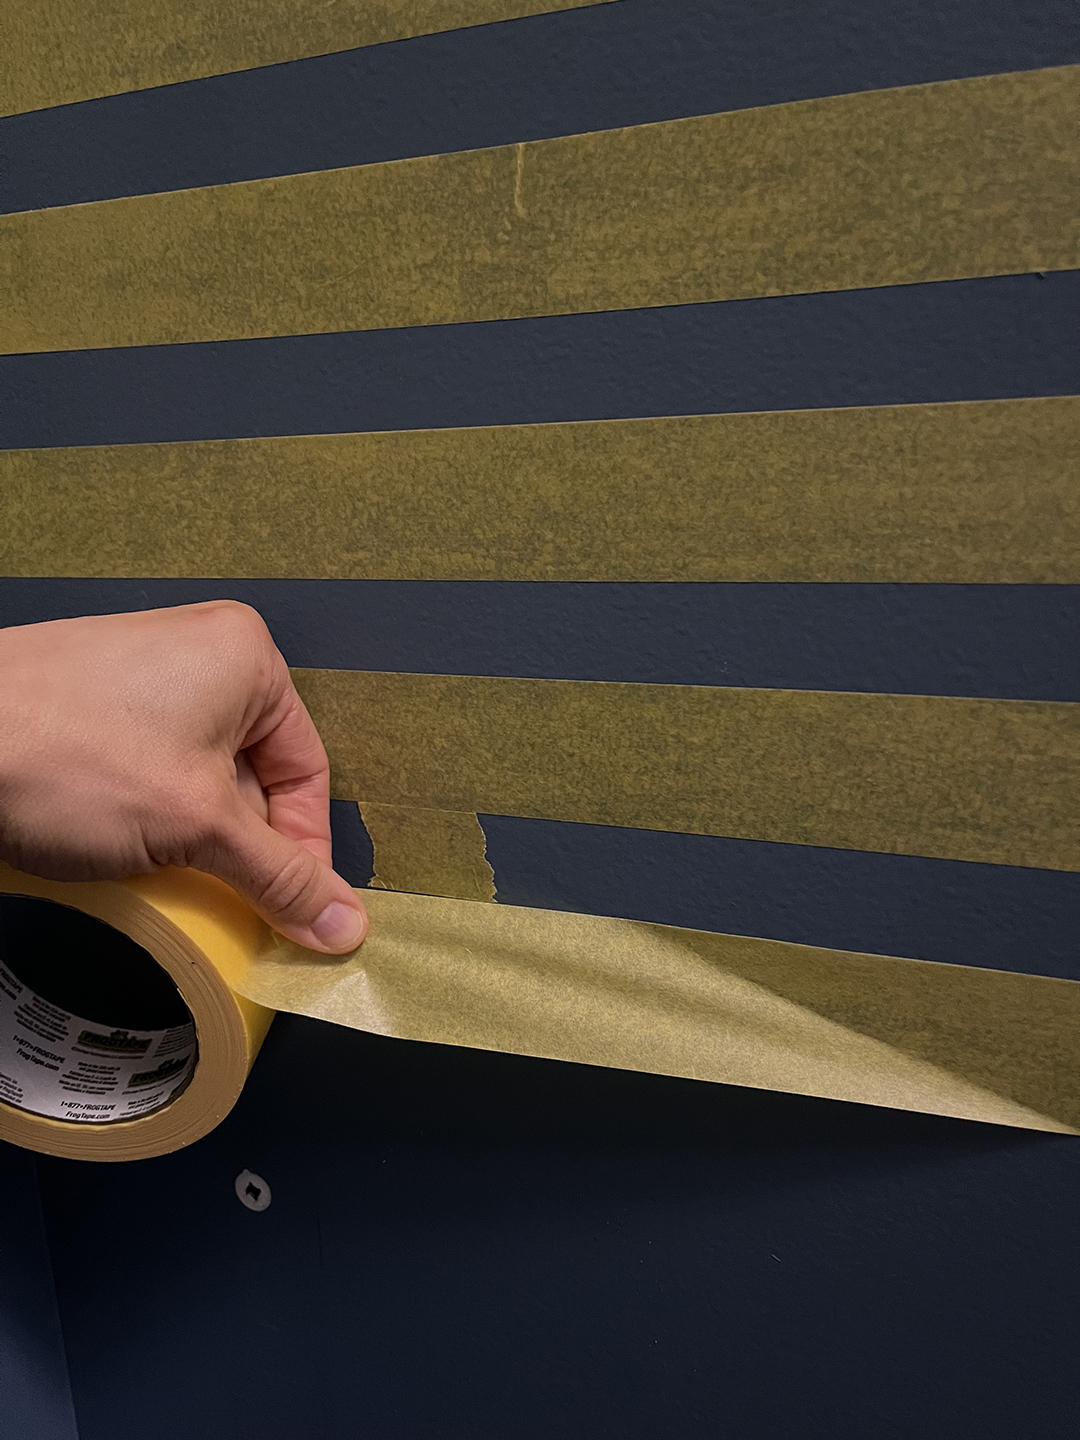
Once horizontal lines are complete, decide where you want the color change for the horizontal lines to be. I centered it on my back closet wall and stopped a few inches from the edge. Mine is white in the center and a lighter version of the wall paint (Behr Blueprint). I wanted the top and bottom to be just white, so I left five rows at the top and bottom.
I also stopped the horizontal lines on the side wall, I placed a horizontal line there as well. The laser level helps lay out the vertical lines fast.
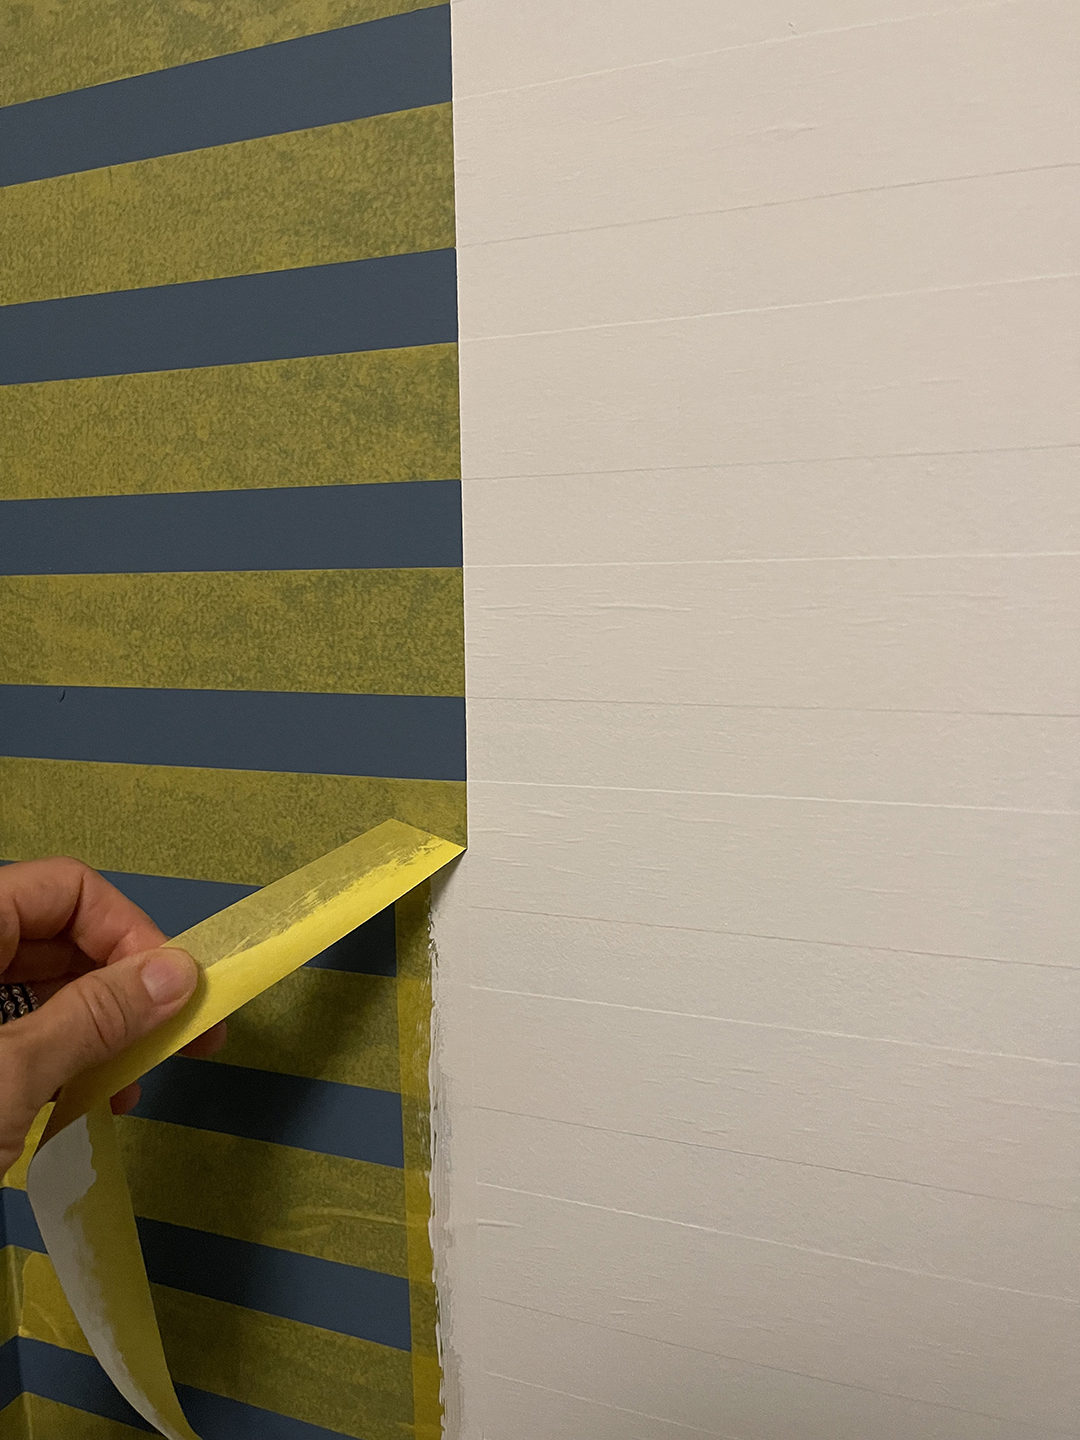
Paint the center section color of choice. I used white.

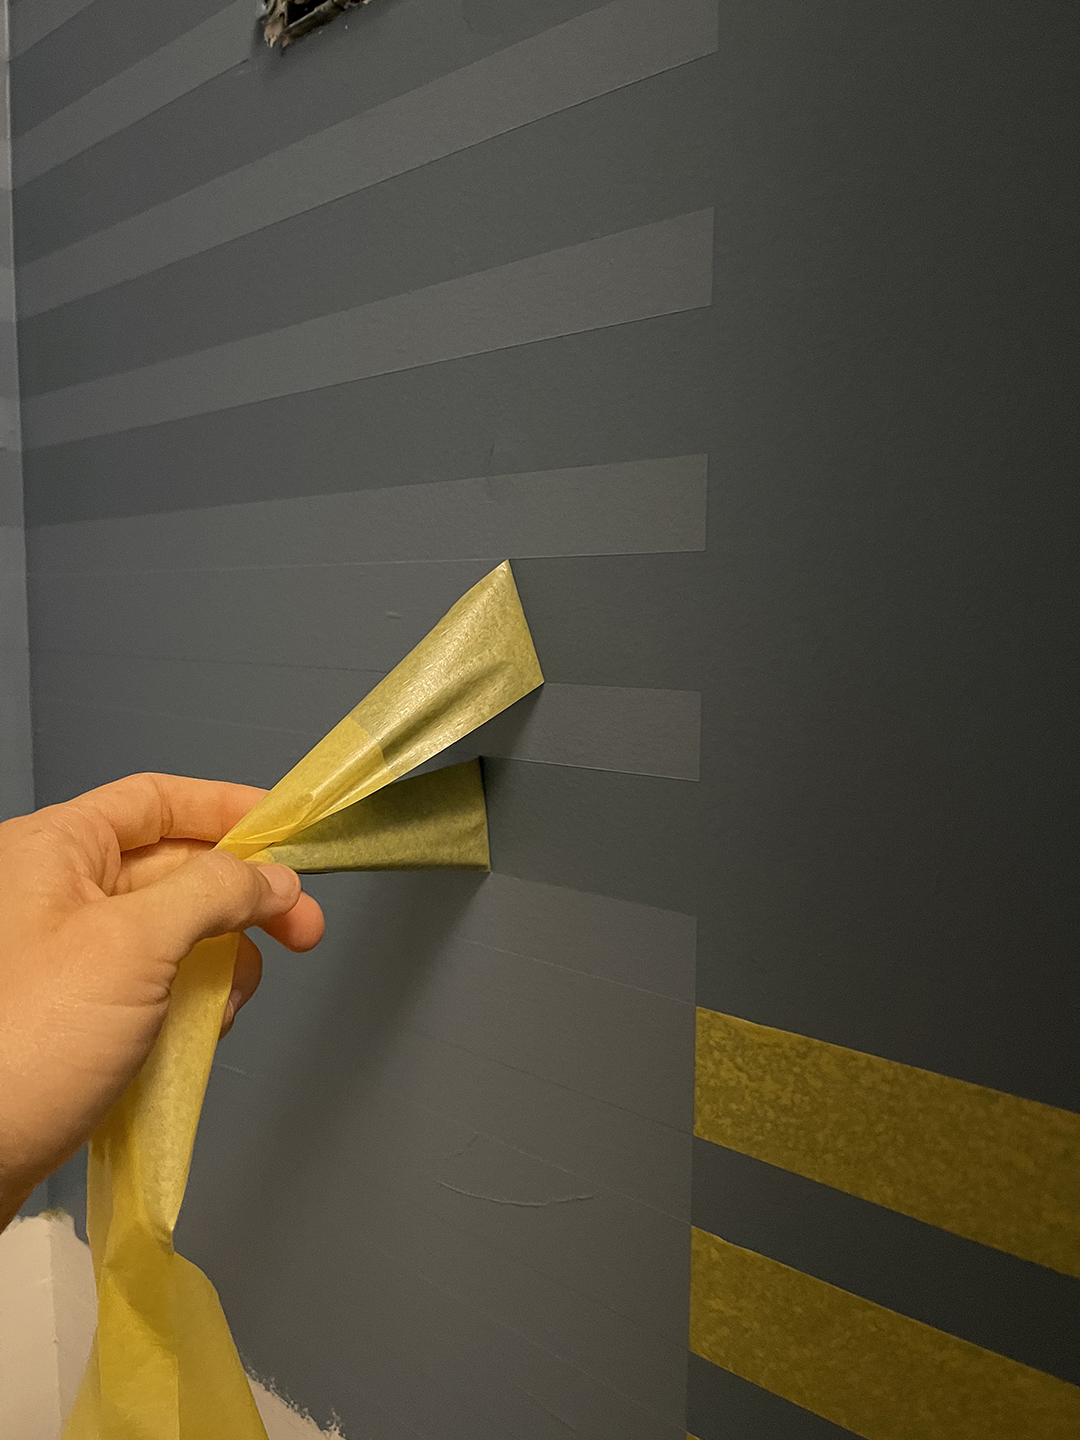
Remove center vertical tape only.
Once dry, apply vertical tape again, but on the other side. So cover the white paint to prepare to paint the horizontal outer lines.
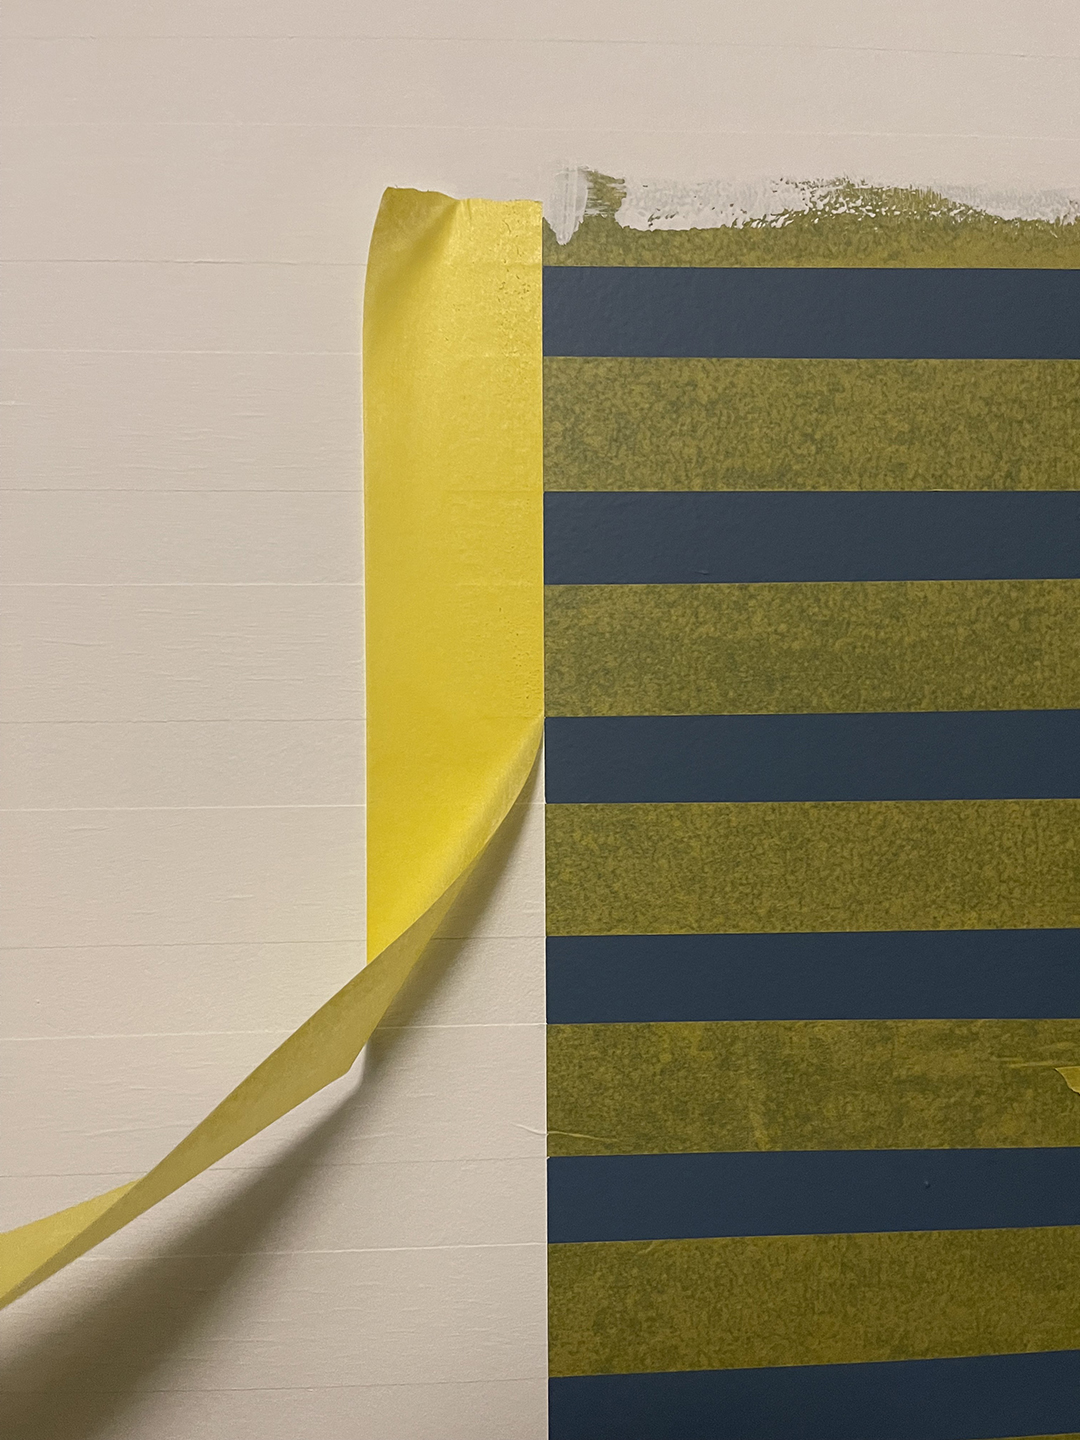
Paint a lighter version of the wall color. I mixed a little white with the wall paint.
Remove all tape and you’re done!
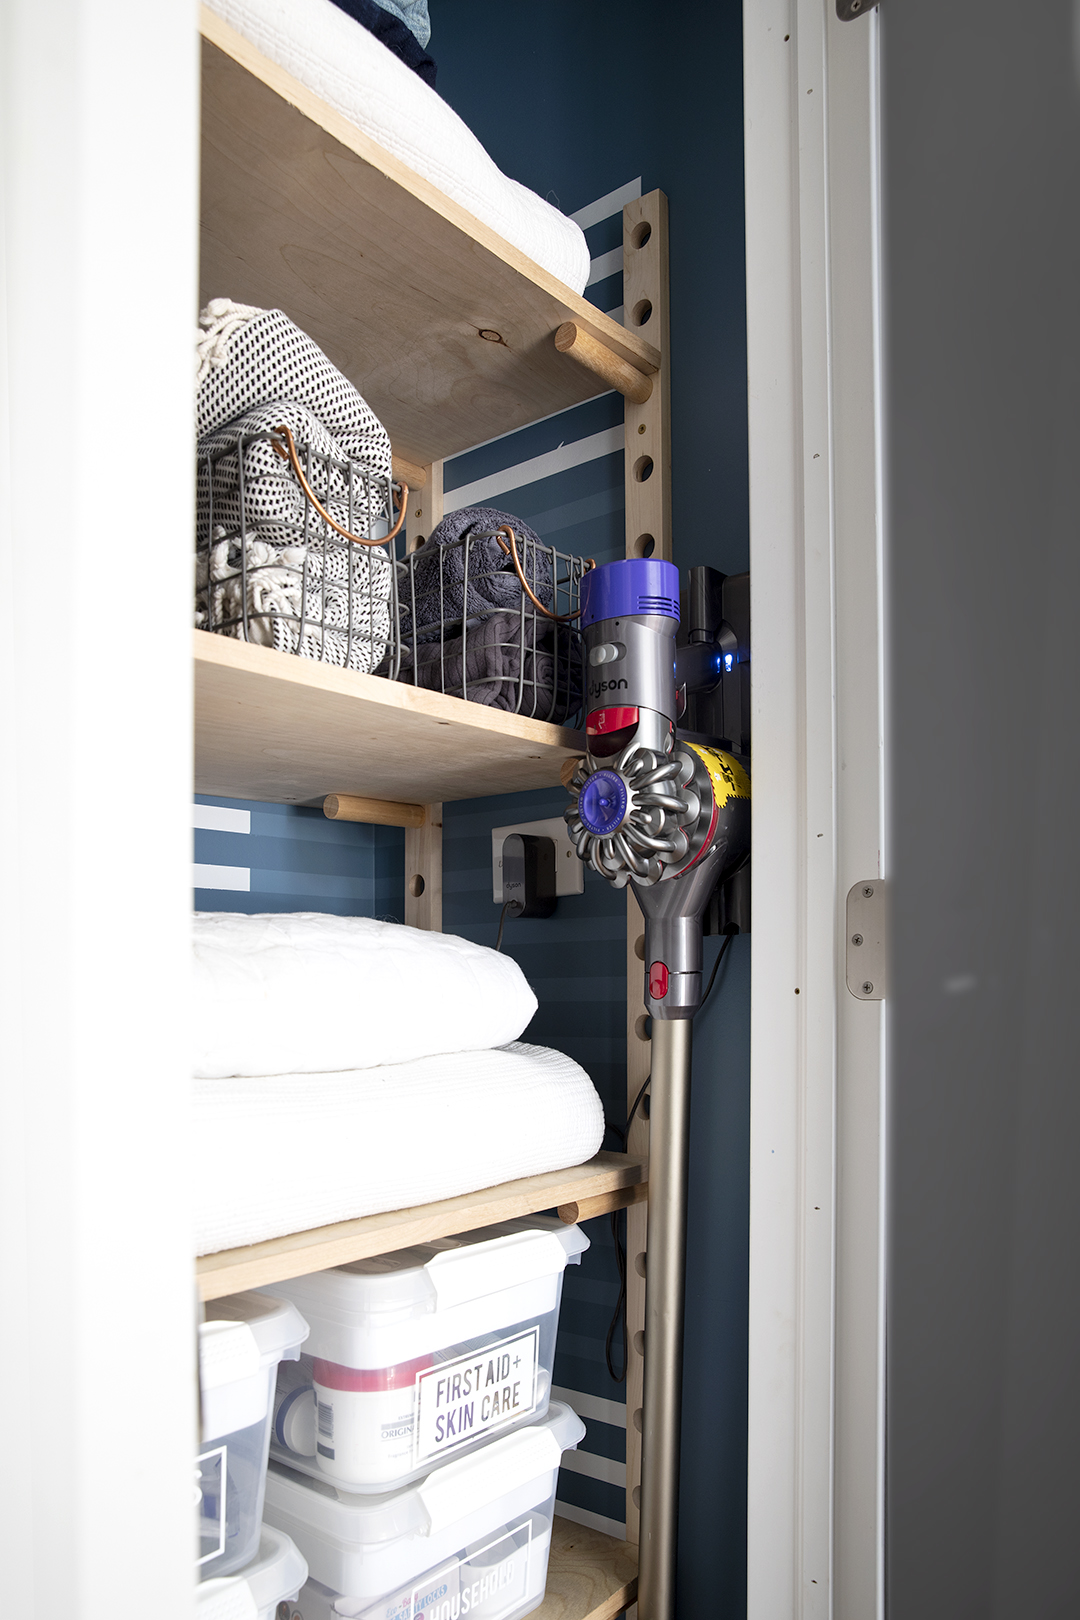
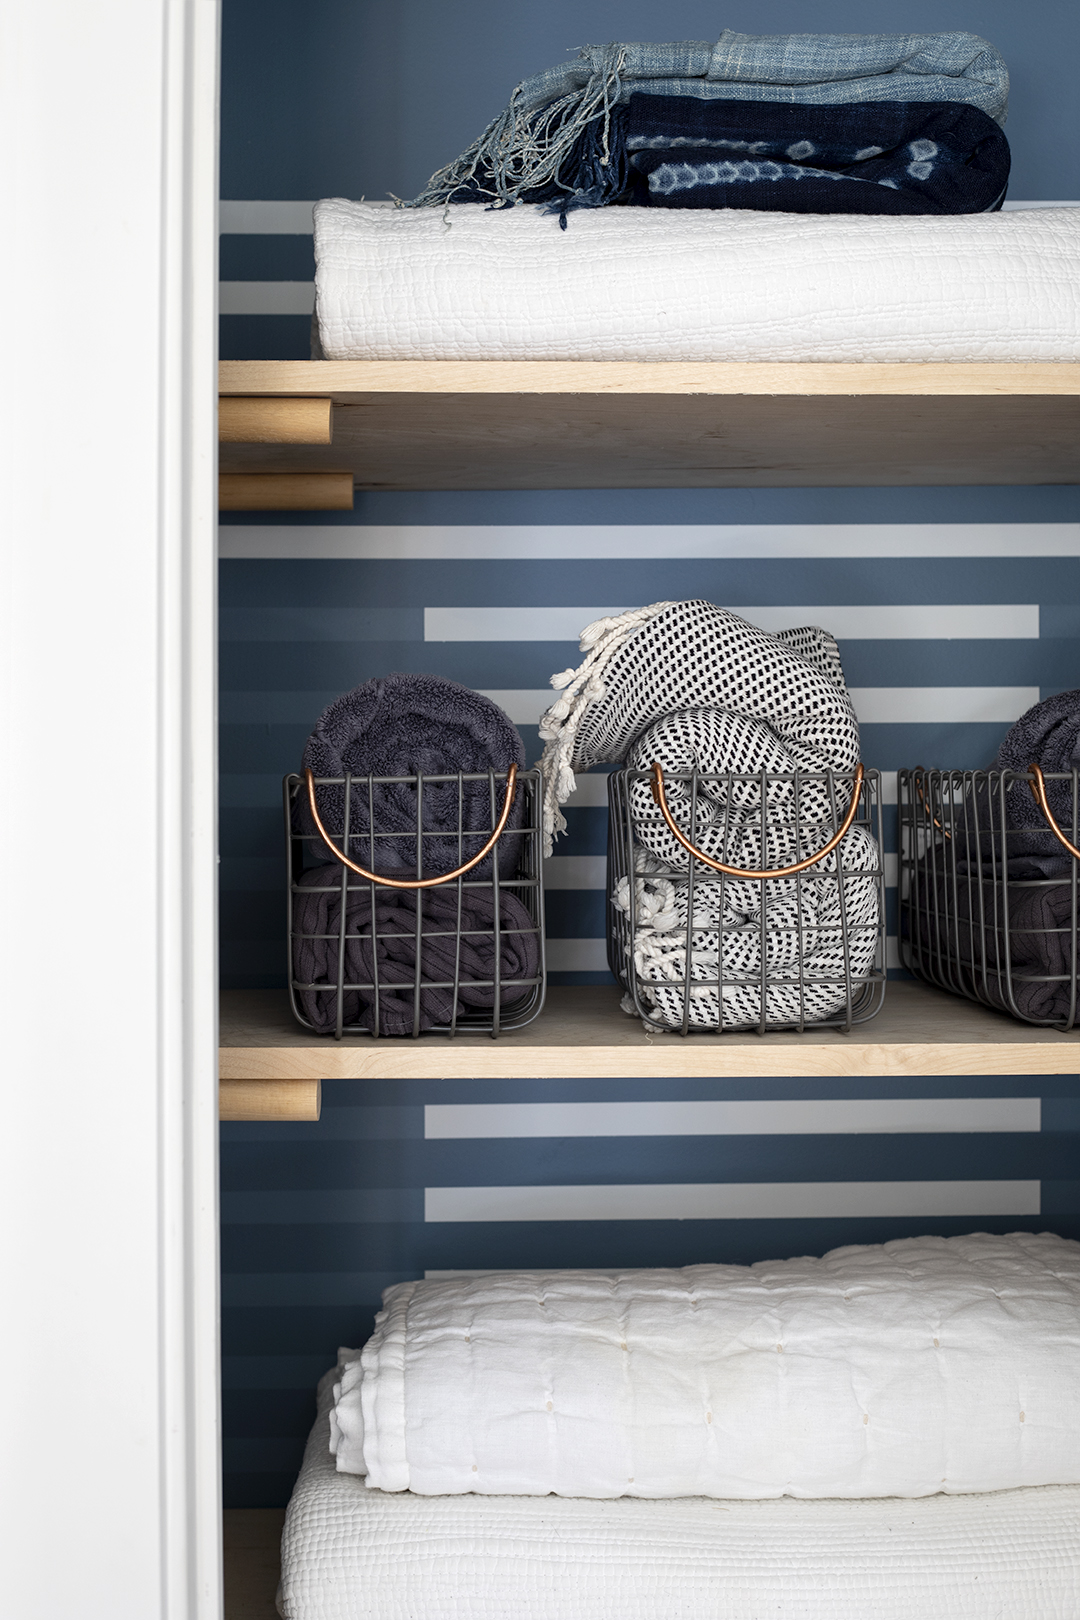
Love the freshness that the stripes add!!
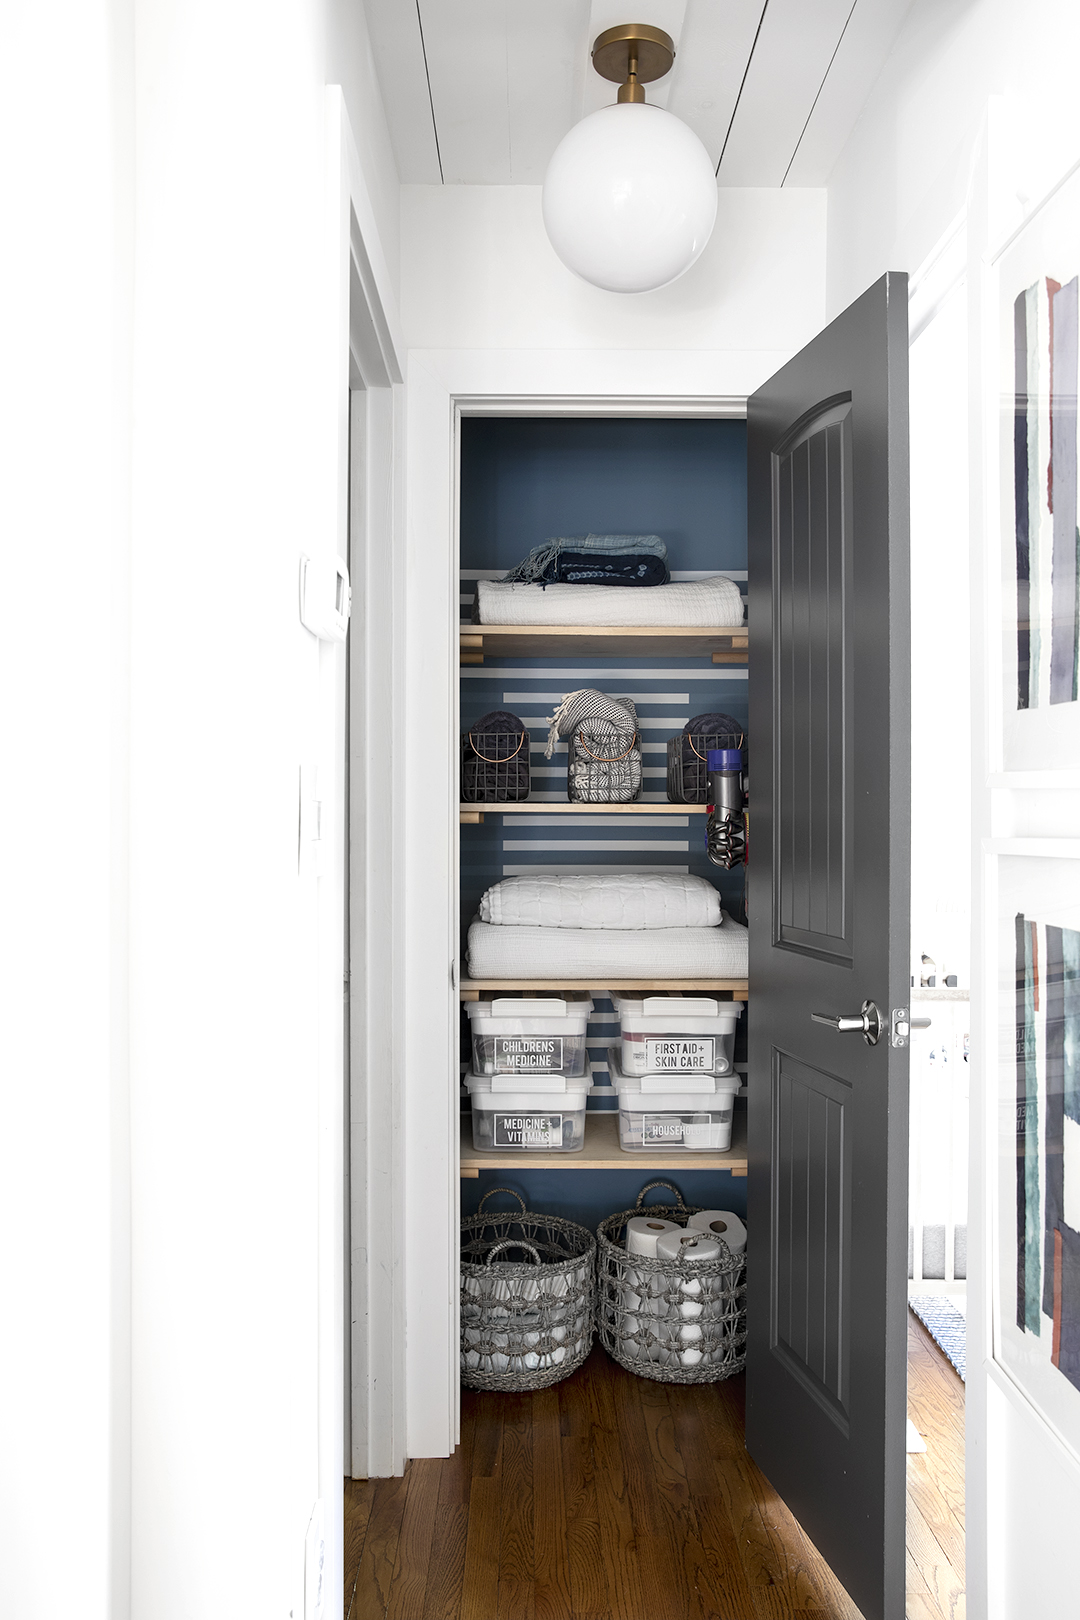
Anyone else dealing with the first year of school sickness!? Our son just started preschool and he is constantly sick. Having the medicine easy to access makes such a big difference! Love these clear tubs.
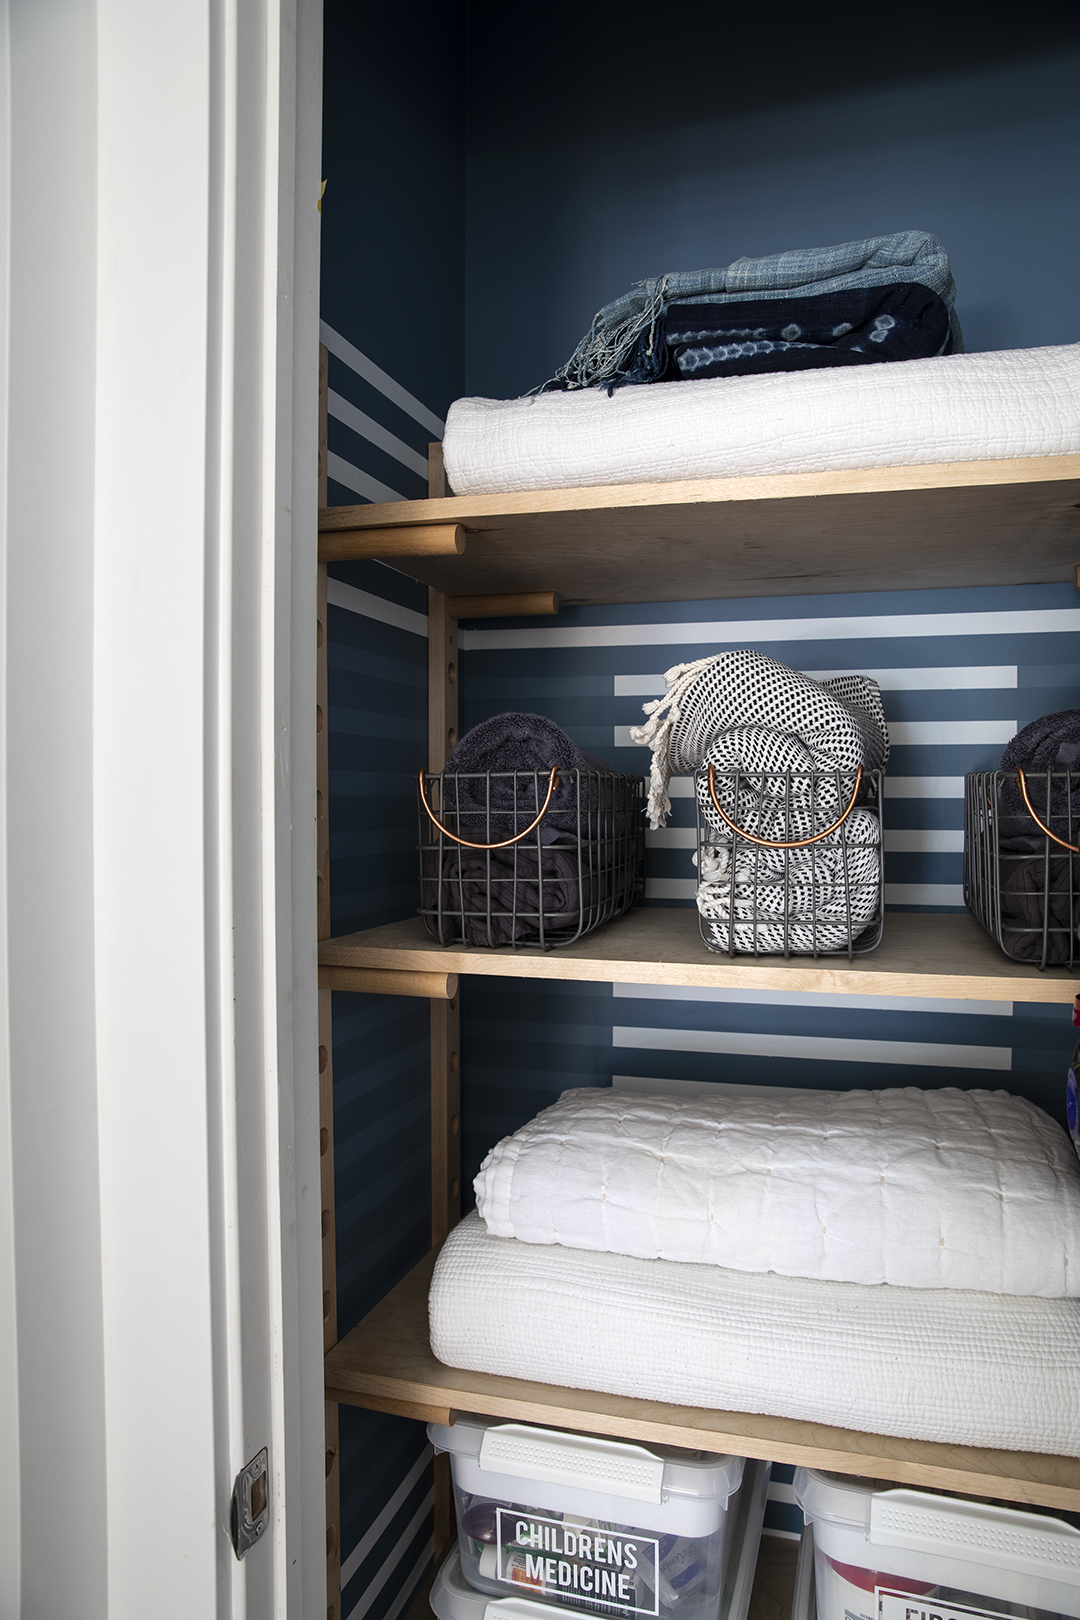
We still love our peg shelving and our vacuum!! It’s so easy to put away, charge and use, we quickly clean up the floors often! We added an outlet to the closet and it’s a game changer!
That’s it for this one! It’s crazy how happy a little organization and pattern can make me! Be sure to tag me on Instagram @sarahmdorseydesigns if you try this! I CAN’T wait for our next FrogTape project! Hint, it involves one of my most popular organization projects HERE
SOURCES
LABELS FOR CLEAR TUBS // PEG SHELVING // WIRE BASKETS // MUDCLOTH THROWS
Leave a Reply