This post has been sponsored by FrogTape
What do you do when all the stores are out of cabinets and you need storage!? You build it! Read on to see how we added TONS of functional storage to our lower entry with FrogTape.
BEFORE
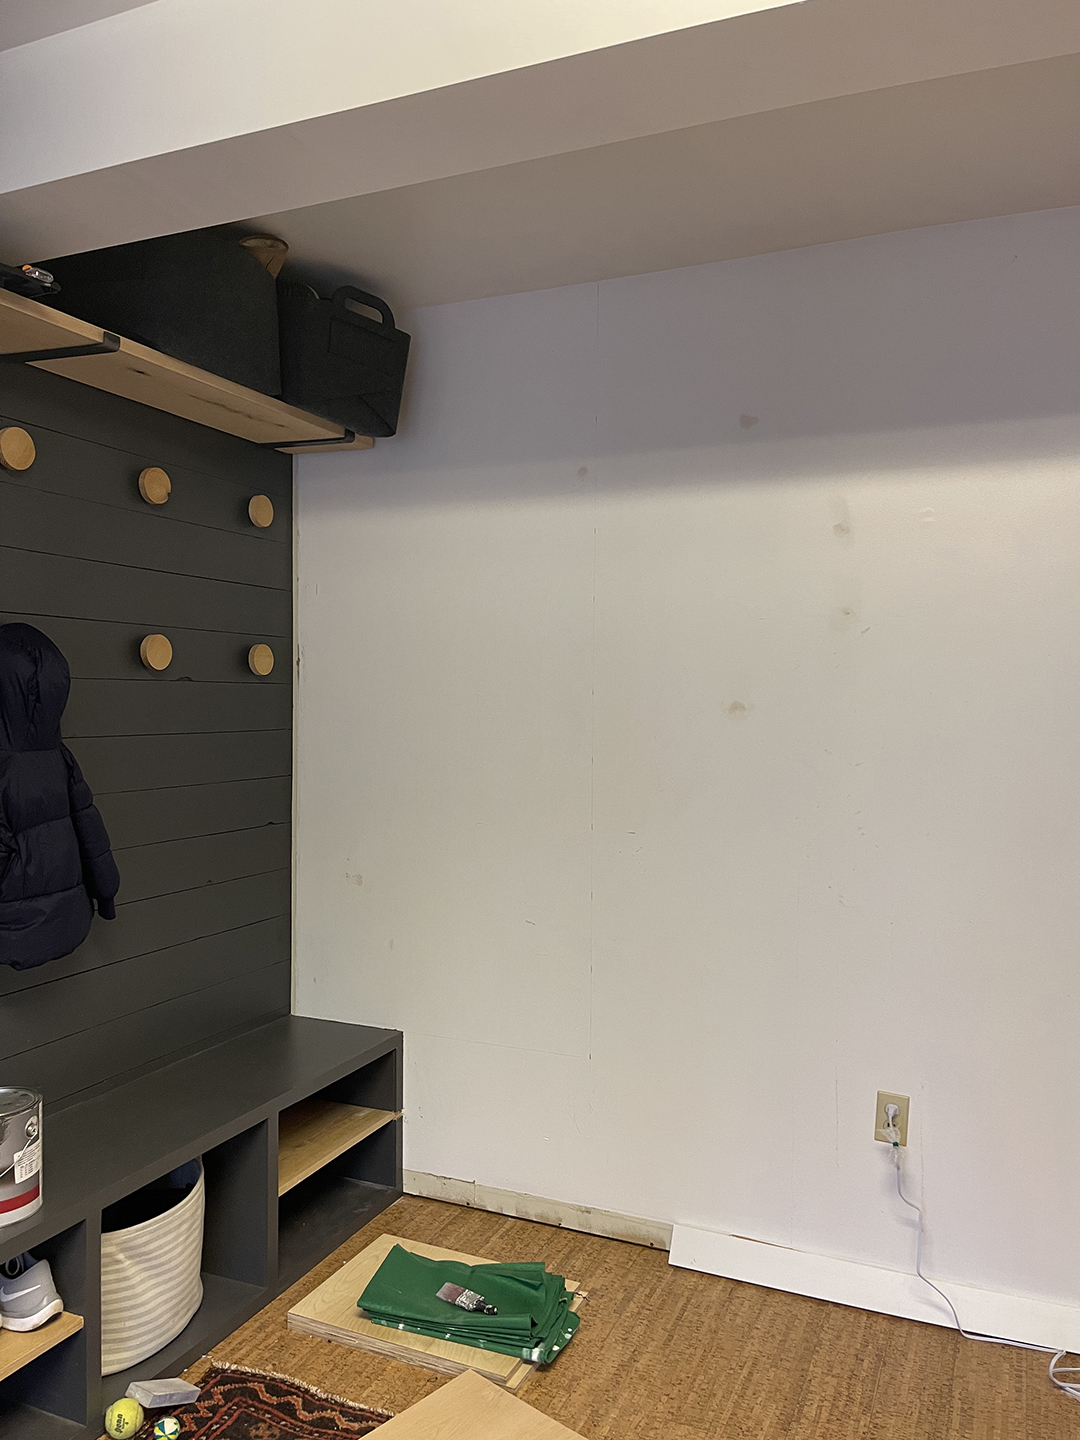
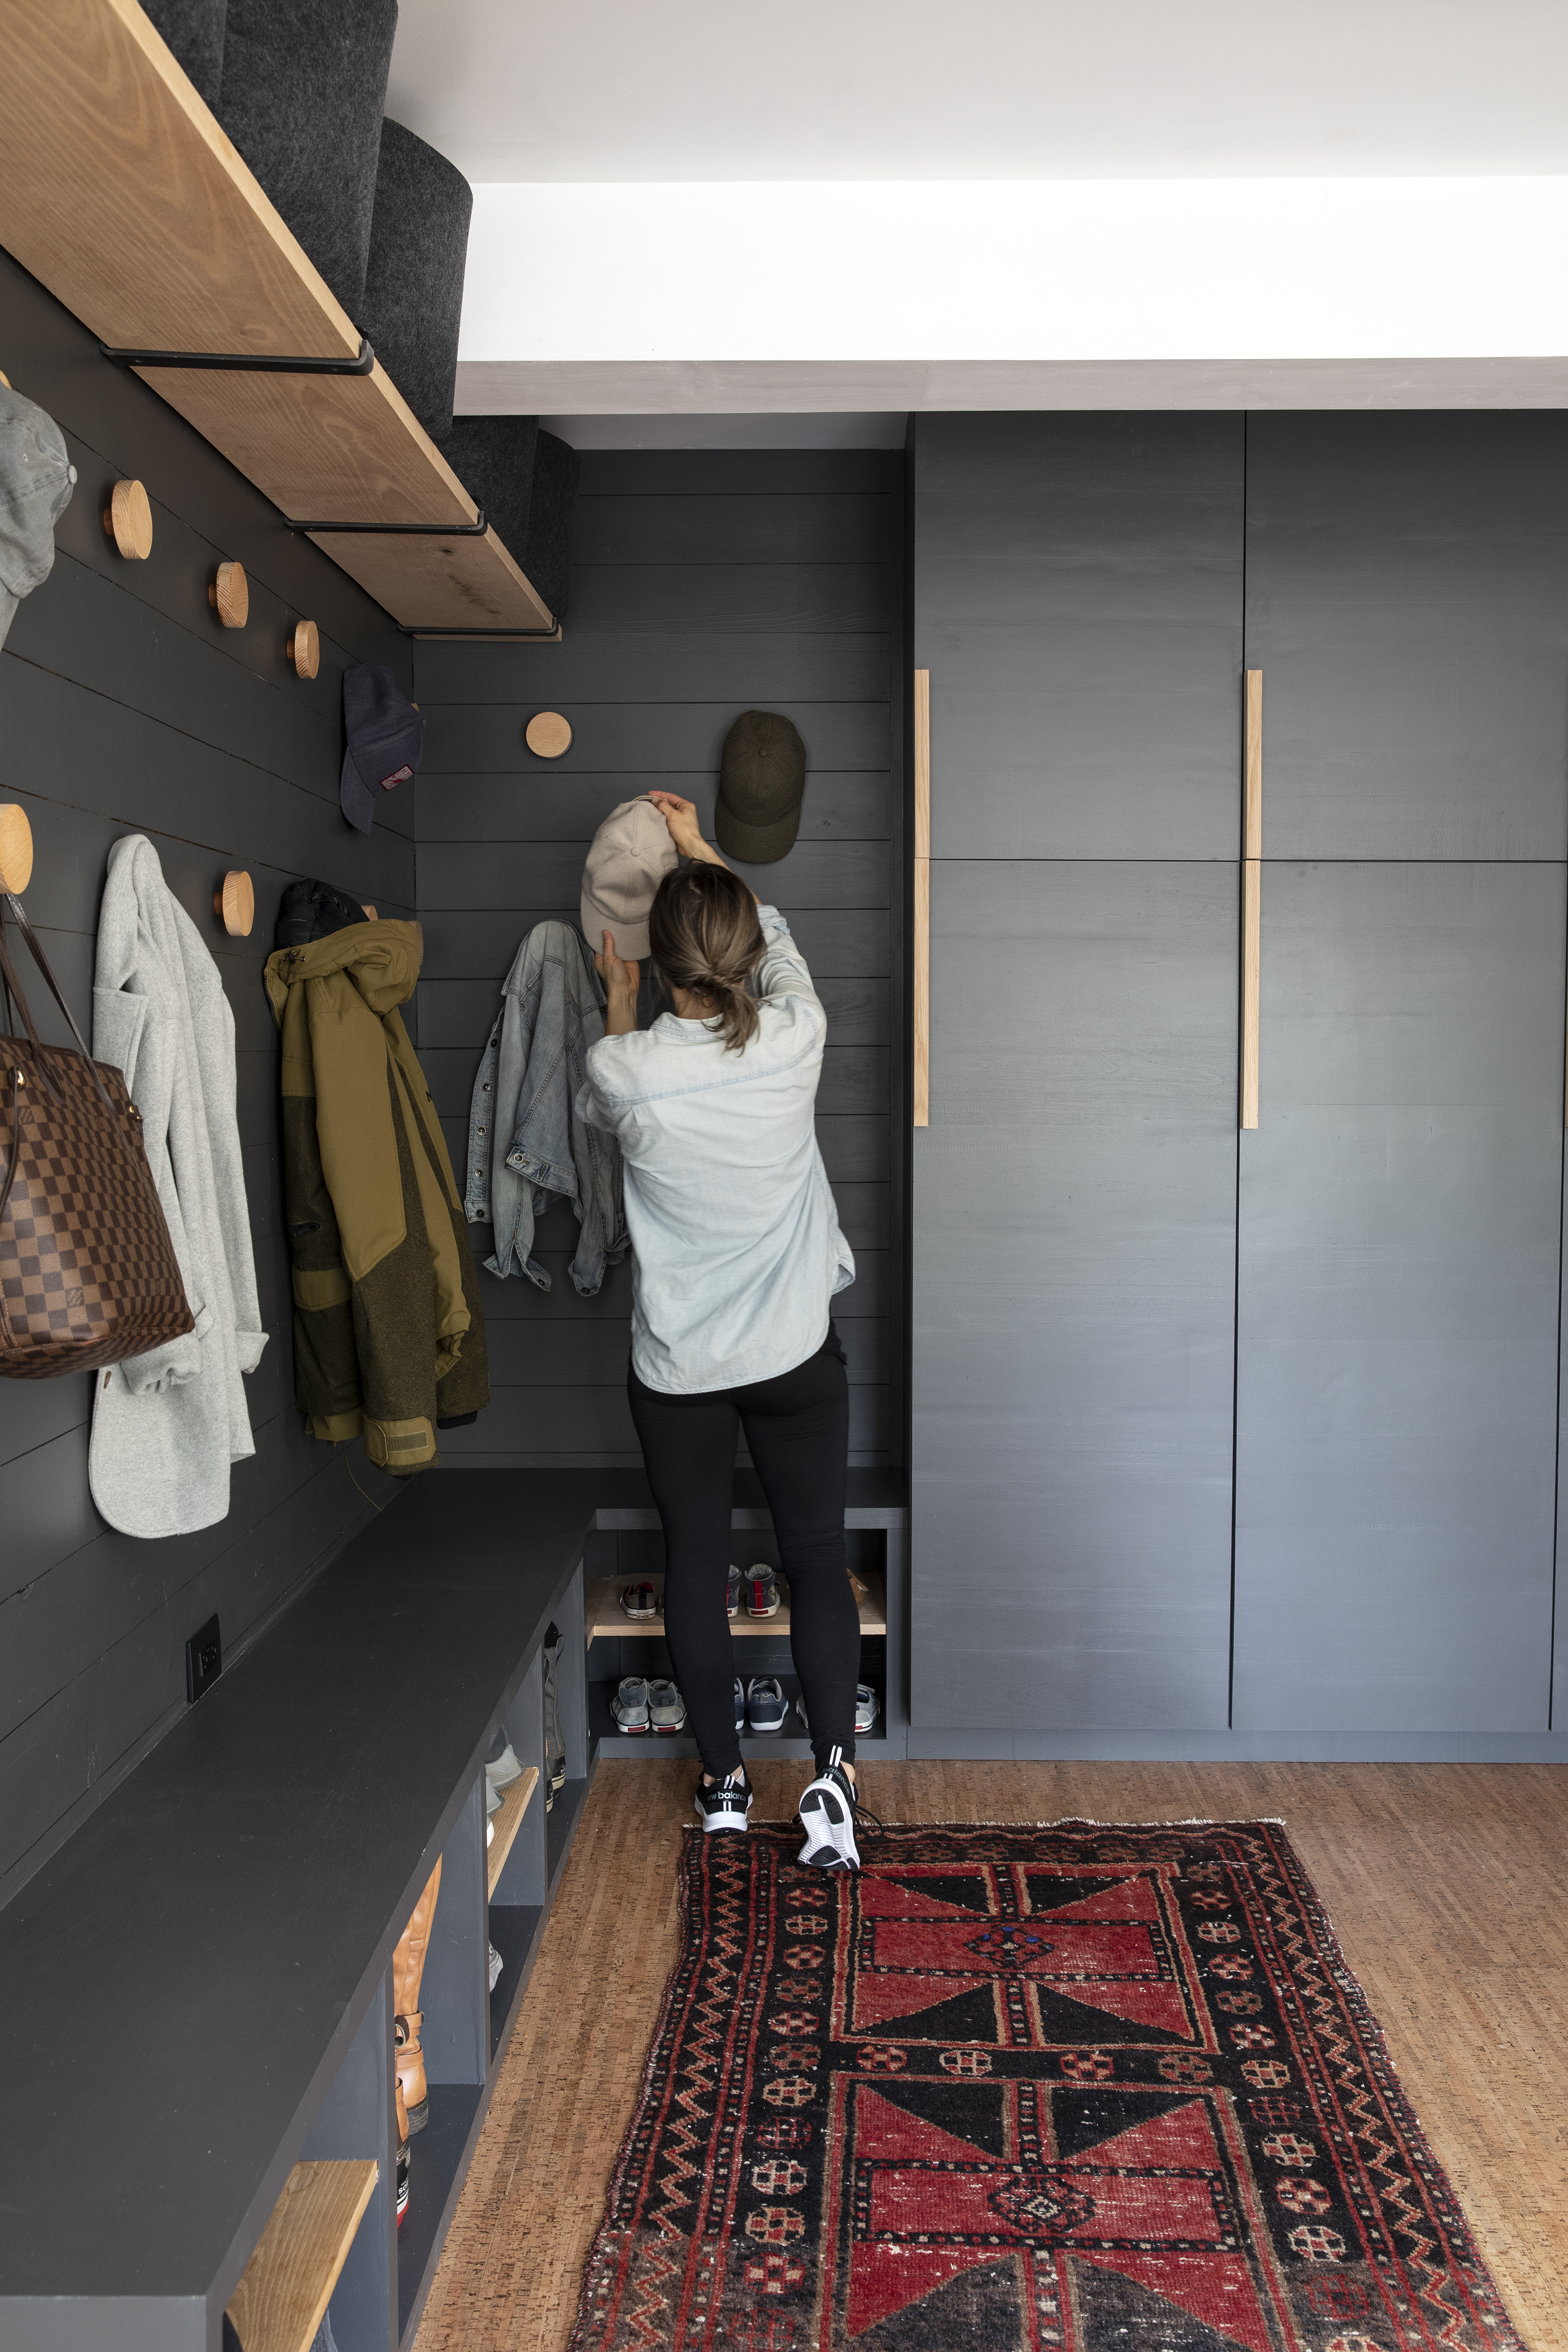
We added a bench to an existing trim wall a few years ago and I love the storage that it adds! However … this is our main entrance and it’s become a dumping ground. I’ve been thinking about how to add additional storage that blends seamlessly with our existing built in and I found it! We added more shoe storage, closed storage and hooks! I LOVE what we came up with!
Check out THIS post to see how we built the lower cubby portion. Read on to see how we built the cabinet boxes and slab cabinet doors.
Building the cabinet boxes
We created the box using ¾ plywood for the sides, top bottom and shelf and ½” plywood for the back.
We started with the side panels which we cut to size and then made dado cuts ¼” deep into the side panels for the joint with the top, bottom, fixed self, and back panels.
We laid out all the dado joints with a T square and then used a track saw with repeated passes to create the dado cuts.
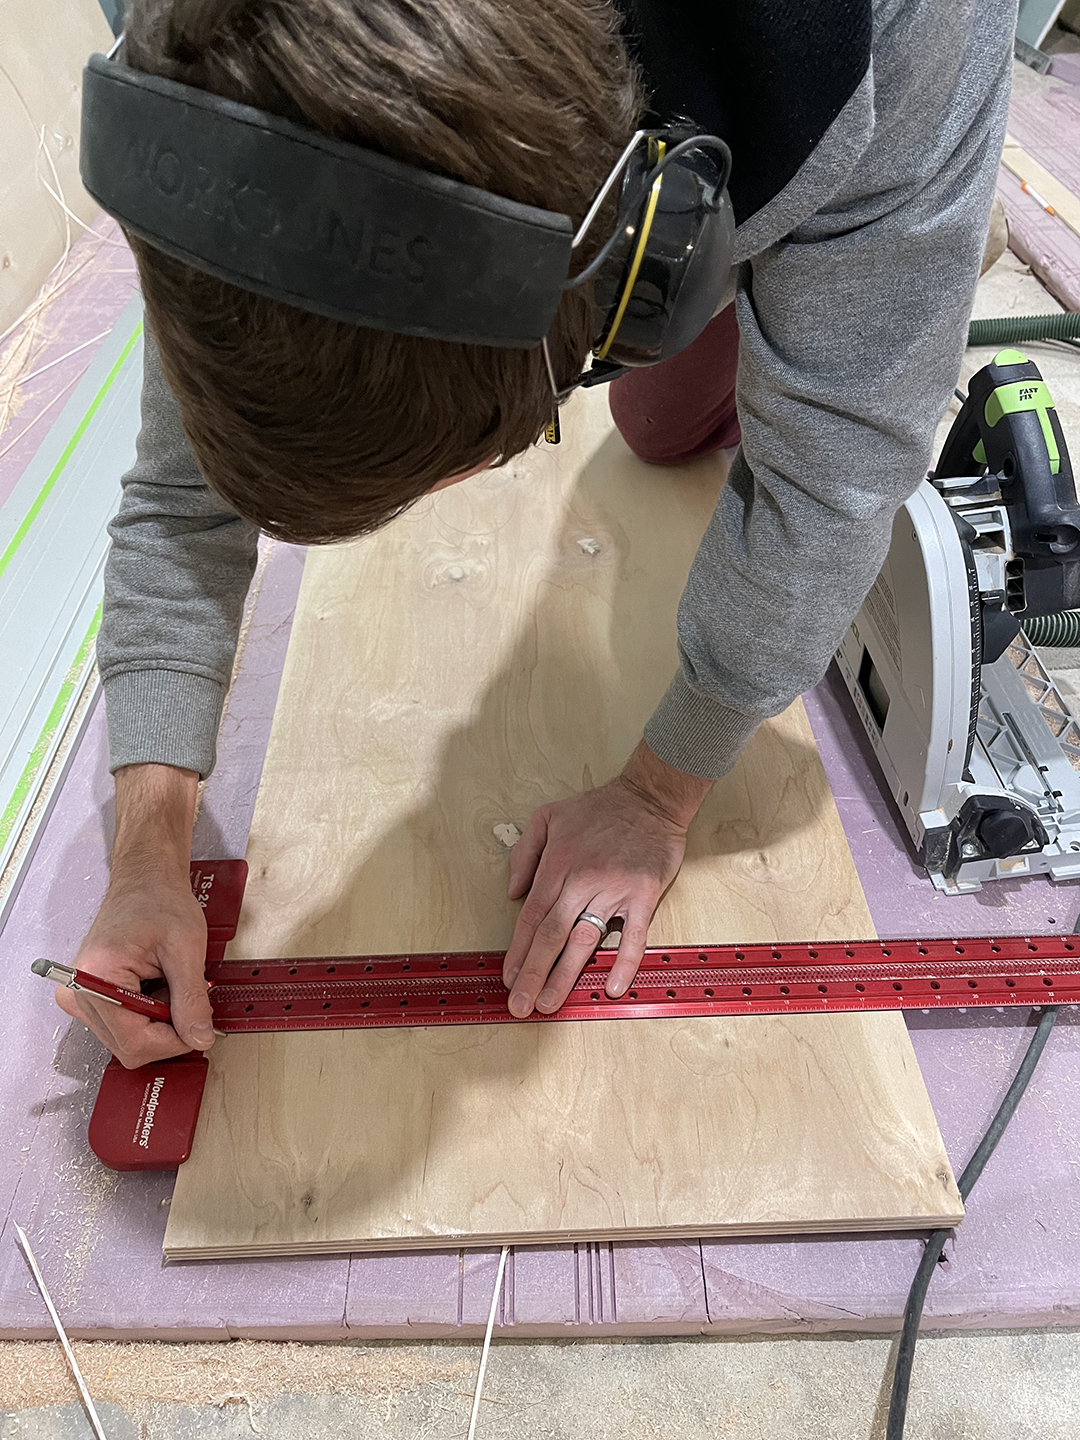
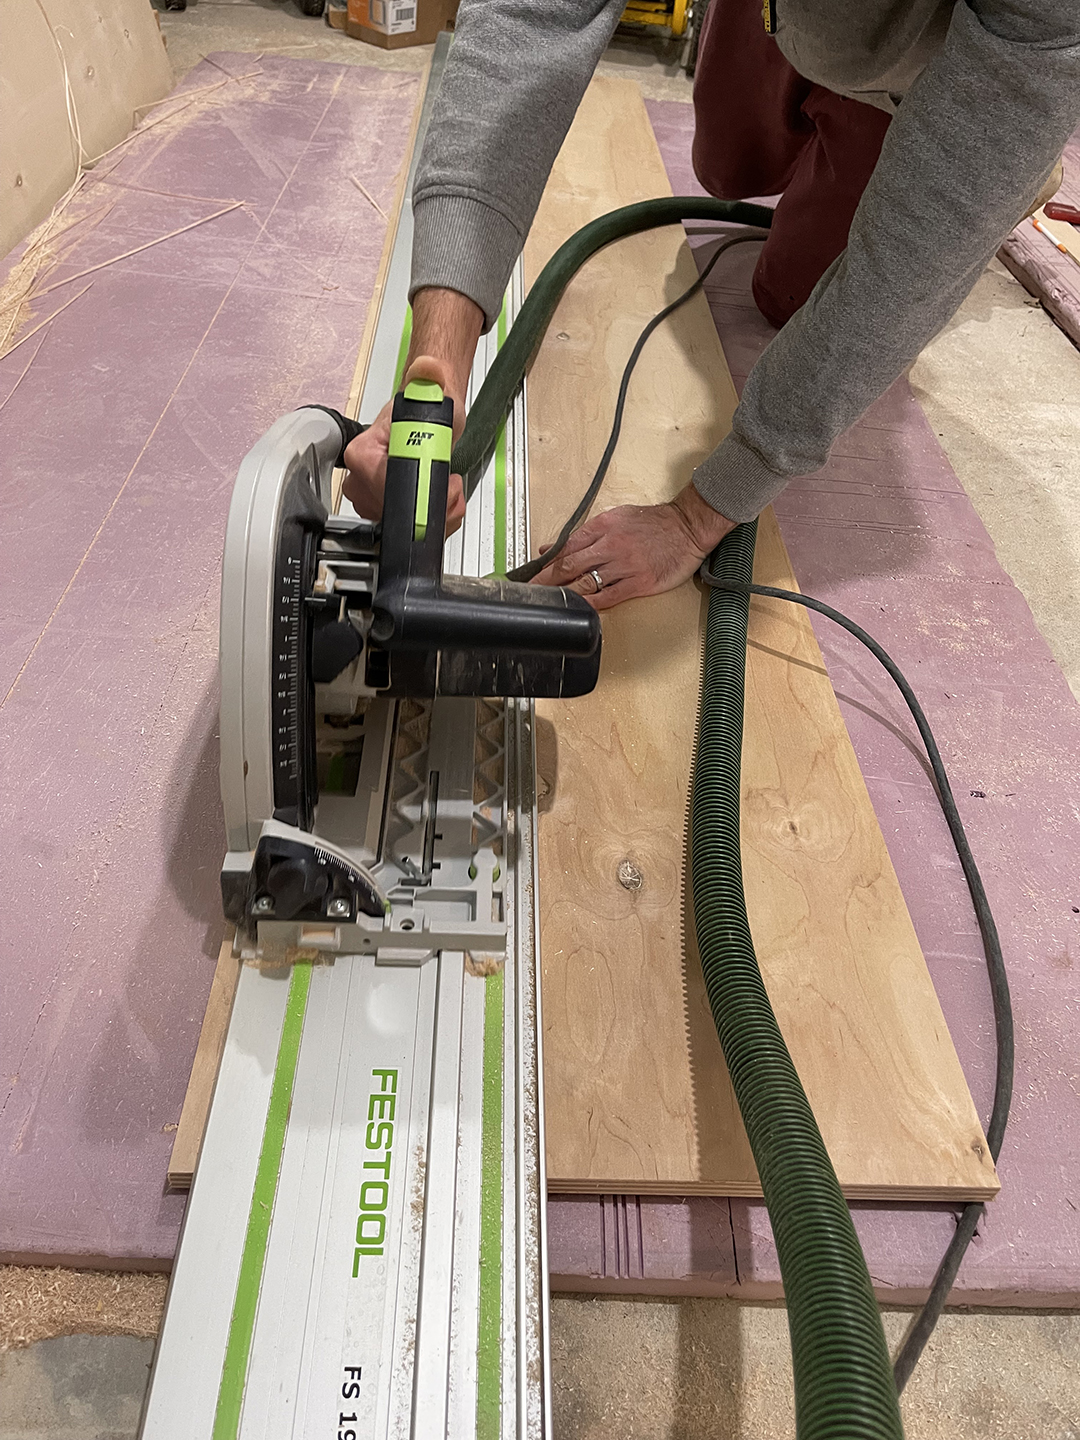
After the dado cuts were complete, we used a shelf pin jig to drill ¼” holes on the interior of the side panels for adjustable shelving.
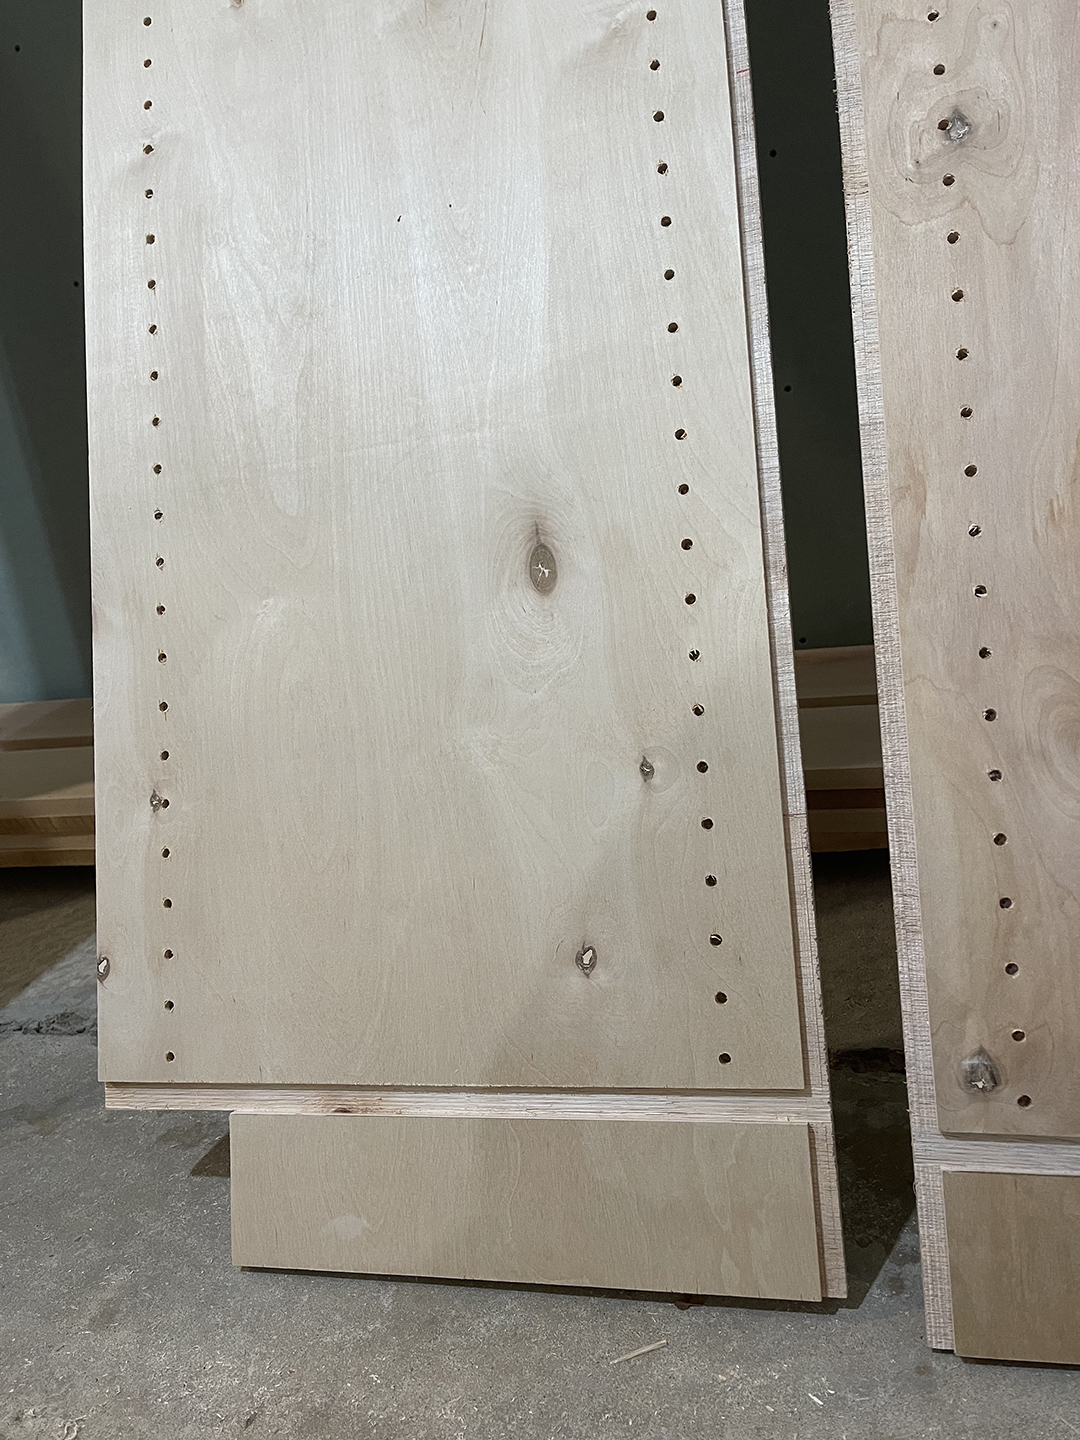 We then cut the toe-kick out on the side panels below the dado cut for the bottom panel.
Cut the top, bottom, fixed shelf panels from ¾” plywood and the back panel from ½” plywood.
Assemble the box by adding wood glue in the dado joints and stapling the joints from the exterior of the box.
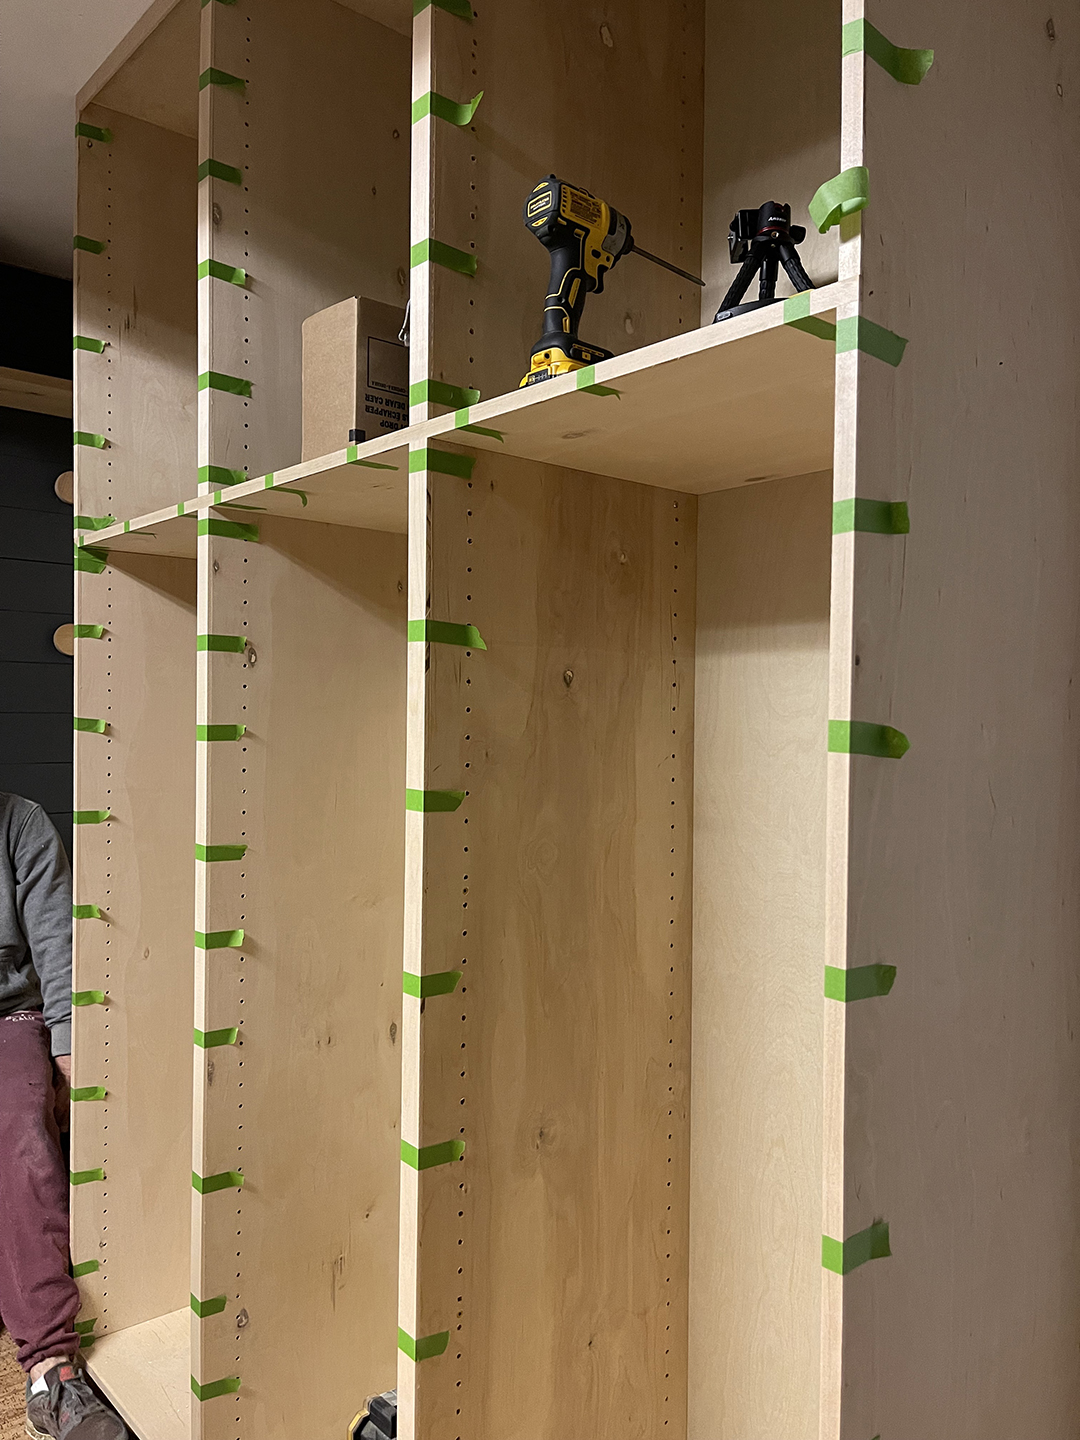
After all the cabinet boxes are complete, level and screw the boxes together from the inside.
After the boxes are attached, the assembly can be secured to the wall studs with screws at the top and bottom of the cabinet.
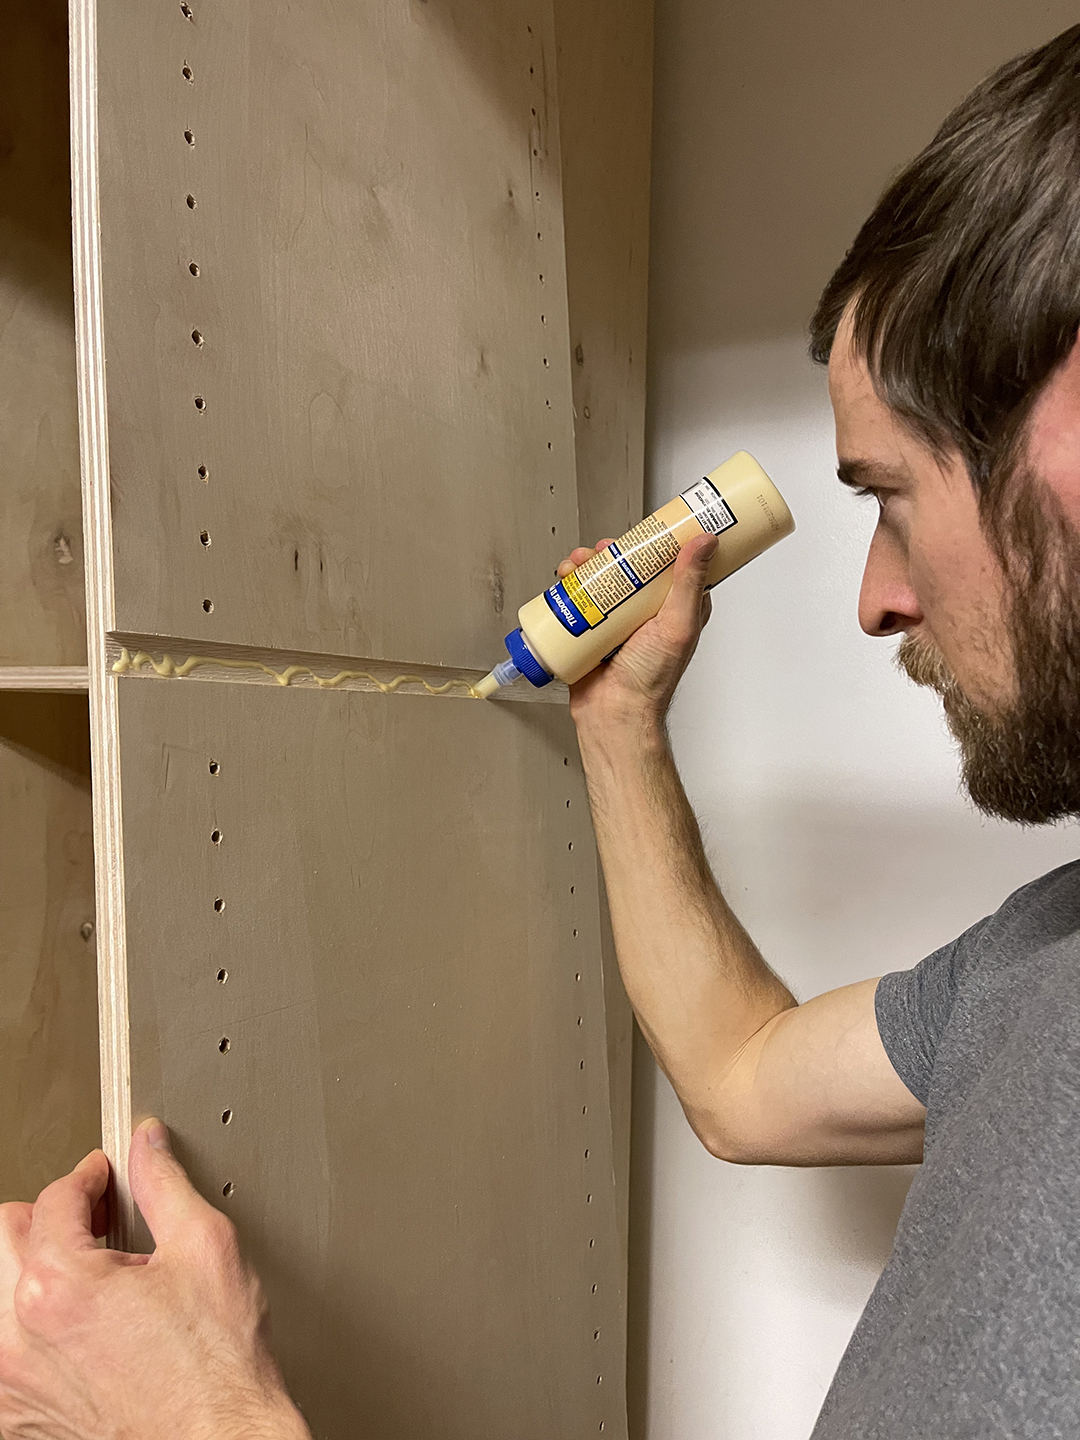
We installed a ¼” thick birch facer board to the cabinet frame to finish the plywood edge.We attached the facer with wood glue and used multi surface FrogTape to hold in place for drying.
Building slab cabinet doors
We built slab doors for the cabinets from ¾ birch. We first cut the boards to width and edge glued the joints. We used a joiner to create mortice and tenon joints to add strength and aid the fit-up.
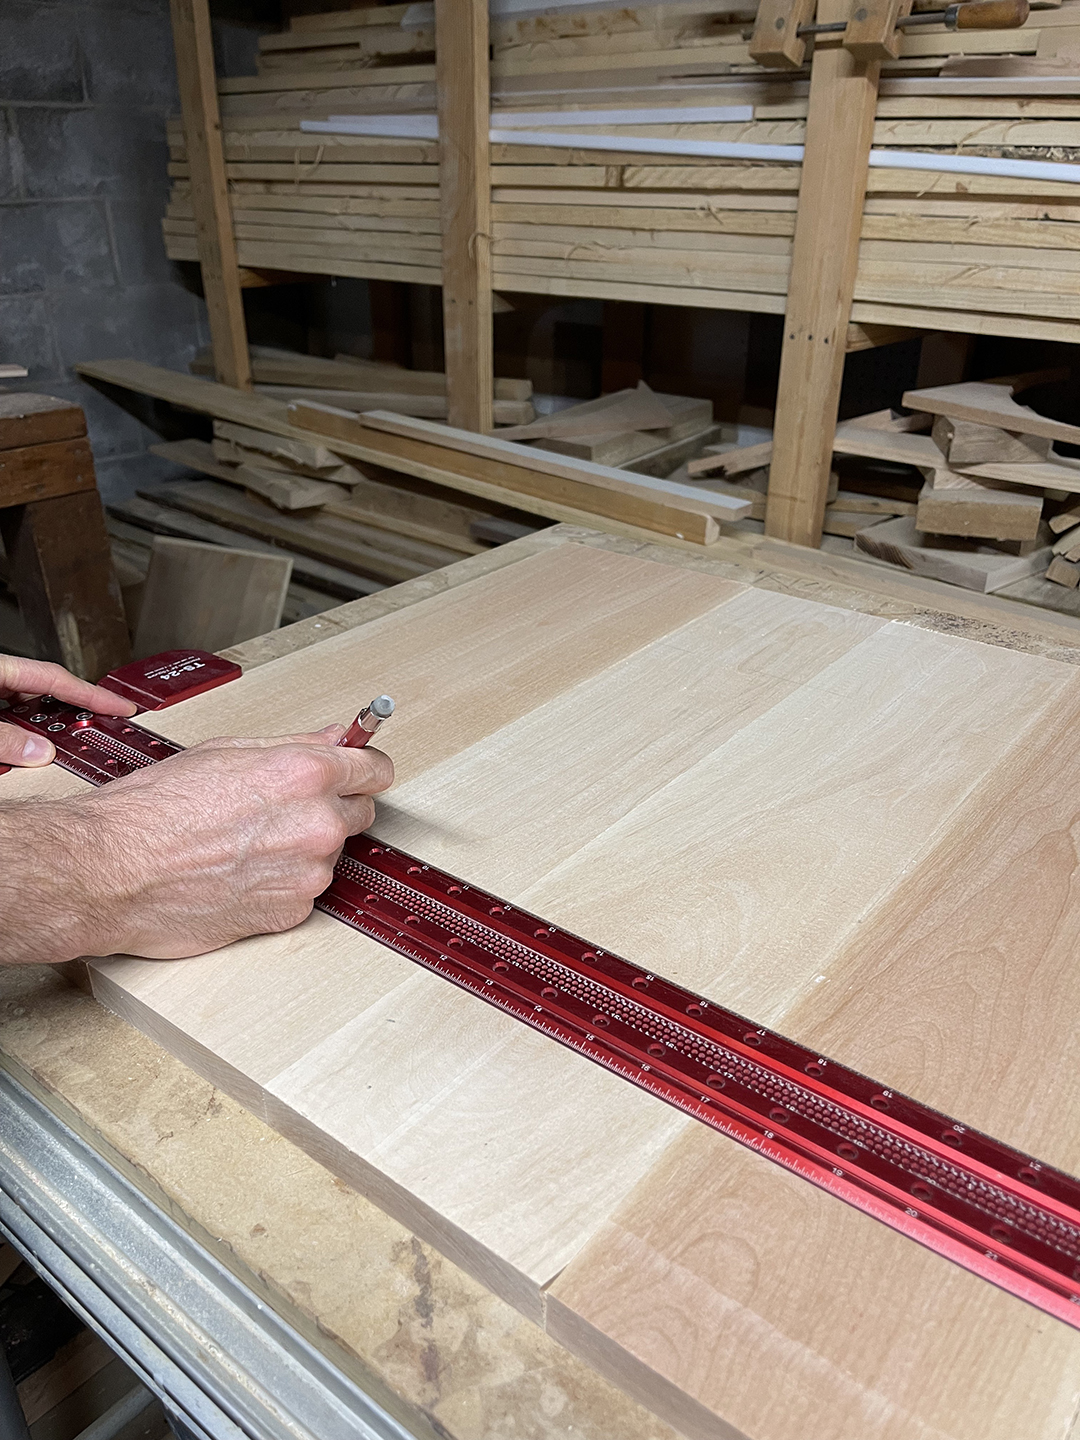
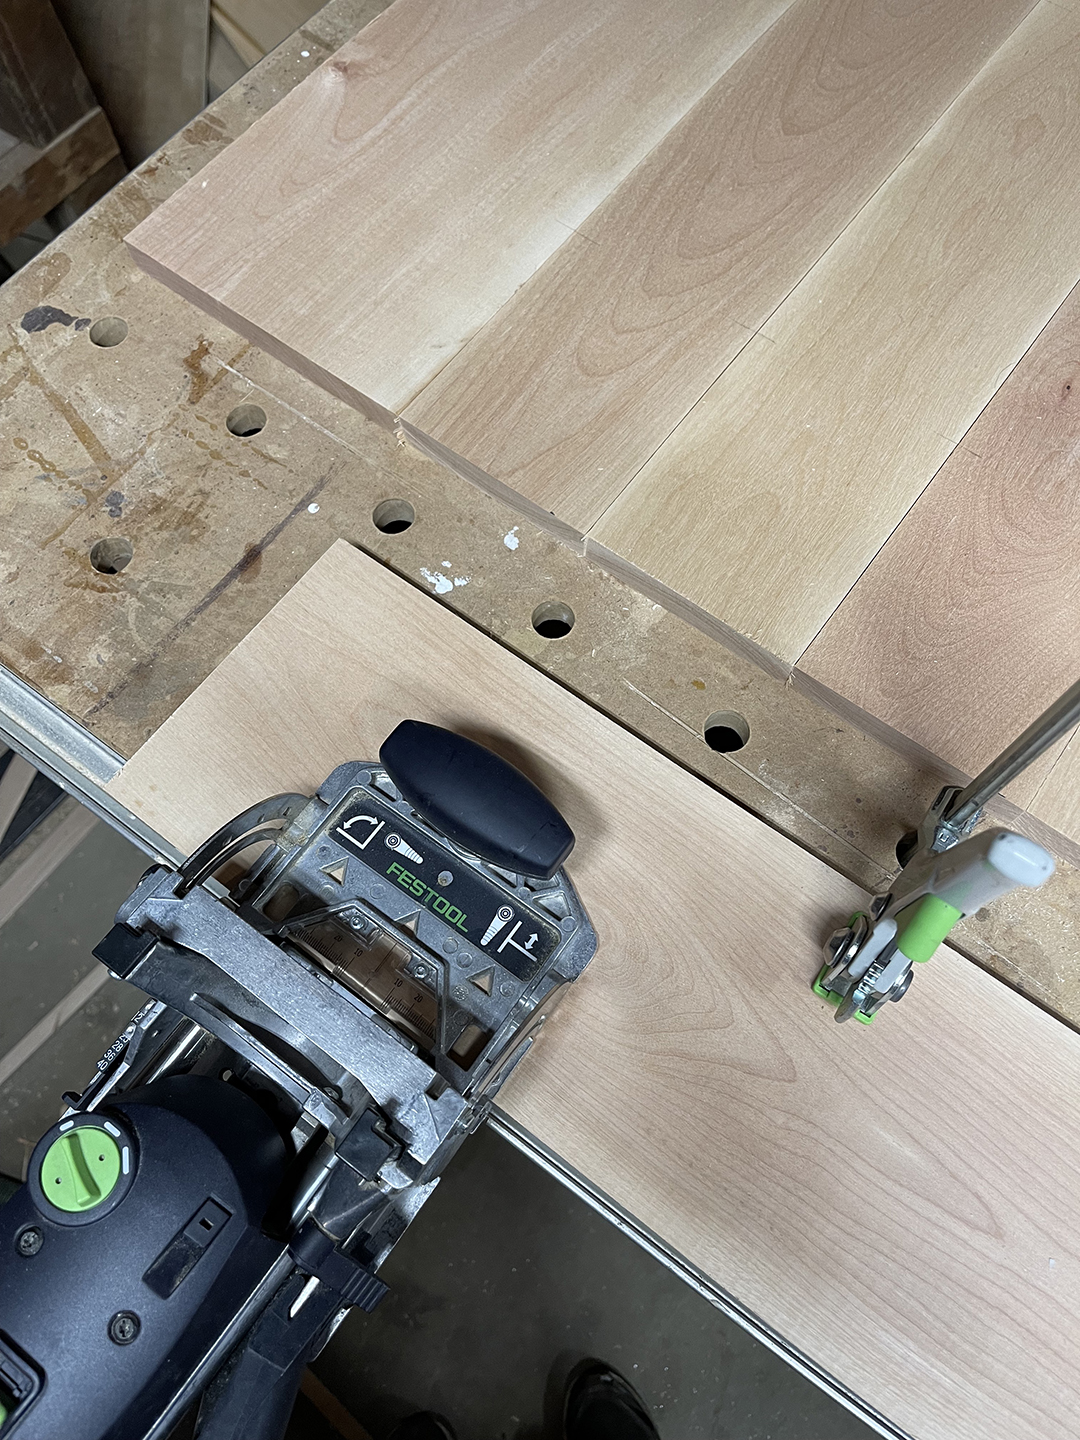
Once the panels were glued and fit-up, we clamped flat for drying.
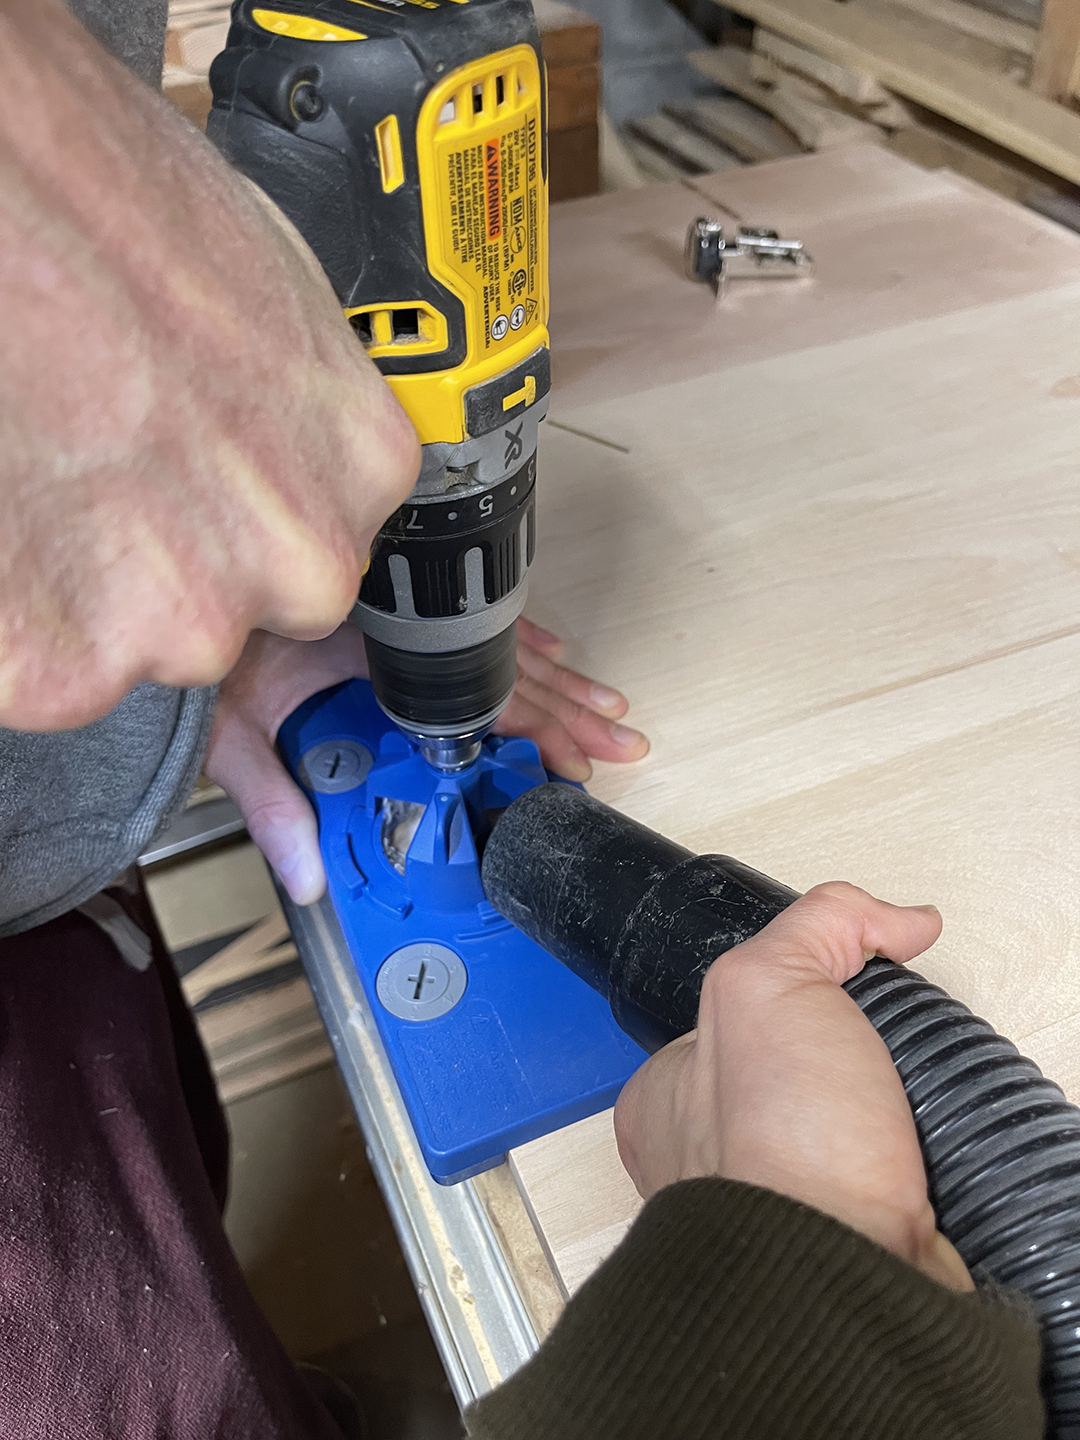
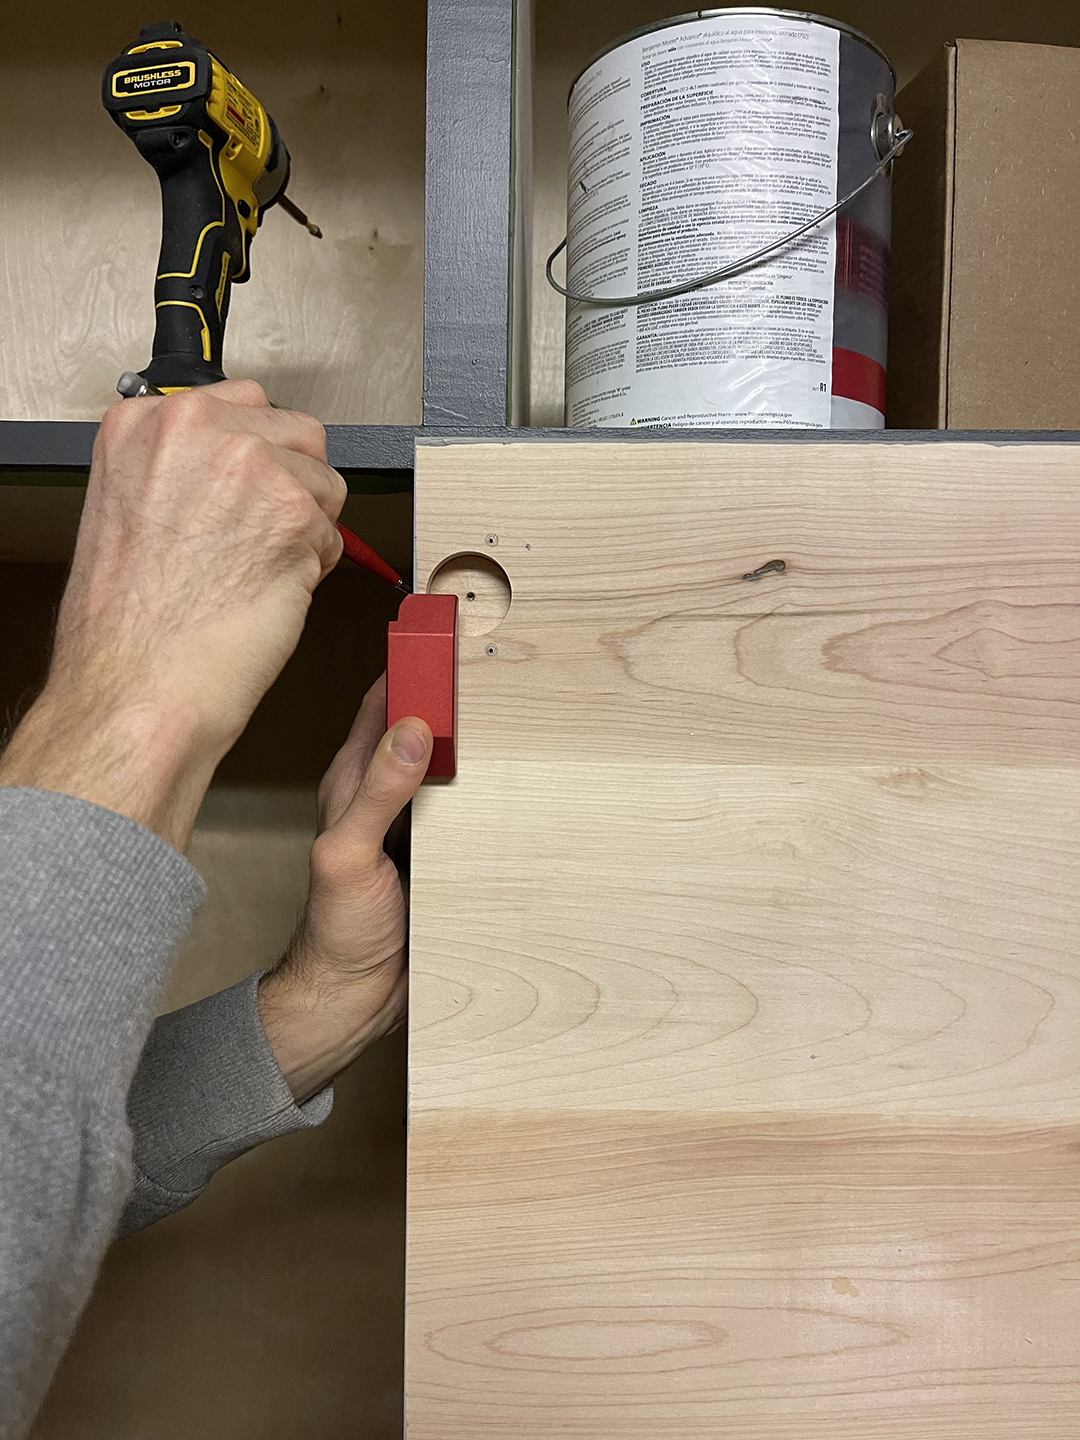
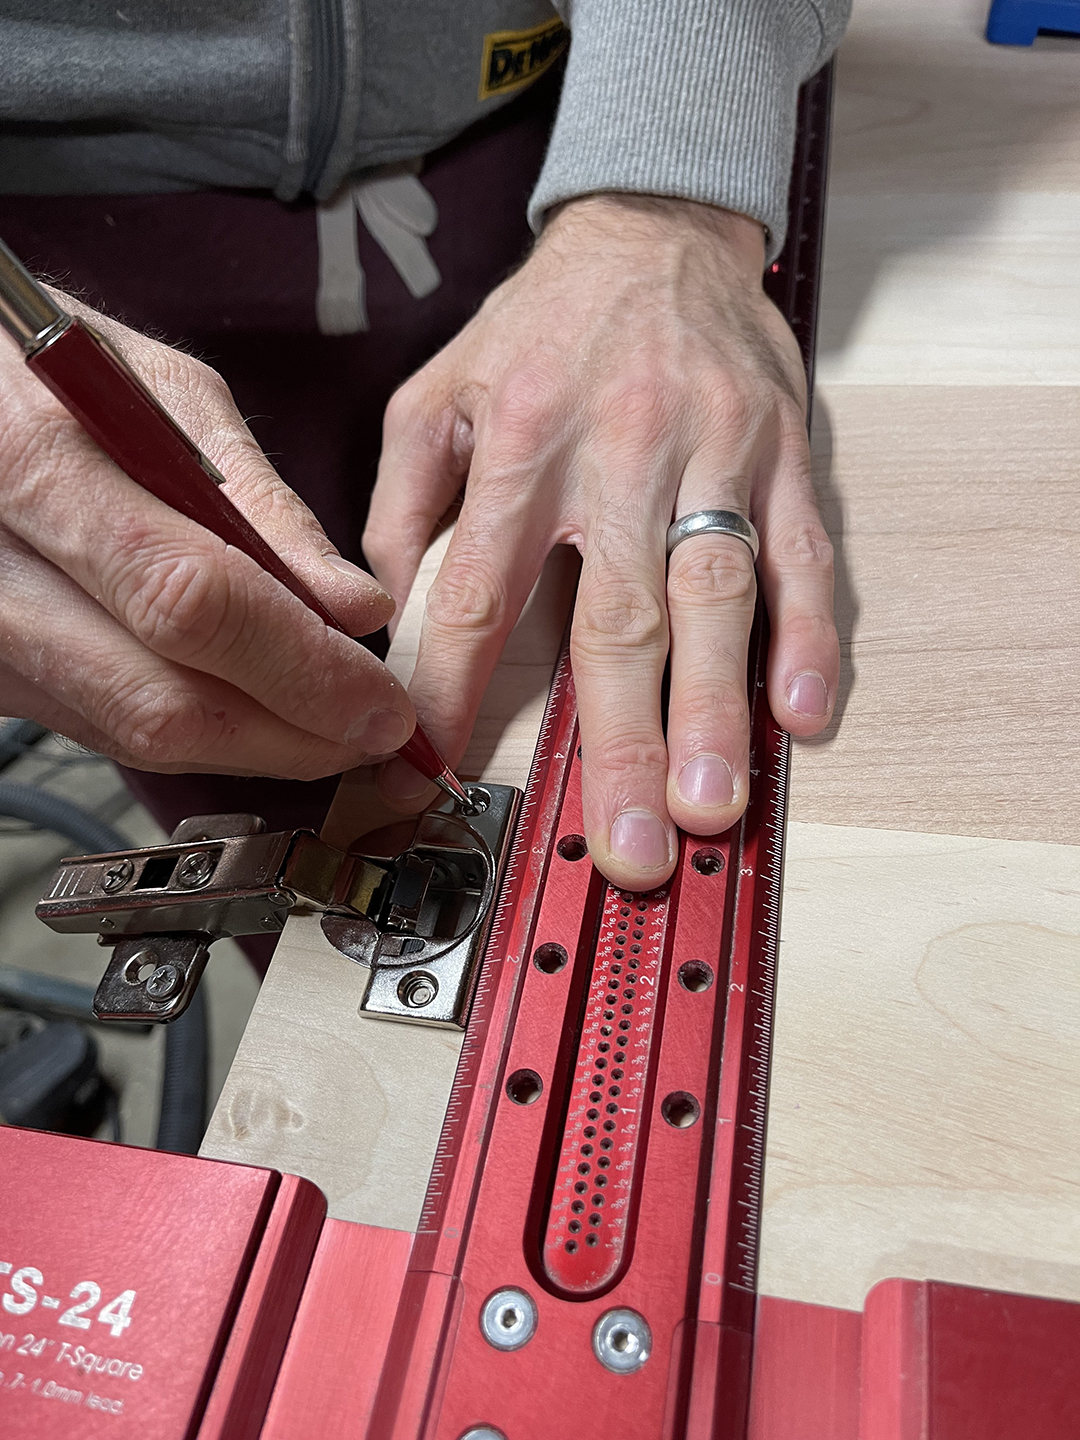
Finally, we drilled cups on the doors, pre-drilled for the hinges and installed the hinges attaching the doors to the frame.
We also added some round wood hooks with a color block detail.
Here’s a quick how to!
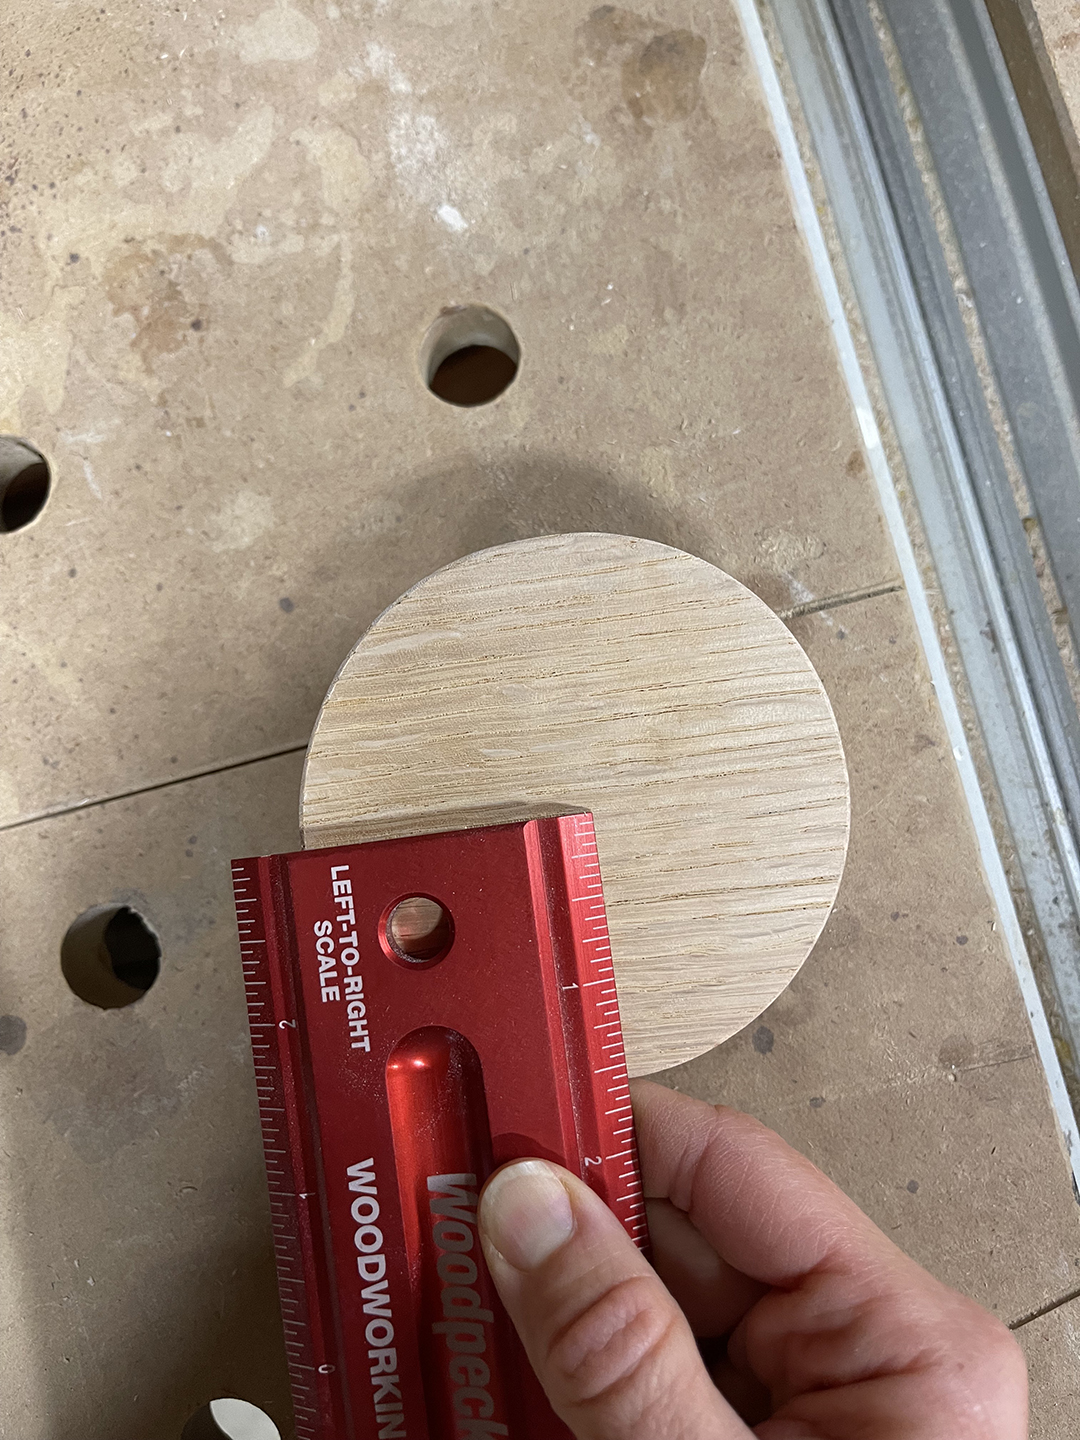
Find center and draw lightly with pencil to mark.
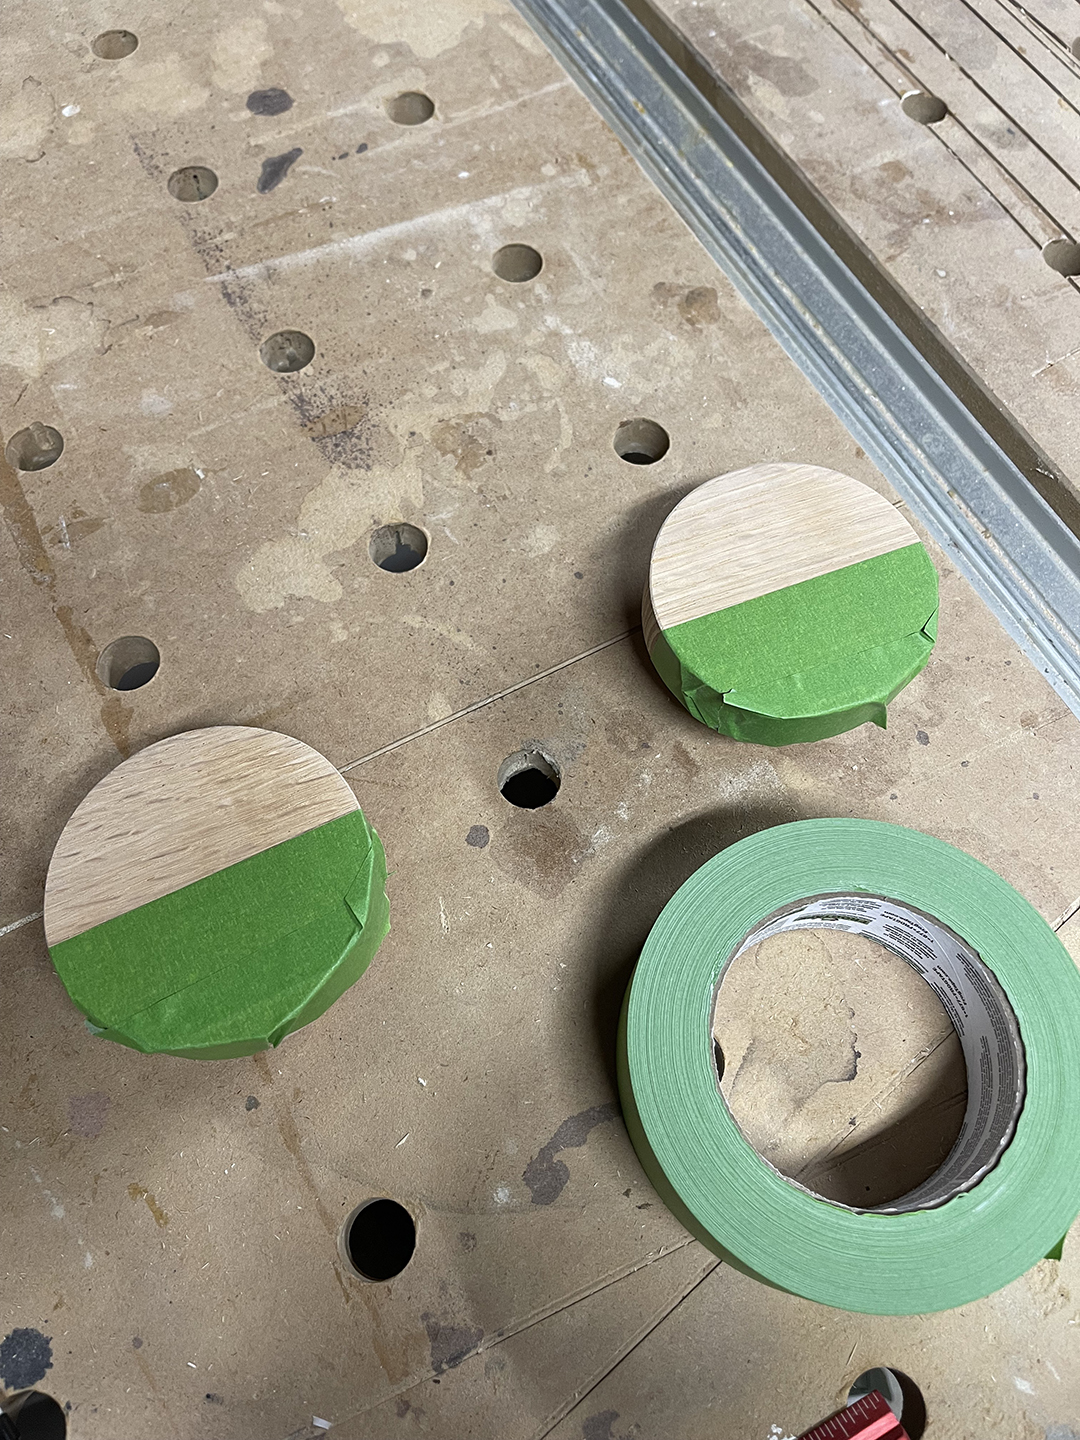
Apply FrogTape (push firmly on the edge!)
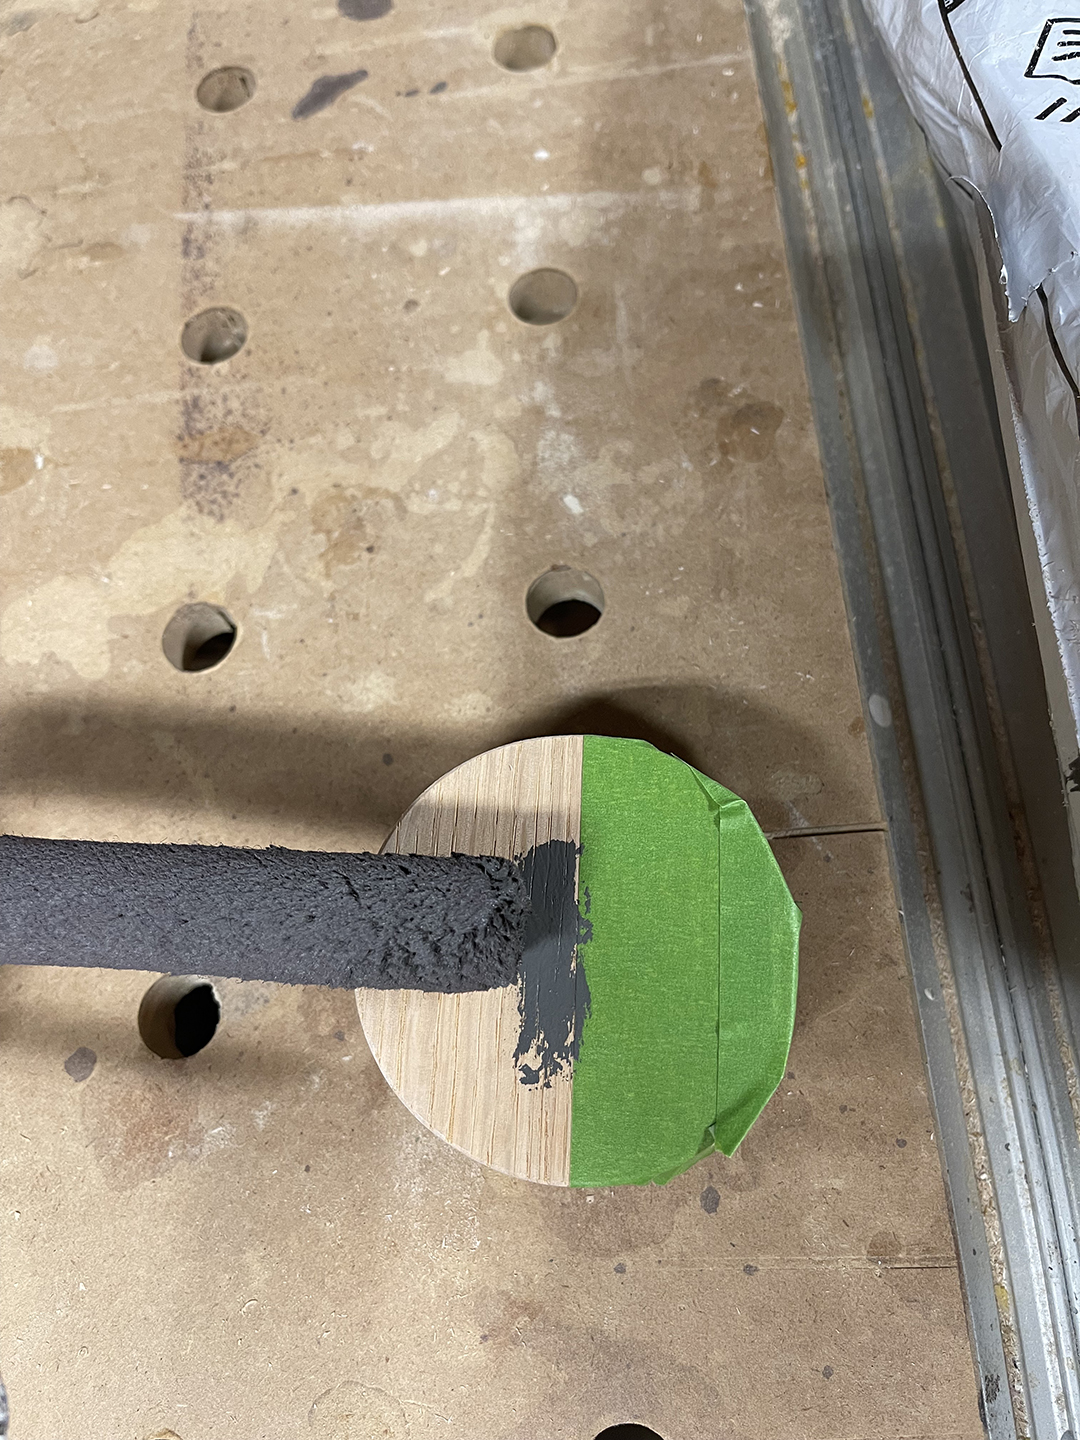
Paint!
AFTER!
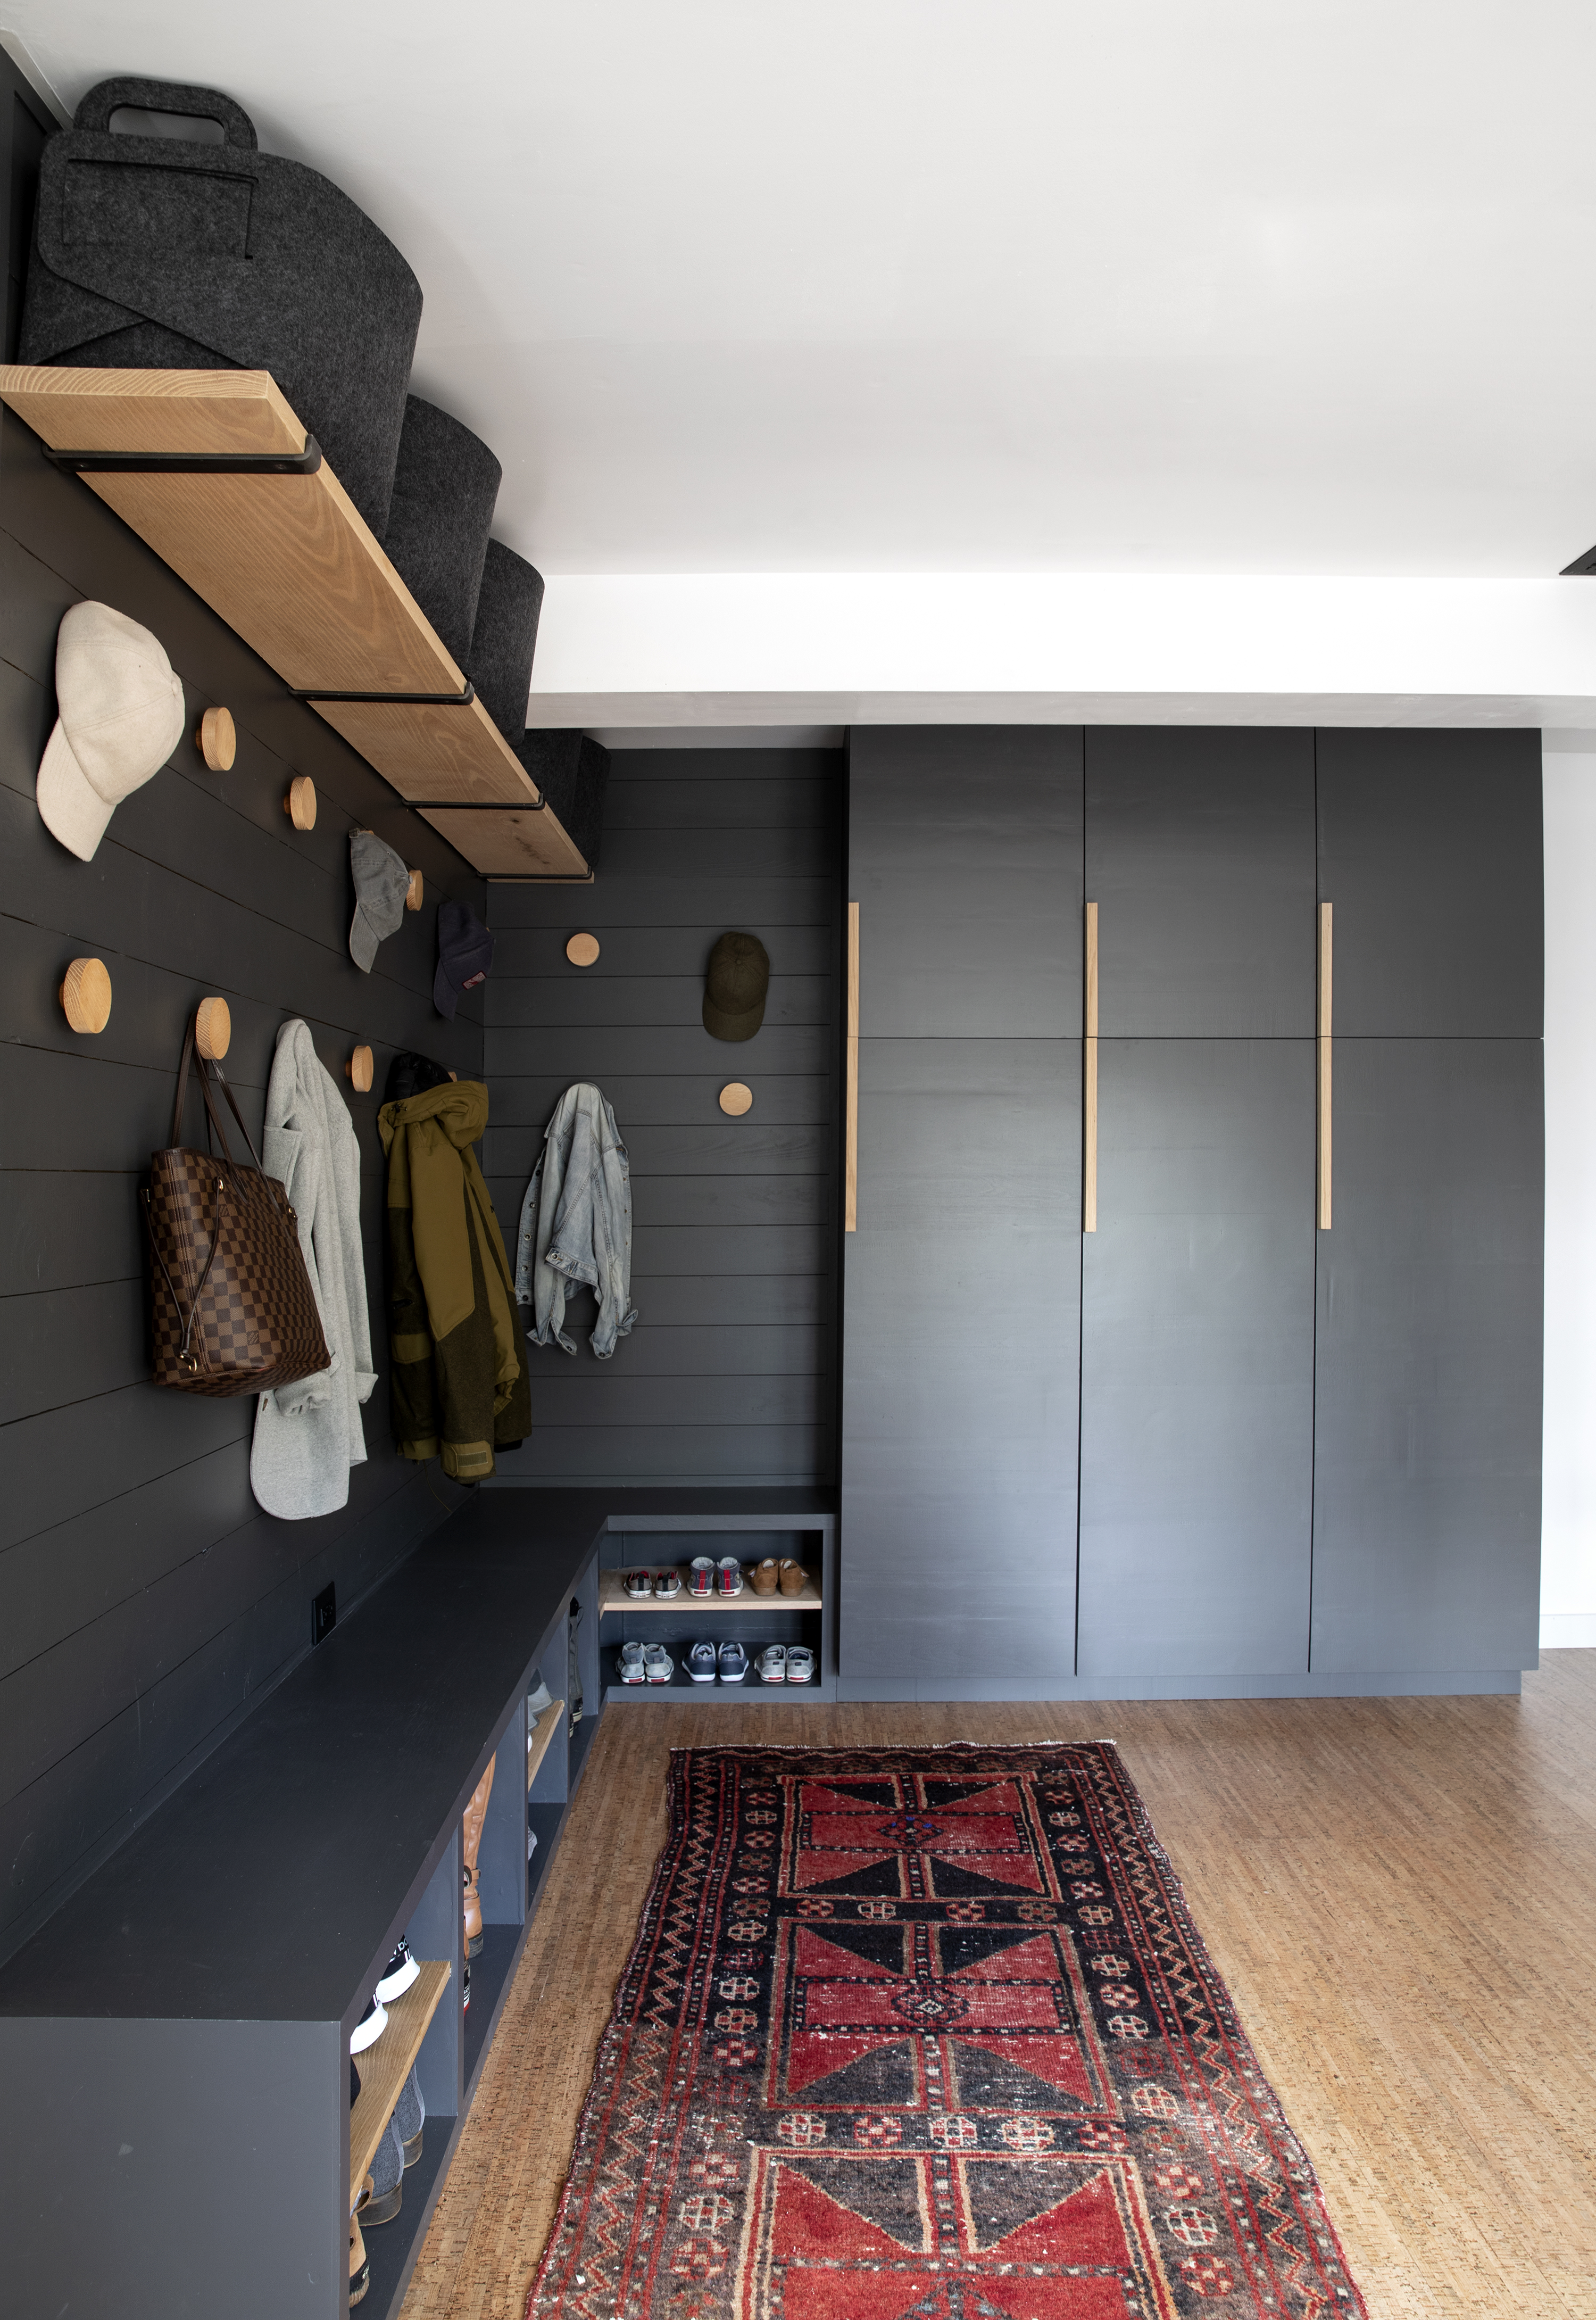
So much storage!
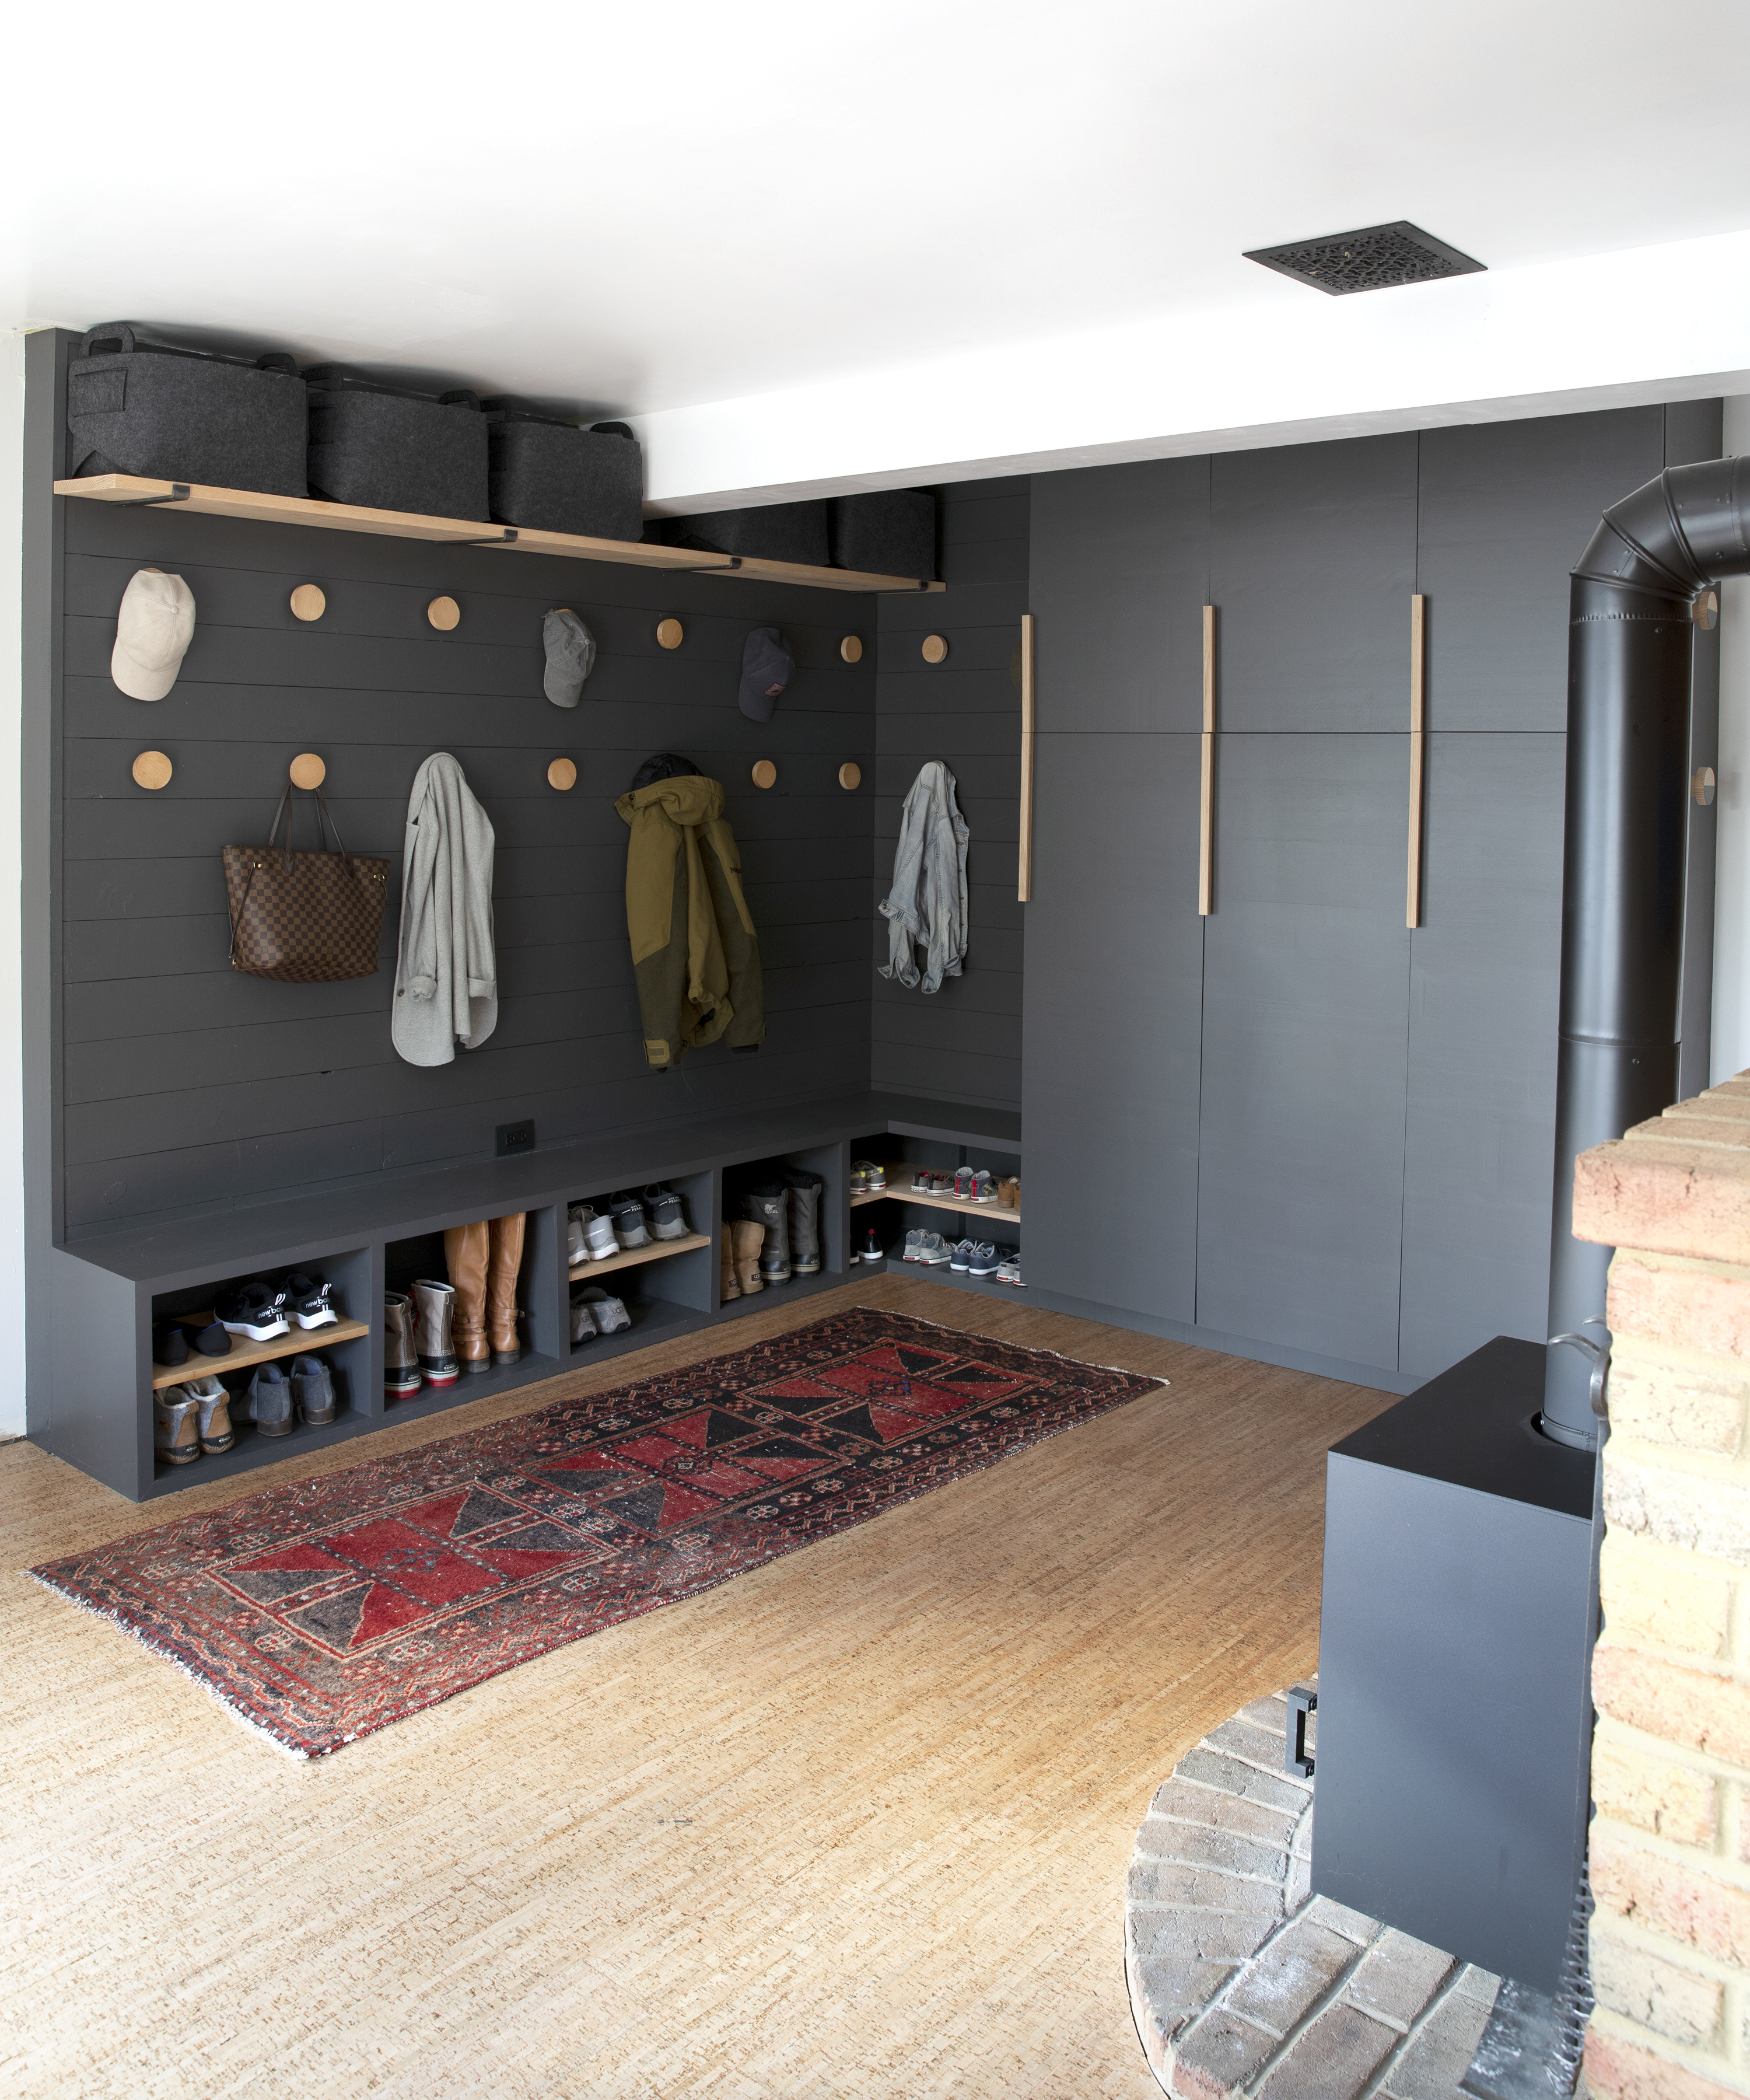
Love the color block detail!
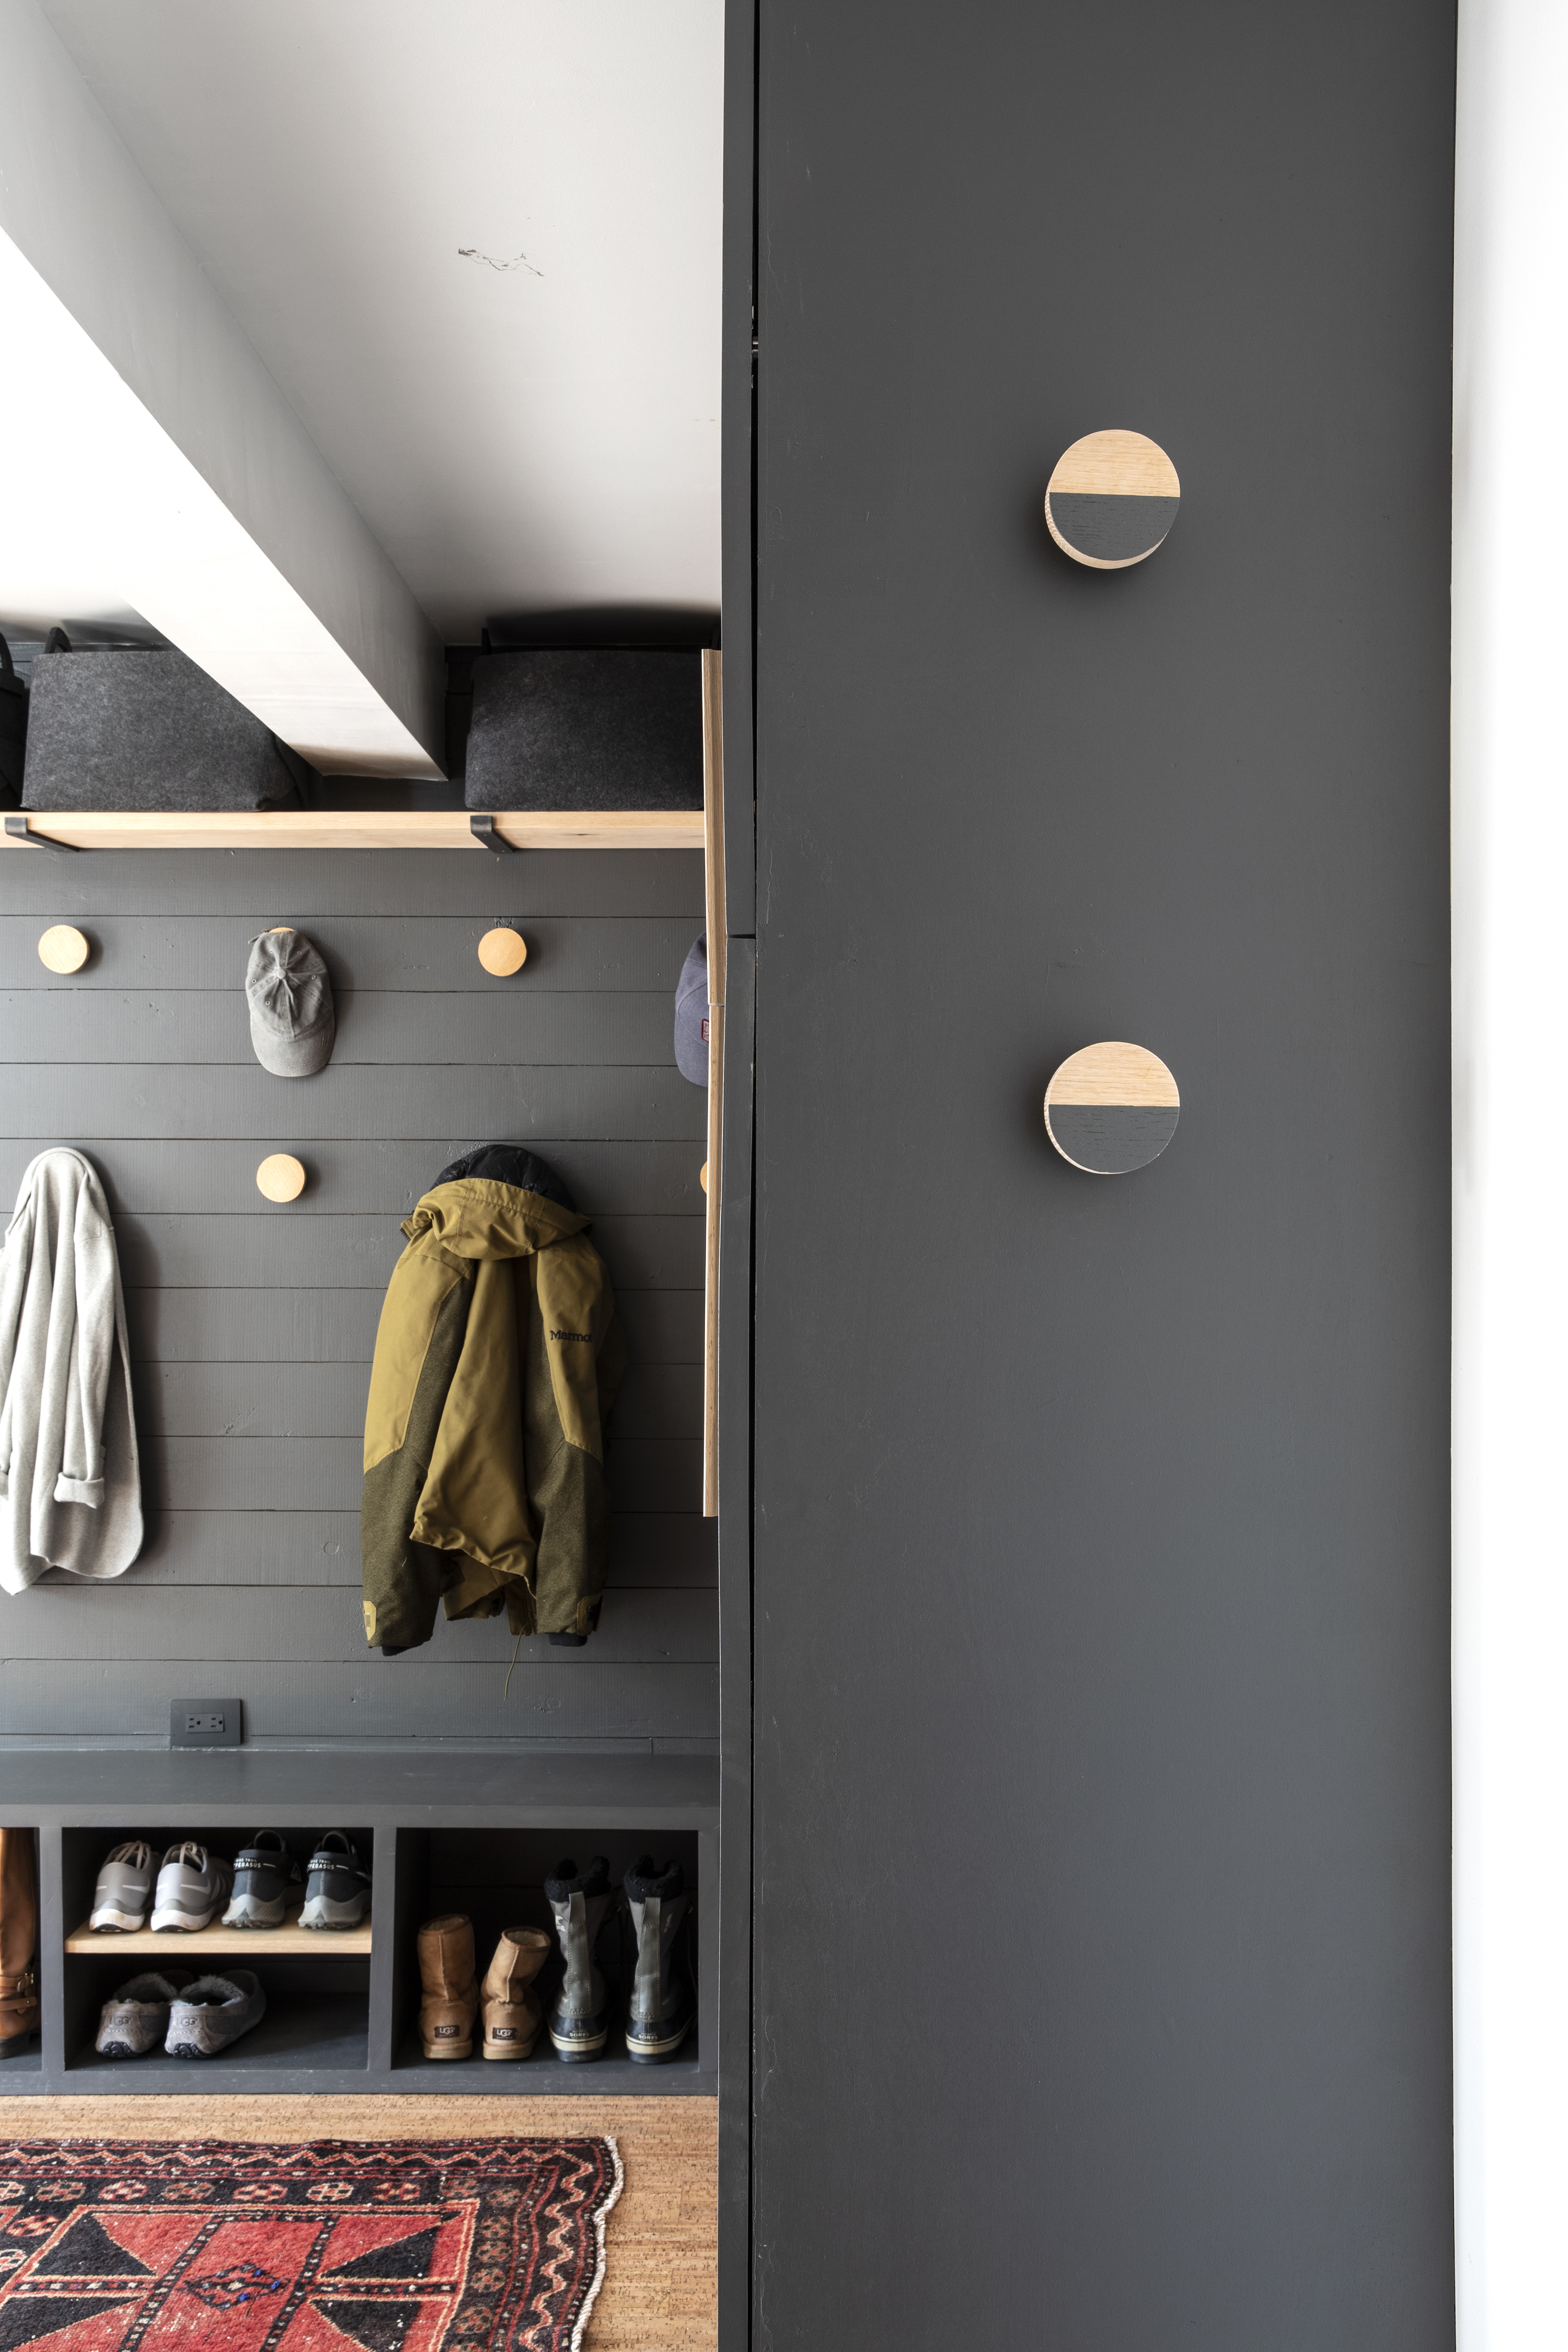
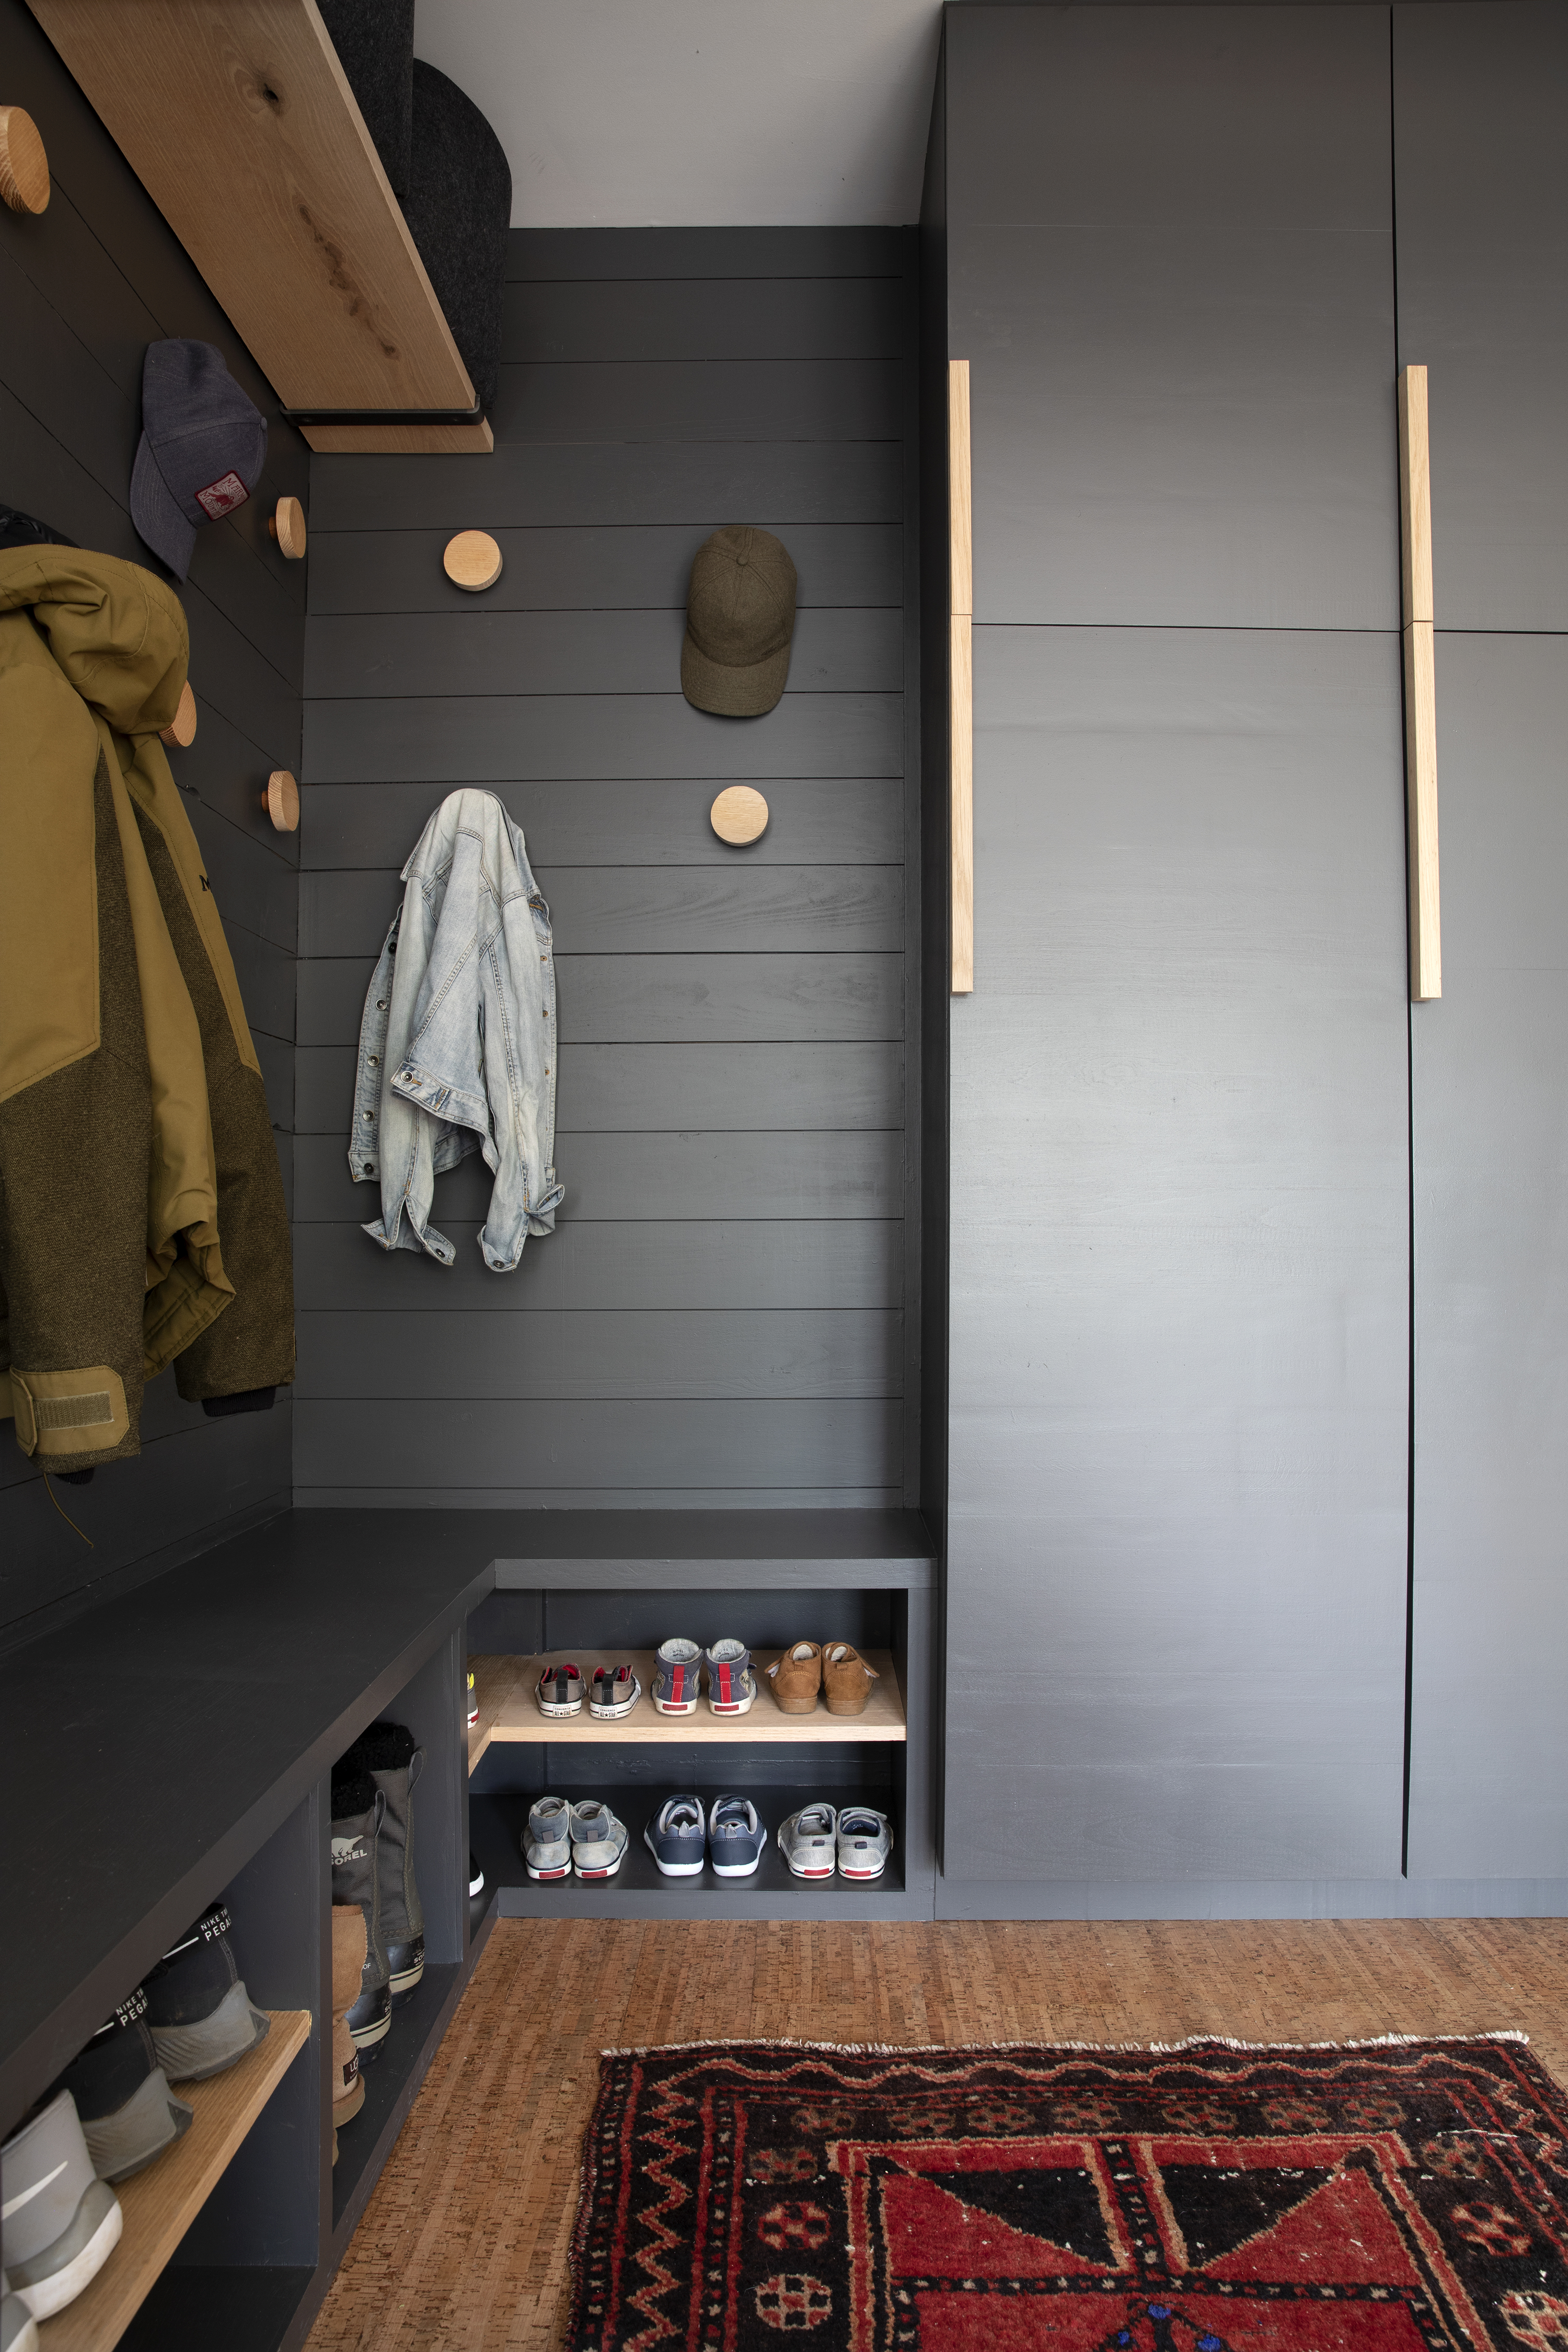
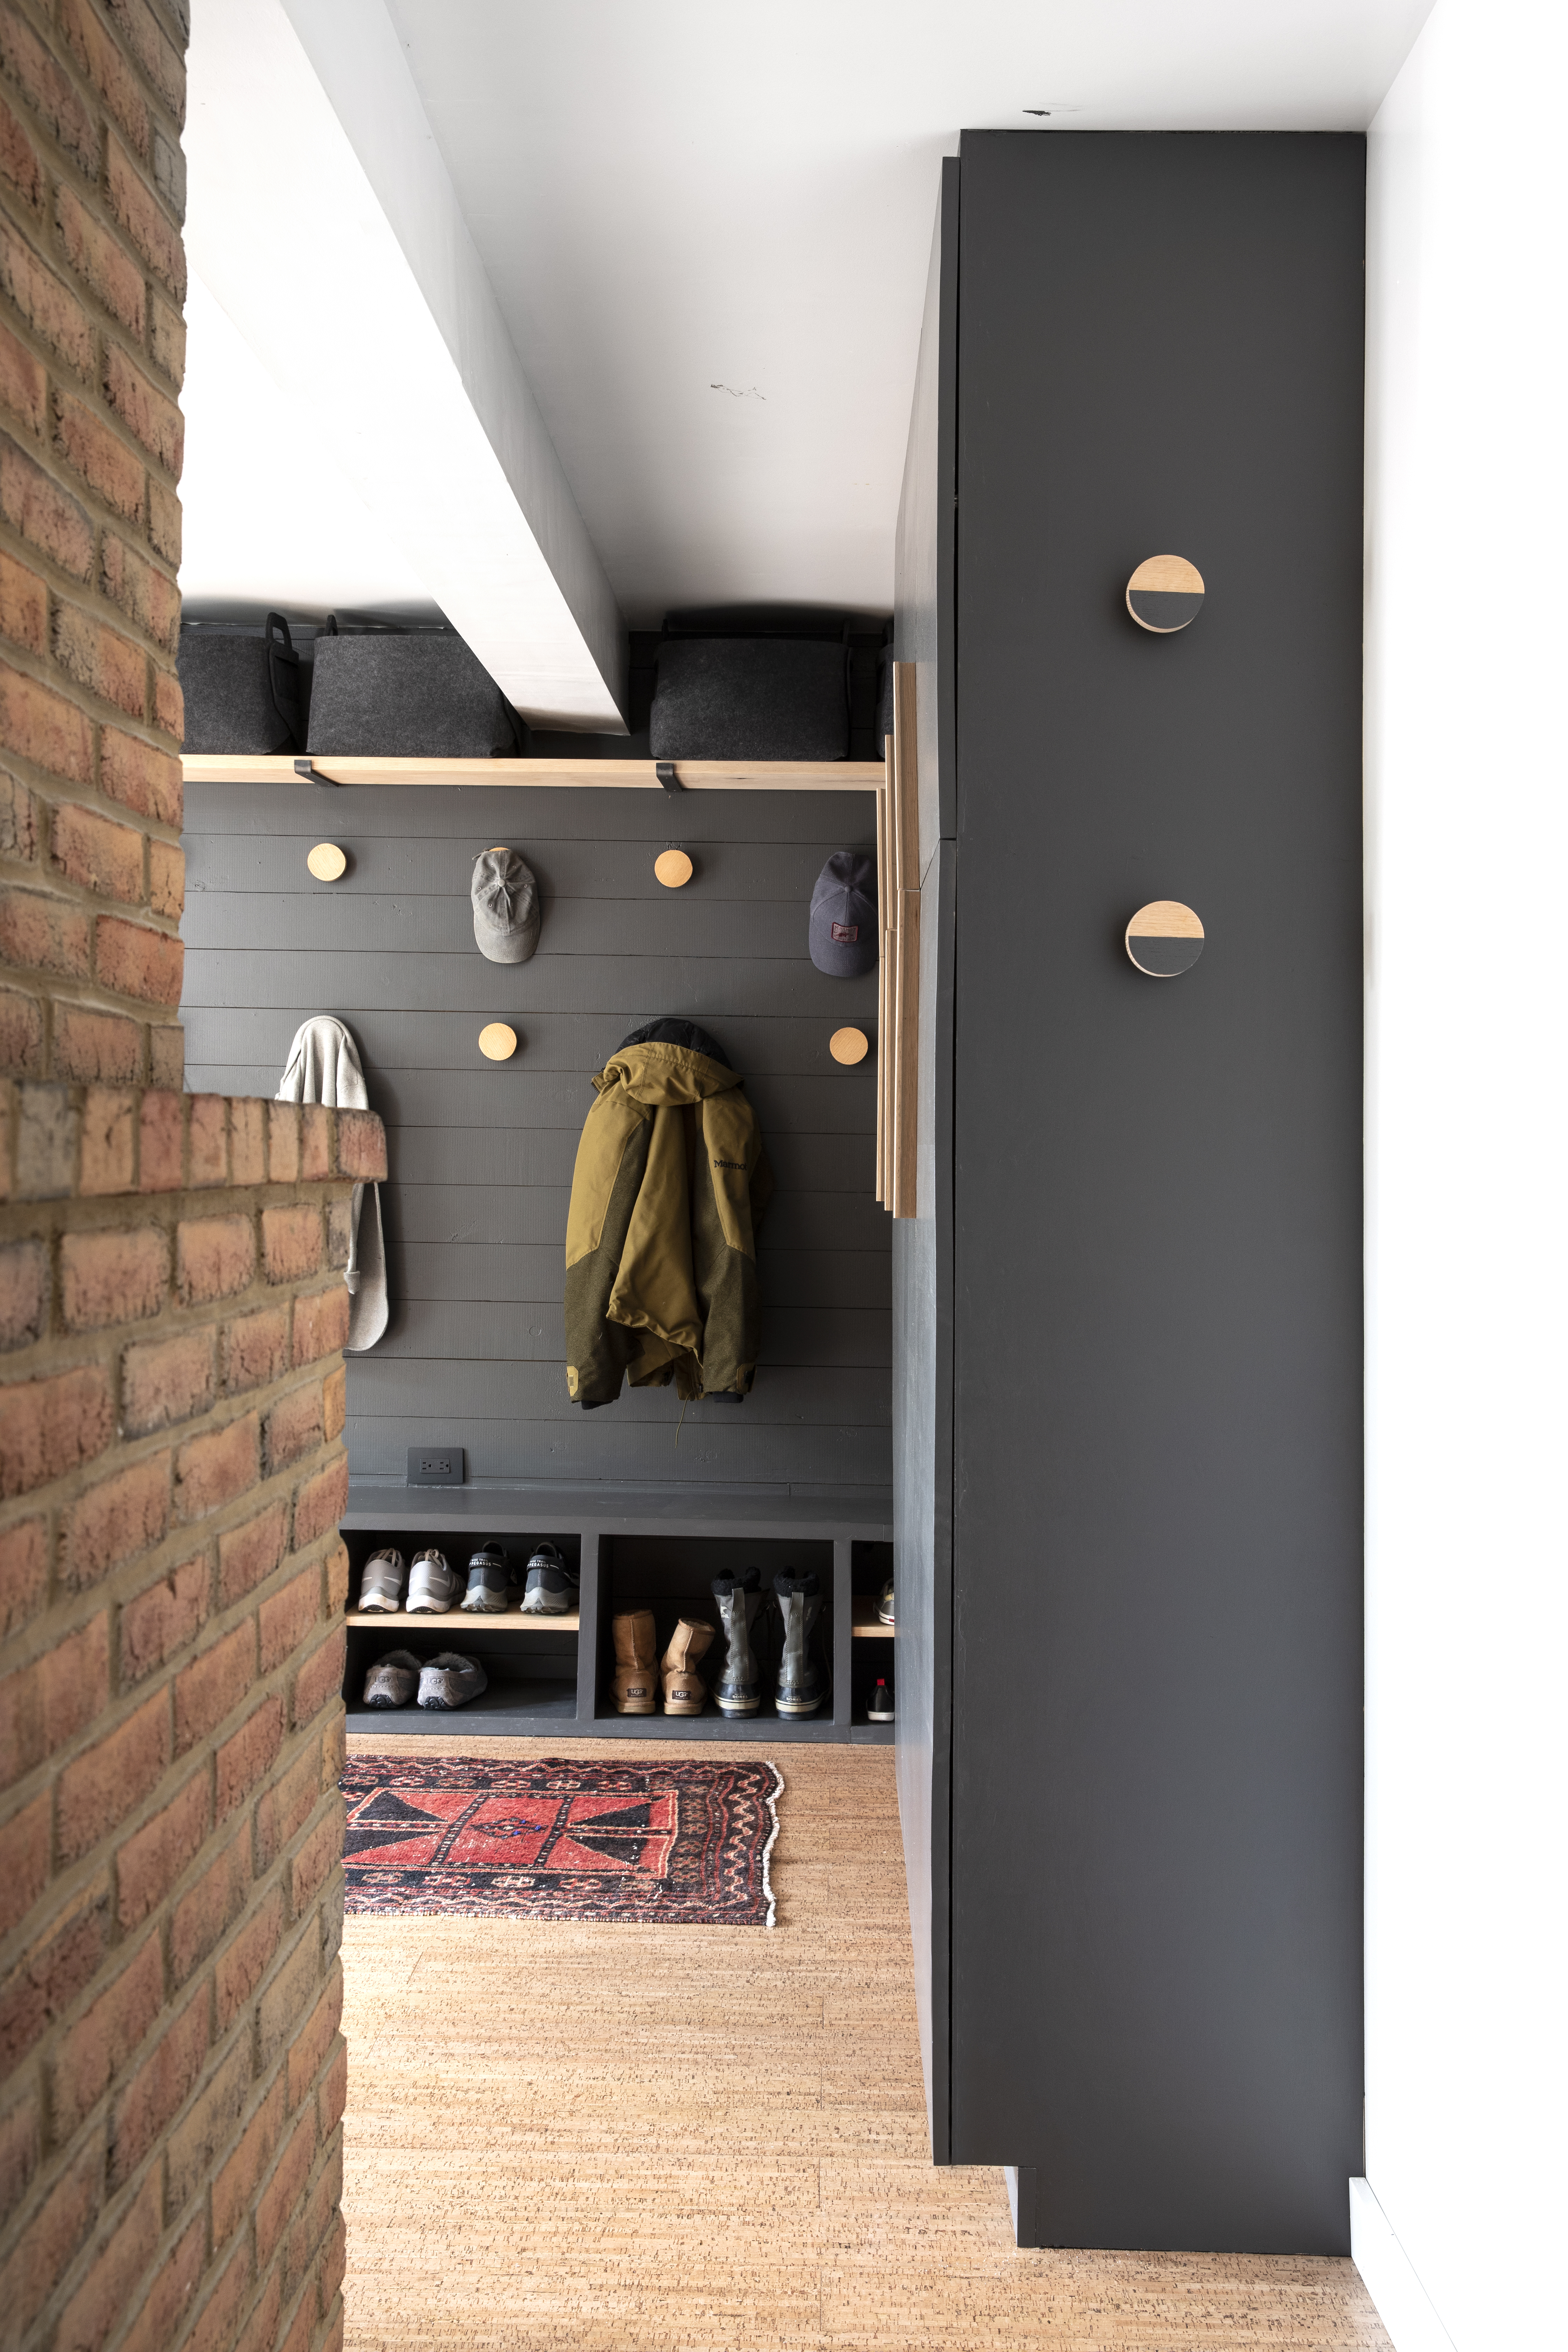
That’s it! I love how this came together and I’m so excited to have additional storage here. If you have any questions, please reach out!
SOURCES
ROUND WOOD HOOKS | RUG (vintage from this shop) | FELT BASKETS | PAINT BM Kendall Charcoal (made darker), exact color formula (Quart) Y3 0x 17.6250, S1 2x 2.8750, W1 0x 0.0000, R3 0x 3.3750 (mixed at Benjamin Moore) | CUBBY BENCH TUTORIAL | THESE drop clothes from FrogTape are my FAVORITE! They are the perfect size, don’t slip and fold up neatly to be used next time
Leave a Reply