• Home
  • About
  • Services
  • Shop
    • Bloglovin
    • Email
    • Facebook
    • Instagram
    • Pinterest
    • Twitter

Dorsey Designs

DIY and Interiors by Sarah + David

  • Home Tour
  • DIY TUTORIALS
  • friday favorites
  • design + build
  • art

get the latest straight to your inbox

Art for Above the Headboard – Take 1

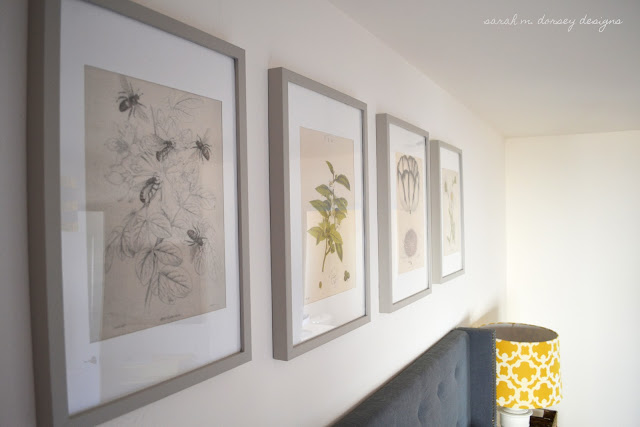
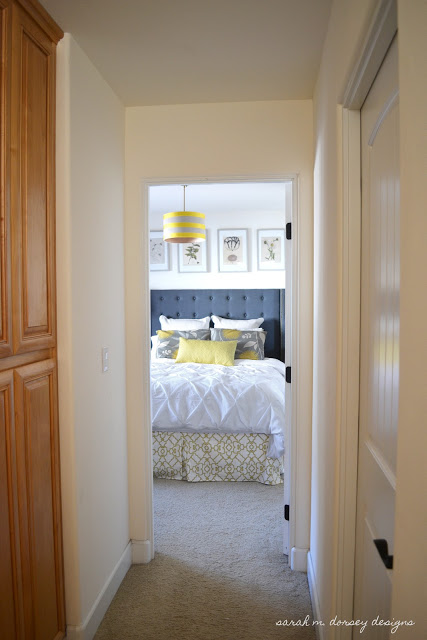
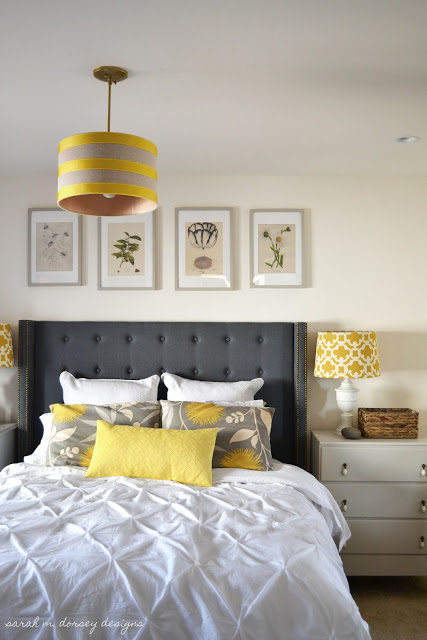
This weekend we hung the prints above the headboard

click here to see where I saw the idea!

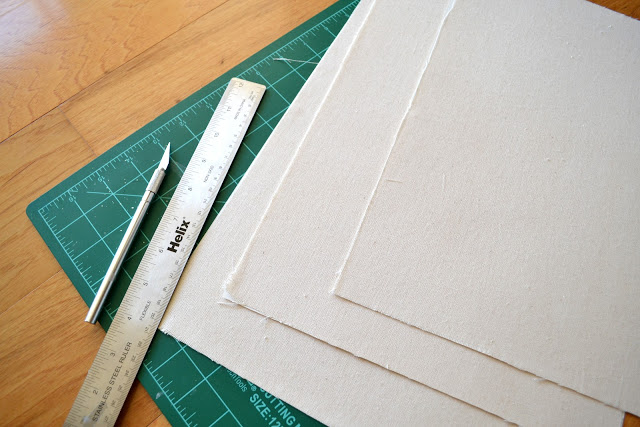
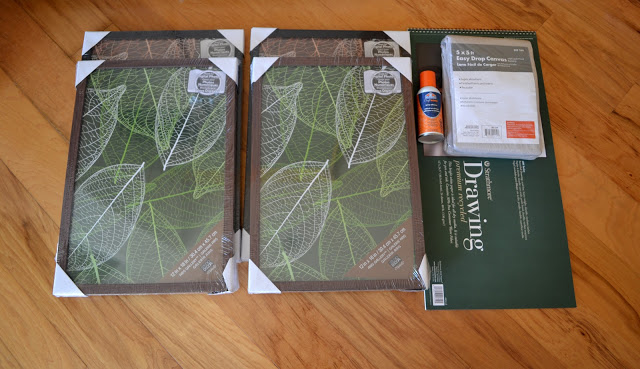
These are the supplies I started with (minus the drop cloth which I returned because it had a plastic backing and purchased muslin instead

I cut the drawing paper and muslin to size and spray mounted the fabric to the paper – it doesn’t need to be perfect because the edges are covered, but the corners need to be attached to go through the printer (I also later cut the loose threads off so they wouldn’t get caught in the printer)

I painted the frames with some left over paint and cut mats out of the the same drawing paper

Also, while I was taking the glass out of the frame – one broke – this is the cheapest glass ever! (David agreed too!) so for safety precautions (since it is above sleeping heads) I purchased a cheap large frame with the plastic instead of glass – cut to size – and swapped all of the glass for plastic – We also used screws to attach them to the wall and picture hanging command strips for added strength – so they are really up there!

Unfortunately once they were hung I wasn’t over the moon about them … I like them a lot … but not here – I am going to see what else I can come up with today!

I was also able to finish the ombre table for the entry way over the weekend! Check back for photos!
art// Bedroom// Uncategorized// Uncategorized3 Comments

Subscribe

get the latest straight to your inbox

« Art Progress for Above the Headboard
Ombre Table for Entryway!! »

Comments

  1. Little Miss Lee says

    May 14, 2012 at 2:48 pm

    Where is that fab light fixture from? This is the same color pallet as my bedroom. Love! Thanks:)

    Reply
  2. Little Miss Lee says

    May 14, 2012 at 2:53 pm

    Oops. Just read more of your blog and answered my own question! You have great ideas!

    Reply
  3. Sarah says

    May 14, 2012 at 6:04 pm

    Thank you! If you decide to make one – I'd love to see pictures!

    Reply

Leave a Reply Cancel reply

Your email address will not be published. Required fields are marked *

Contact Me

sarahmdorseydesigns{@}gmail{.}com

Stay Updated!

Get all the latest goods straight to your inbox!

This error message is only visible to WordPress admins

Error: No connected account.

Please go to the Instagram Feed settings page to connect an account.

Must Reads

Custom Peg Board + DIY Circle Art | FrogTape

Custom Peg Board + DIY Circle Art | FrogTape

Main Level Refresh with The Home Depot

Main Level Refresh with The Home Depot

Sponsor

2016 Daily Simplified Planner

Popular Projects

MBR Headboard Update

MBR Headboard Update

April 10, 2012 By Sarah 2 Comments

Black and White Chair | My Process + What NOT to do

Black and White Chair | My Process + What NOT to do

January 24, 2014 By Sarah 21 Comments

Chinese Chippendale Chairs | Real Time Progress

Chinese Chippendale Chairs | Real Time Progress

September 29, 2014 By Sarah 15 Comments

It’s beginning to look like a headboard | and the winner is …

It’s beginning to look like a headboard | and the winner is …

June 8, 2012 By Sarah 3 Comments

DIY statment art + frame | tutorial

DIY statment art + frame | tutorial

August 6, 2013 By Sarah 13 Comments

  • DIY TUTORIALS
    • design + build
    • furniture redo
    • diy in 1 hour or less
  • free printable
  • friday favorites

Disclosure

Occasionally, affiliate links are used when they are available. I do earn a small commission when items are purchased using those links. As always, I only link to things that I truly love. I also link to items that I love when an affiliate link is not available. Thanks so much!

  • Home
  • About
  • Services
  • Shop

Copyright © 2025 Dorsey Designs

MENU
  • Home
  • About
  • Services
  • Shop