This post has been sponsored by FrogTape
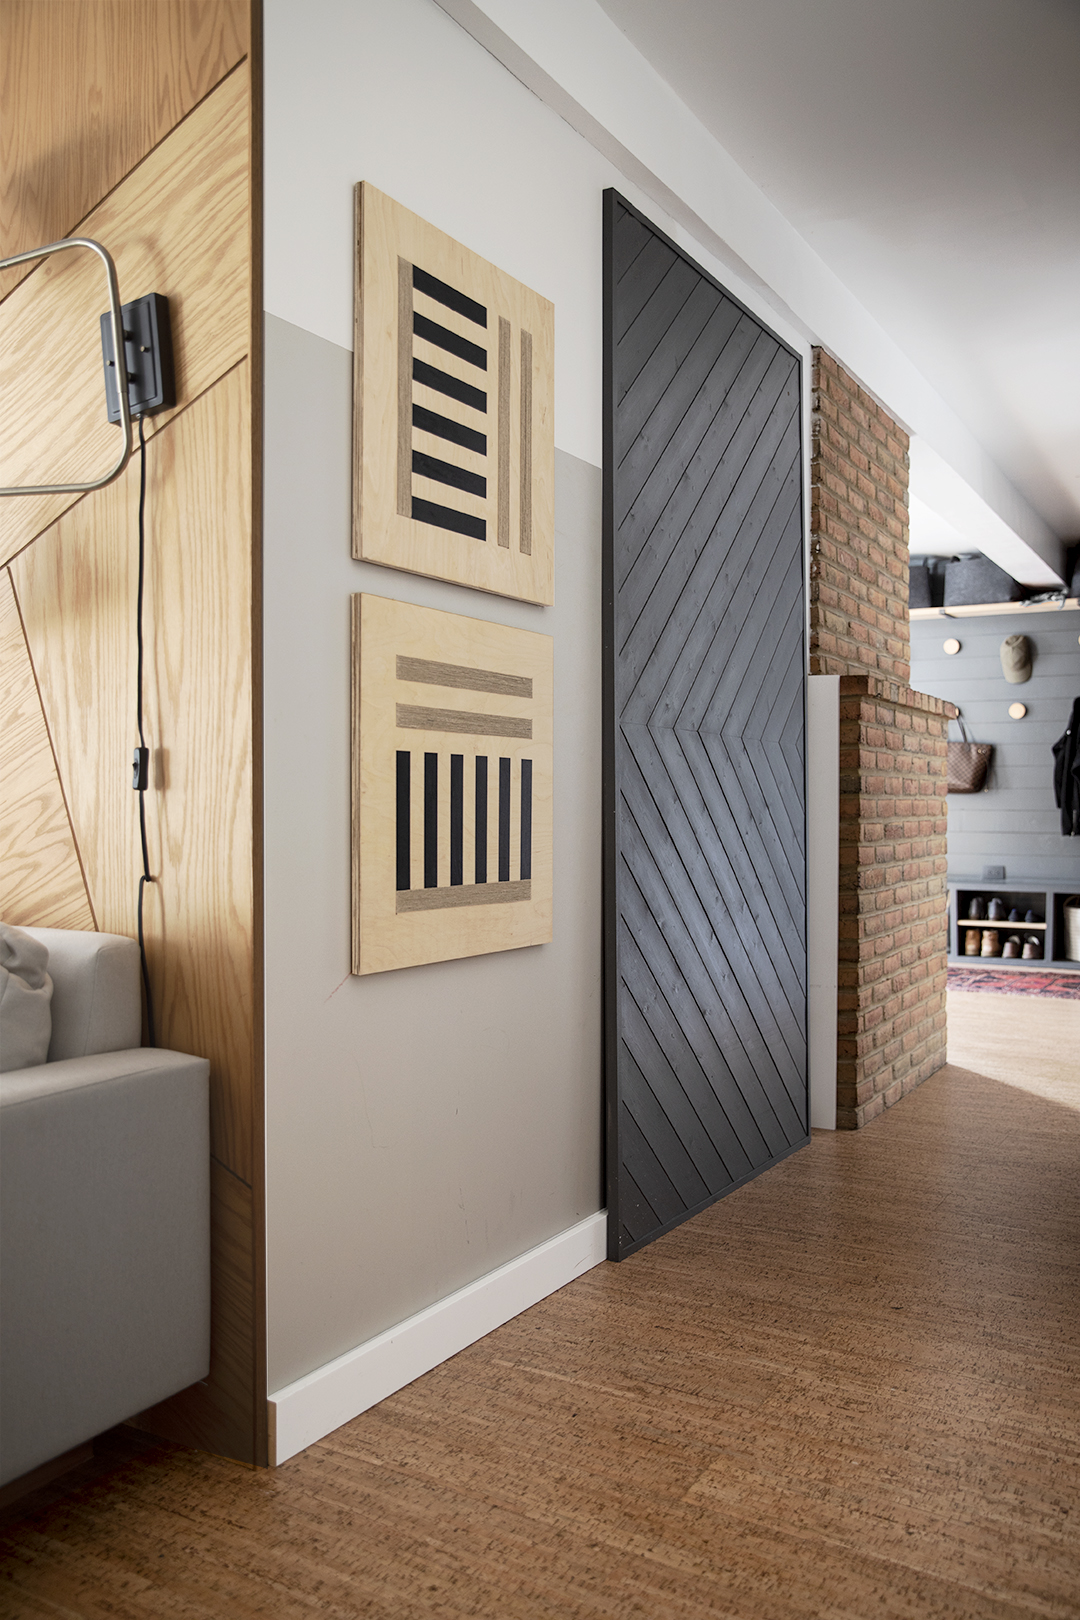
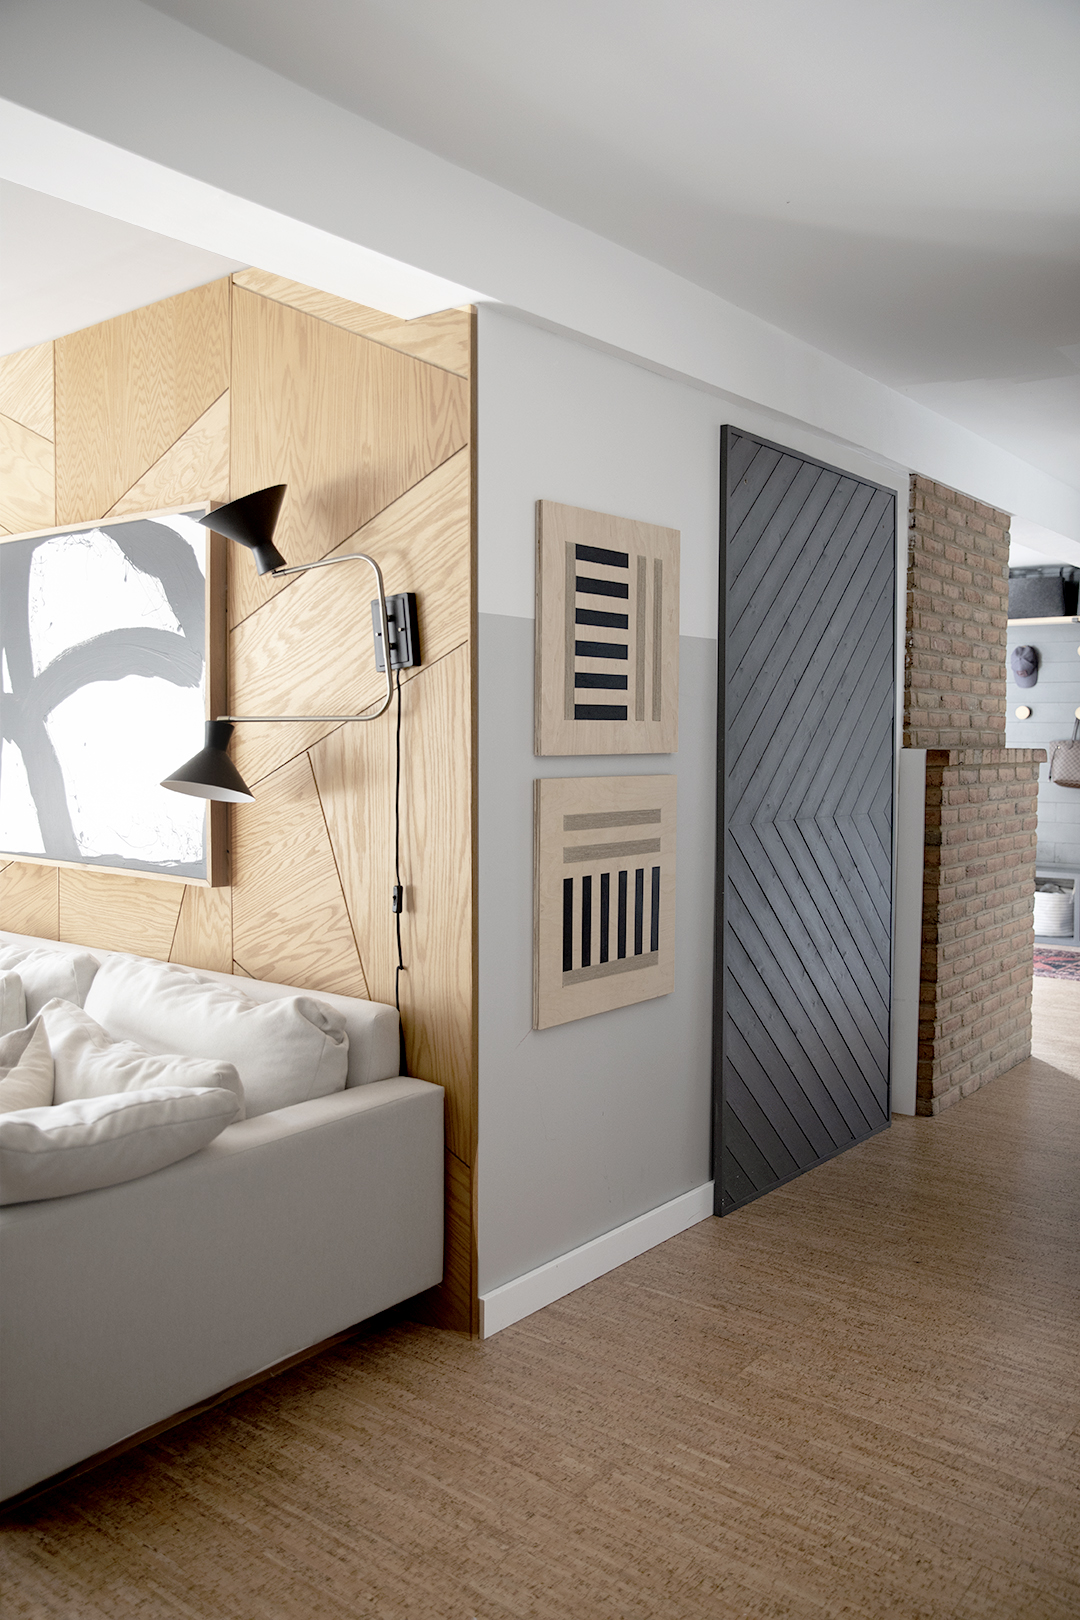
Slowly but surely, we’re finishing up our basement! Next up, the utility closet under our stairs. With the help of FrogTape, we added a lower color block on the wall and created artwork utilizing, wood, paint, and jute twine. I love the simplicity of the color block, yet it adds a lot of impact! Adding DIY art is one of my favorite things to elevate a space. It’s inexpensive, easy and fun to make! I love the texture that it adds to the space. Read on to see how we did it!
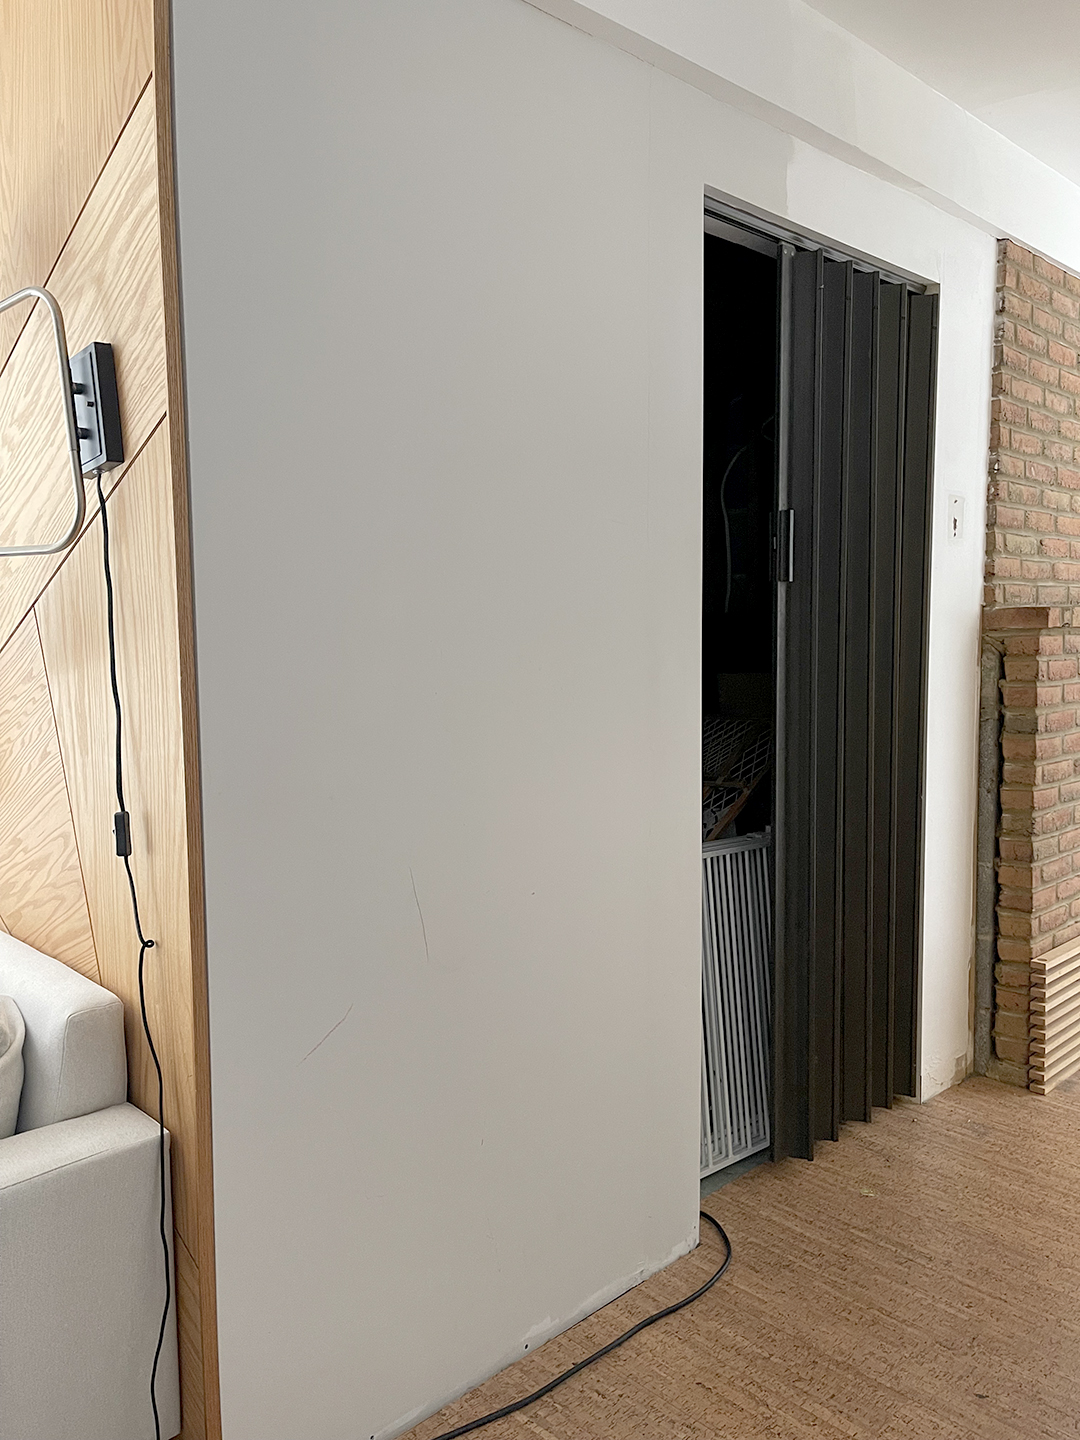
Before
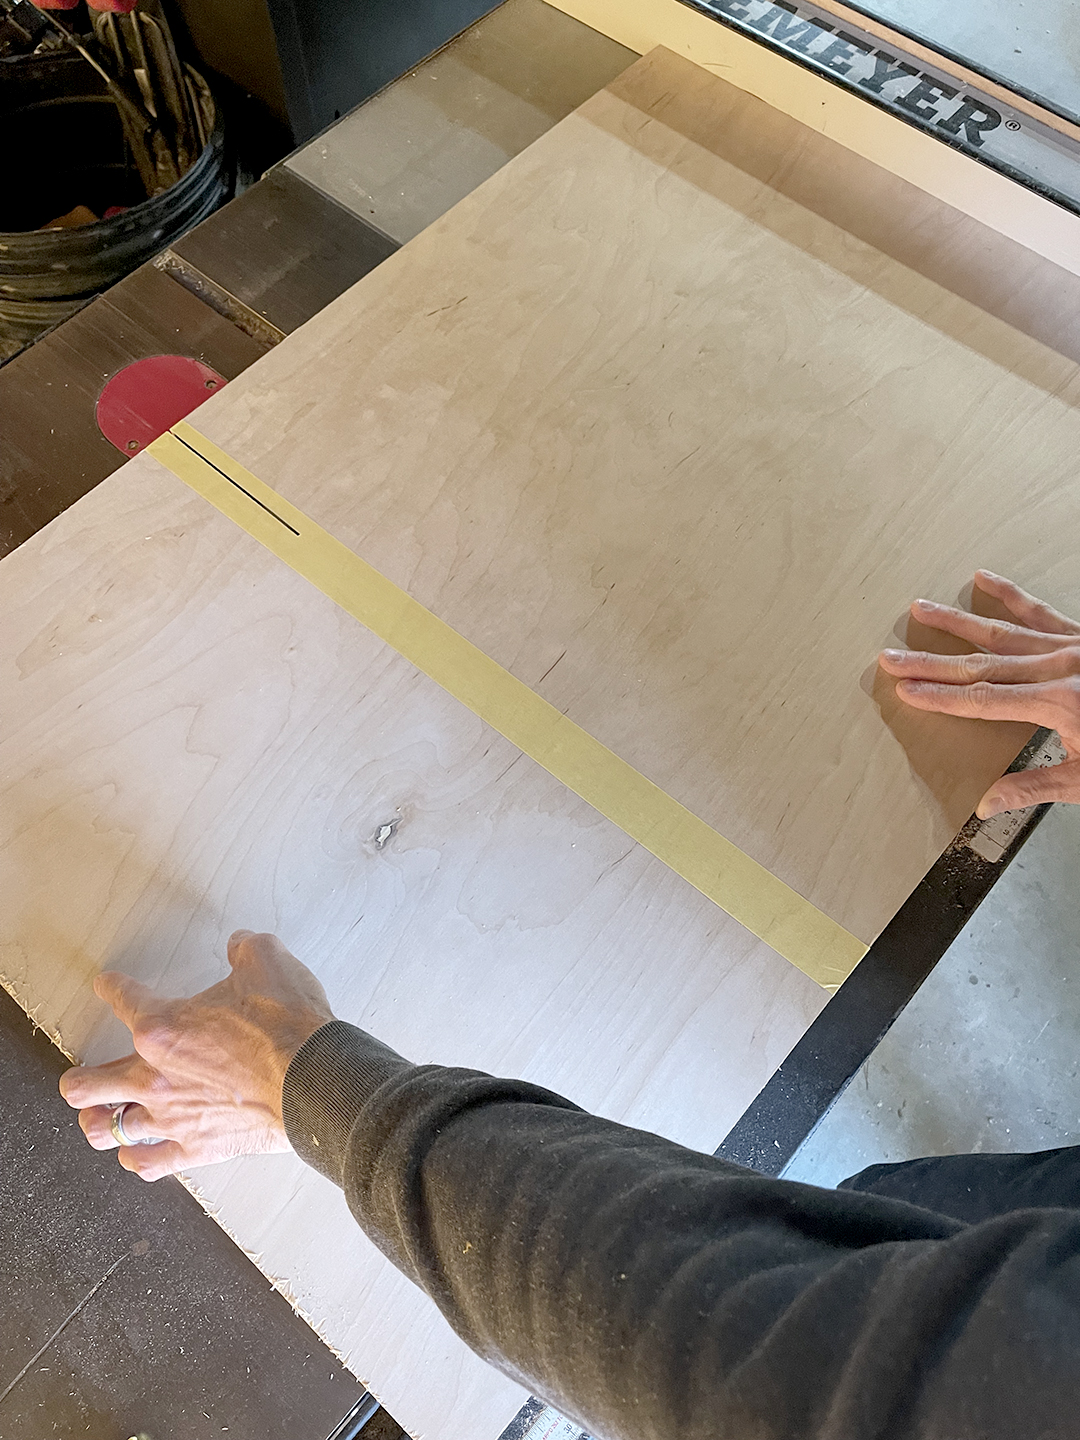
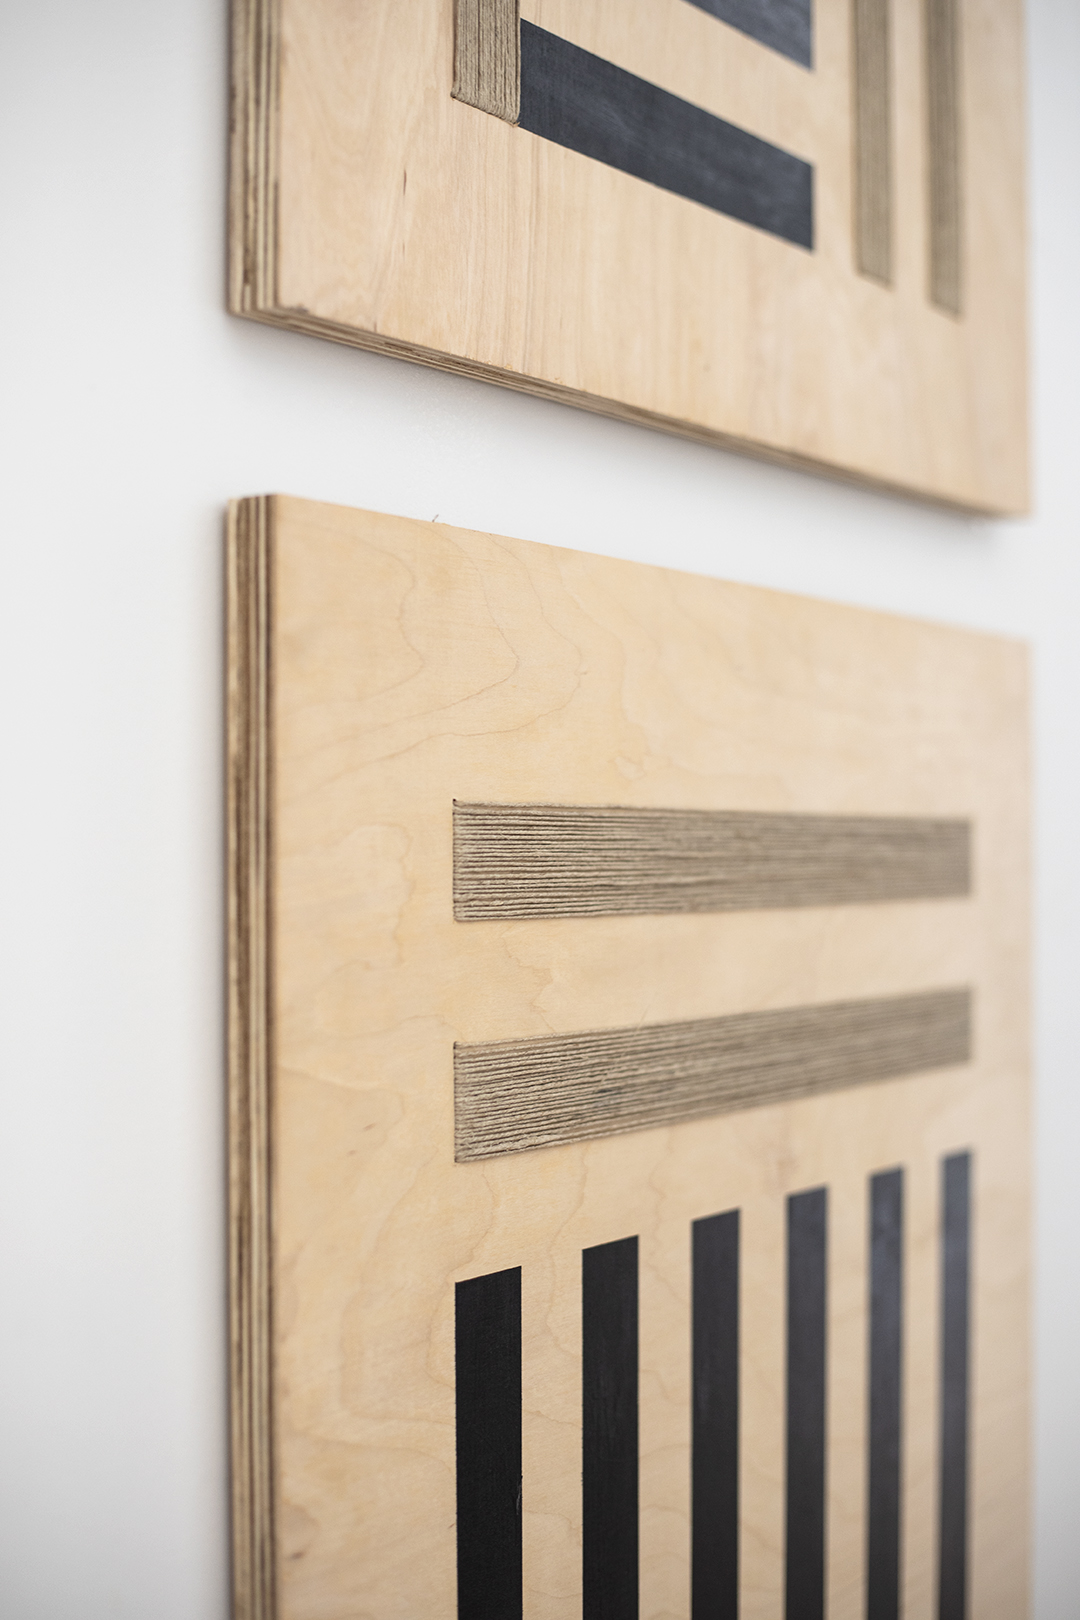
First, we cut our plywood to size, using FrogTape delicate on the cut line to help prevent the plywood from splintering. We used 3/4″ birch plywood and cut 22″x22″.
Once cut, apply a clear sealant, such as lacquer to seal the wood. Once the lacquer has cured, begin laying out the pattern.
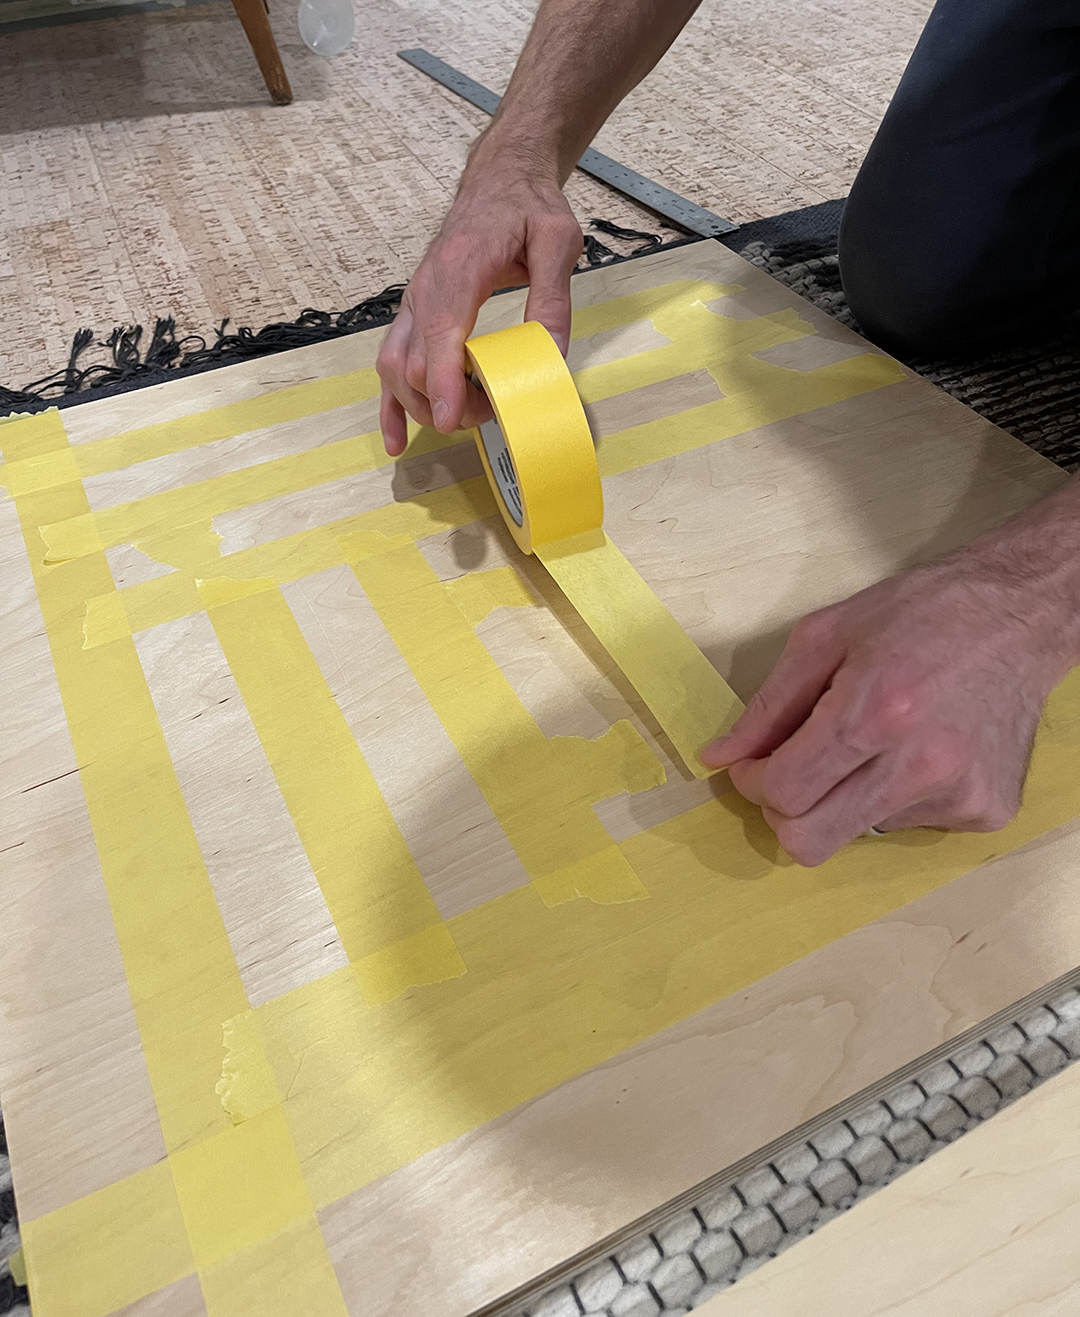
Using the paint of your choice, apply one or two coats until the paint fully covers the wood.
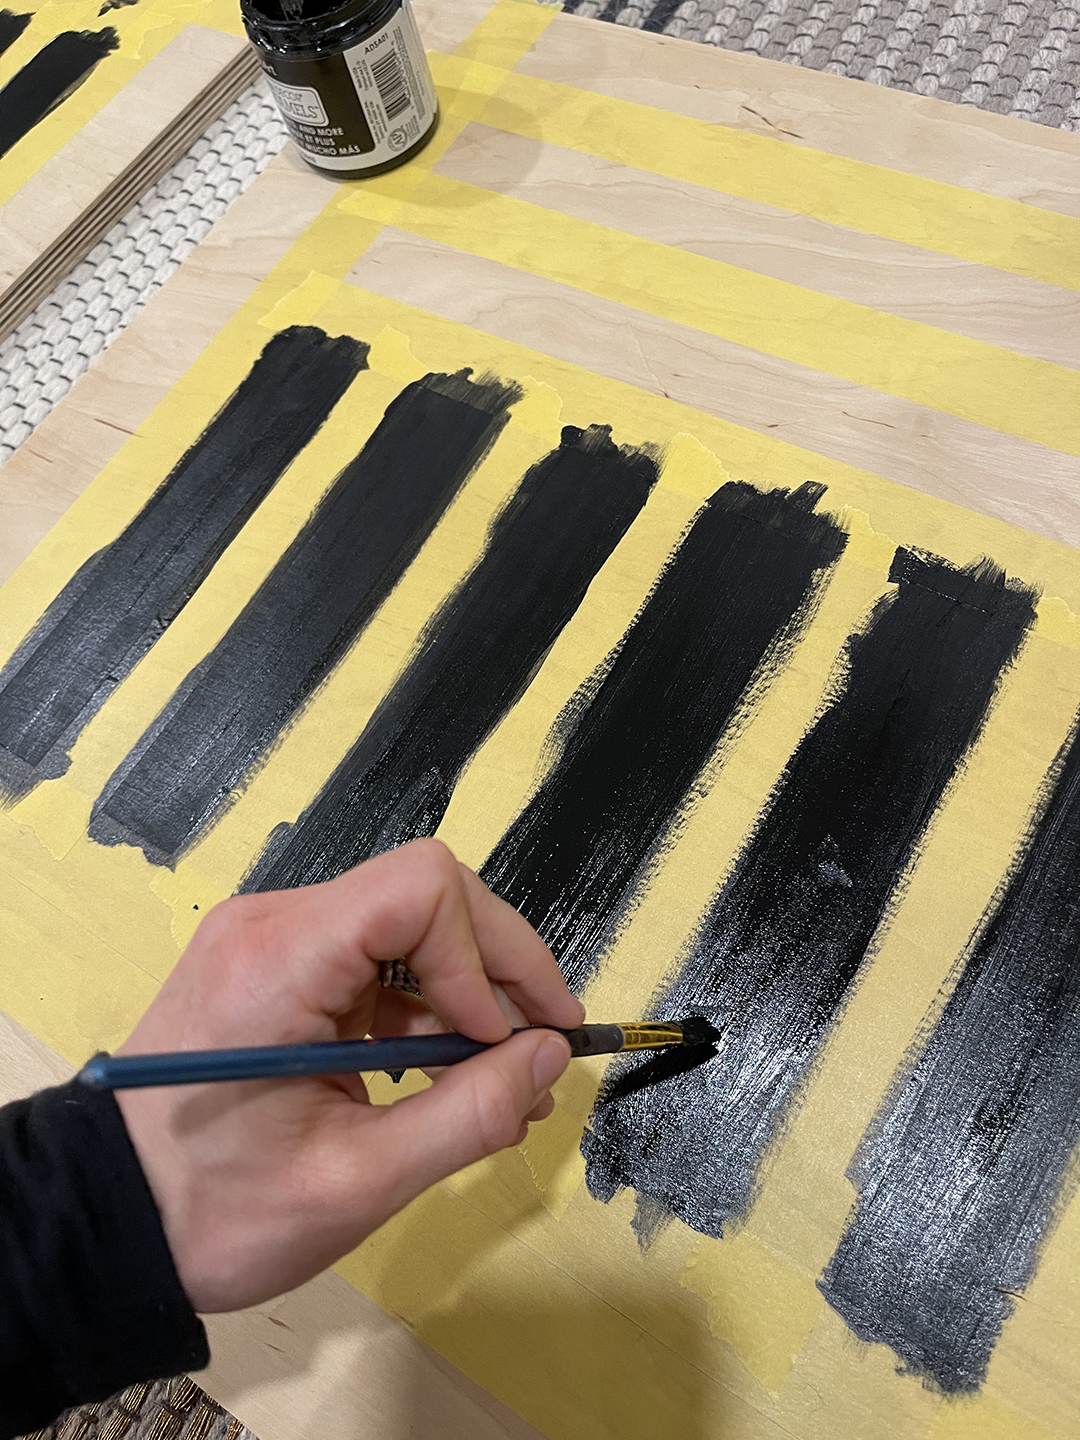
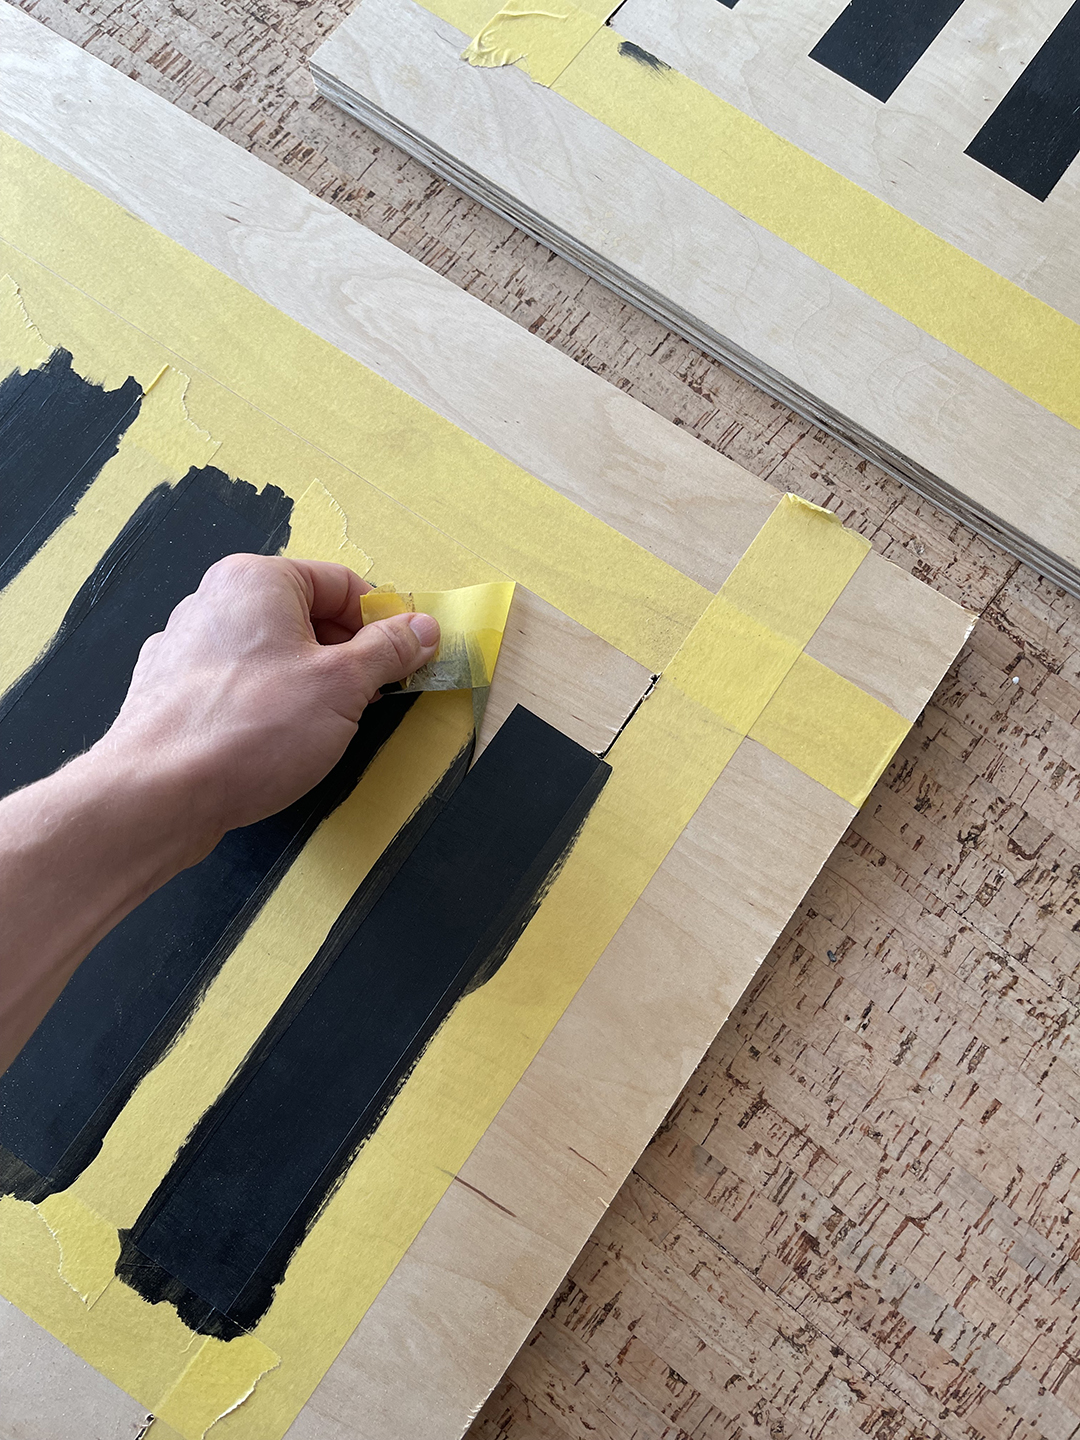
While the paint is still wet, remove the FrogTape around the painted areas
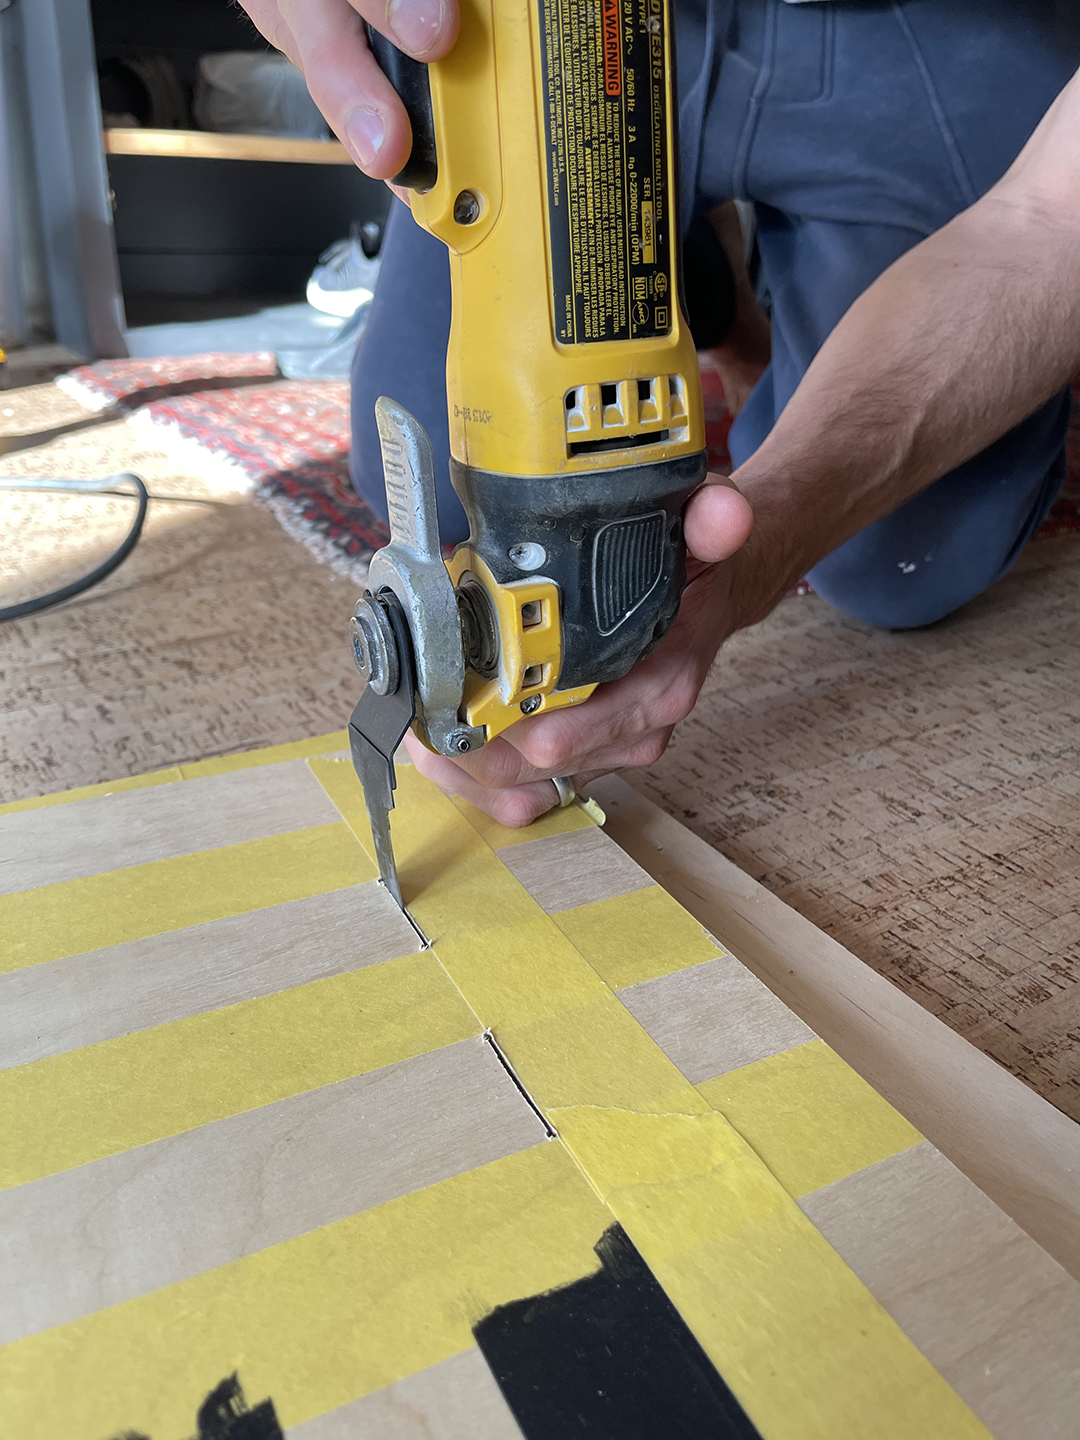
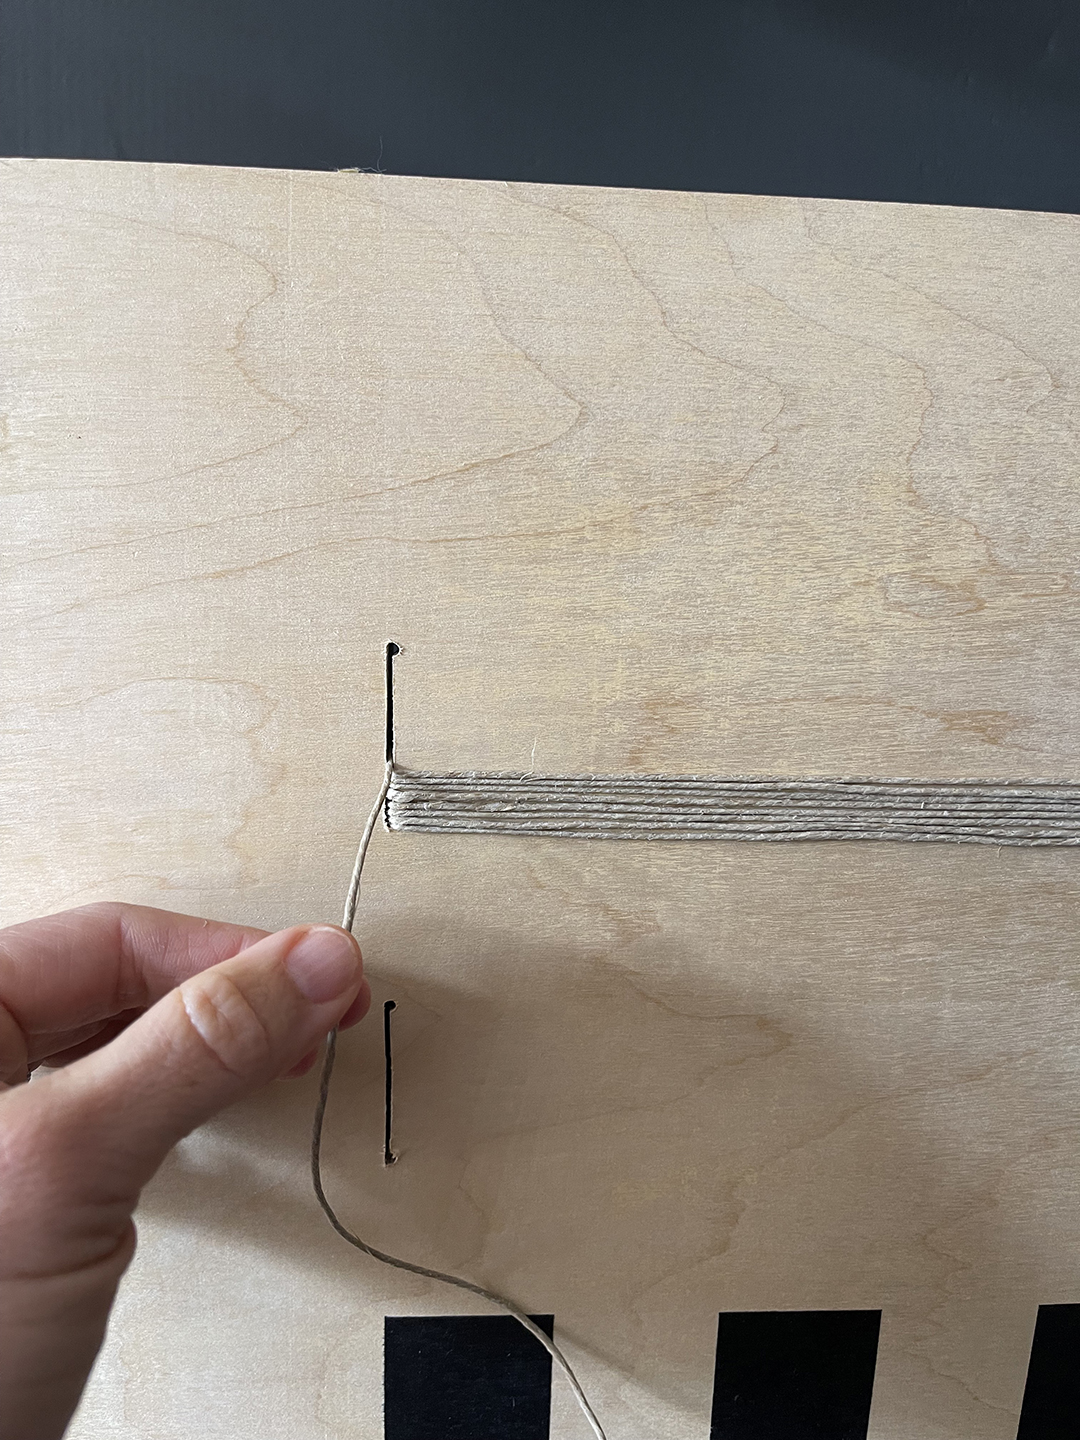
Once dry, create a cut a slot in the wood for your twine to go through. Using an oscillating saw, cut completely through the wood. Place a scrap piece of wood underneath the board so you do not damage the surface below.
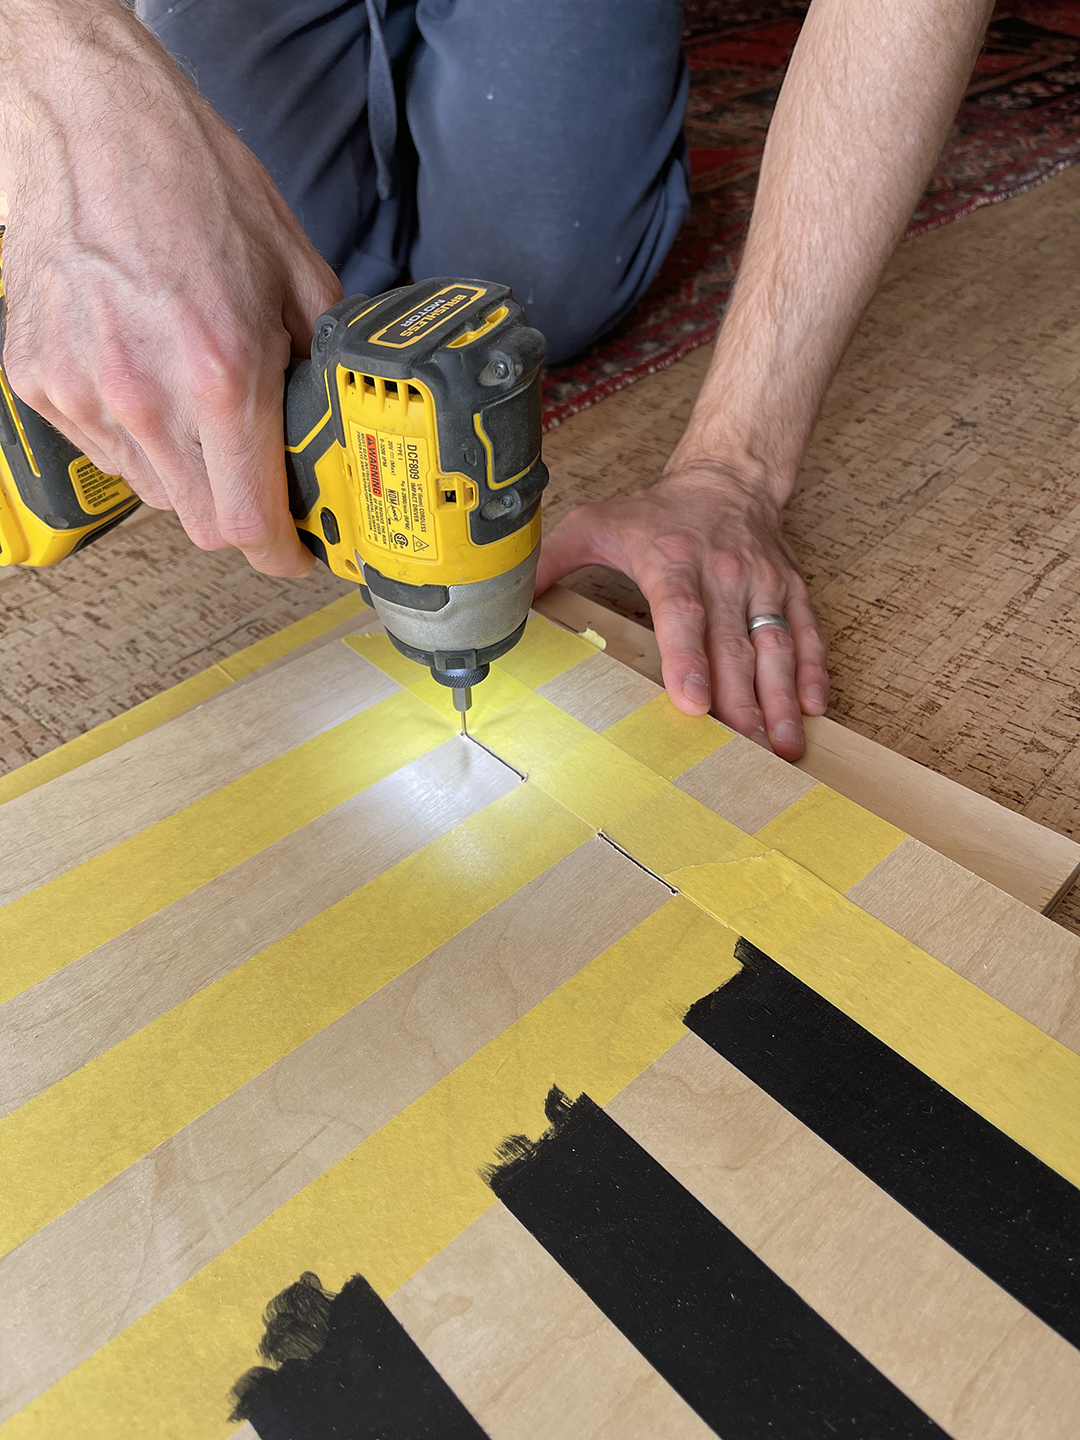
On the edge of the cut, using a 5/16″ drill bit to make it easier to thread the jute twine through the wood. Use the scrap piece of wood again to protect the surface below.
Remove all of the remaining tape used to layout the jute areas and start applying the jute twine. Thread it through the hole created with the drill bit and pull a few inches through (see second image below) Pull it to the other side, trim leaving a few inches and pull it through the other hole. Repeat steps until finished.
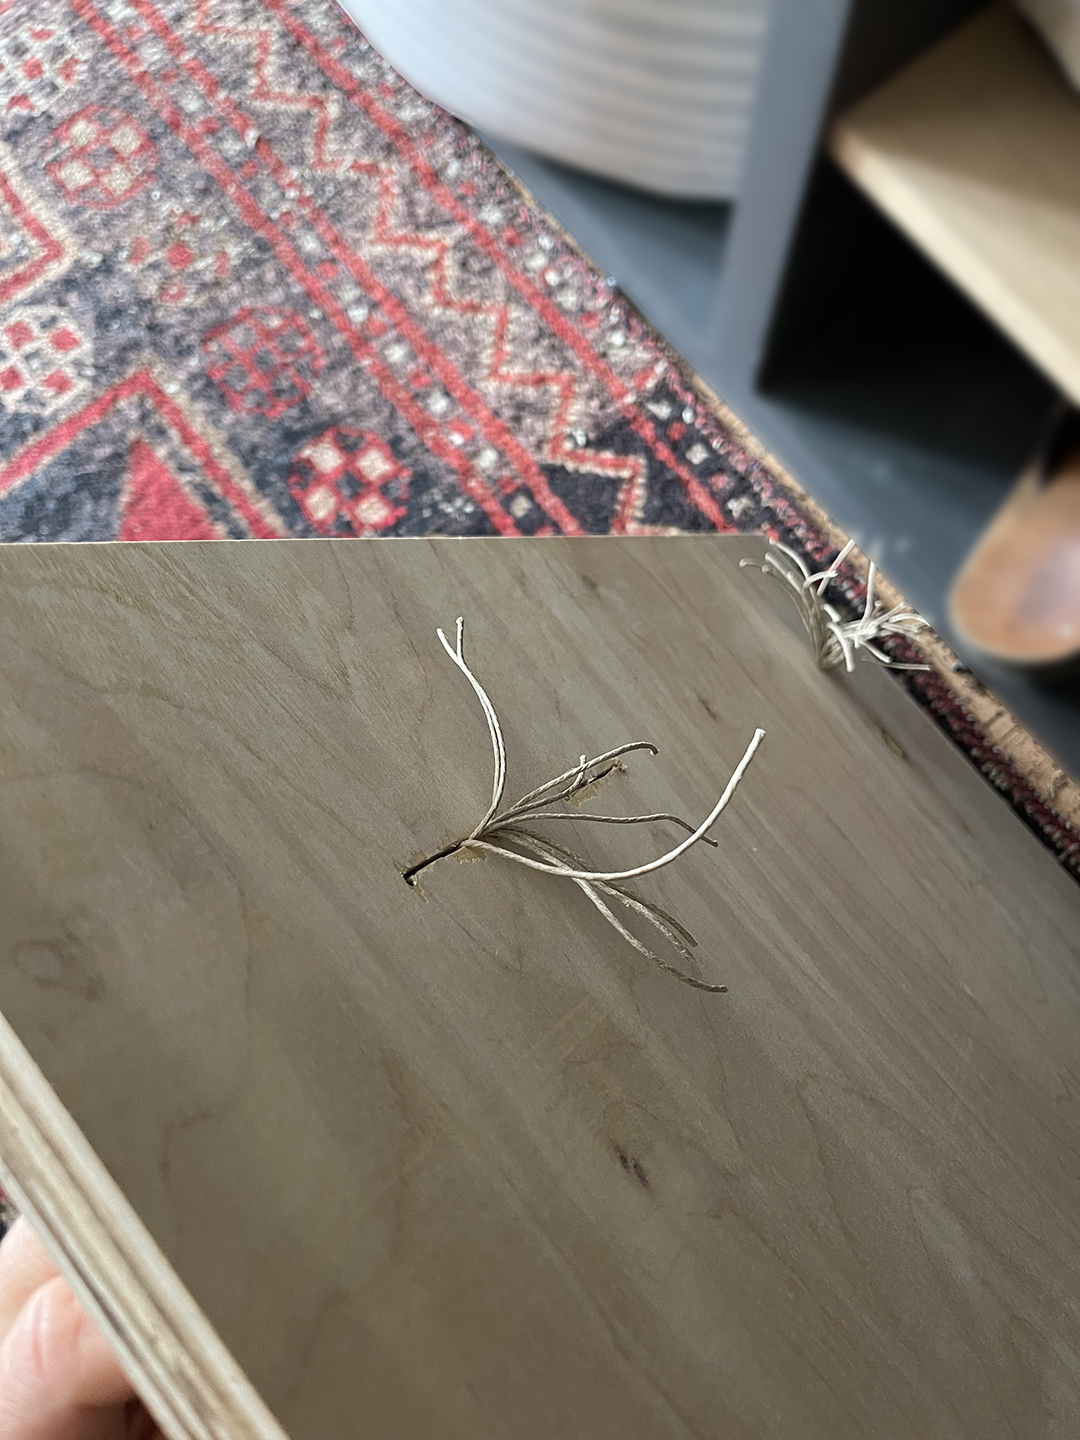
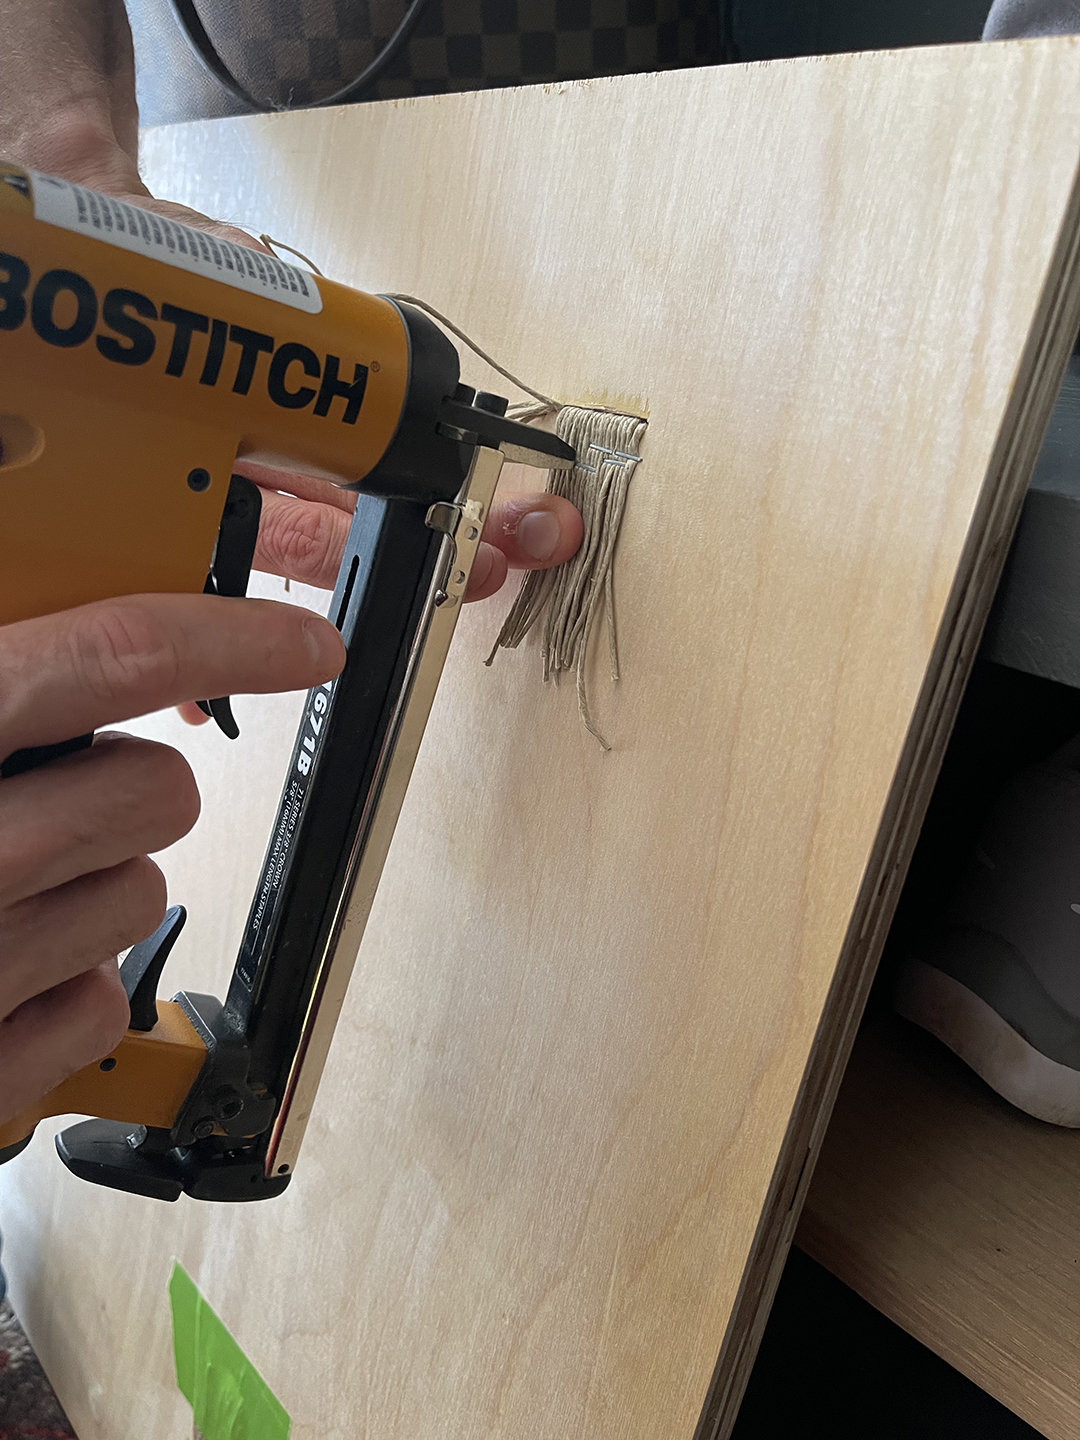
Once complete, secure the jute twine. On on side, secure with staples, pull twine on other end tight, and secure with staples.
Once complete, hang your new art!
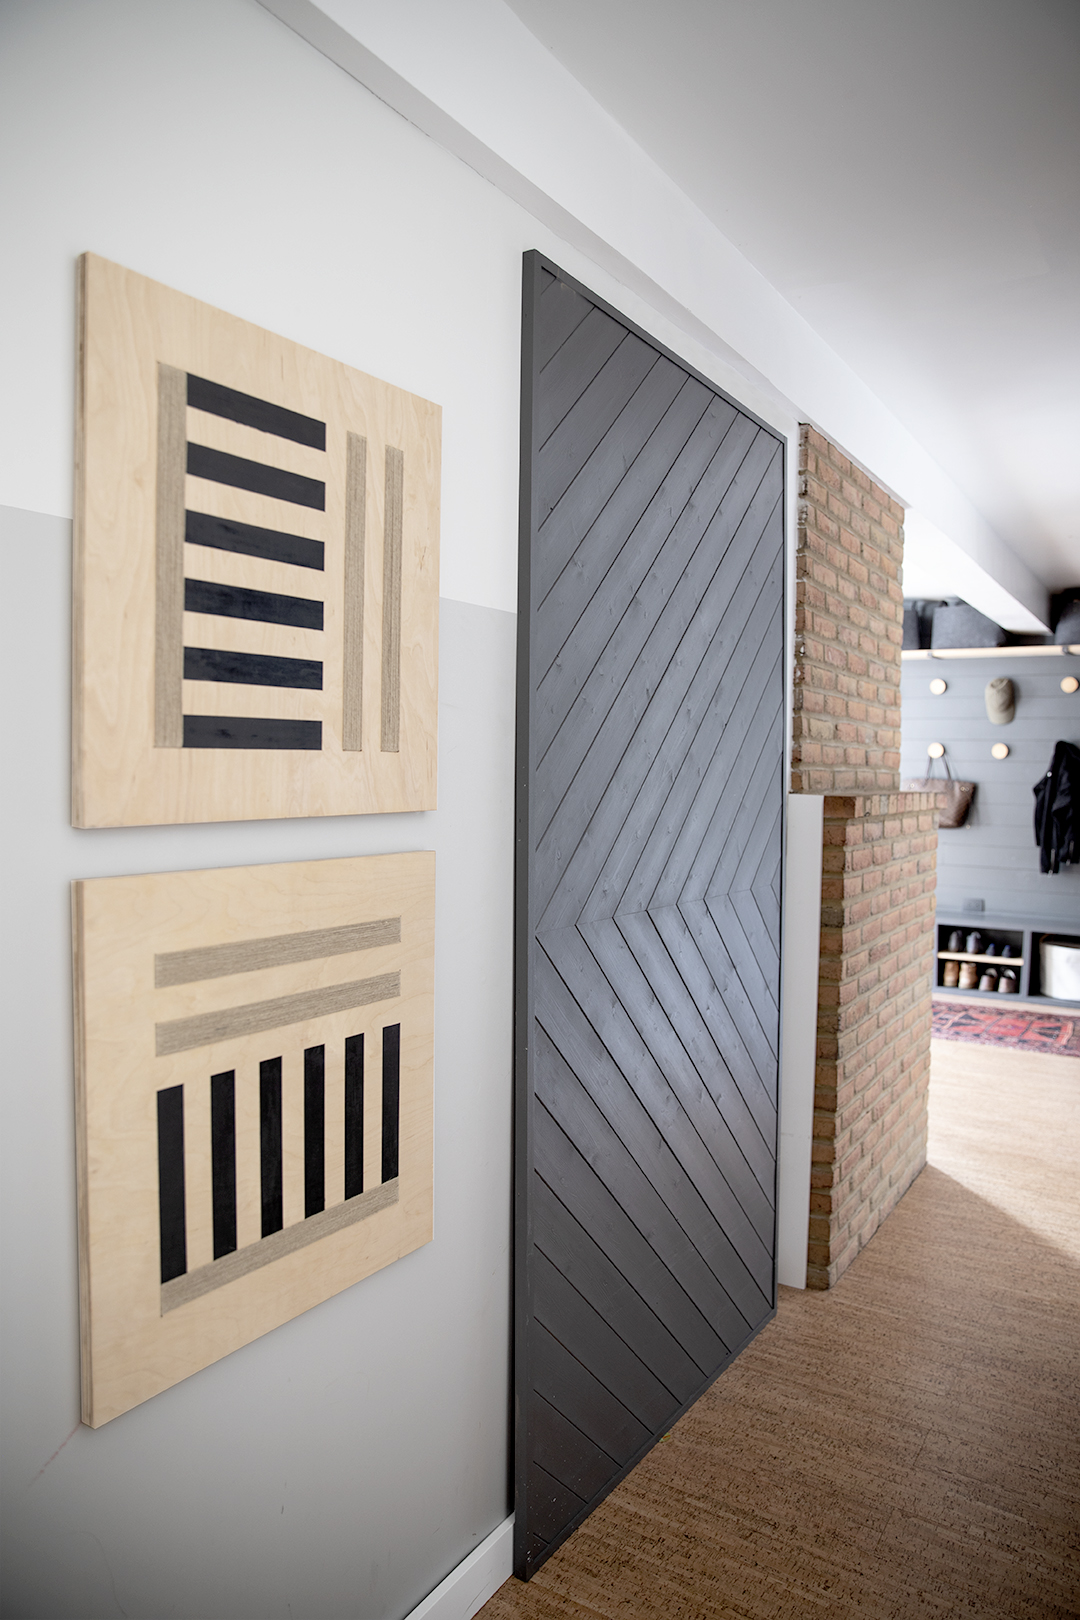
This art was fairly easy to make! I love the texture that it adds. The painted areas create contrast against the wood grain and textural areas!
I love how our basement is finishing up! The plywood panel walls was a solution for our utility area. If needed, they can be removed individually so we can access equipment inside. Basement reveal post HERE
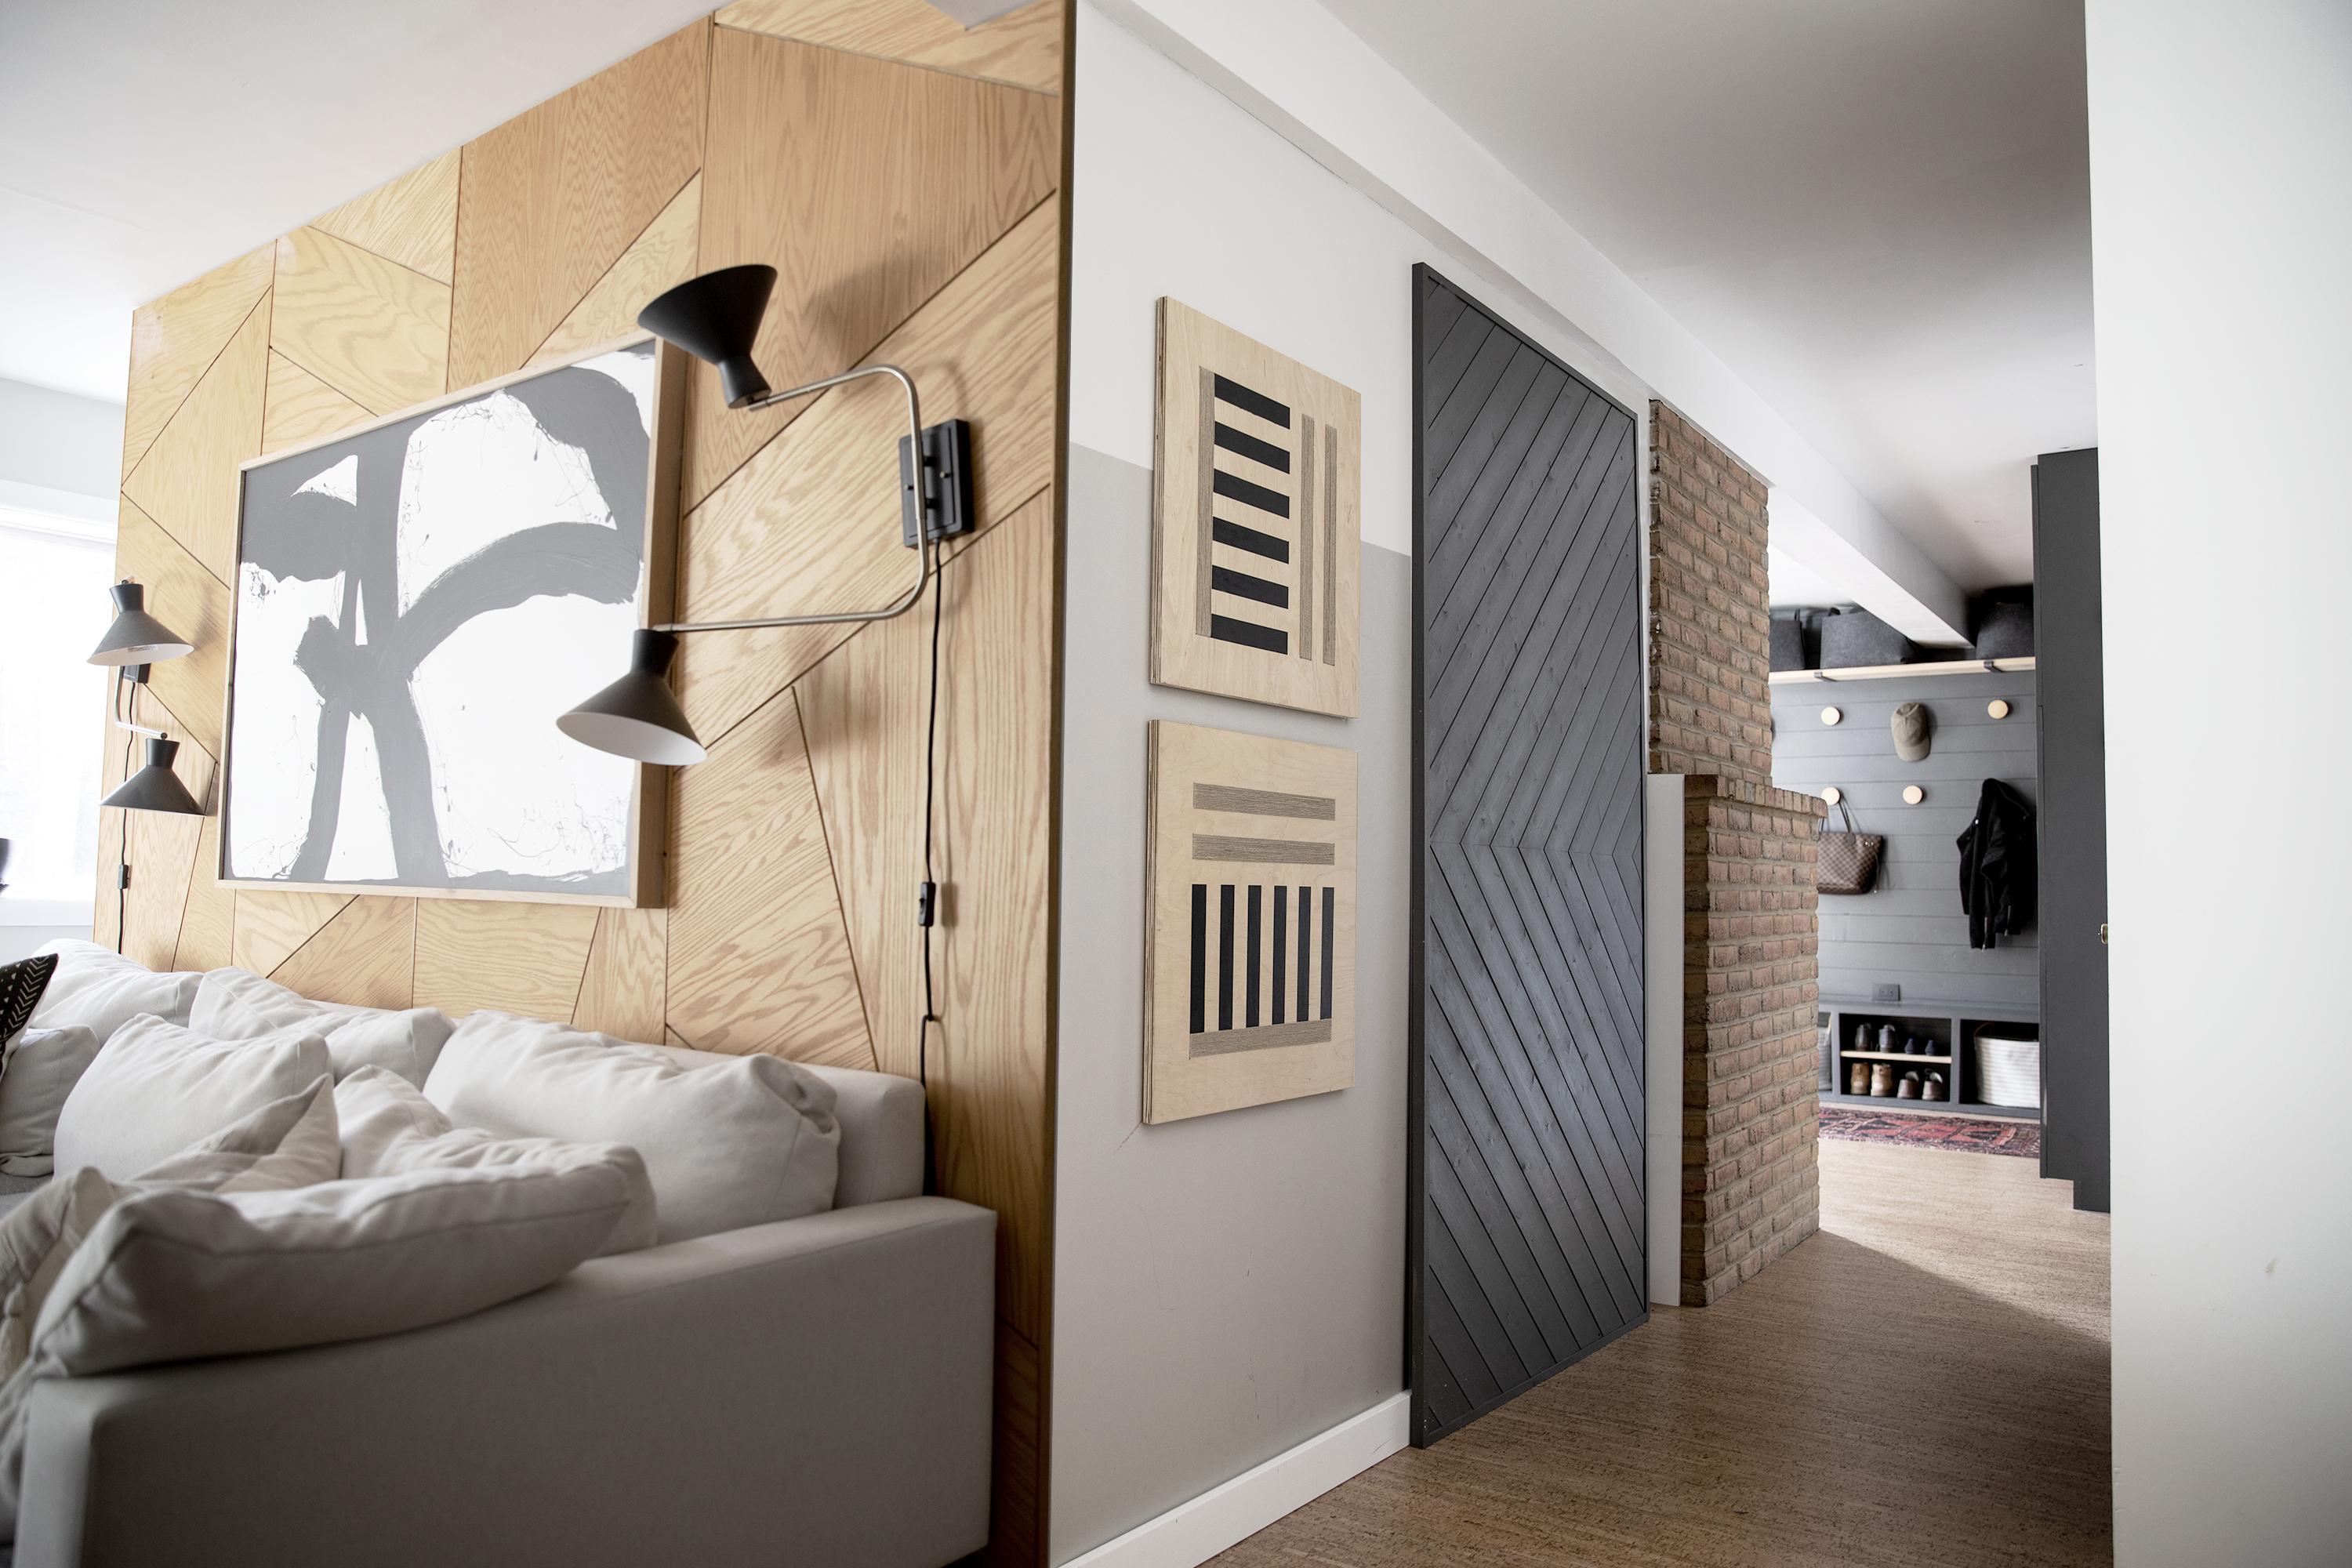
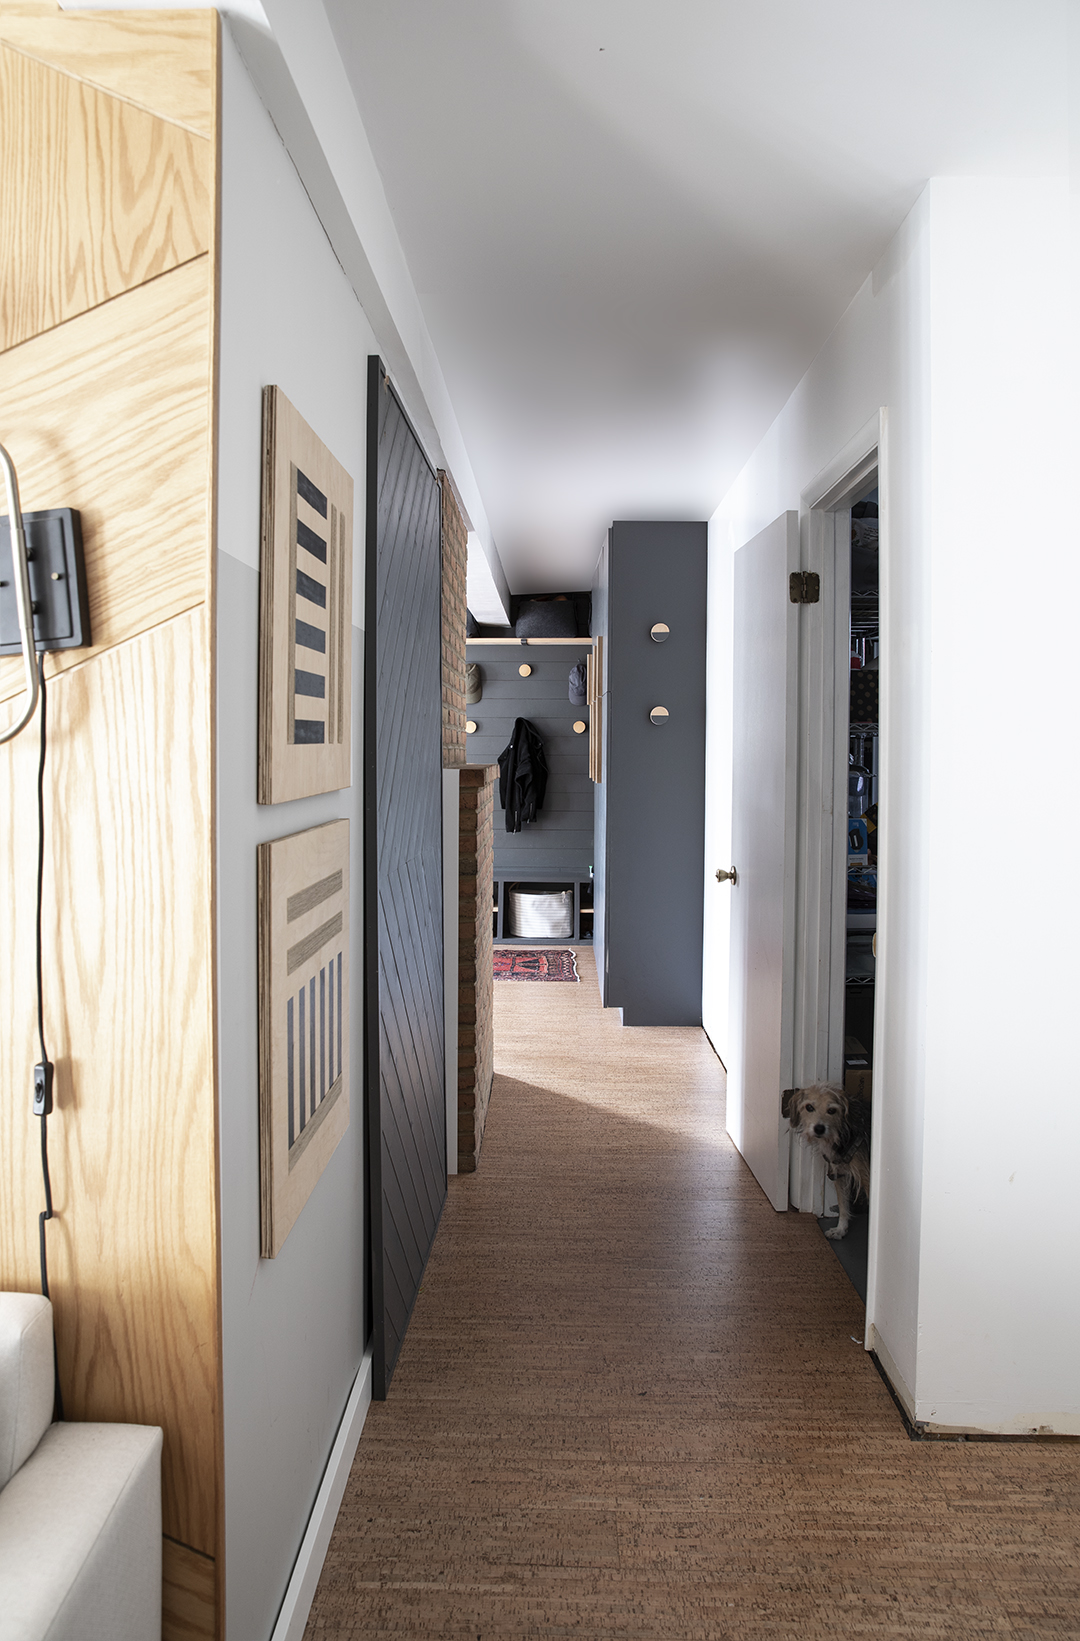
LOVE how this space is coming together!
Thanks so much to FrogTape for sponsoring this post, as always, I only share products that I love and have had a good experience with!
Leave a Reply