Today I thought I would try something a little different. Rather than posting one big reveal – I’ll be sharing my progress in real time. I think some projects come across as quick and easy (the nature of one post ..) but in reality, that’s not always the case.
So I’ll be sharing this project in real time – from finding a second hand piece to finished photos.
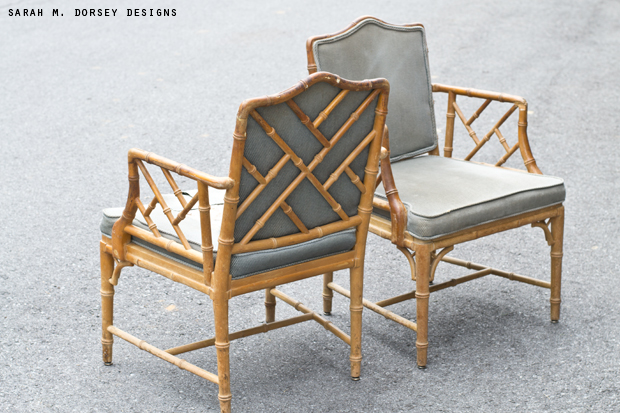
Last Sunday, I was browsing Knoxville Craigslist (while in Maryland) doing one of my typically searches, bamboo .. and there it was, a pair of Chinese Chippendale arm chairs ($60 for the pair) (in Asheville, NC).. I’ve been looking for these for about 3 years .. it was a mixture of feelings, super excited, but not wanting to get my hopes up .. We were driving back to back to TN that day, so we couldn’t make it. I sent an email, saying how much I loved them, how long I’ve been looking for them, etc.. and asked if they would hold them till weekend. After a day or so, they said that they would hold them, YAY!!
So this Friday, we decided to take a day trip to Asheville (about 2 hours away) and visit vintage/thrift shops and the Biltmore. You can’t tell from the photo, but it was a gorgeous day, the weather was perfect and the sky was a mix of the prettiest blue and clouds (except in this photo ..) I needed a day to recharge, picking up one of my bucket list furniture finds and soaking up the architecture and interior details, did just the trick!
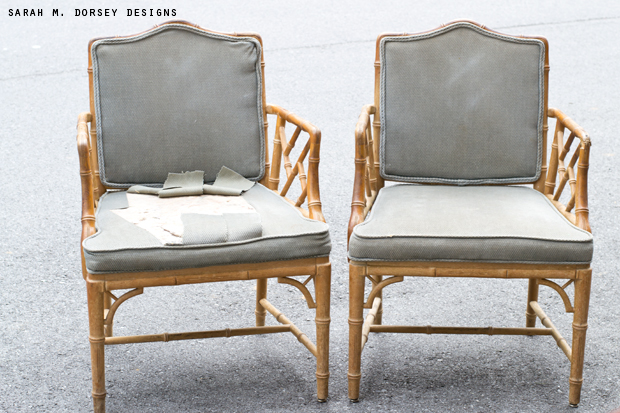
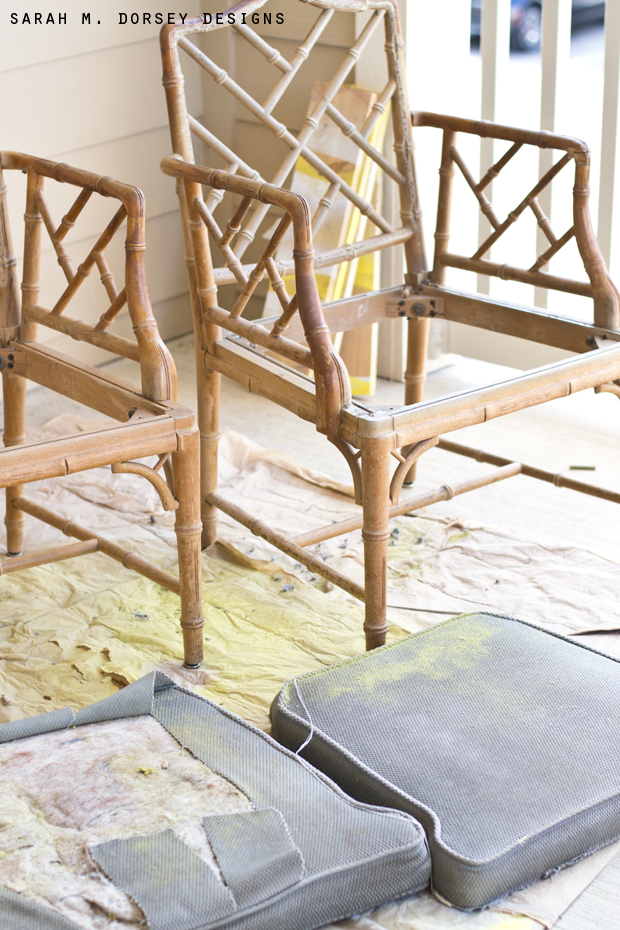
Saturday, I started taking them apart. As you can see, the upholstery needs to be replaced.
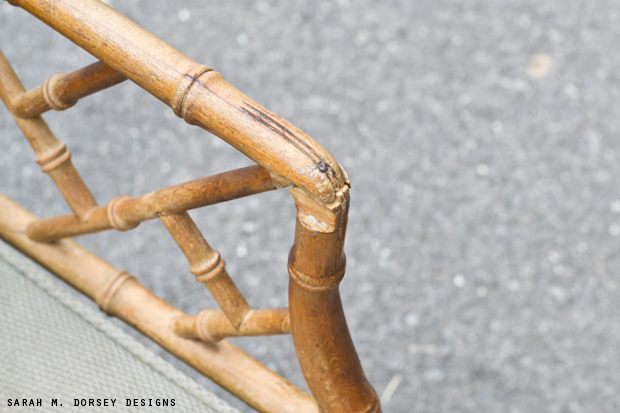
Some of the wood joints were broken and repaired (but not well ..)
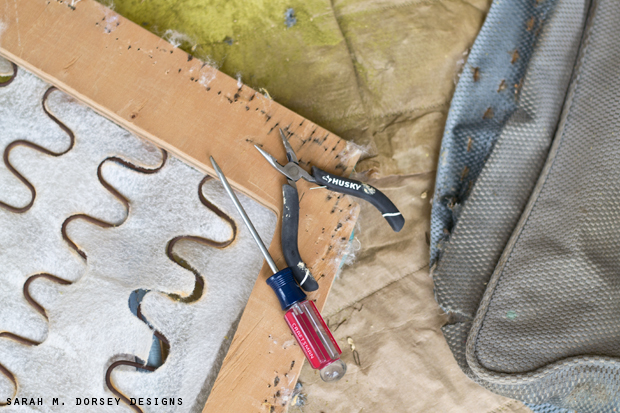
Saturday, I spent a good portion of the day removing all of the upholstery and staples from the back and seat. My preference is a small pair of needle nose pliers (I like the ones below, comes in a pack of three at Home Depot) these are great since they pop back open when you release. I also like a flat screw driver with a thin tip, it allows you to get underneath the staple easier. Though it is good to have a larger set too because it’s easier on your hands (mine are still sore today ..) Pulling staples is definitely my least favorite task .. if anyone has tips to make it easier, I’d love to hear!
The seats are secured underneath with screws ..
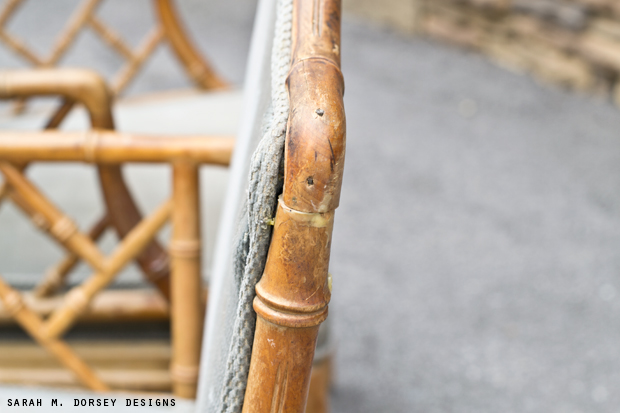
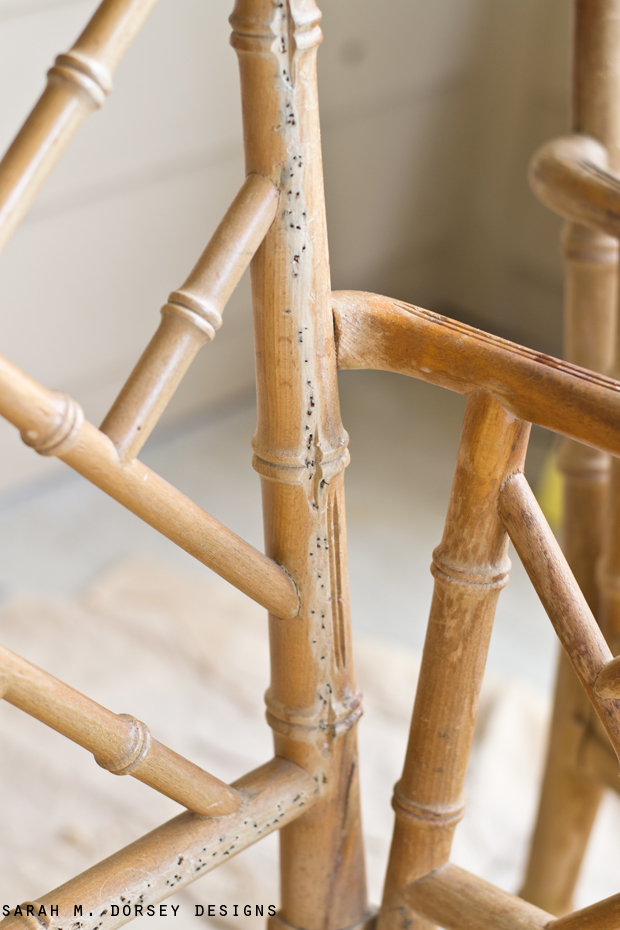
The upholstered backs left staple holes everywhere .. the faux bamboo was also notched out ..
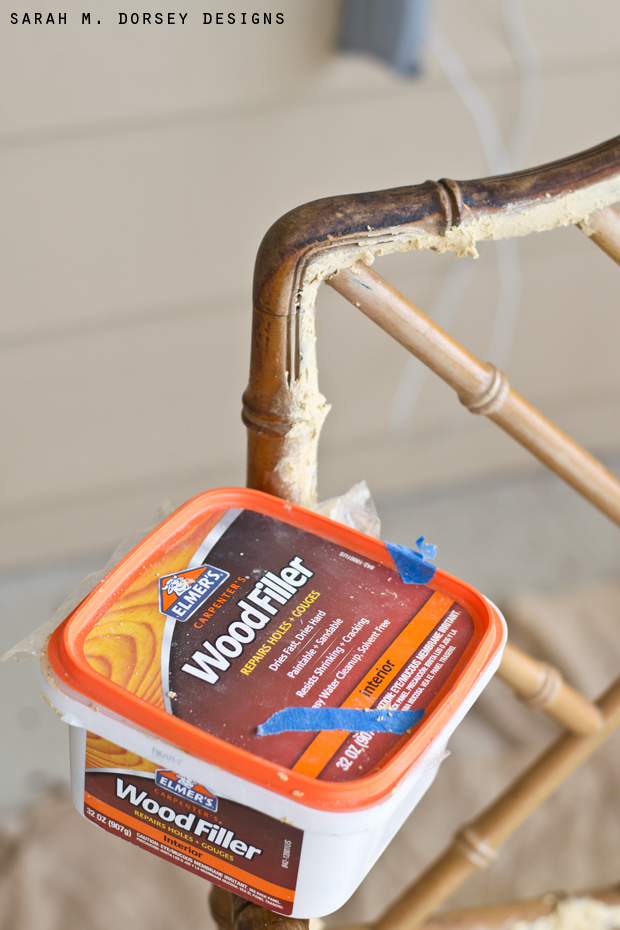
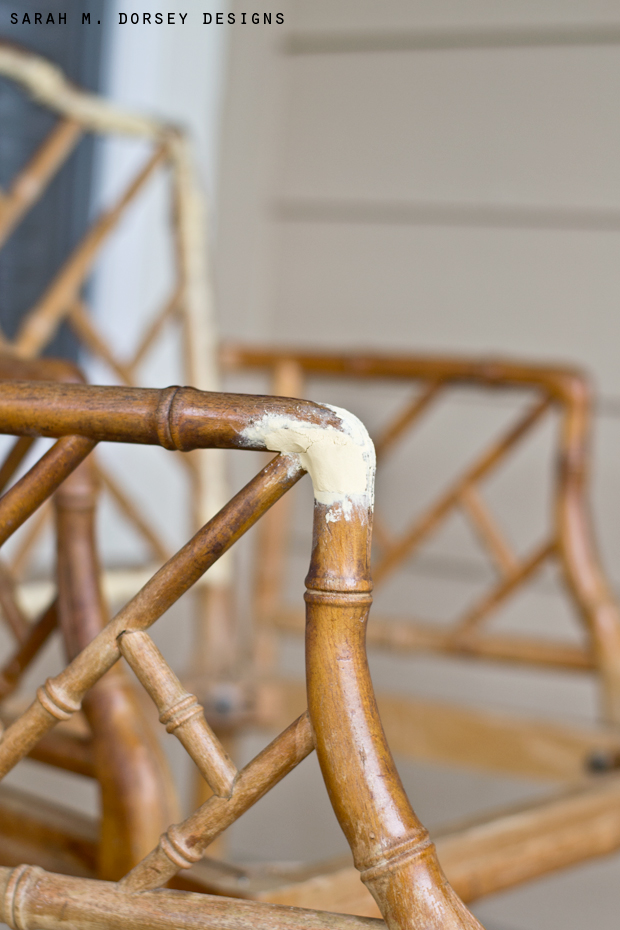
Sunday, I filled the staple holes and notched out bamboo with wood filler. Since the notched out bamboo requires more wood filler, I will let it sit overnight – prior to sanding.
We repaired the damage arm by stripping the old glue and nail, then re-aligned the wood, added wood glue and clamped into place with a ratchet strap (a great tip, if clamps wont work!). Clamping is the key to strong, durable bond when using wood glue. Once dry, we used wood filler to fill in the missing wood.
Purchasing these with an upholstered back (when I want the exposed back) will add a few extra days of work, but I figured I’ve waited 3 years, a few extra days of work will be well worth it!
That’s where I’m at! Due to the damage, I’m planning on reupholstering the seat, leaving the back as is and painting the frame.
Total time invested:
Picking up chairs: 4 hours (we did make a day trip out of it .. and usually our finds are only about 10-30 minutes away ..)
Removing staples and upholstery: an afternoon
Repairing damaged wood with wood glue and wood filler: about 2 hours
Up next, sanding, priming the frame and picking out fabric for the seat.
We have lots of projects in the works .. so stay tuned!!
—
Also, don’t forget to check out my latest DIY project, at Infarrantly Creative!!

Love the chairs, can't wait to see them finished.
I have a settee that needs some wood repair, so thanks for showing the real time on these chairs. I probably would have missed these steps otherwise. I didn't think to use a tie down! I've been brainstorming ways to make a clamp work on the curve of the piece. Ha problem solved!
i cannot wait to see the finished product and fabric choice and everything!!!
LOVE the chairs! Can't wait to see them all finished up!
Patience pays off. Love that you are doing these in really time.
I'm still searching for my own Chinese Chippendale Chairs. Love yours and it will be so worth all the time. I love that you are keeping the backs as is.
LOVE!! This is so good to share in real time, I'm sure it will make everyone feel much better about how much time we spend on projects. : )
You need one of these staple removers. I just took out about a thousand staples while recovering a love seat and this thing was worth it's weight I gold. http://upholsterysupplyonline.com/products/Osborn-No.-124-Staple-Remover.html
Those are a great find! I have a single arm chair that has the fretwork on the back (no upholstery) and then a set of dining chairs that have upholstered backs. There is a HUGE difference in the comfort level… I highly recommend upholstering the back (as they had it) because otherwise you won't want to sit in it. But if they're just statement pieces, go with what you love!
What a find! Can't wait to see how they turn out!
Oh these are going to be so good – I am very jealous of your find here! I was just poking around our CL the other day looking for any. Using a tack puller changed my upholstery life – that and the air nailer. I still use needlenose pliers but the tack puller really makes much faster working of getting those staples up.
You're off to a good start! Glad mine didn't need that much work… these needed your love! I have a tool from Home Depot that looks like a screwdriver with a tiny little notched head, sort of like a crow bar. Maybe it's called a tack puller like Jen said? Or a staple remover? It's fabulous… slips right under the staples and pops them out. Sometimes they break and I need a pair of pliers to pull out the piece, but that's easy at that point.
These are going to come up so well, cant wait to see the finished product!
These are so cool! I know they'll be so pretty when you're done with them!
Im DYING over these Sarah. Been wanting some for a loooong time myself. Such a great find and you are just the person to bring these beauties a new life. Im so excited for this. I cant believe you found them for $60! One day ill find one….