Hey! I hope that you had a good weekend! Sorry for the delay in posting .. I was adjusting back into the work week, no more pajamas, sleeping in and cookies for breakfast 🙂
First, we painted, no photos, but if you’re interested in our process – check out this post. The white instantly made the closet look two times bigger!
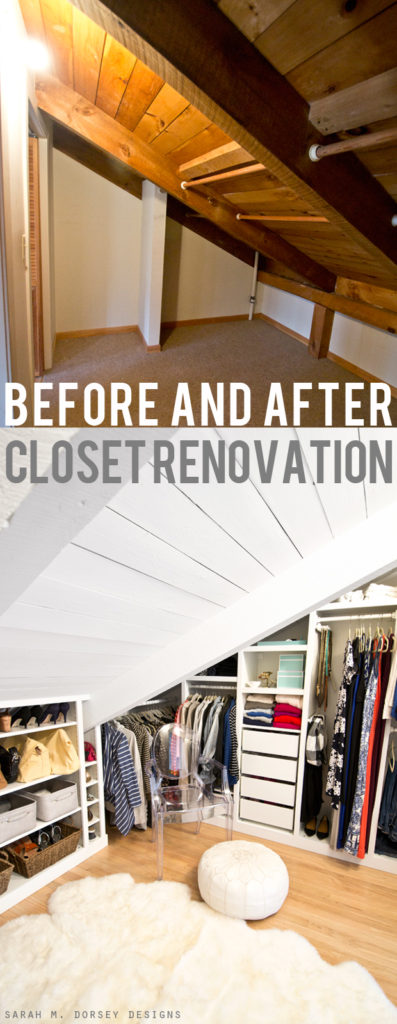
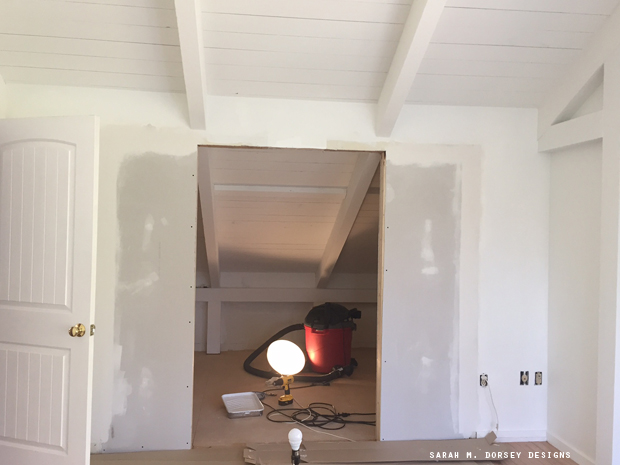
Then, David did ripped out the two small doors, repaired the drywall and cased in one larger opening – we will be adding barn doors later.
Here’s the before (pre paint – now the whole room is white)

Here’s the in process – pre paint.

We were originally going to put in cork flooring (replacing the carpet) but once we decided on the door placement, it really didn’t look like a separate room anymore, but an extension of the bedroom – so running the hardwood in was a good option – I’m so glad that we went that way!
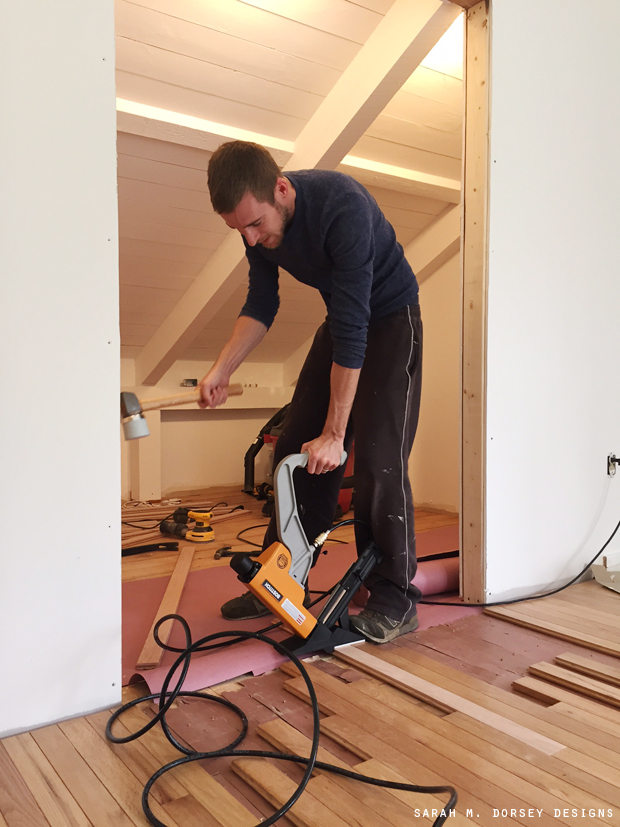
We bought a floor stapler, since we’ll be adding hardwood in the kitchen, it made sense for us to buy verse rent (we can always sell later too). We did wear eye and ear protection (not shown in this photo) I recommend that you do too!
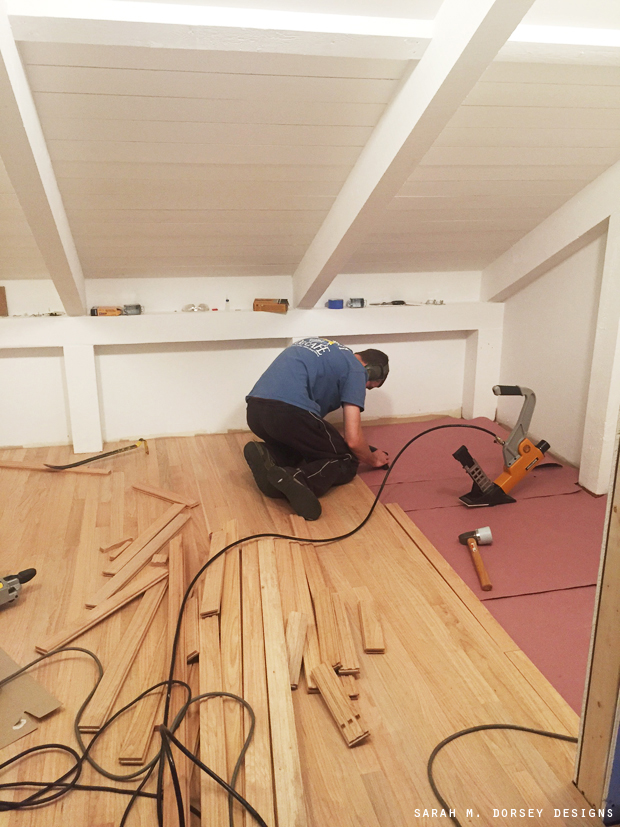
Our floor is a mix of white and red oak (not sure why!), so we got unfinished wood – it only comes straight (I think), but our existing flooring has a bevel so we routered each piece, not very fun, but now it matches our existing floor better. For the rest of the house, we’ve sanded the finish off and sealed with clear polyurethane. The new floor was lighter than the old floor (even after sanding) so once all the floor was installed, we added a light layer of Minewax in Natural (after testing it first) and it was a perfect match! We then sealed with the same poly that we used on the rest of the floors.
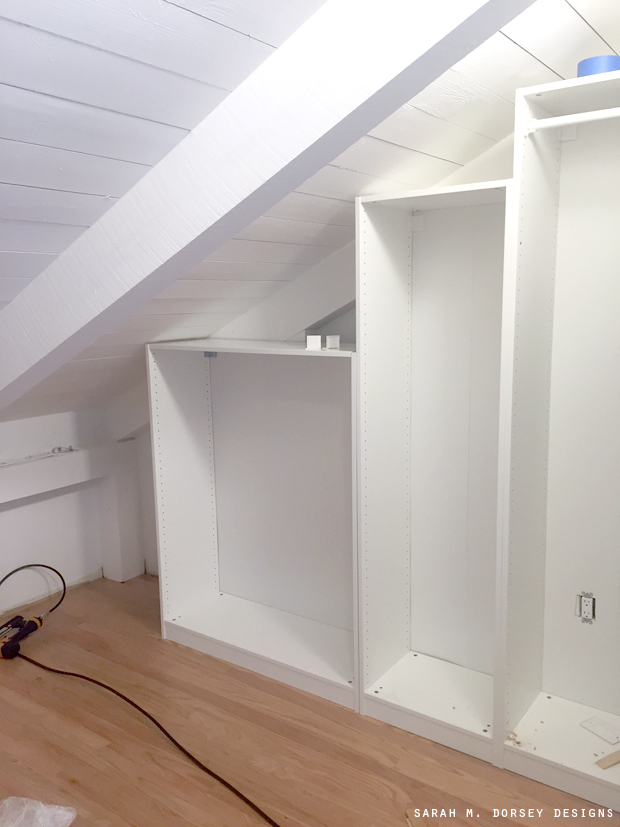
Onto the closet system!

We decided to go with Ikea’s Pax system, – it’s perfect because it can be easily customized to fit any space. It probably would have been cheaper to build it from scratch, but this was so much easier.
To give it a custom look, we purchased primed 1×2 for the top and verticals and 1×6 for the baseboard trim. It was pretty simple, we just attached it to the Ikea pieces with a finish nail, with our air compressor and nail gun – lightly sanded the holes, filled with wood filler and sanded once dry. We caulked the cracks and painted just the trim – SO much easier than painting the entire unit. If you have any questions about our process, let me know!
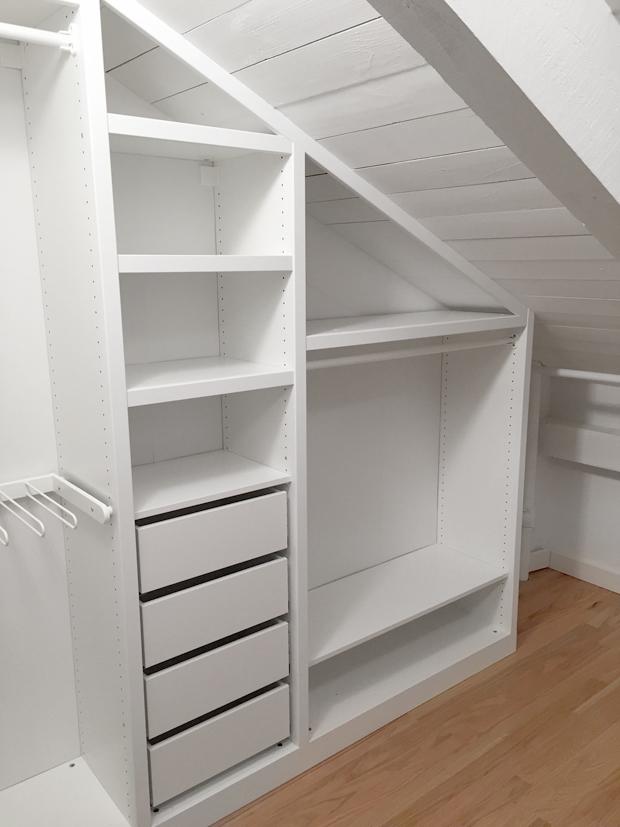
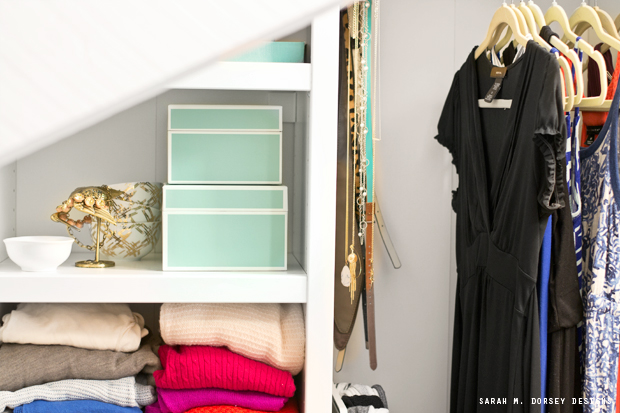
Adding the extra trim was a little more work, but it was SO worth it! I love the custom, built in look!
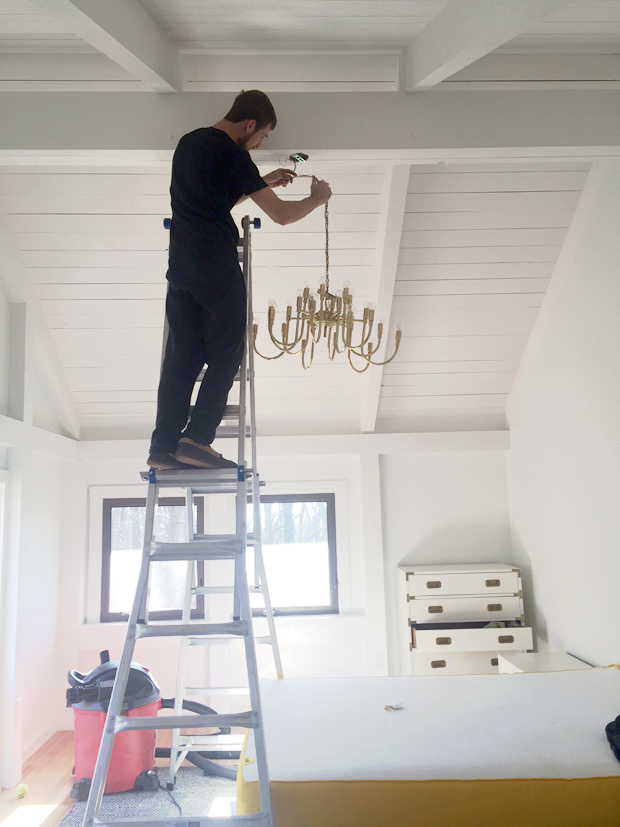
Finally, here’s a little preview of our new chandelier!!
your house is coming along so beautifully!!!
What a great way to work with that angled ceiling. The closet looks great, so organized and pretty, and you're right that the top trim piece made all the difference in making the whole thing look custom and built-in!
This is so beautiful! I absolutely love how it's all coming together, the closet is to die for!
Love your new closet! We also used the PAX for our previous house's dressing room. Definitely much easier to build from scratch, which the Mr. is doing for our current house.
I love the detail of the added trim too. It's an amazing way of making an angled ceiling be functional as a closet
The added trim is definitely a nice touch, and love the chandelier <3
I love it! What color paint did you use? We have the same units we need to add trim to but I haven't been able to find a close match to IKEA white.
Thanks Caitlin! We just used sw alabaster – since we had it on hand. It's close but not perfect 🙂
It looks so good! I was wondering if you had done a home tour lately. I looked on your site, and it looks like you only have the California rental listed………………..
What pieces did you use from PAX system? The shorter one specifically? My closet is very similar but I can't seem to find the right pieces…Thanks!
We had to cut every piece to fit with the roof line – so half of the wider piece is on Davids side and half is in the middle back. Let me know if it would still be helpful to have the exact pieces . Thanks!
Hi! This looks amazing! How did you get the wardrobes to look so clean when they come together at the edges? I think you mentioned it but I'm not entirely understanding. Thank you for posting!
How did you get the pieces to look so clean when they come together at the edges? I think you mentioned it but I don't entirely understand. Thank you for posting!
We put trim over the edge to cover the gaps 🙂