If you’re stopping by from the fabulous White Buffalo Styling Co., welcome!! So glad that you’re here!
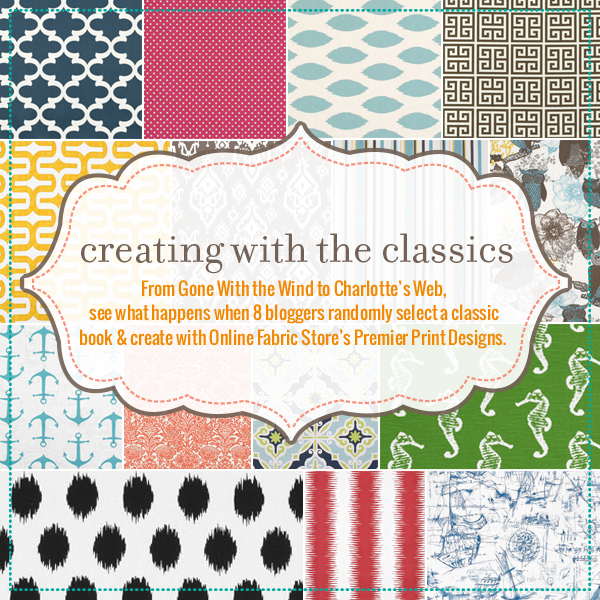
When Online Fabric Store approached us with the challenge to create something inspired by a classic book and the Premier Prints collection, we were instantly game. After all, I love a challenge!
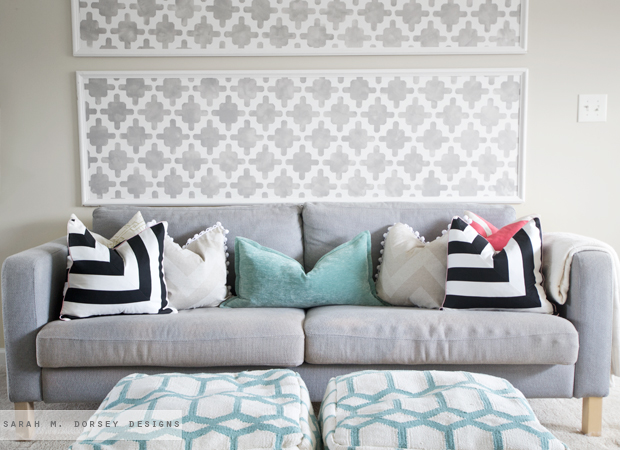
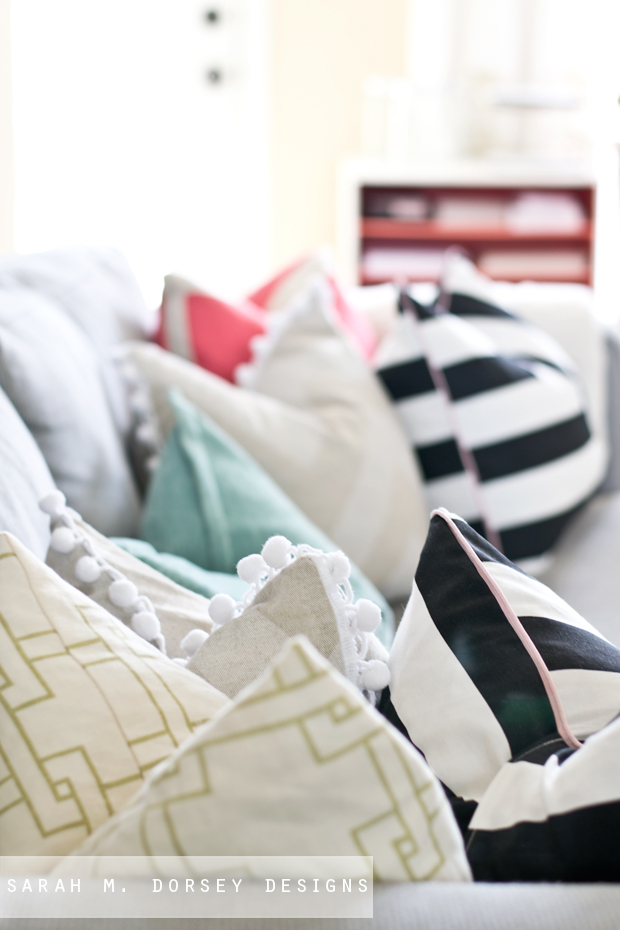
We were randomly assigned a classic book .. I was gifted the theme of Huckleberry Finn .. My first thought was I don’t have a boy or outdoorsy / cabin style so I was stumped initially. What I am going to do!? But, looking further, the main theme is the conflict between civilization and nature. Contrast? Now that’s right up my alley!
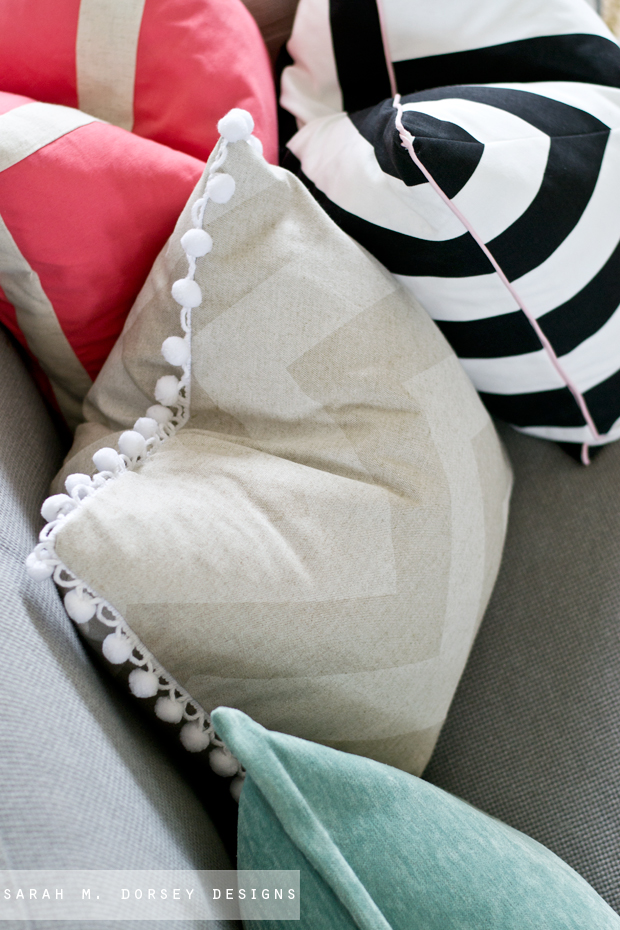
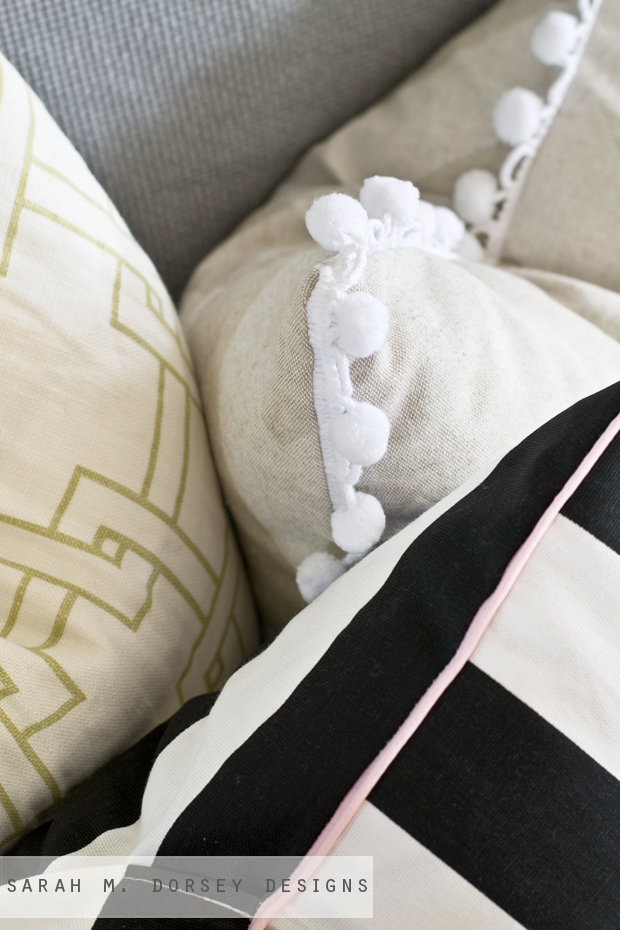
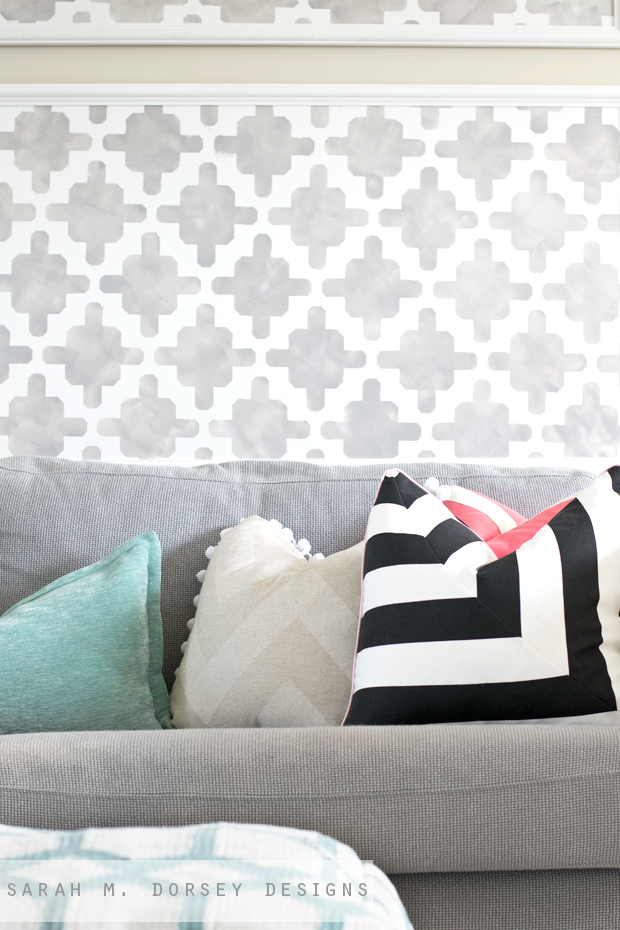
Using Premier Prints Zippy Cloud Denton, the fabric refers to the straight guidelines of society while the pom pom trim is more free form. The Black and White Vertical Stripe also shows the contrast between nature and civilization and the path between the two.
I made a few envelope pillow shams. You won’t believe how easy it is!
Envelope Pillow Sham Material and Cut list (for 18″x18″ pillow):
36″x18″ for two pillow fronts (cut in half and then cut half again at a 45, 4 pieces)
10″ x 18″ (back piece)
14″x18″ (back piece)
2.5 yards of cording per pillow
Sewing machine
Thread
Fabric scissors
Iron
Pins
* For a fuller pillow, cut the the to the size of the pillow form and sew half inch seams, so the finished pillow size will be 1″ smaller than the pillow form.
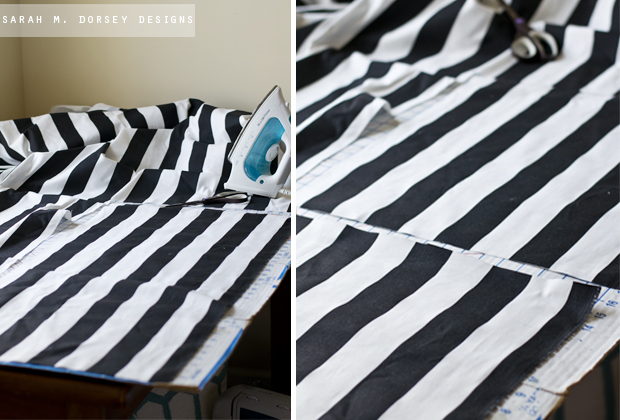
Here’s how I made the mitered stripe pillow, inspired by this gorgeous pillow by the talented Kassapanola.
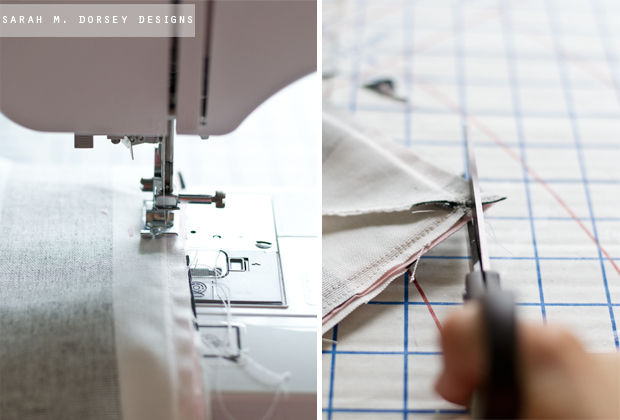
1. First, cut a 36″x18″ piece of fabric.
2. Then cut it in half (2 – 18″x18″pieces). Tip: fold in half, iron a crease, then follow that as a guideline – it’s easy to cut a straight line!
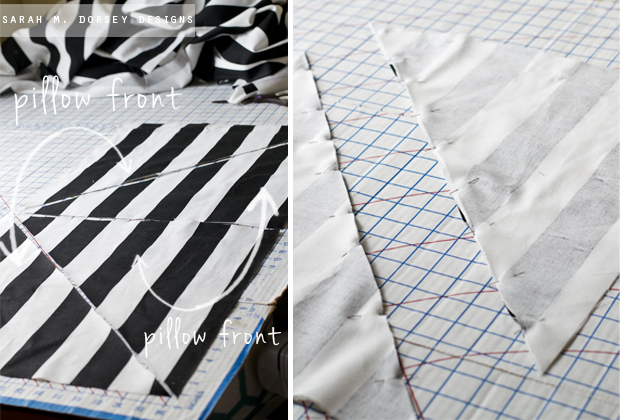
4. Then create the pillow fronts. Cut each half at a 45. Reconfigure using the pieces as shown.
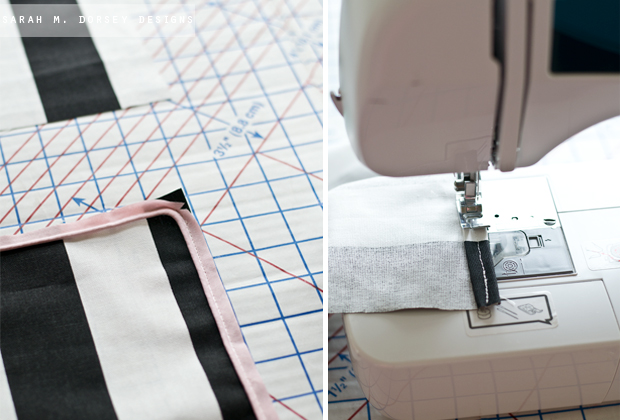
5. Put the faces together (right side in), line up the stripes and pin. Sew the pinned edge.
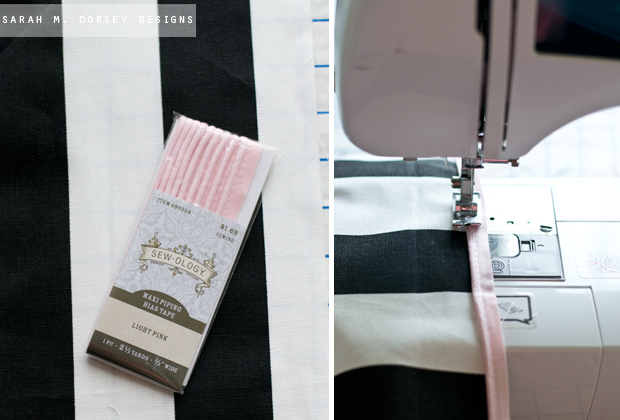
6. Apply cording the the edge. I opted to purchase pre-made cording, but it’s easy to make your own if you’d like! On the face of the pillow front, hold the cording to the edge (finished side of cording towards the center), sew along the existing stitching.
and that’s it!
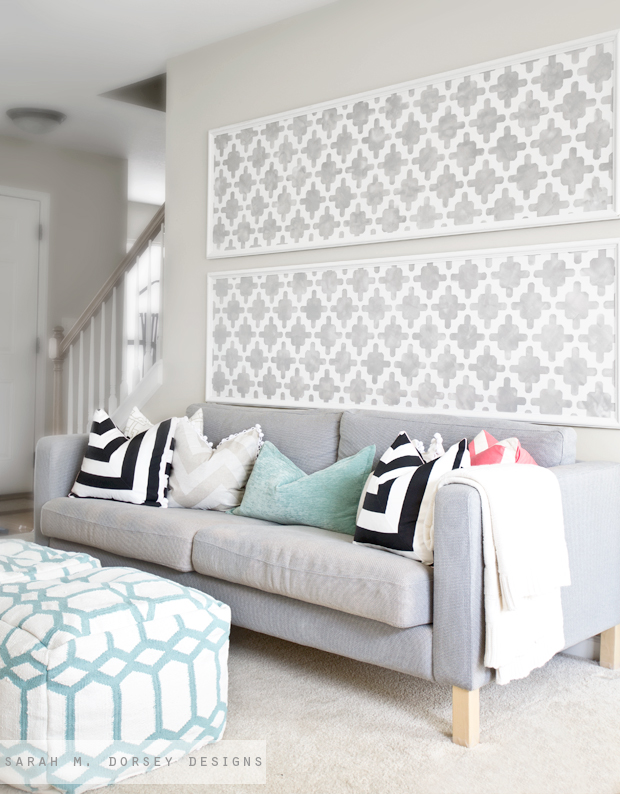
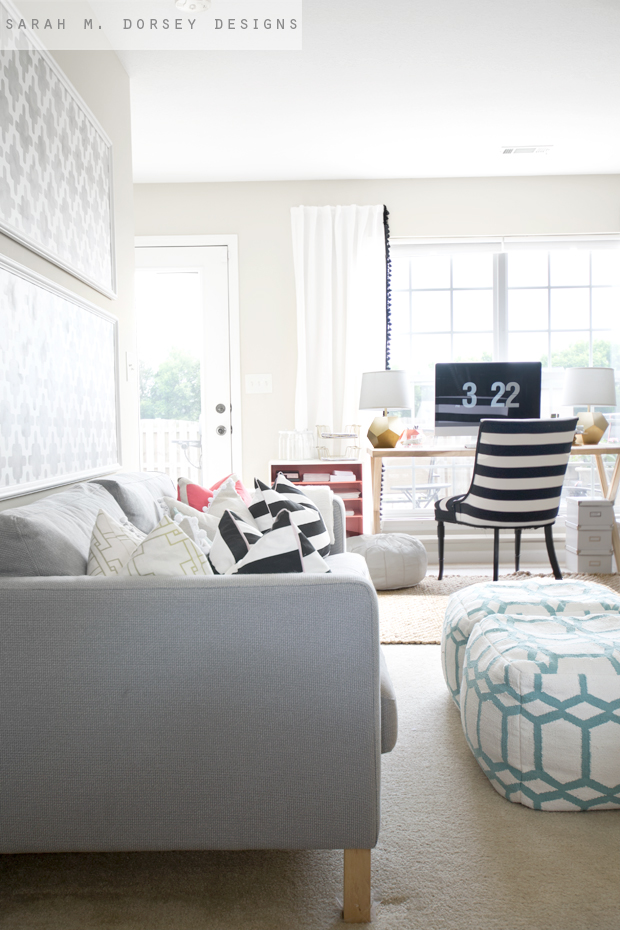
I reconfigured my vertical stenciled panels (tutorial on Houzz) as a horizontal feature wall.
Here’s a peek into my office – it’s coming together!
Love the pom pom and thin pink trim! It’s super easy and gives a polished look!
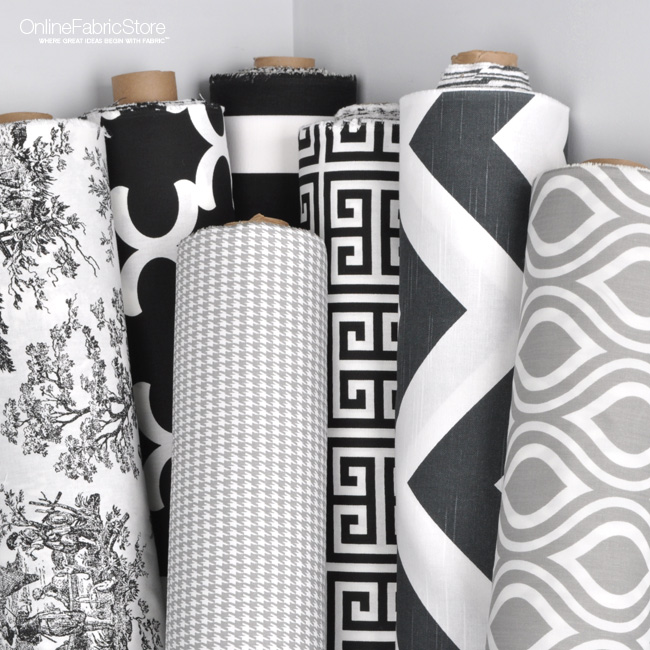
A special thanks to Online Fabric Store for providing us with this fun challenge! Want to see more amazing prints from Premier Prints? Click here to see the full line!
Make sure to stop by Jennifer Rizzo, you won’t want to miss her amazing project!!
oh man this is right up my alley- can't wait to see the others!!!! my english major applied to design…. love! and your pillows are fabulous! especially love the black and white!
LOVE this pillow. What a great, unexpected take on the book. And I love the pillows play with your office chair and curtains. Love it!
Your pillows turned out amazing! The trim is just the perfect detail! Thanks for the tutorial – I've always like pillows like this but have never taken the time to figure out the geomety 🙂
So cute! Love those pillows…and this whole concept!
Lovely, just lovely!!!
You always have the best pillows! Love the idea behind this too! I'm huge fan of Premier Prints, they have such great trendy fabrics and their prices are awesome!
Sarah,
Absolutely beautiful! Your office is seriously amazing! You always, always, always inspire me. 🙂
Have an amazing day!
karianne
Sarah, these all look so polished and beautiful, as per usual with your designs! I think we have the same fabric/pillow fetish! My sons told me that it has gone far enough, because the struggle to actually SIT on the furniture!!! I don't care- all of the new prints are too gorgeous to pass up… Great job on the challenge! Love your take on classic Huck!! Always a favorite!
Sarah,it looks great! I love how everything looks with the fabrics you picked!!!!
Simple with amazing impact! I've been wanting to try this style, thanks for showing how it's done!
Loving all your pillows and the gorgeous fabrics! So much goodness!
Youre the pillow making wizard Sarah!! Im always so amazed at your skills. I love the collection here. So pretty:)