
Cut out a circle of fabric. Mine was 38″ in diameter. I place a dot in the center and holding a ruler in place measuring half of the circle (19″) and mark with a pencil or fabric pen. Holding the ruler on the dot, I rotate till I have a circle and then cut.

Cut out pieces of foam approximately mimicking the shape leaving room to sew in between (thinner is easier to work with – my center was a little high at 1.5″) The side pieces of foam are optional you can just use poly fill, but I figured since I had it I would use it.

Cut out a fleece circle about 2″ smaller than the outer fabric. Pin in place. You want to leave plenty of room for the hem on the outer fabric, about 2-3″ is good.

Sew around the inner foam circle (1″ or less is easiest to work with)

Sew between outer foam pieces (or where the poly fill will go), starting at the fleece and sewing to the center

Stuff the side pockets with poly fill and pin in place.
For the last steps I forgot to take pictures. Sorry! If you have any questions feel free to ask! Here are the instructions for attaching the ties so that the bed can be adjusted to lay flat or cinched together.
1. Cut 6 strips for the ties: about 18-24″ long and 3/4″ wide: I used fleece so I wouldn’t have to sew the edges
2. Sew the center of the strip on the center of each of 6 sections, on the very edge of the fleece connecting it to the outer fabric – I just sewed a short line back and forth so that it would be durable. The ties will come through openings above the center seams next.
3. Fold the outer hem to turn under the raw edges, pin in place and then trim holes for the ties to come through. Each opening will have two ties coming out.
4. Finish the edges. I rolled the hem under and hand stitched the finished edge, since I found it too difficult to use the sewing machine. Heat n’ Bond no sew adhesive should also work, just make sure not to attach the ties to the bed, so that you can still adjust them.

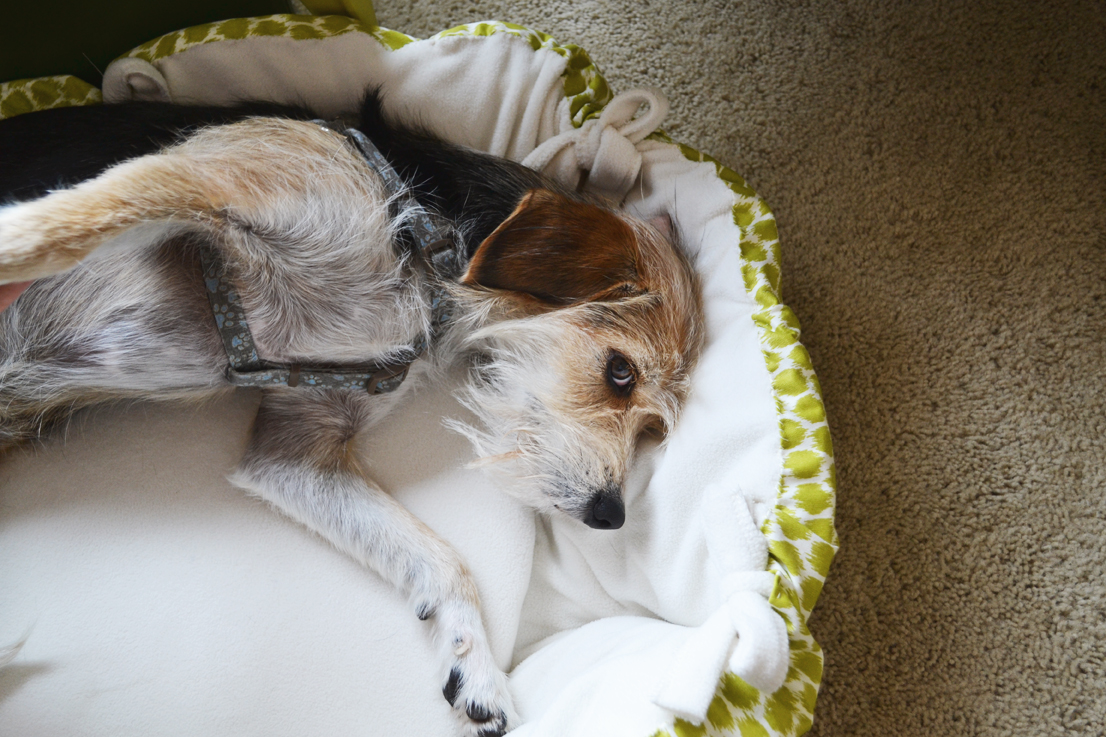
I promise she does like the bed, she has recently gotten into a mood where she doesn’t like getting her picture taken, hopefully she will grow out of it!


Love this post! Maybe bc I am a sucker for puppies, but that is such a great idea! Thanks for sharing!
-Sarah {tuckerup.blogspot.com}
Thanks Sarah! Glad that you liked it 🙂
I love this post too. Would love to make one for my cats!
The bed is sooo cute and Annabelle is even cuter 😉 I'm obsessed with scruffy terrier mixes. That face is just the BEST!
Thanks so much Julia! We love Annabelle's scruffy face too, it's been fun watching how it has changed since she was a puppy!
Great idea!!!!
Thanks Candace!
Now how cute is this!!??? This little gal is one happy doggie!! Great project…thanks for sharing!
~ Darlene
http://www.stork1.blogspot.com
Thanks so much Darlene! Annabelle loves it too!
You should totally sell these in your Etsy shop (for those of us who love our pets but have ZERO talent).
I have thought about it. I would just have to specify that I'm not a professional seamstress ha!
I agree with Carrie!
I would love to make this for my two 70 lbs dogs…now I need some math help 🙂
Thank you very much!
omg what kind of dog do you have?? was browsing through your projects and saw this and said to myself, "that pup is the twin to my Dolly!" we adopted our dog, she is supposedly an australian terrier mix? whatever that is. but we have never seen another one like her! (Dolly is lighter-white with tan) just had to reach out and see if there really truly is another Dolly-esque dog in the world 🙂
Do you think this could translate into a rectangle easily? I love that it has sides! All the rectangular diy dog beds I find are just basically flat pillows and my doggie likes to rest her chin on the edges of the sides of a bed. Thanks!
would love to make one of these for my daughters pit bull but you totally lost me with the instructions for the ties. Can you go through that again so maybe I will get it?
For the ties, you sew it in the middle (through one layer of fabric) then fold the fabric over and pull it through the openings. Hope that helps!
Love, Love, Love the dog bed. I make the rectangle beds for my large dogs but for all the dog lovers out there with big hearts and not enough room for a dog or dogs you can easily buy fleece on sale, cut it into circles or rectangles and either tie the sides or make straight lines for a quick bed to be donated to the local Shelter in your area. I am now retired and make about 200 a year, I am not a seamstress, and I can't sew a straight line, nor do I cut a straight line. But the animals do not care, at least they have something soft to sit on. That is why I do not stuff them. To costly and time consuming. I just want to make as many animals comfortable while they wait for their forever home. I do stuff my dogs beds and they love them. But one day I just might have to try this one, it is adorable, but I have labs and sheppards so might have to double the size. Love your dog bed!!!
Oh I love this idea and your instructions…… I wandered over from Cuckoo 4 Design and she is right, just too very great, gorgeous and clever are you?
These blogs are quite incredible that have provided the best knowledge.
dog bed
I really love the bed and would like to make one. But even after reading several times, I cannot figure out how to do the last steps – very confused by #2. I don't know what "openings" you are referring to, where the ties are sewn, nor how they actually work. I hope you make another one and take pictures! It is a great bed – I would love to try to make one.