This post has been sponsored by FrogTape
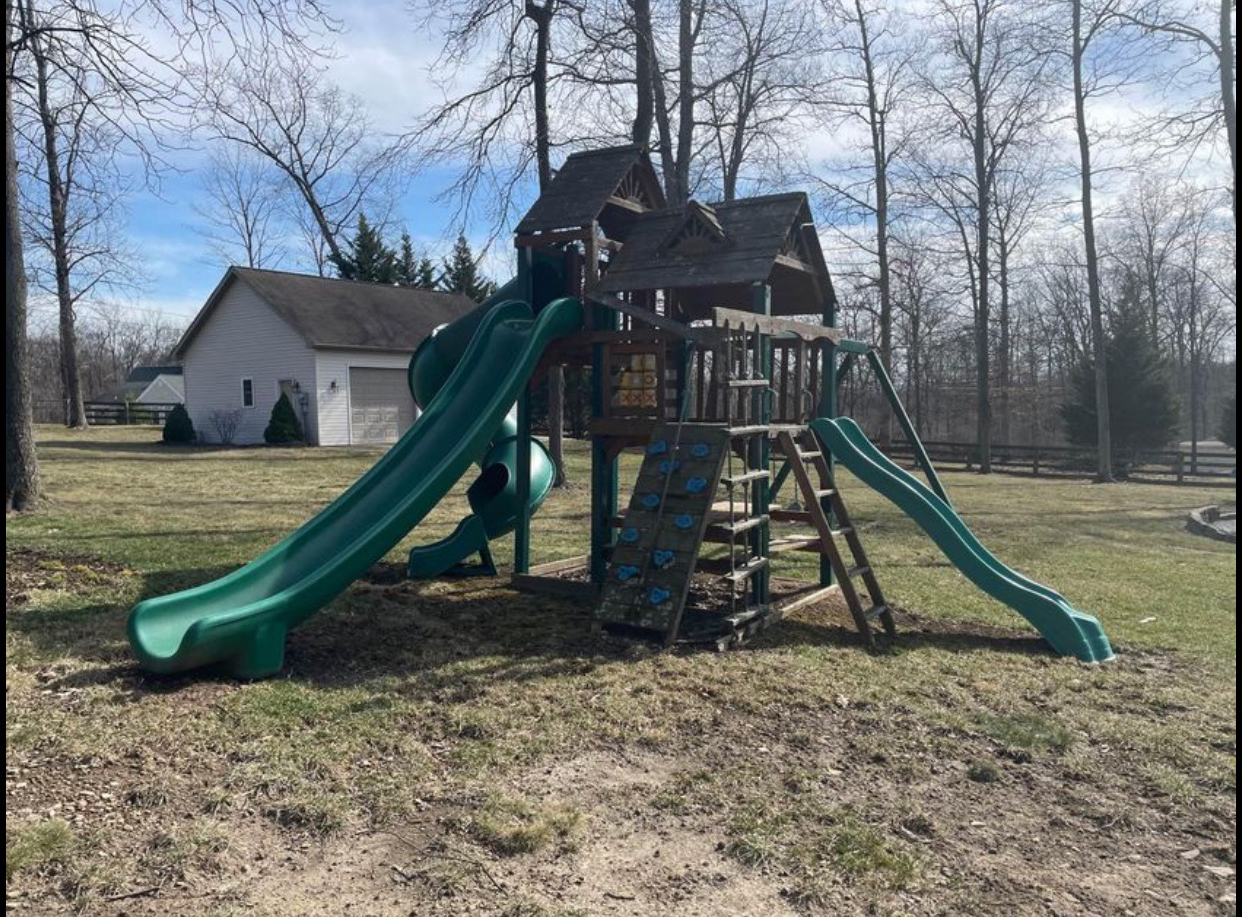
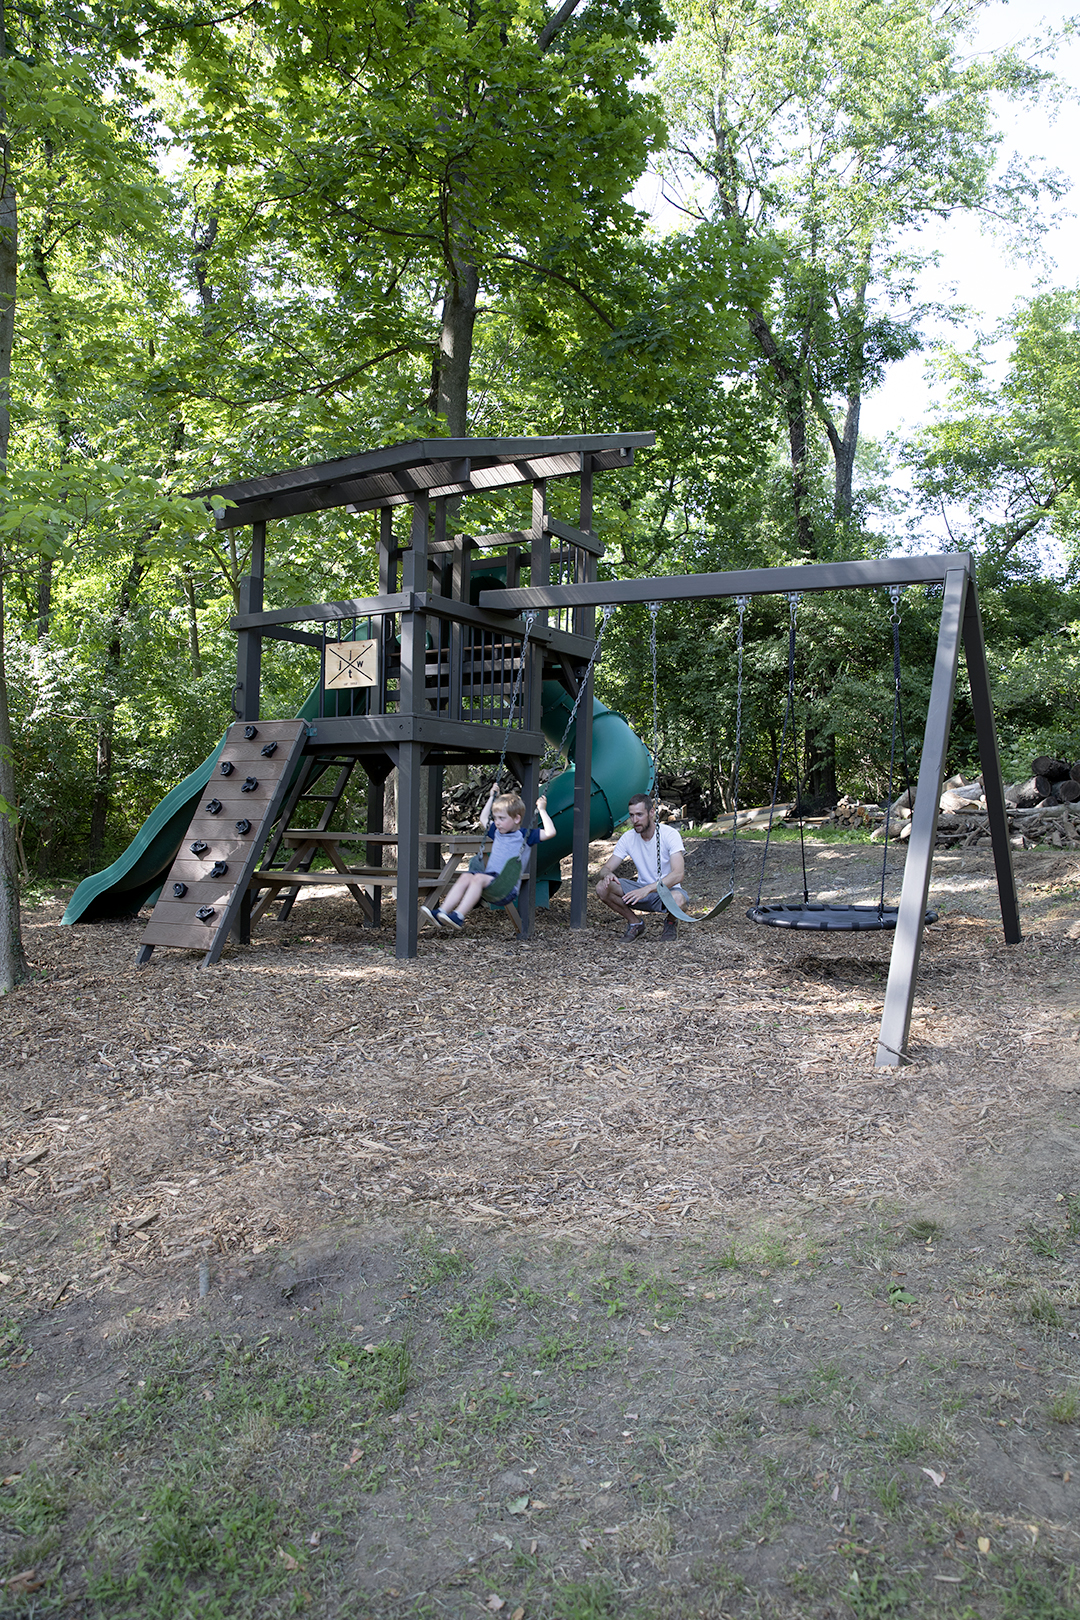
We’re back with a HUGE project in collaboration with FrogTape! We’ve been wanting a playground for our sons and finally found a perfect used option to update. Facebook Marketplace has some stiff competition in our area for play sets (’tis the Spring season!) Our persistence paid off and we found one for $250! Our set came with three awesome slides, but definitely needed some wood replaced and to be refreshed.
With FrogTape, we created a Checkerboard on the picnic table and a DIY sign. I LOVE how it turned out, keep reading to see how we did it!
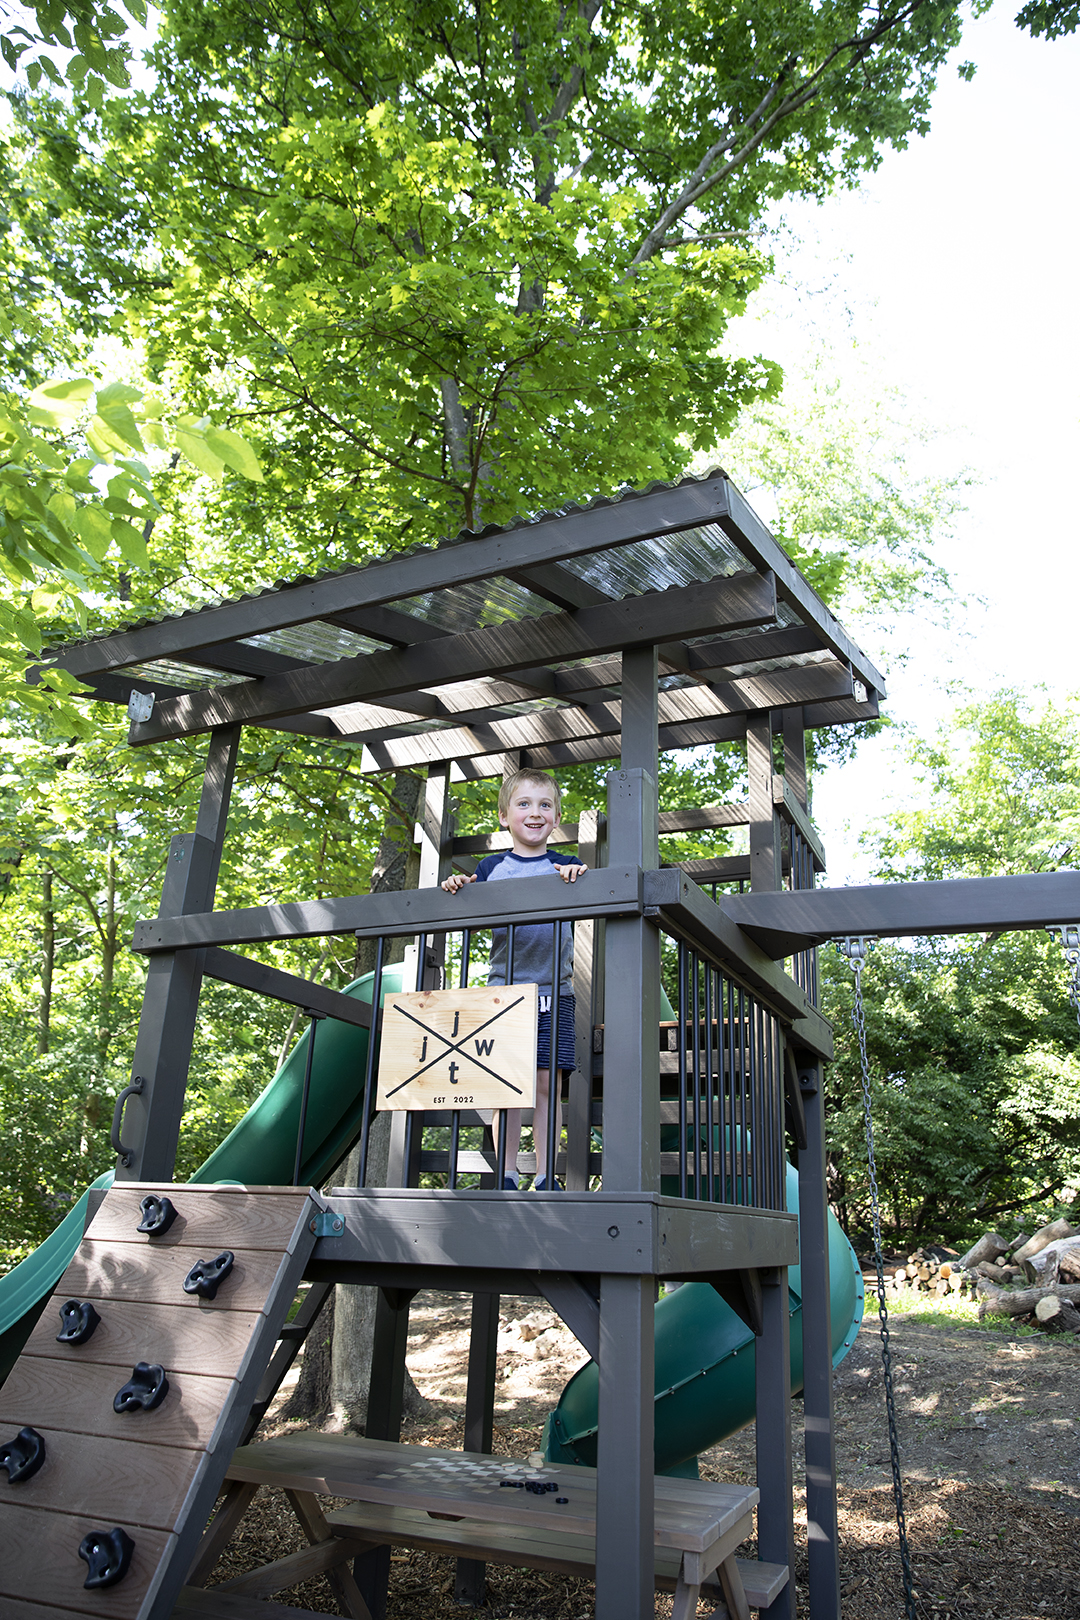
AFTER
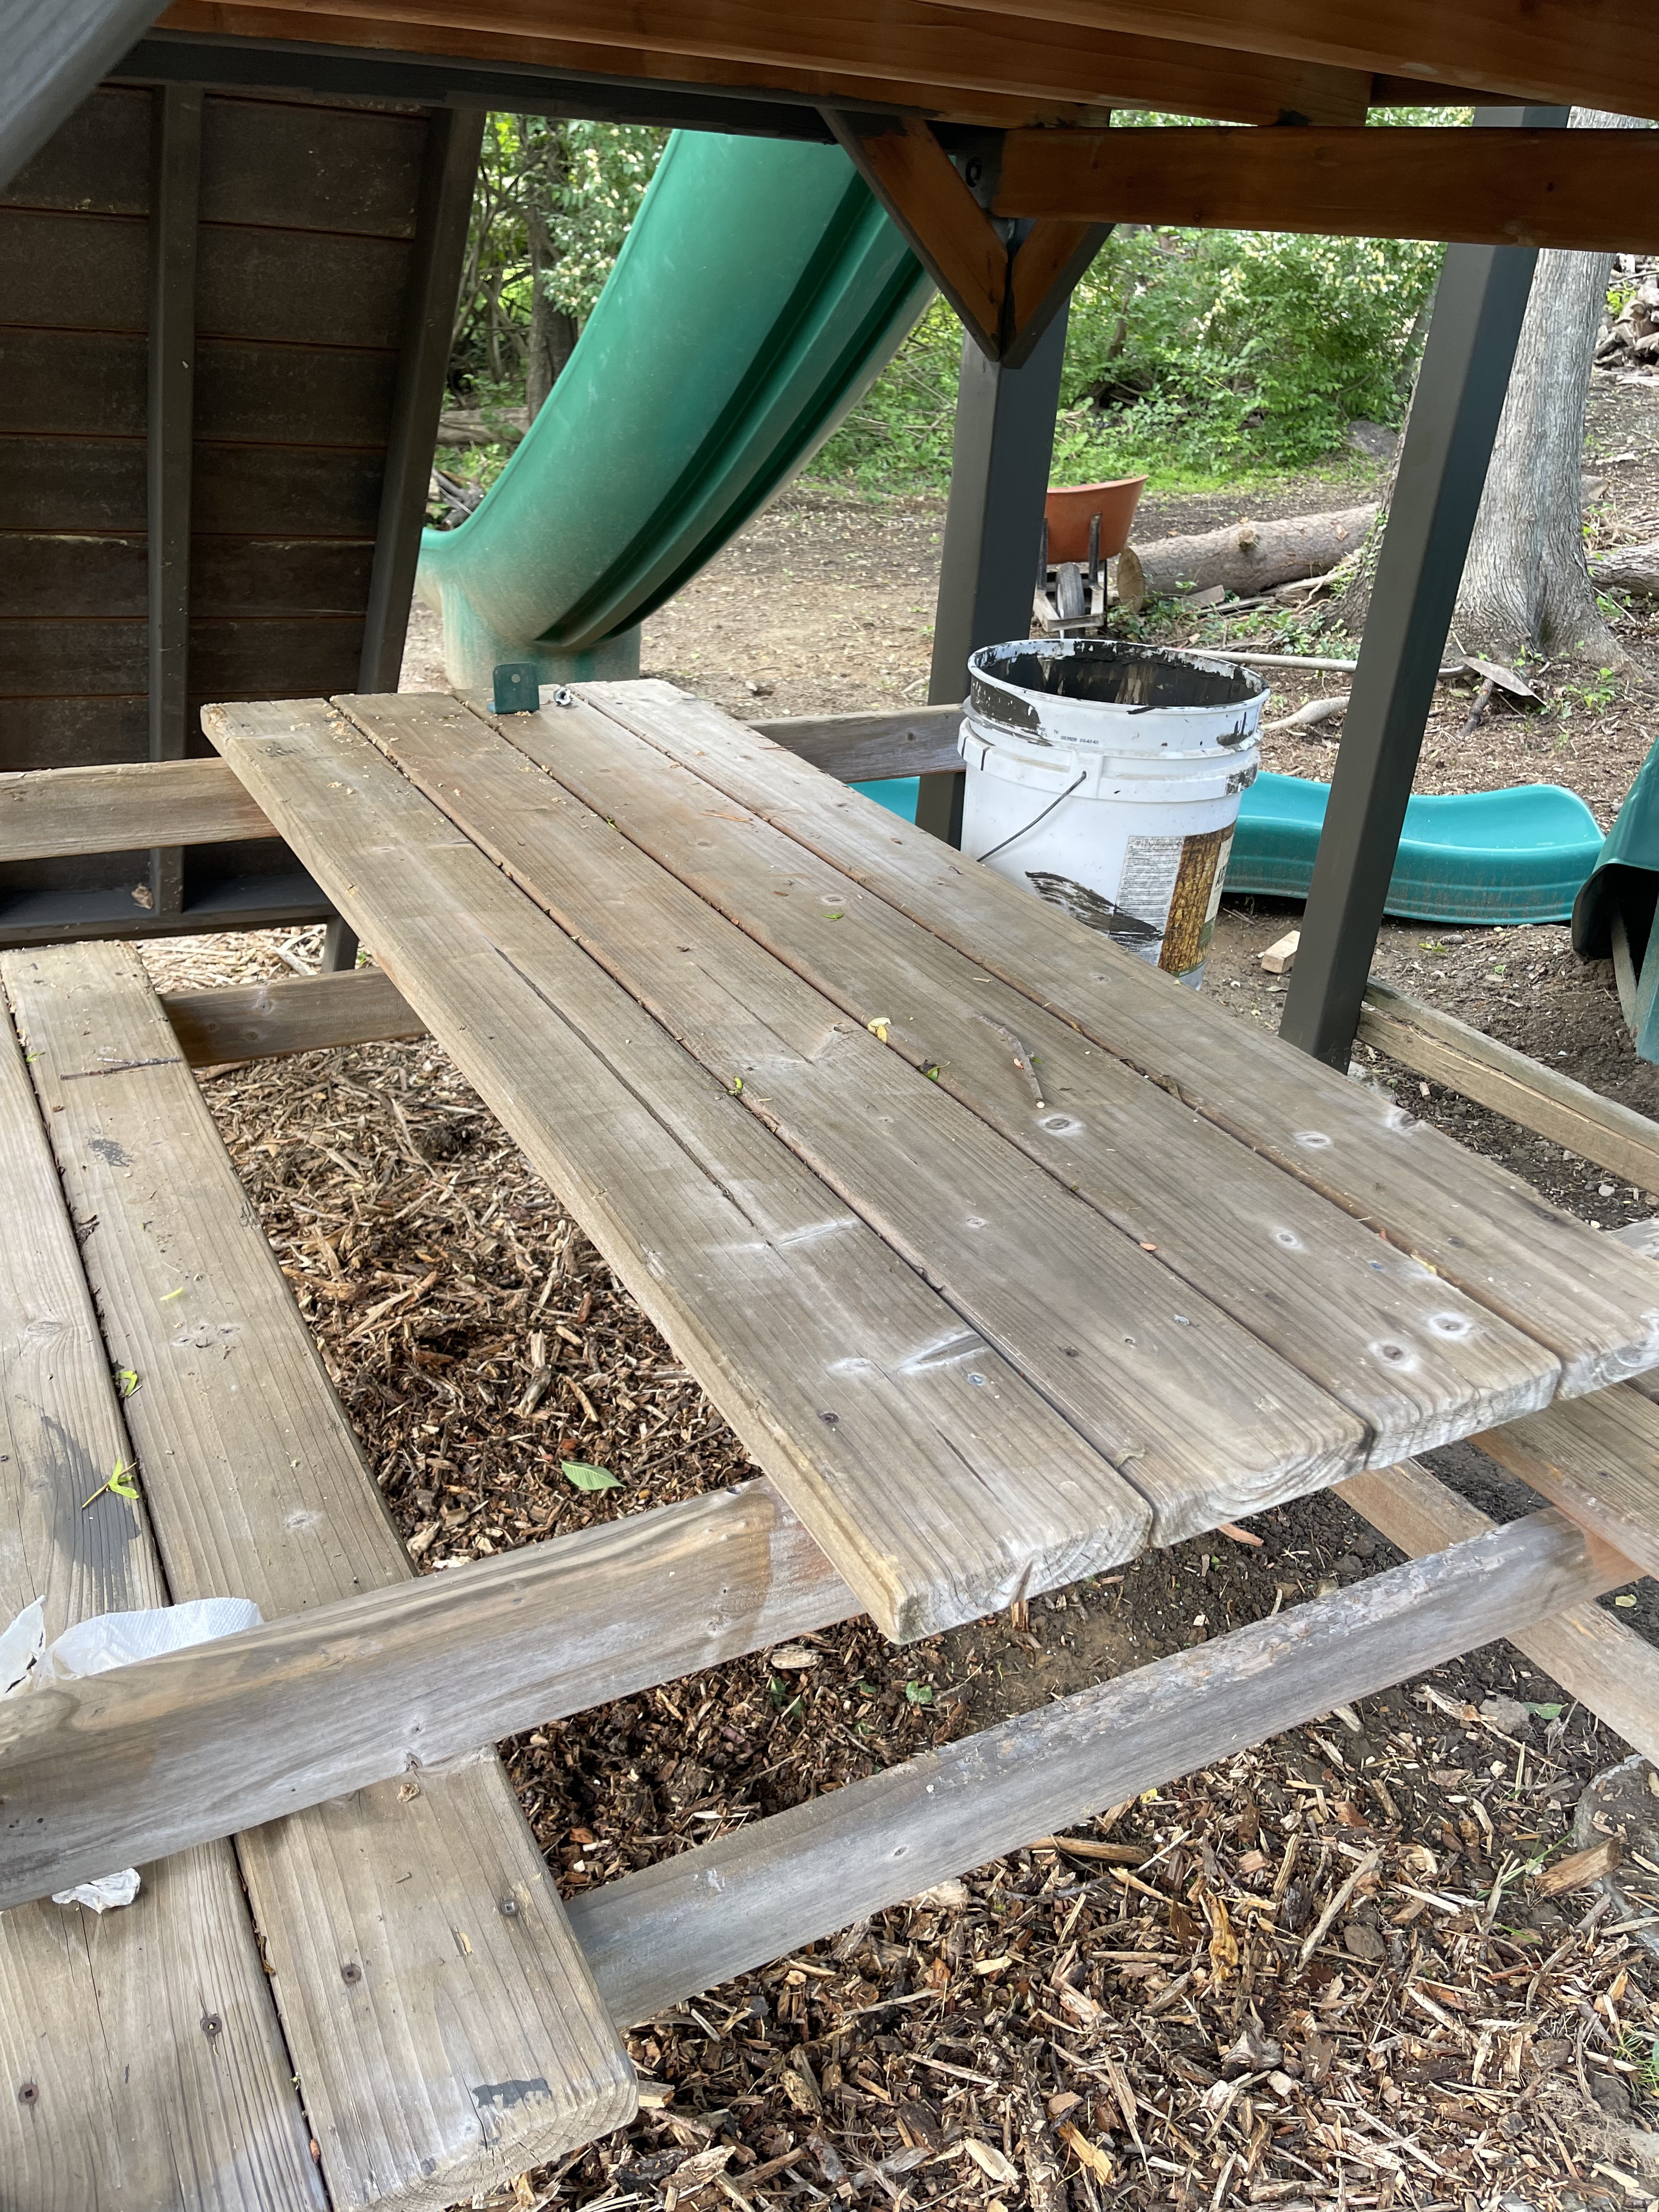
BEFORE
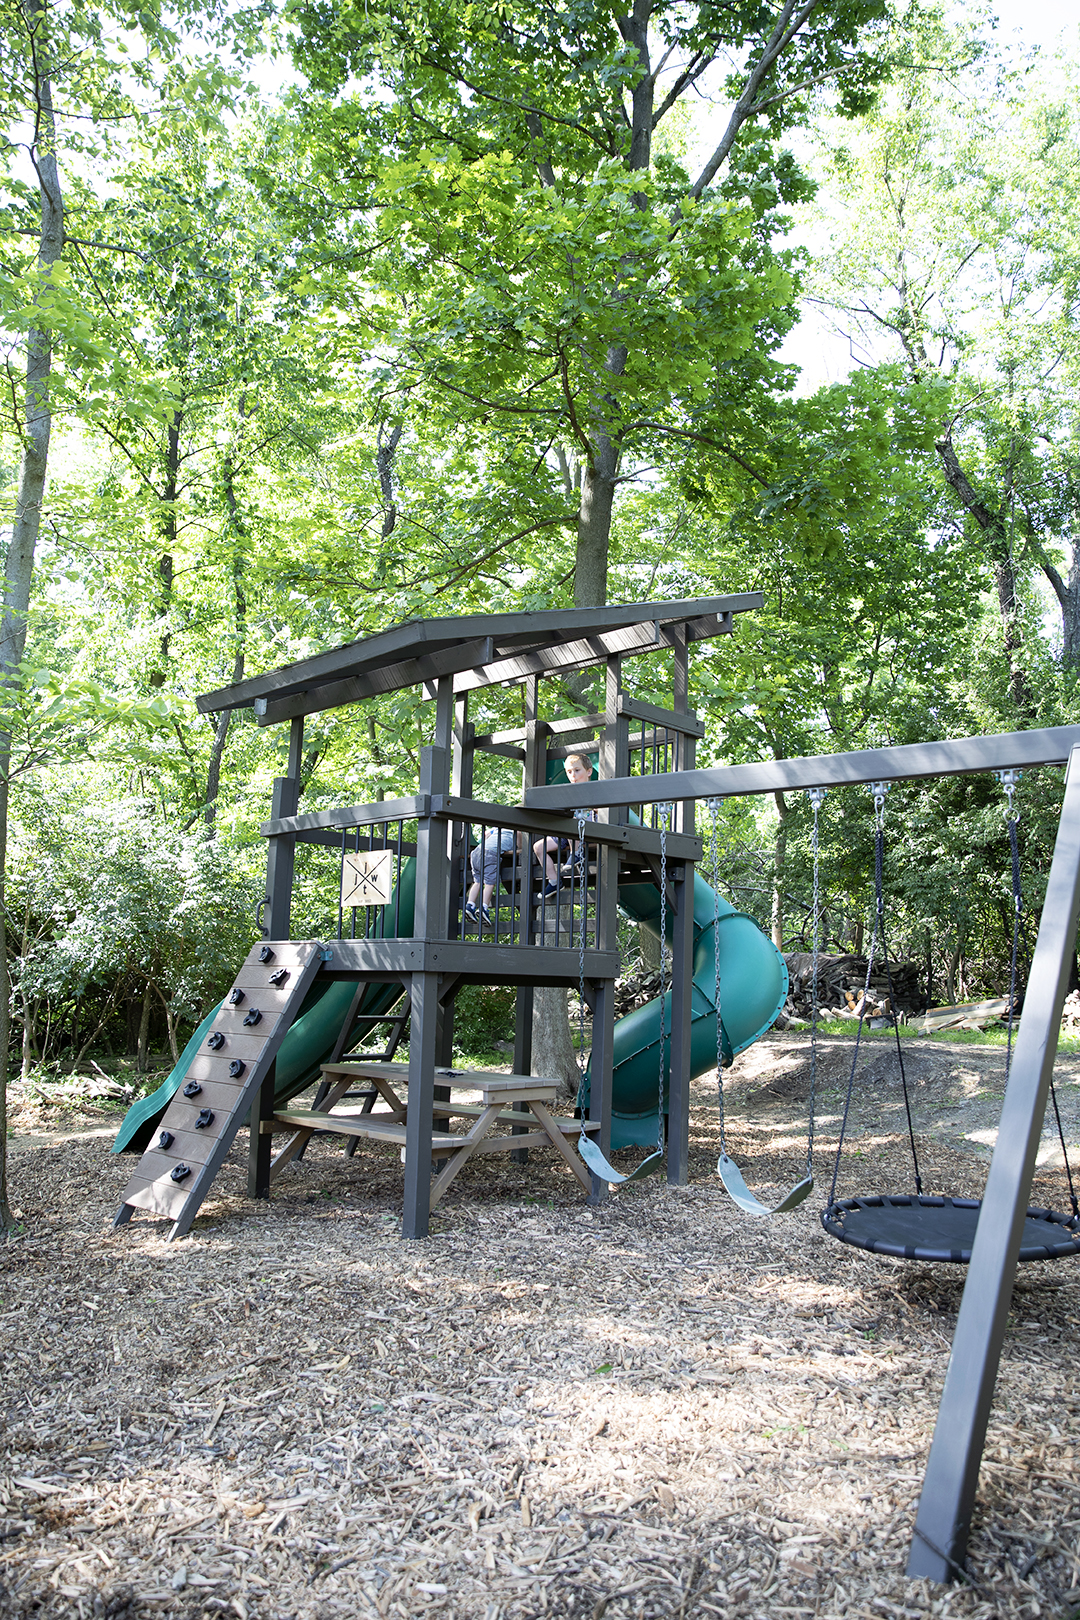
AFTER

Materials:
FrogTape 1.88″ Multi Surface or Delicate
Metal ruler
Knife and blades
Stain (I used Behr Boot Hill Gray)
Outdoor clear (for top since half squares are unfinished)

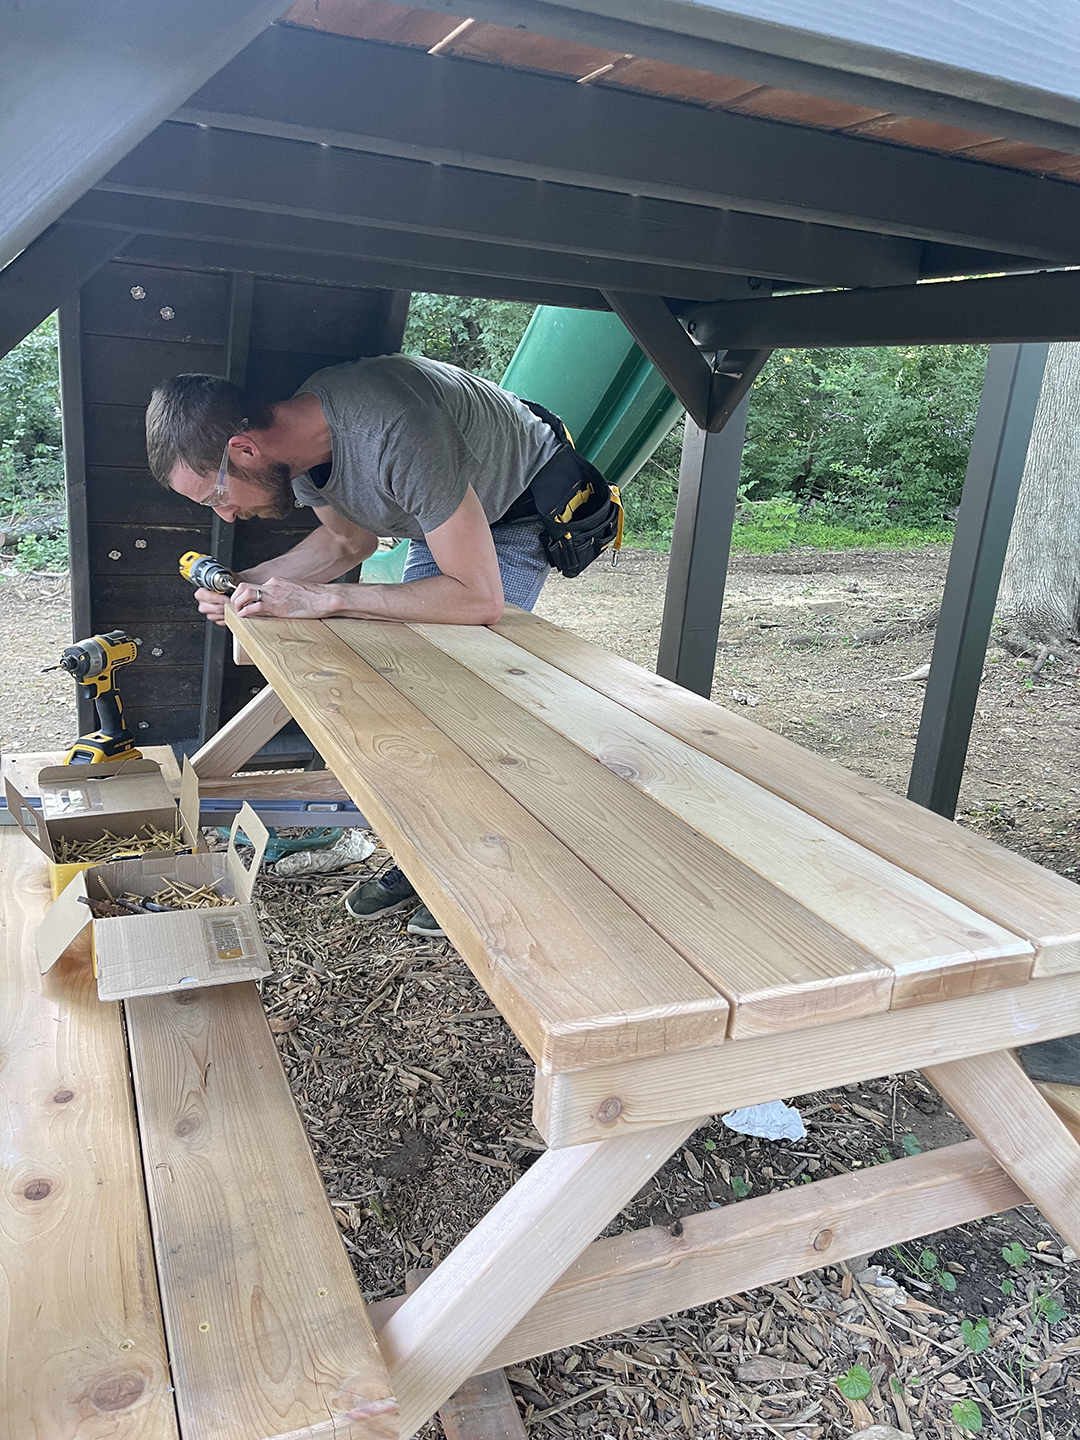
We replaced the picnic table boards since several were damaged. Added bonus, we replaced the straight cross bases with angled so it is easier to get in and out of.
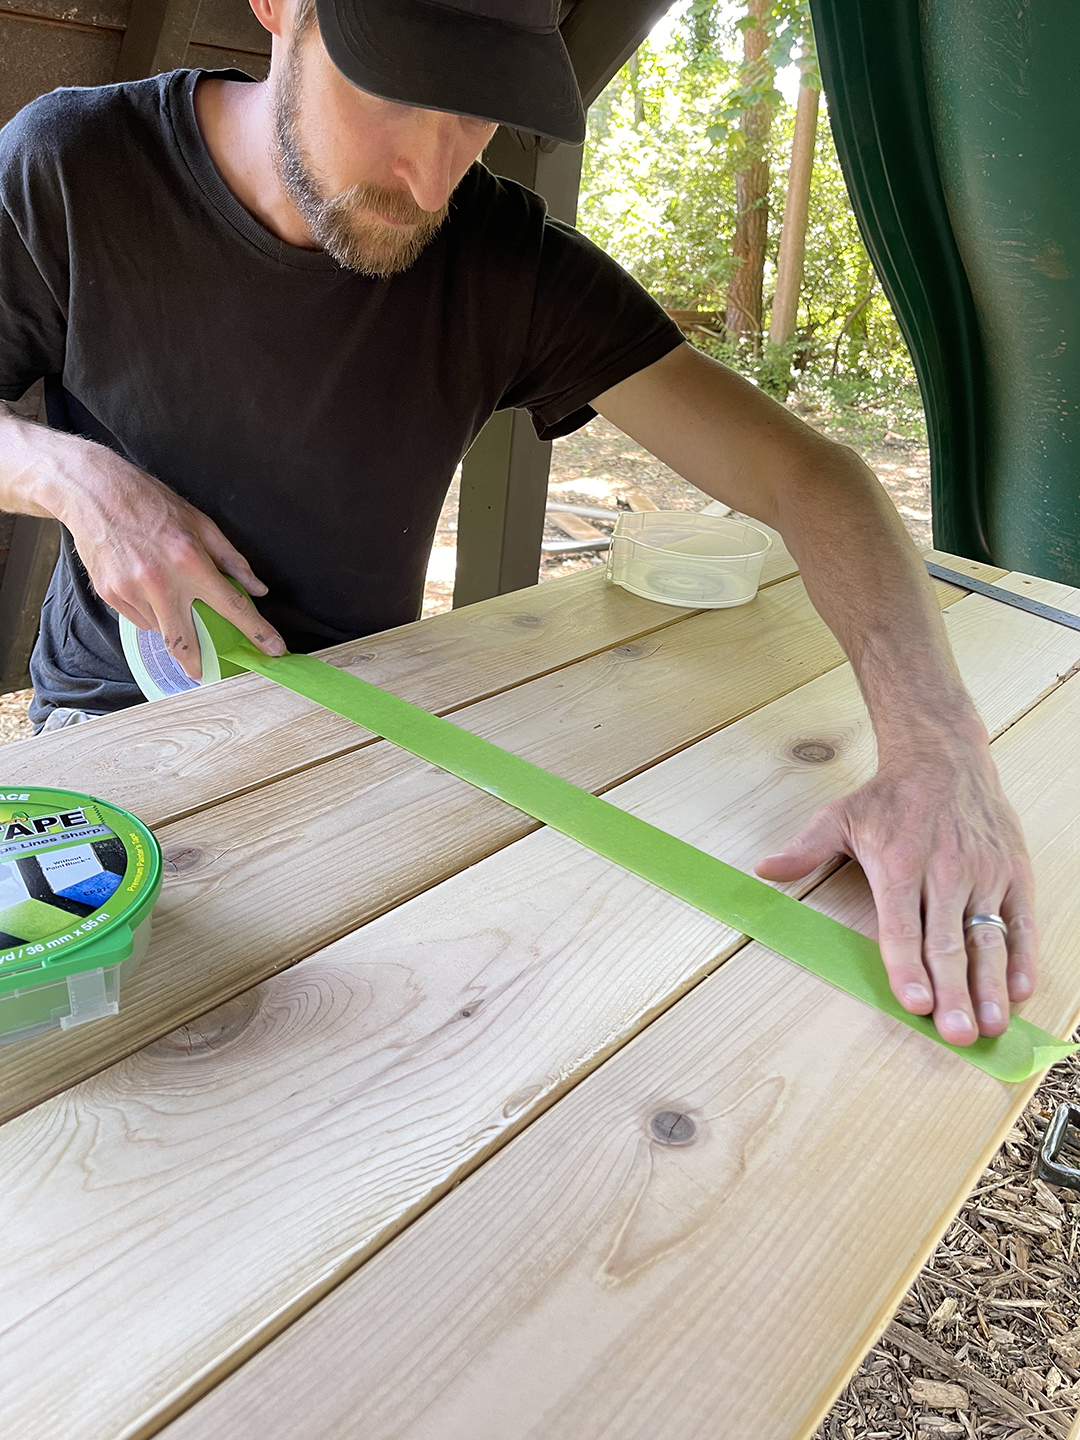
To lay out the checkerboard pattern, measure center of the length of the table and apply FrogTape 1.88″ Multisurface or Delicate.
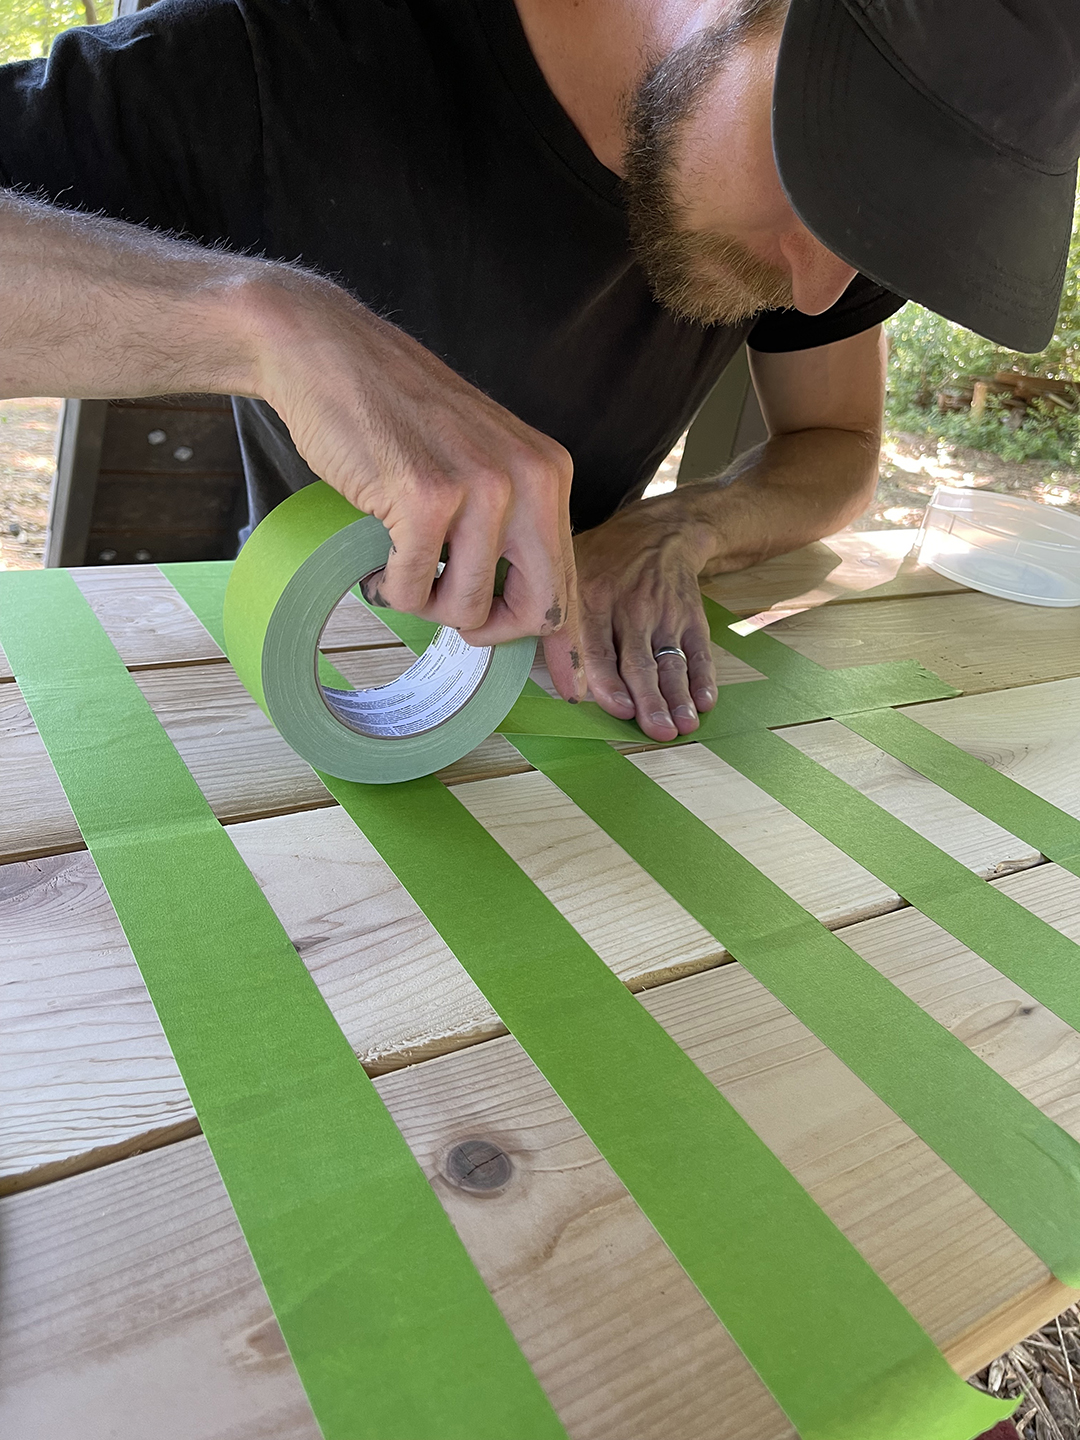
Alternate equal negative space by using FrogTape as a spacer and removing to show negative space. There are eight rows total.
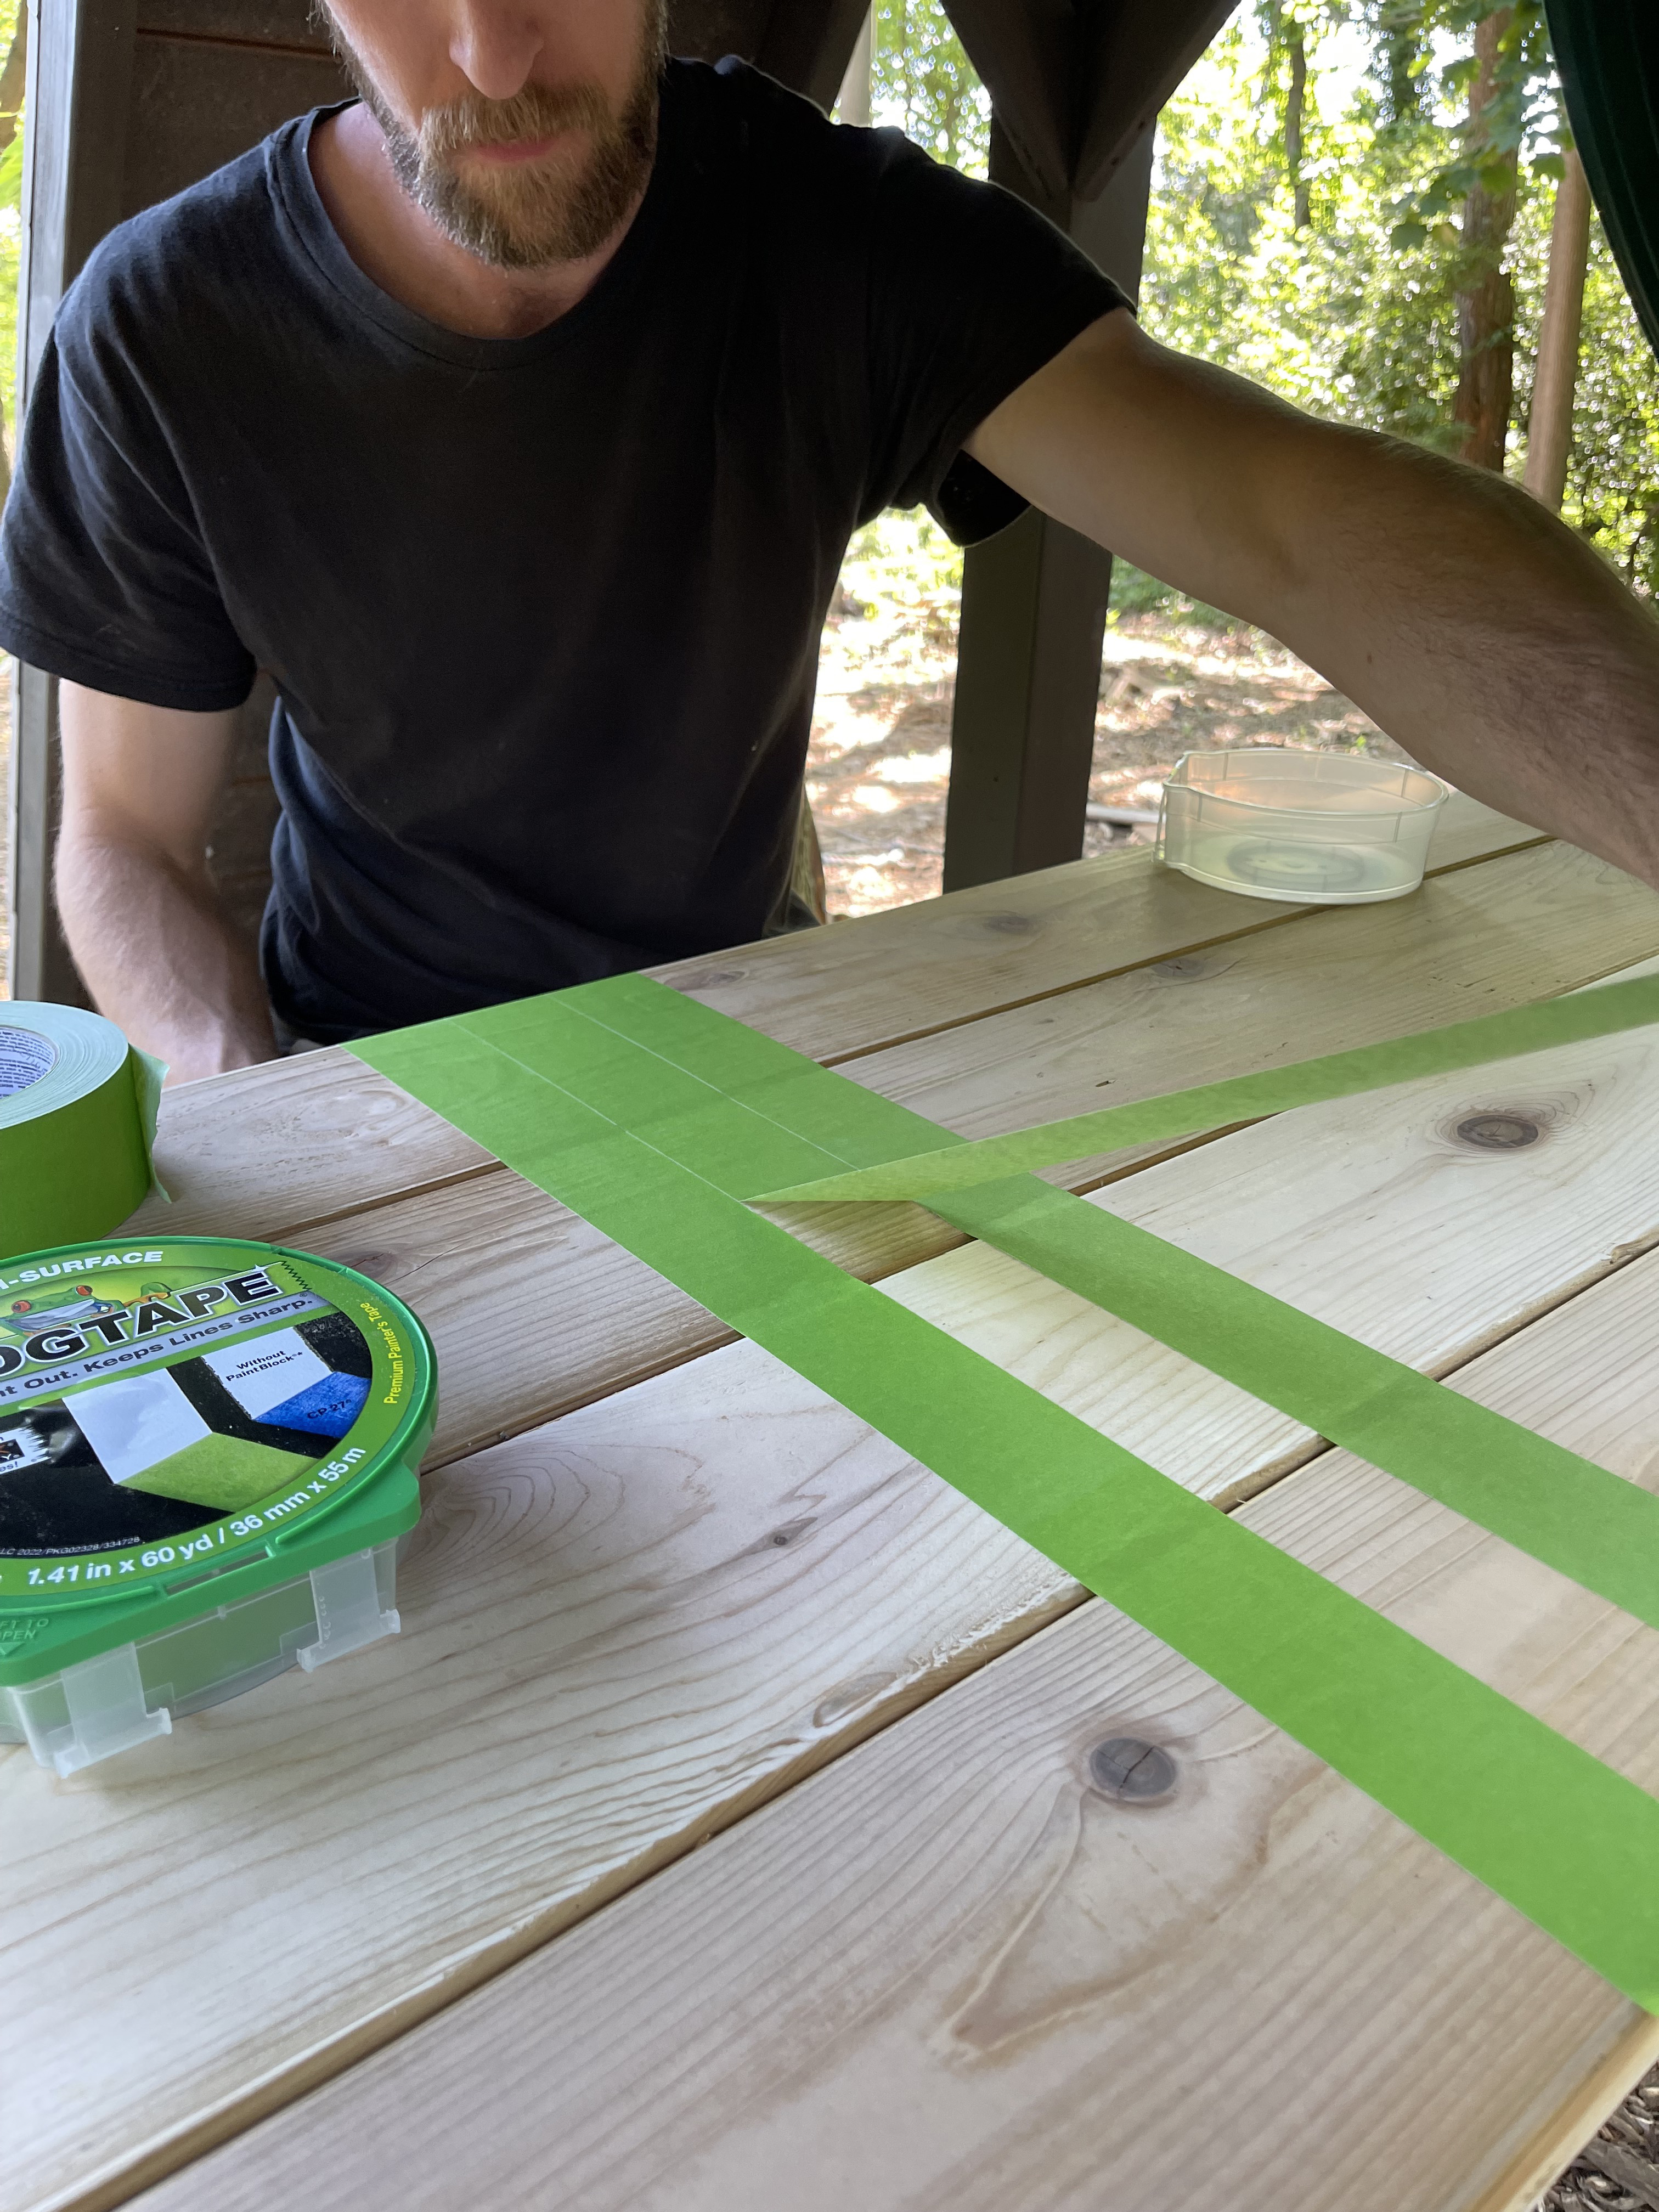
Once you’ve completed the vertical, lay out the horizontal, starting in the center.
There are eight rows total.
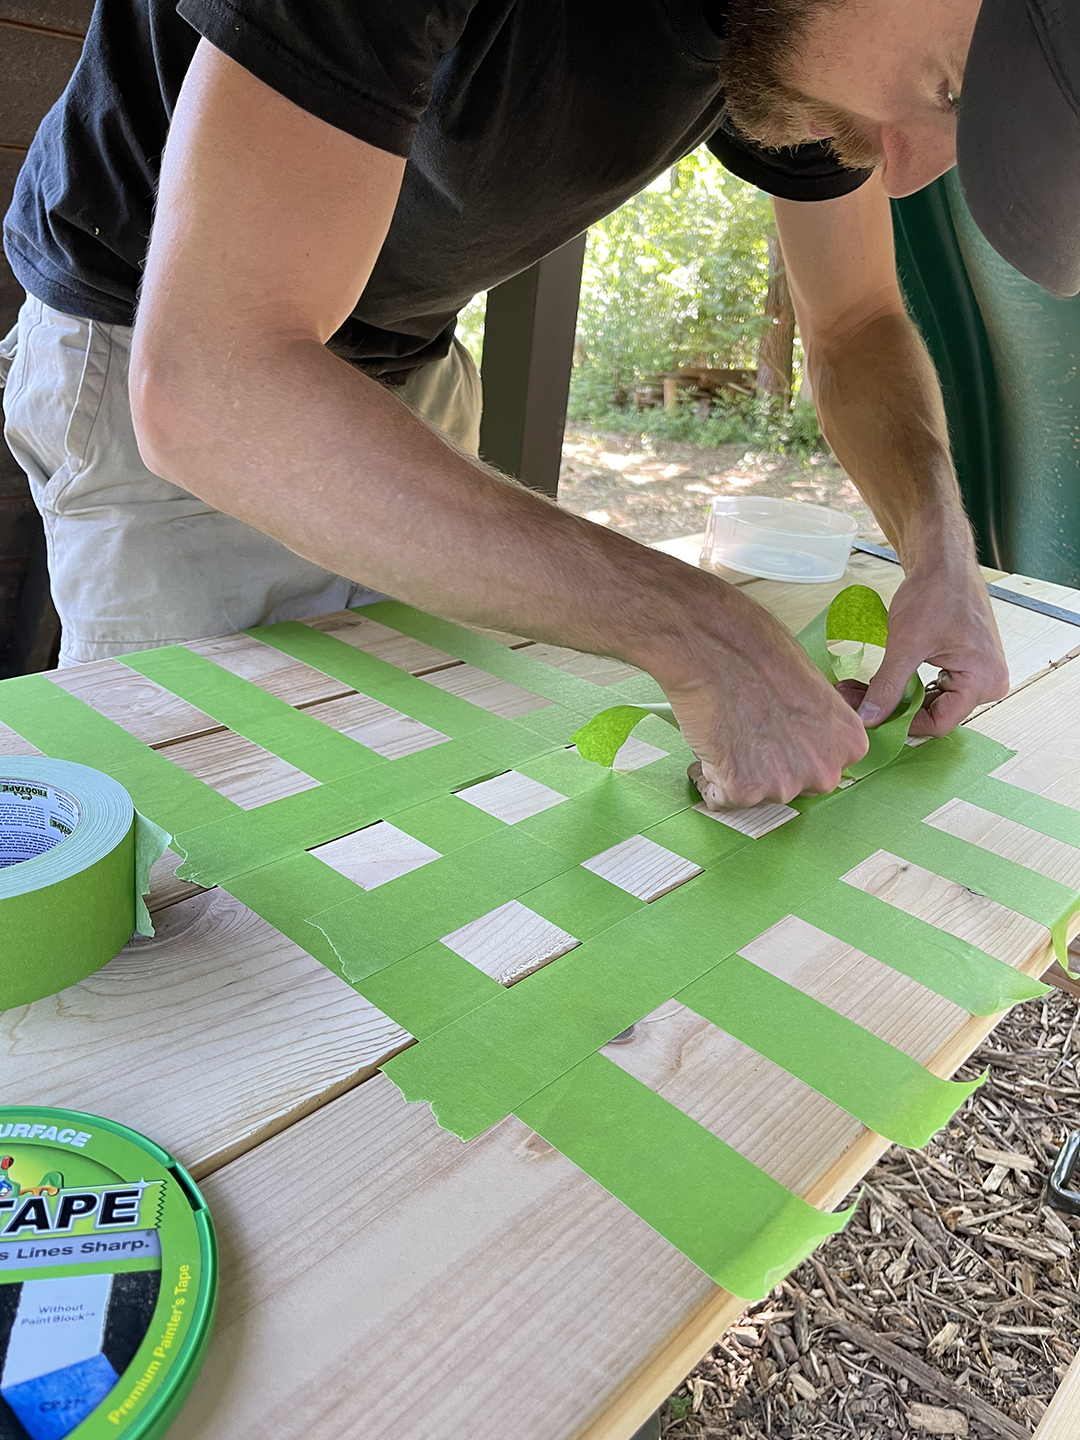
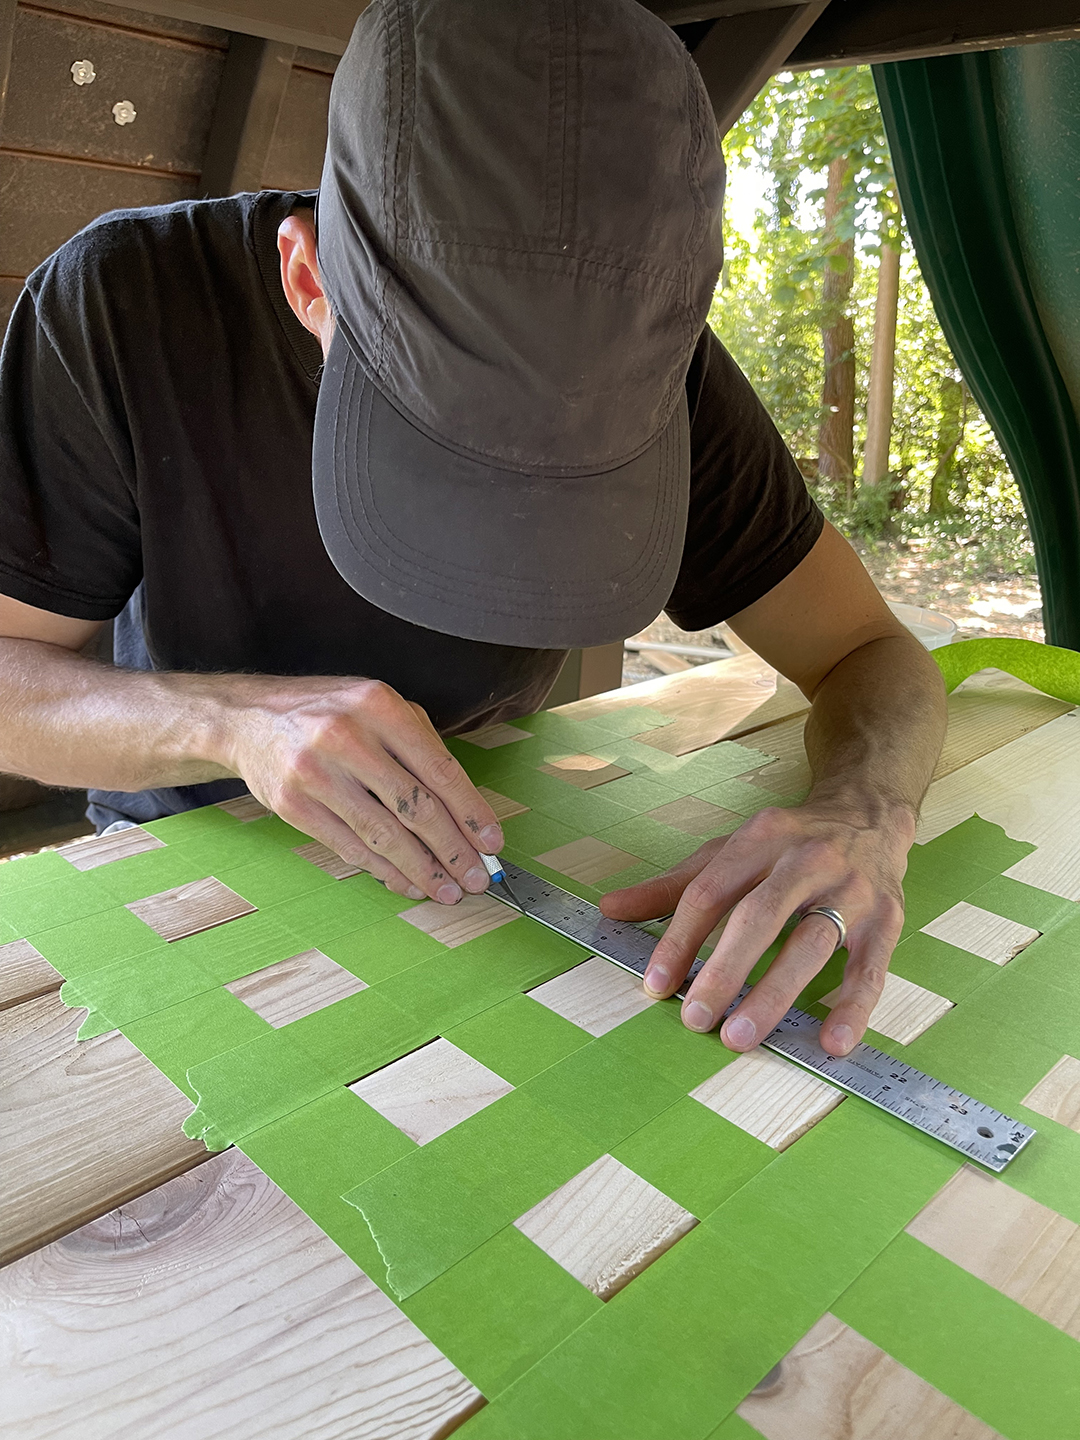
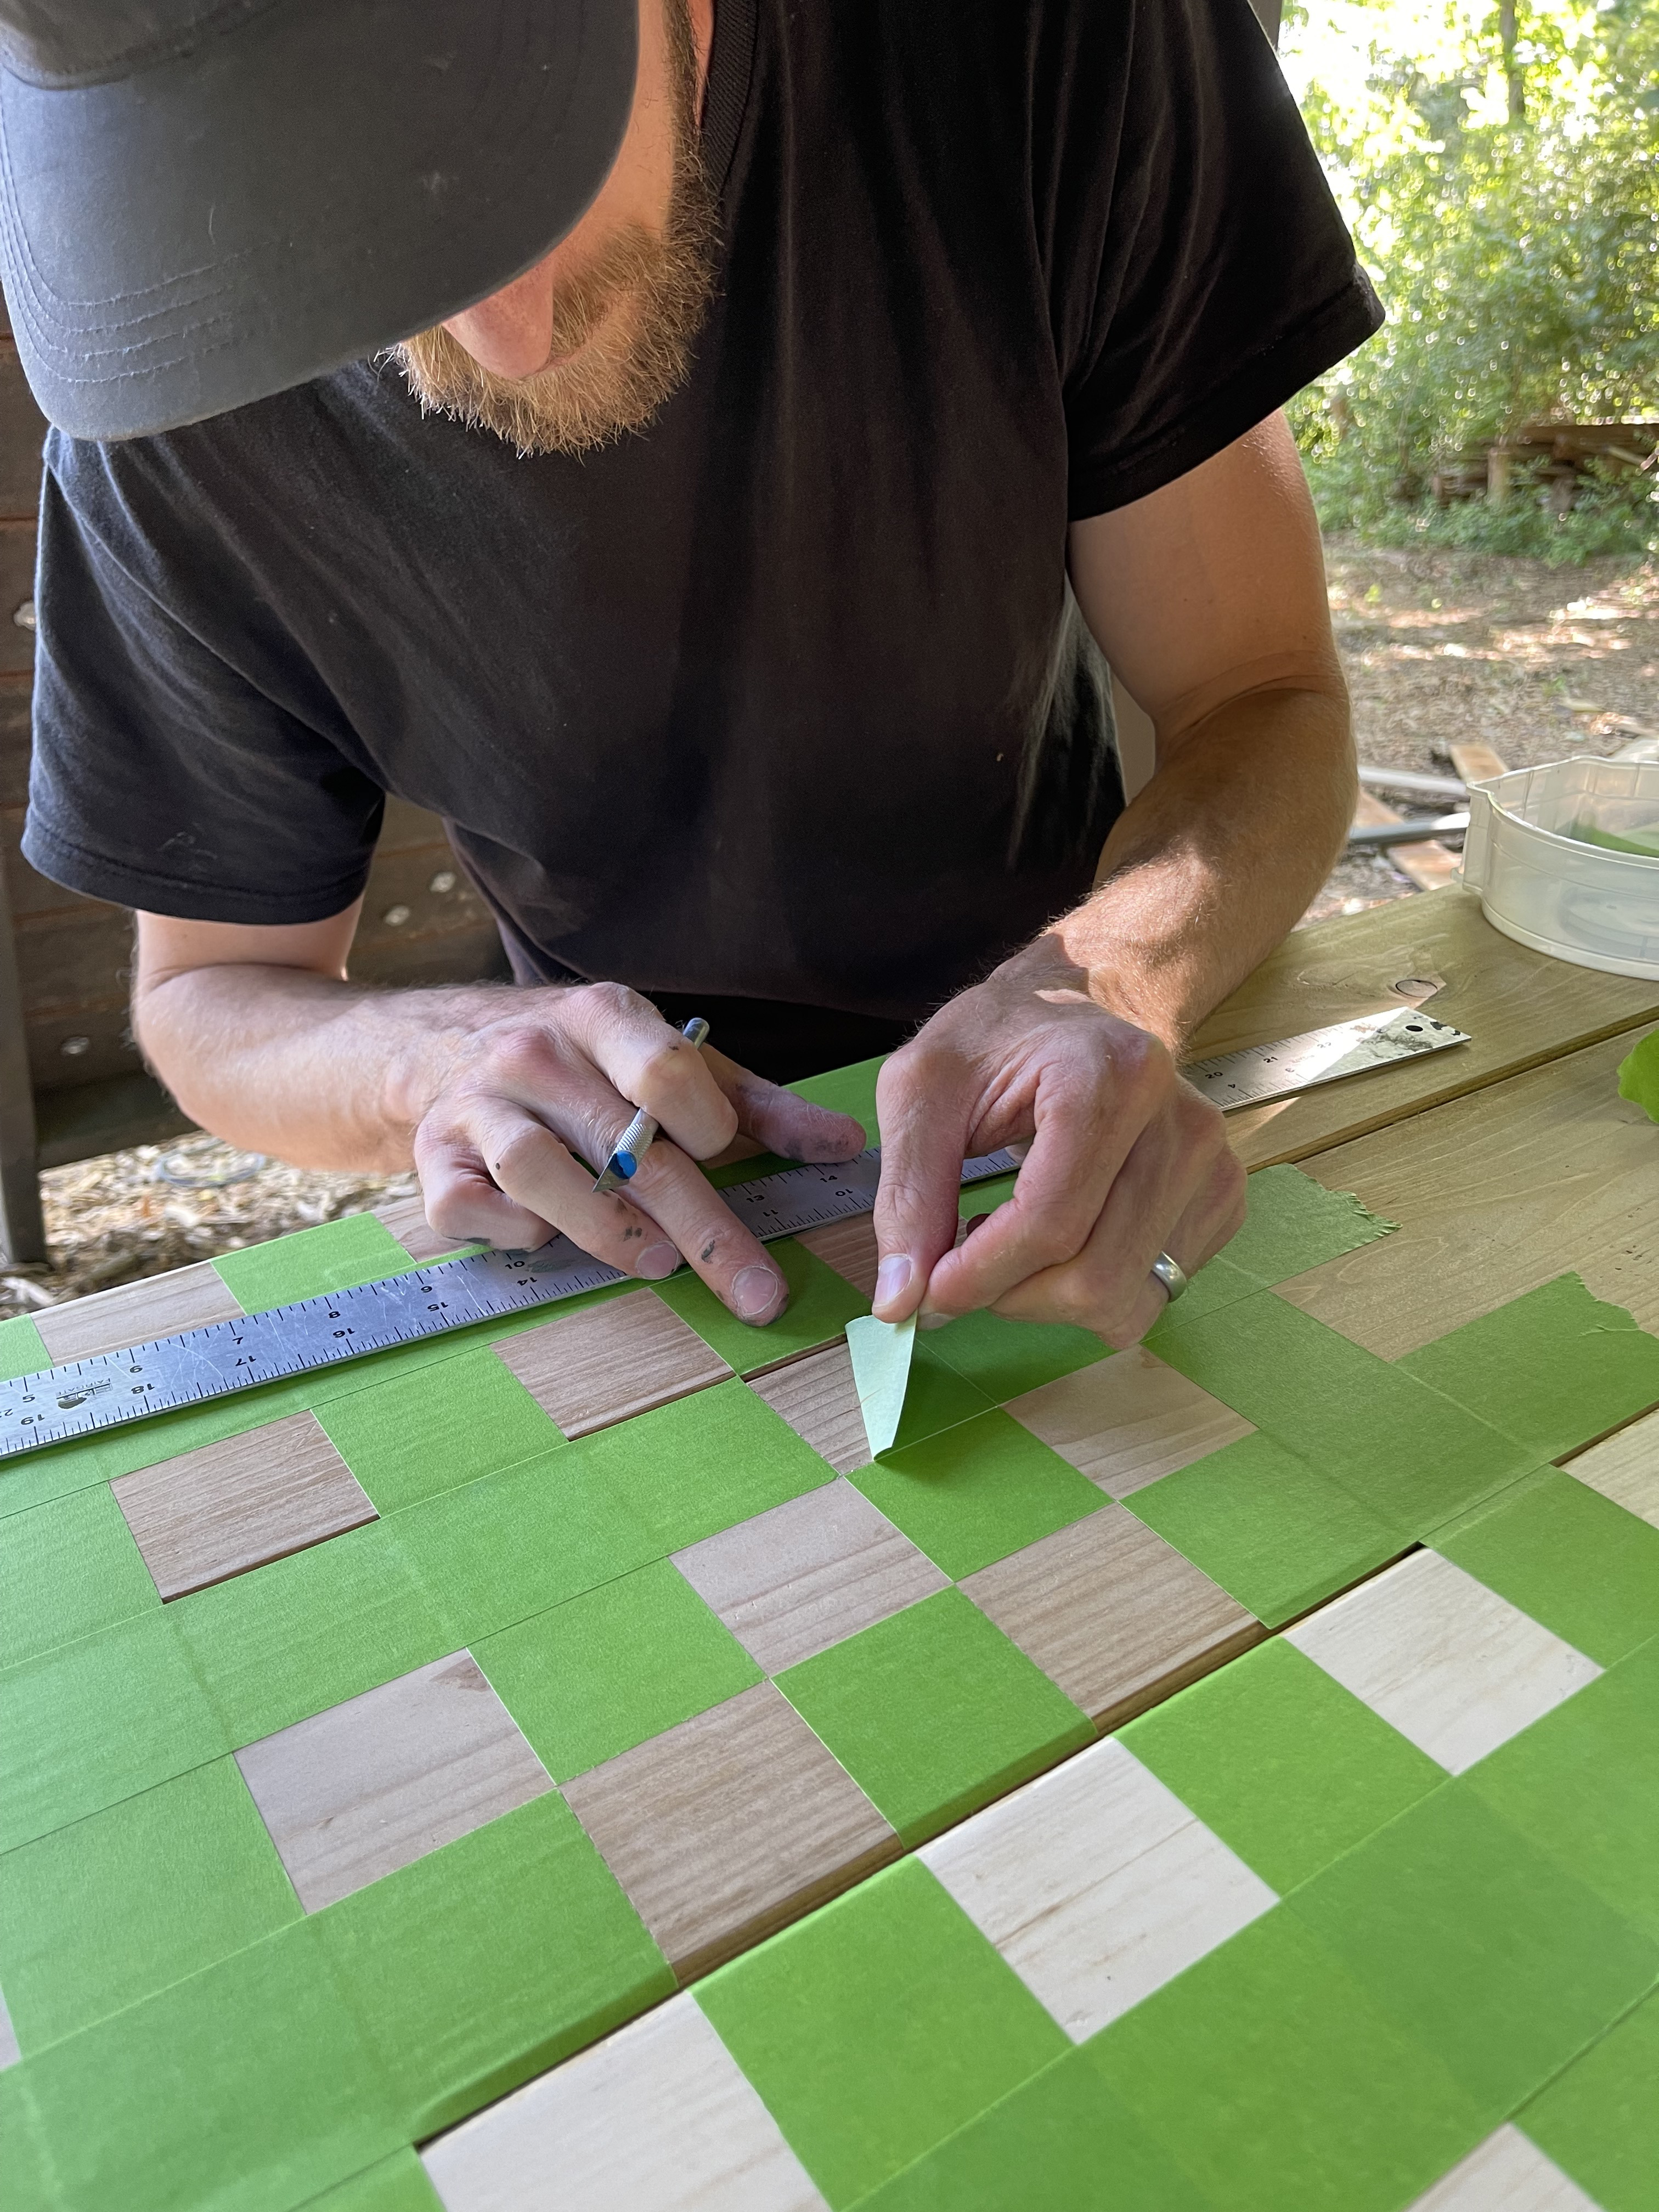
Once the grid is laid out, cut out all the squares where the tape line overlaps with a knife.Use the metal ruler to protect the surrounding tape.
Remove all squares cut out.
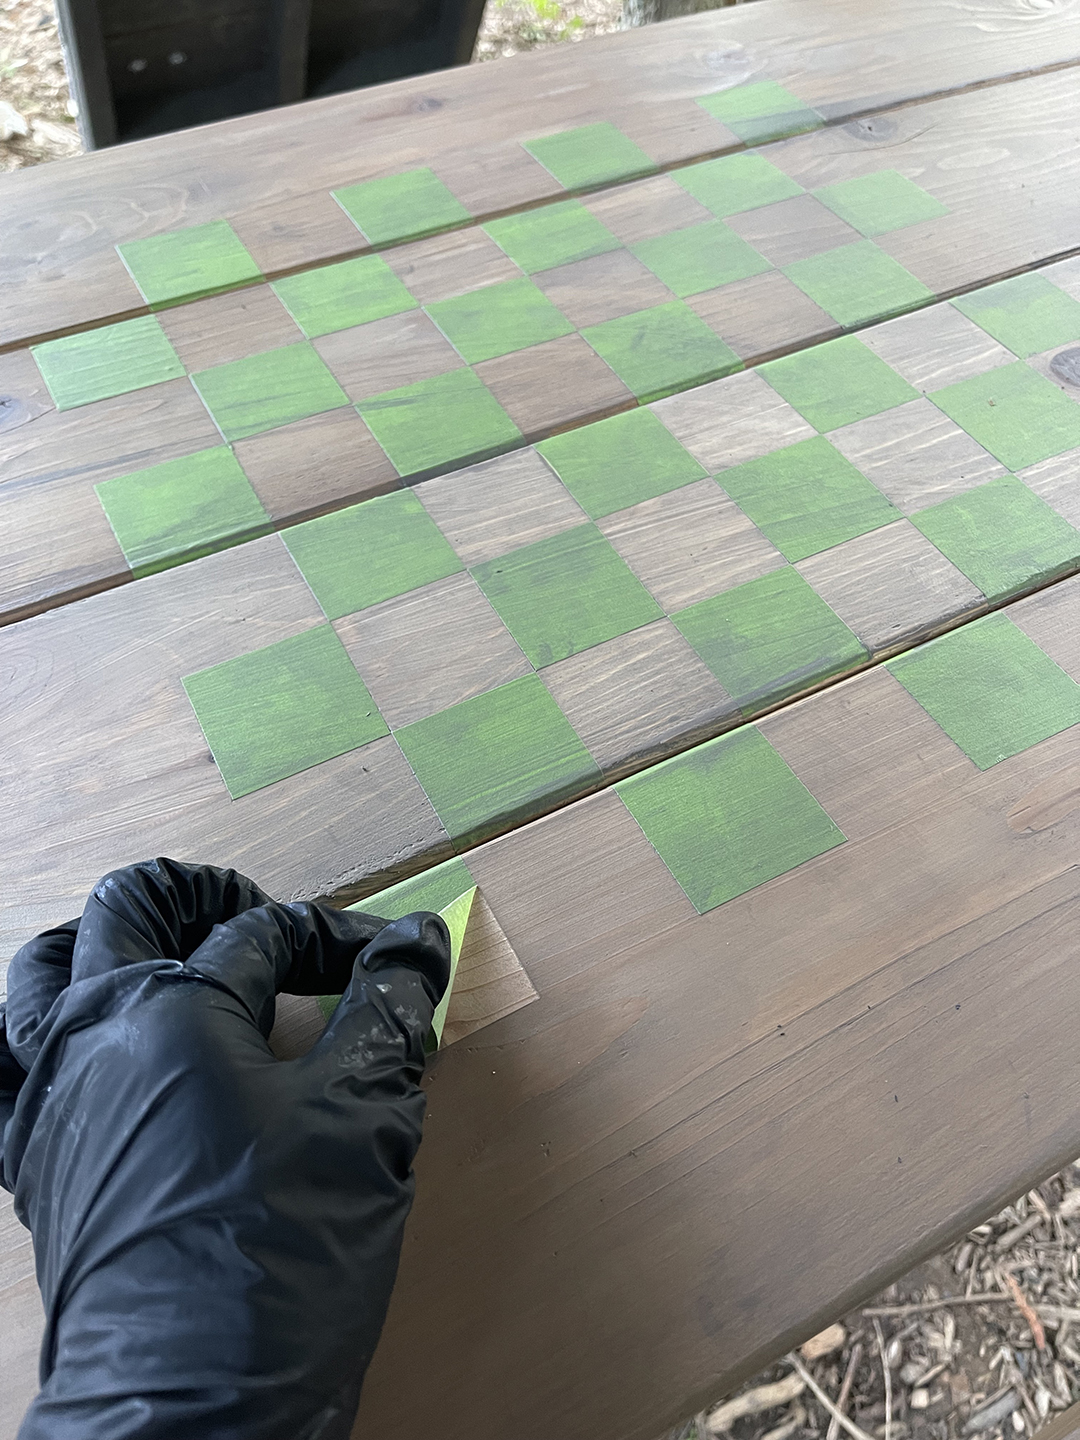
Press down tape firmly and apply two thin layers of stain, once complete, remove the tape squares.
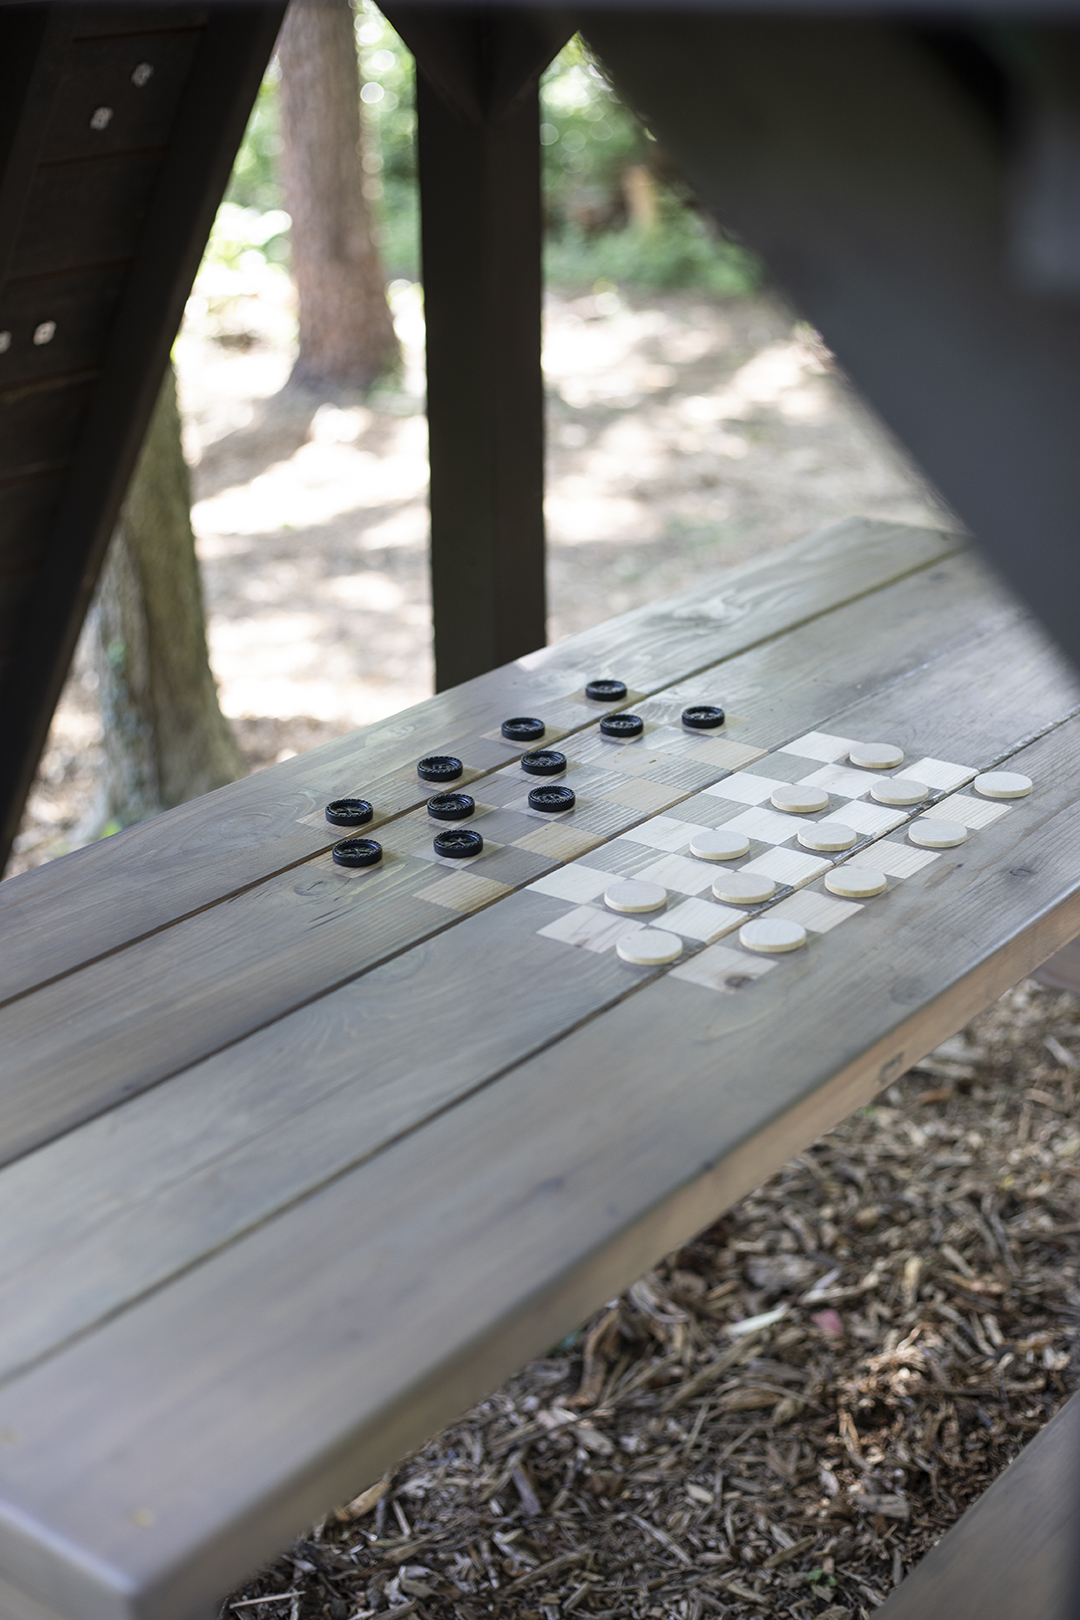
Our kids are too young to play checkers by themselves, but they do love stacking the pieces (and lets be honest, throwing them too) But it’s fun to play together and I love that it will grow with them!
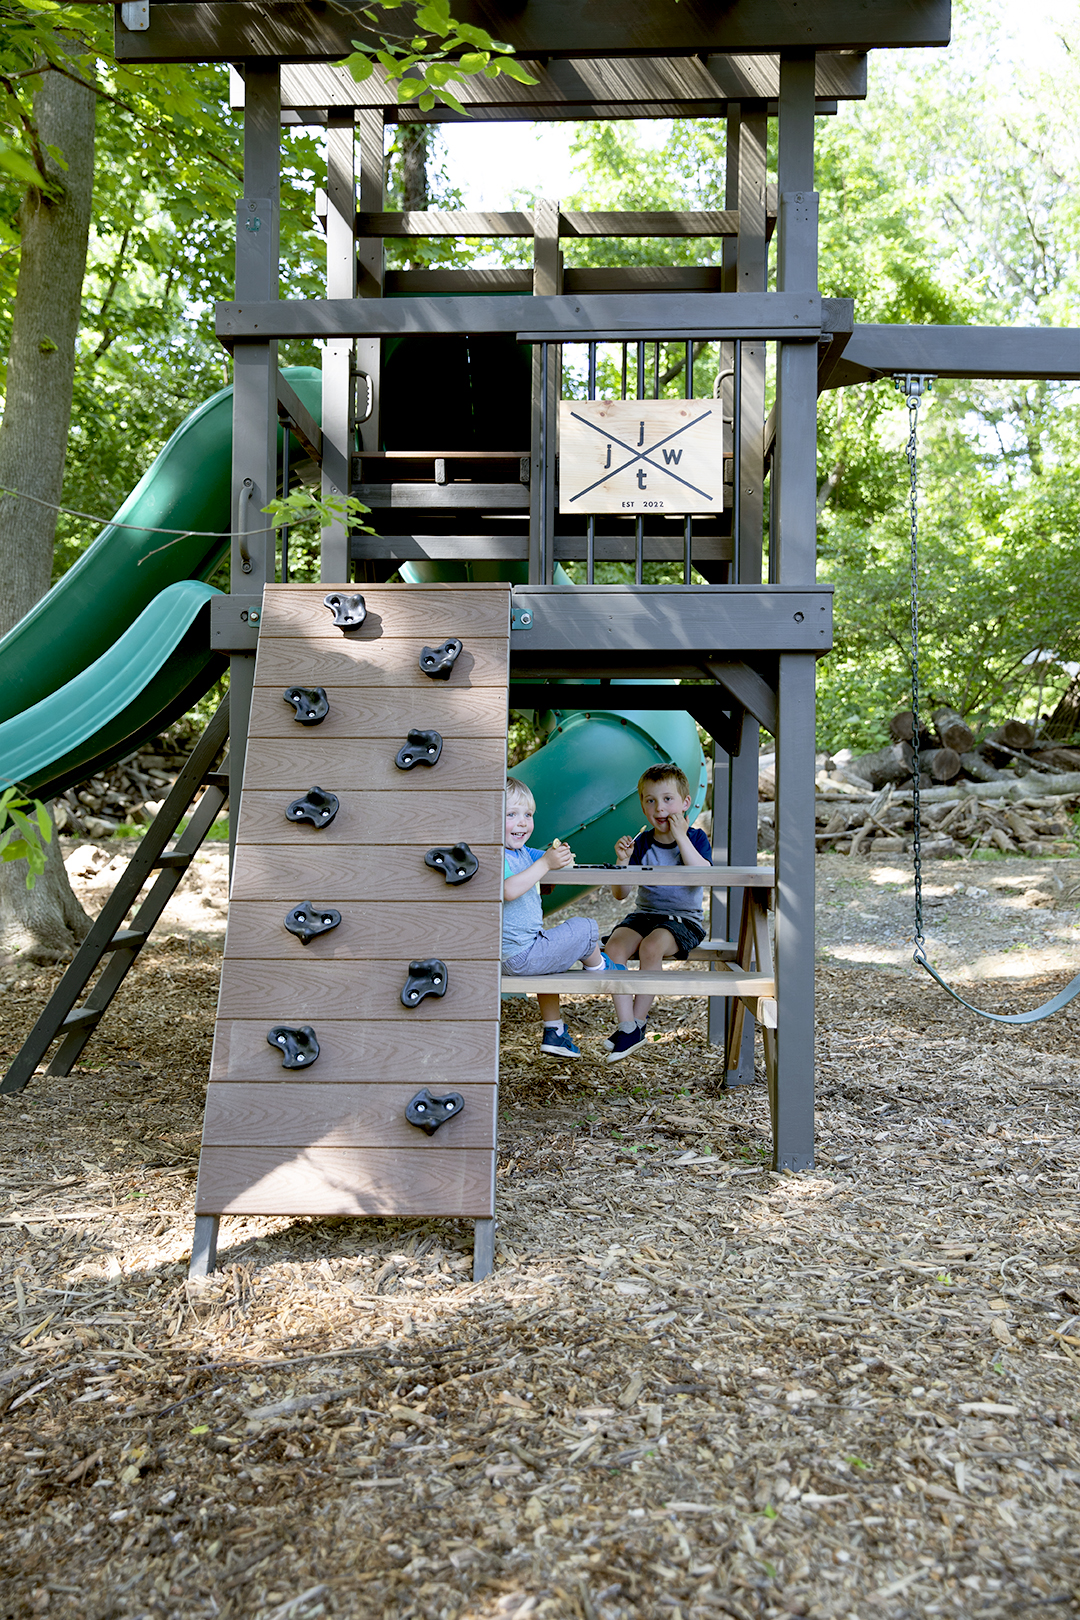
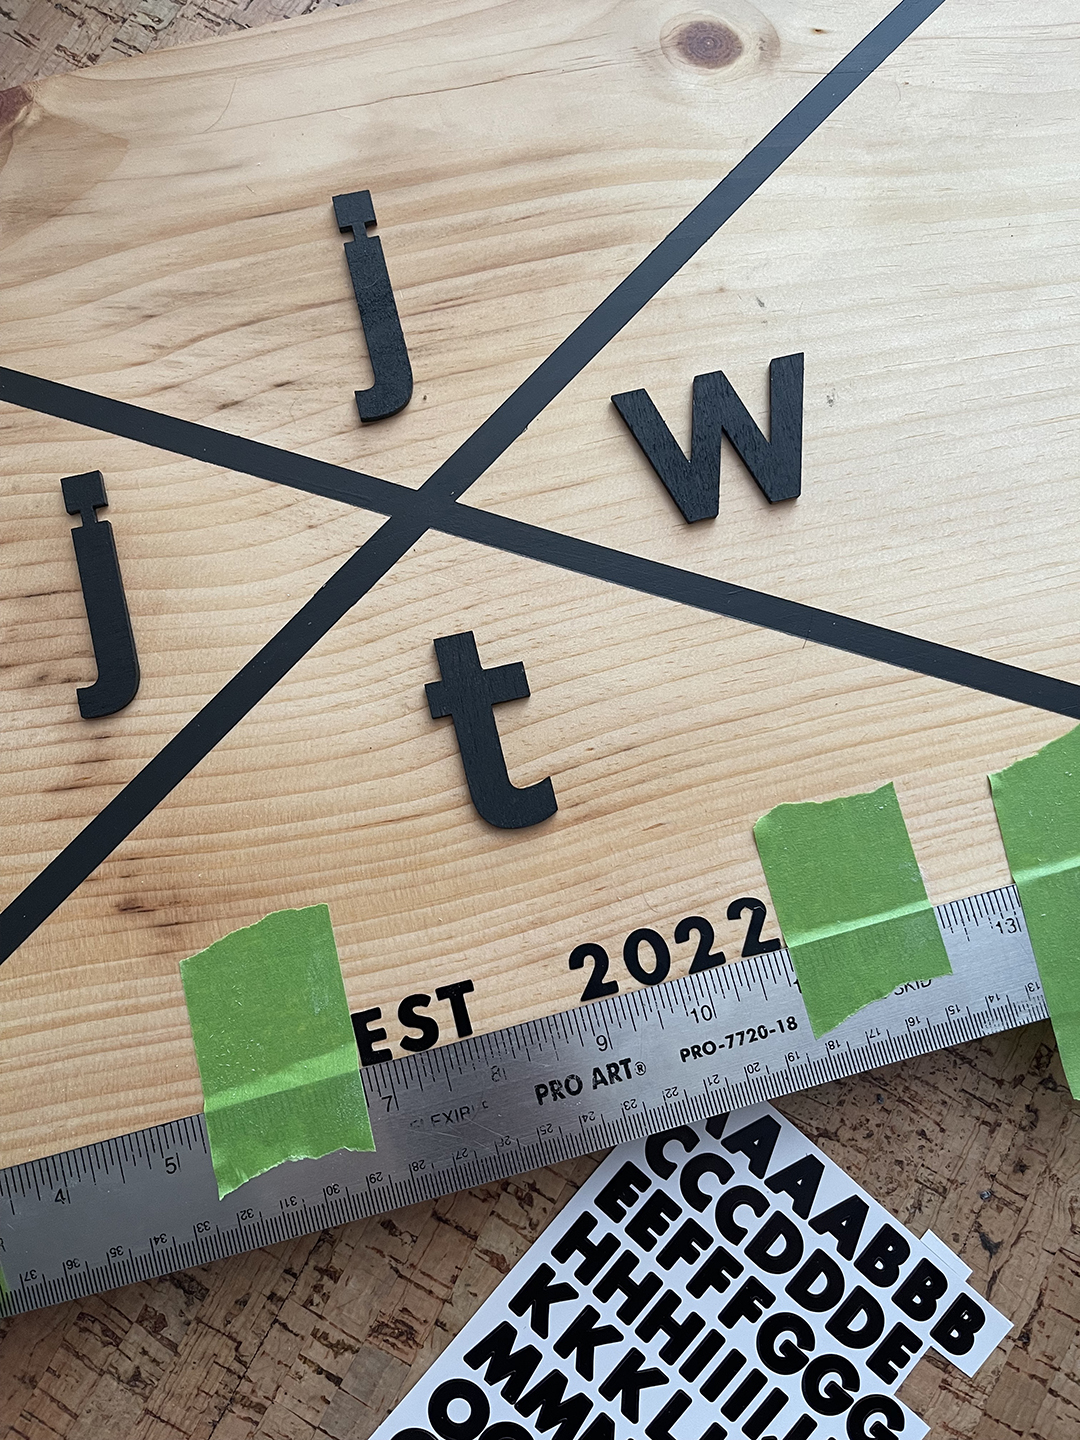
We also created a minimalistic sign with our sons initials and est. date! It was SO simple and only took about an hour.
Materials needed
Cedar board (12″x18″) coated with shellac to prevent the paint from bleeding
FrogTape Multi Surface or Delicate (any size)
Knife (to cut the x center of tape)
Paint brush
Outdoor black paint
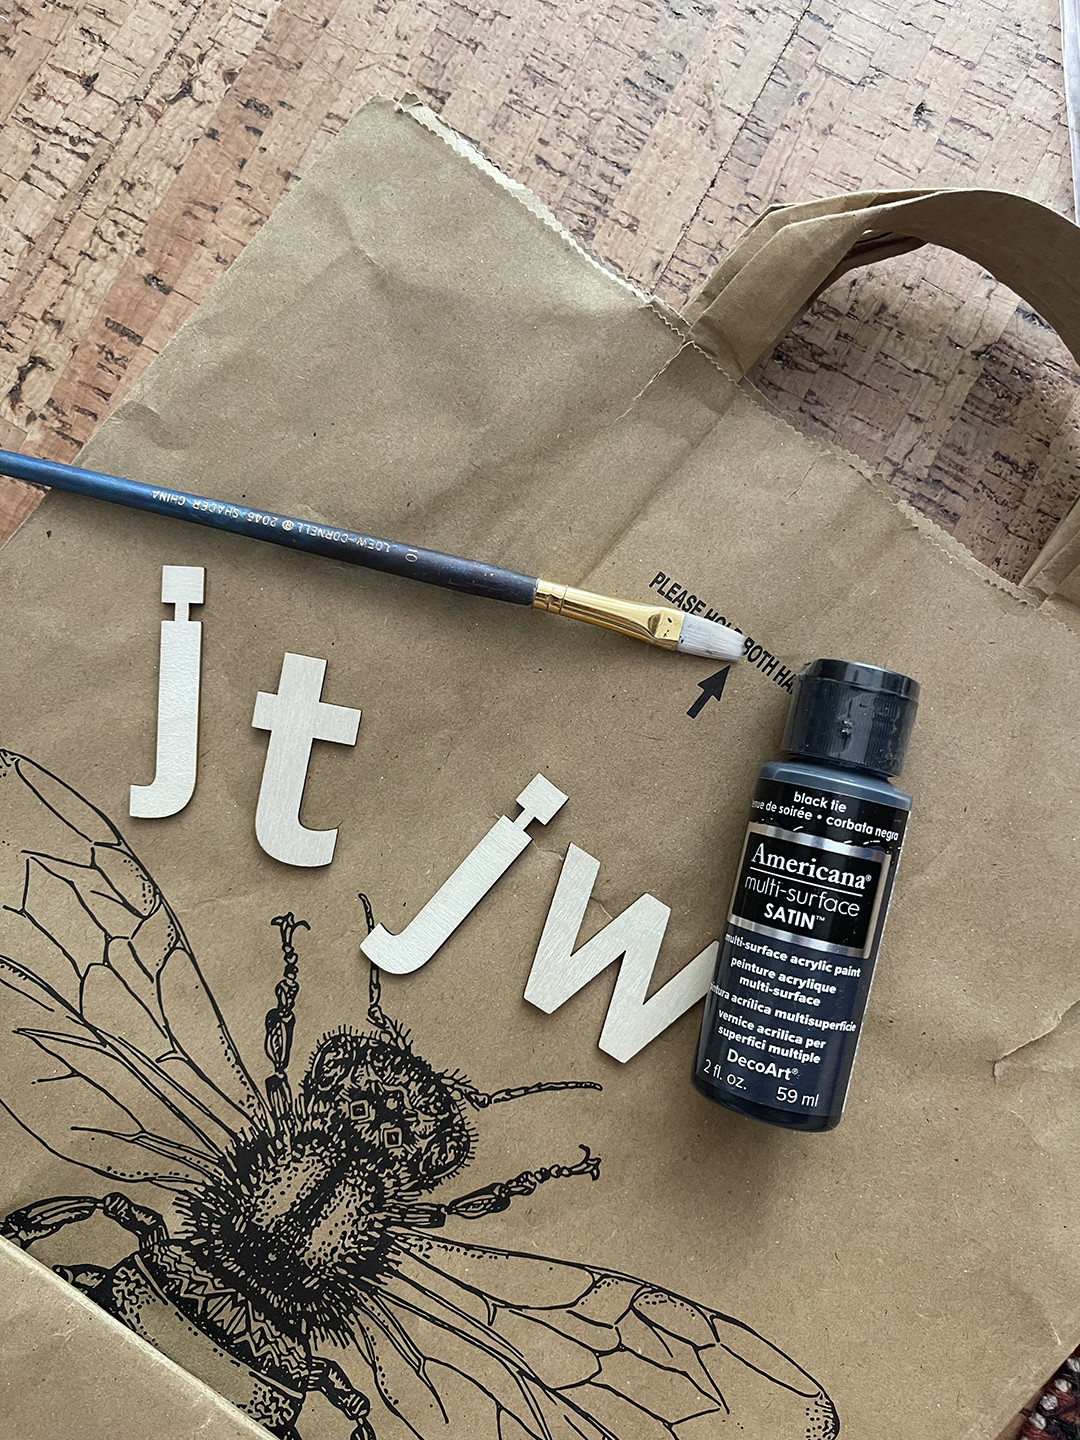
2″ wood letters
.5″ wood letters or stickers
First, we measured an X in the center of a 12″ x 18″ cedar board. We used a thin piece of tape as a spacer and cut the center where it overlapped with a knife.
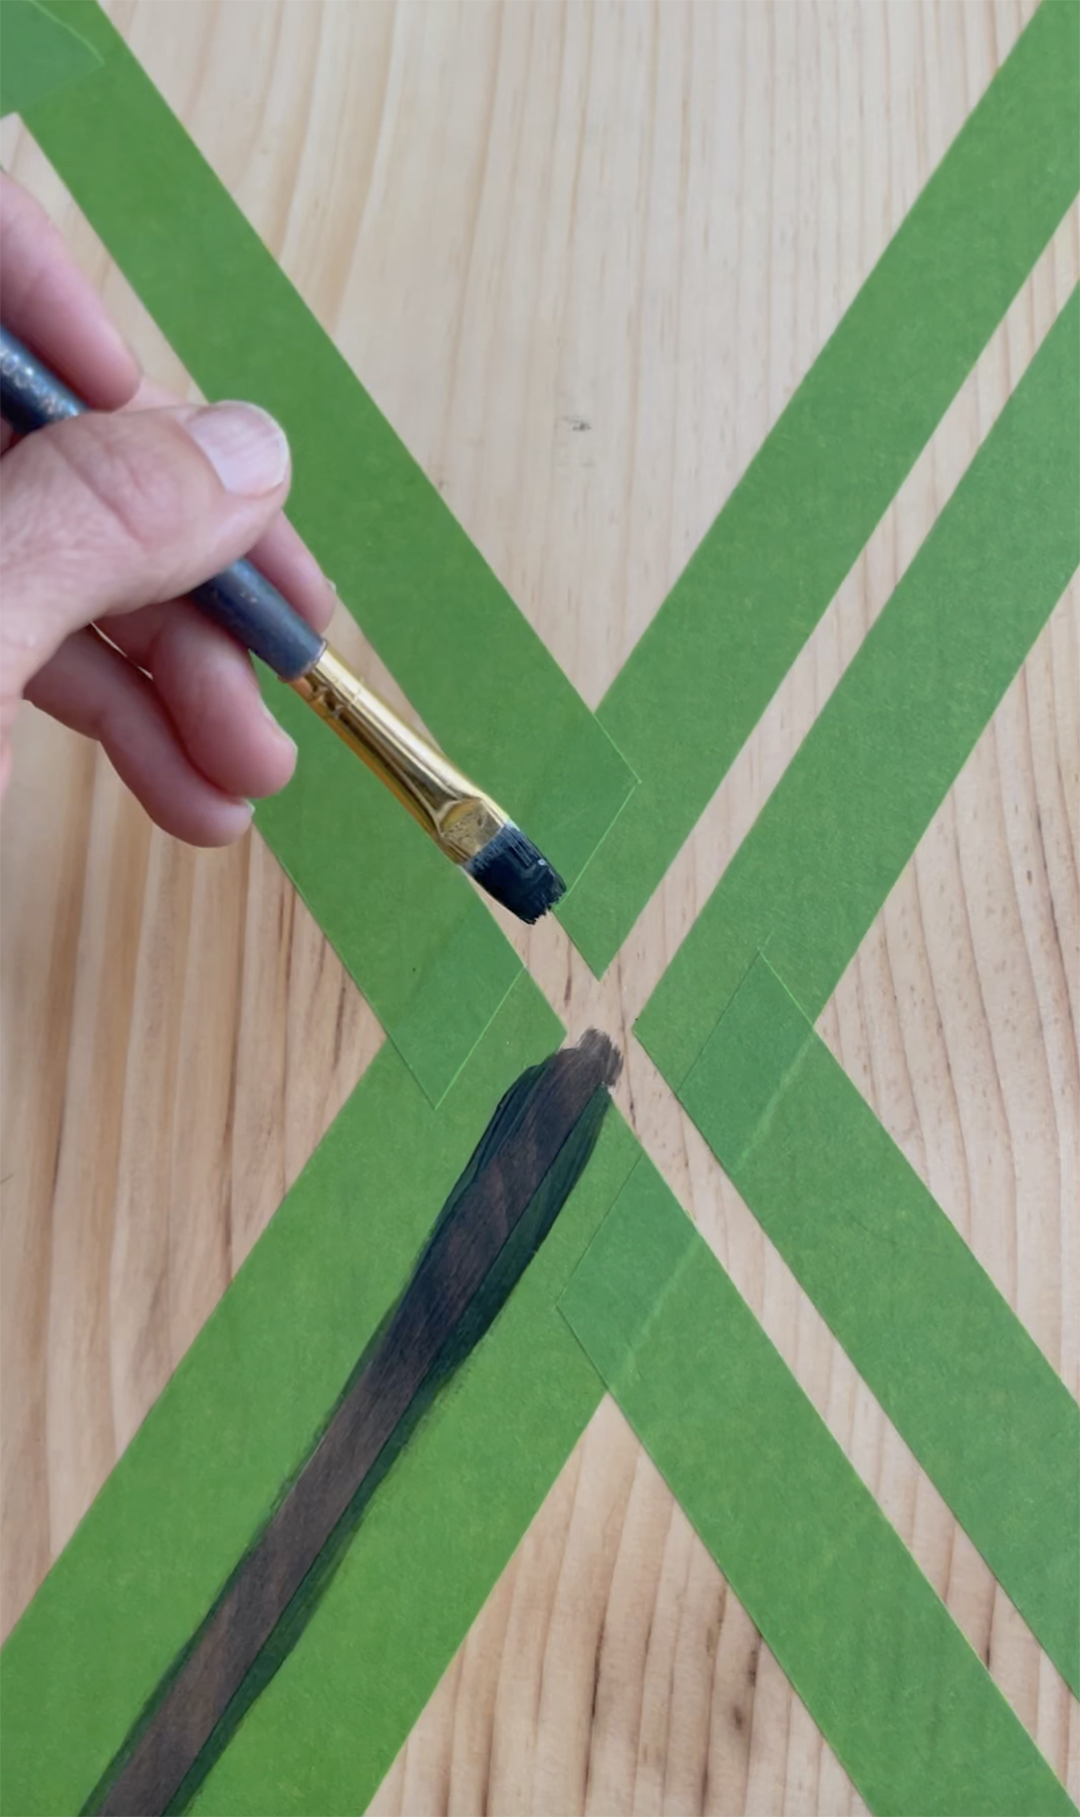
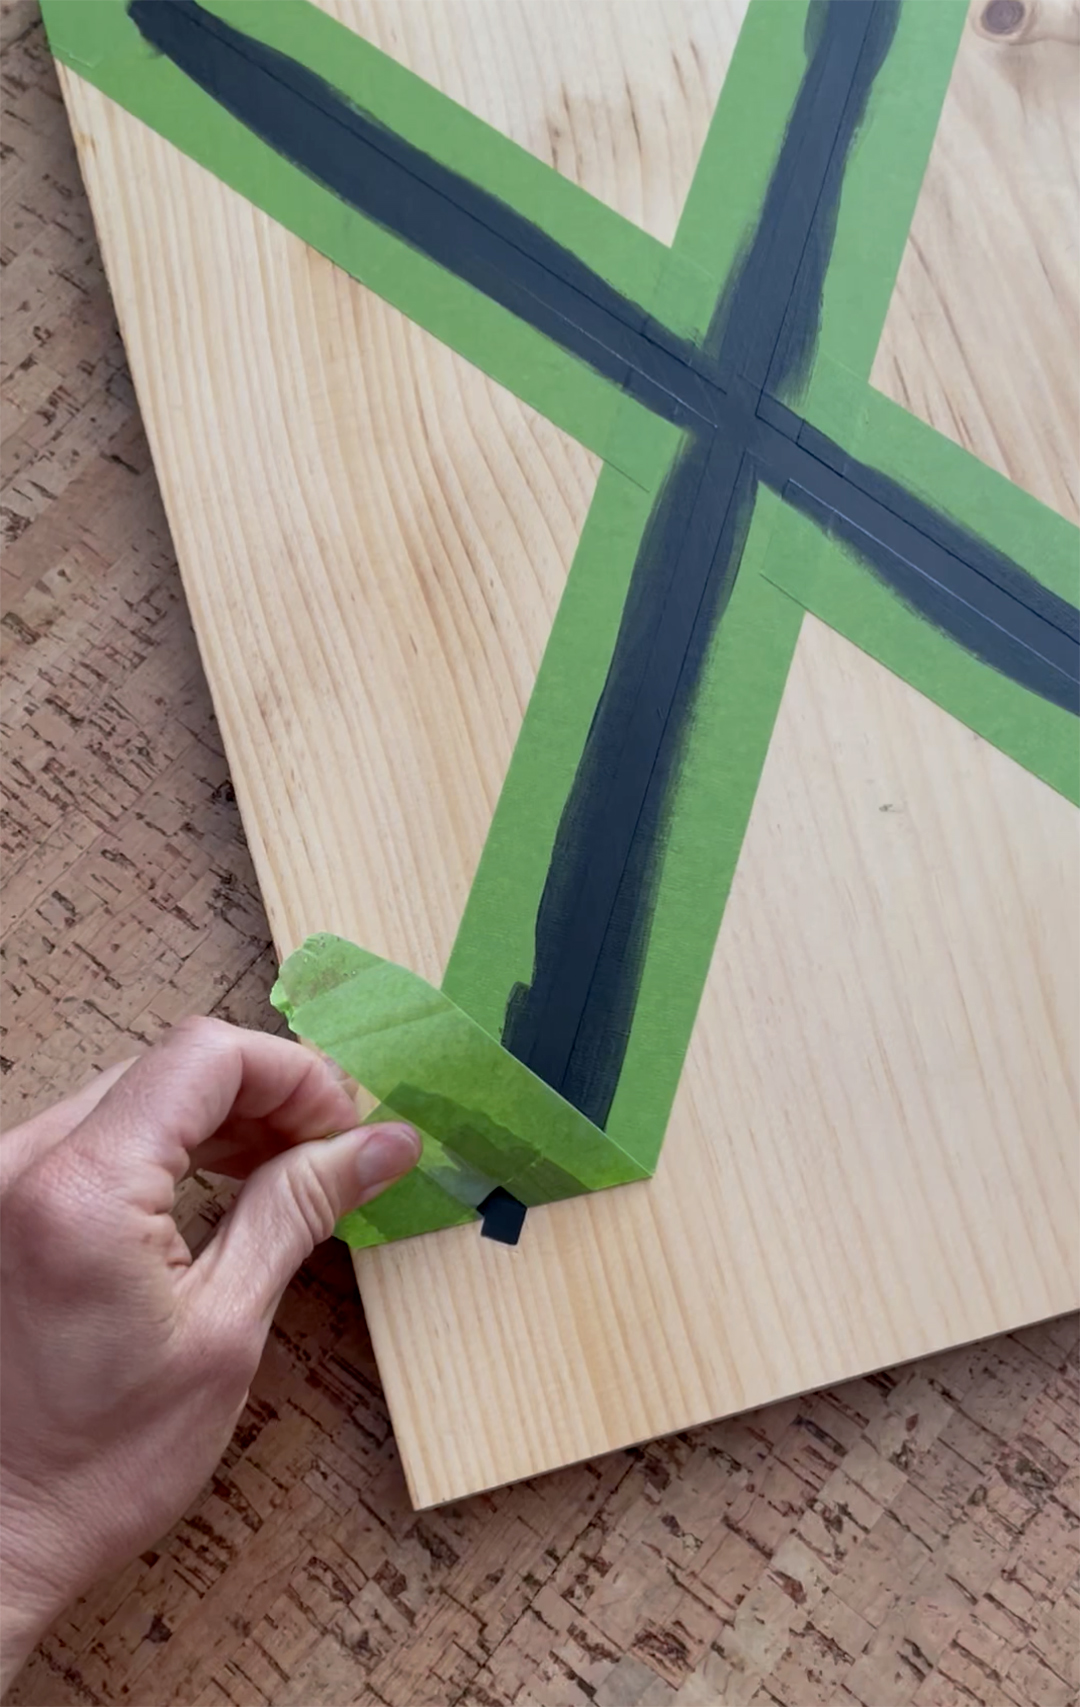
Apply a few thin coats of outdoor paint. Once complete, remove FrogTape
Using wood letters from the craft store, apply 2 thin coats of outdoor black paint.
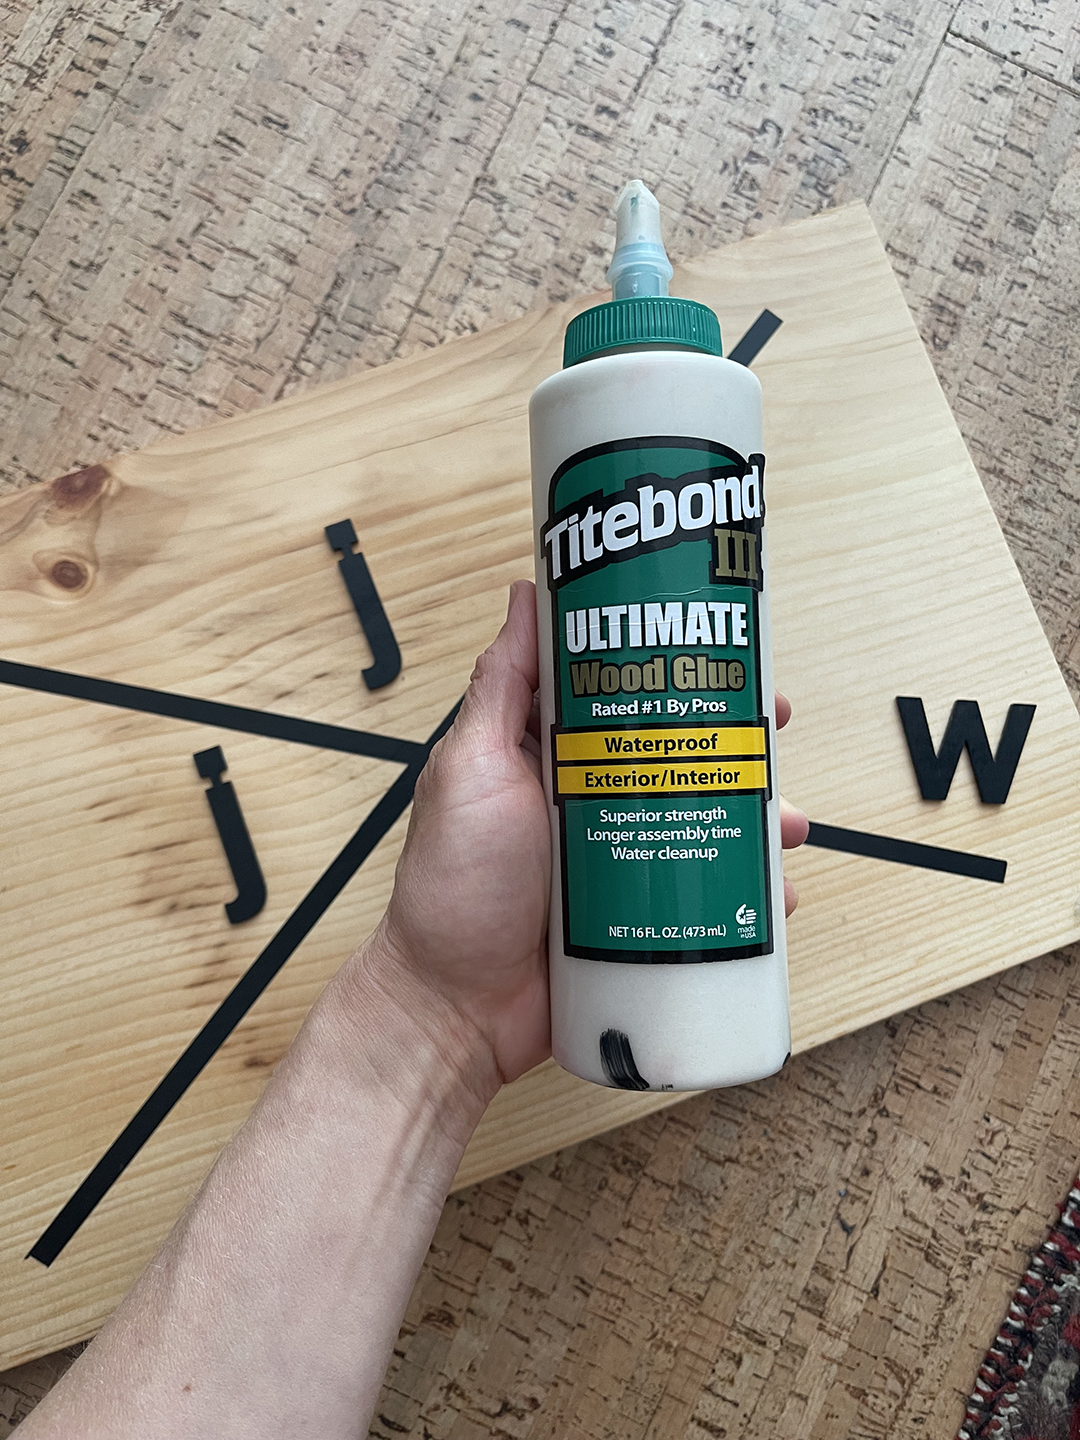
Apply letters with outdoor wood glue.
Use smaller letters for the EST date. I couldn’t find wood letters, so I used normal stickers, traced them and filled with paint.
We used 1/2″ EMT straps to mount to the rails from behind.
Here’s a better angle of the huge slide!
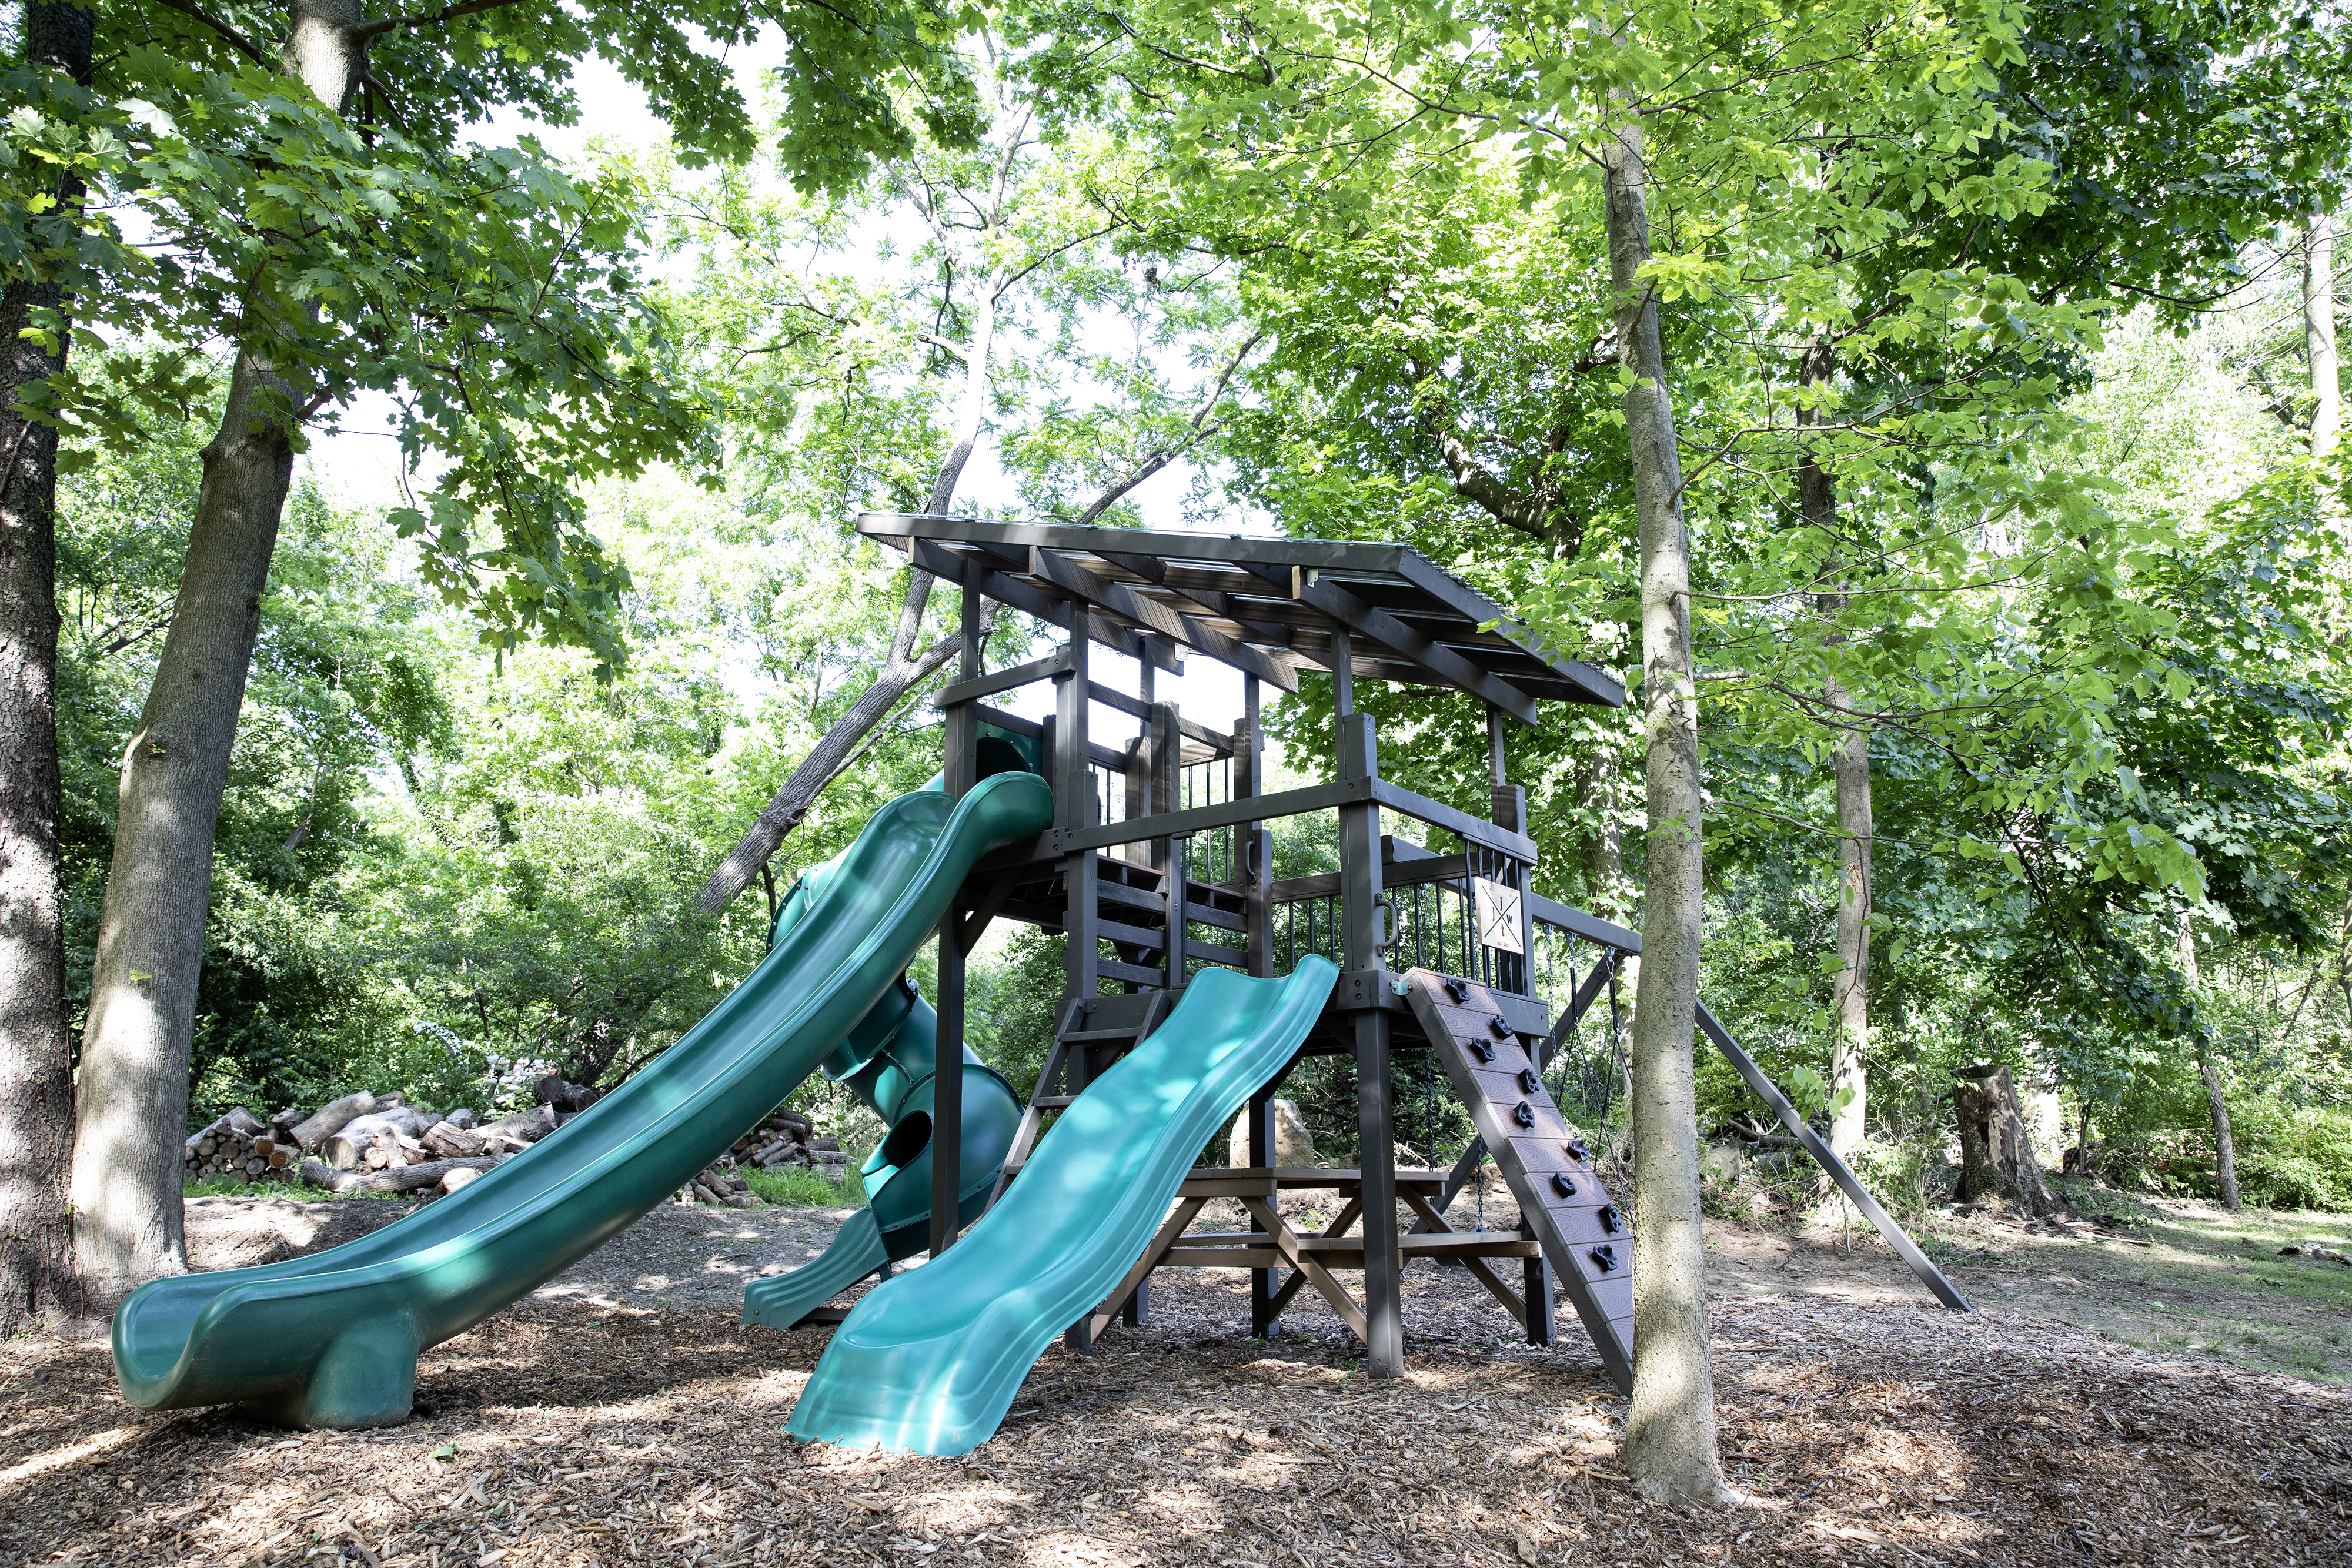
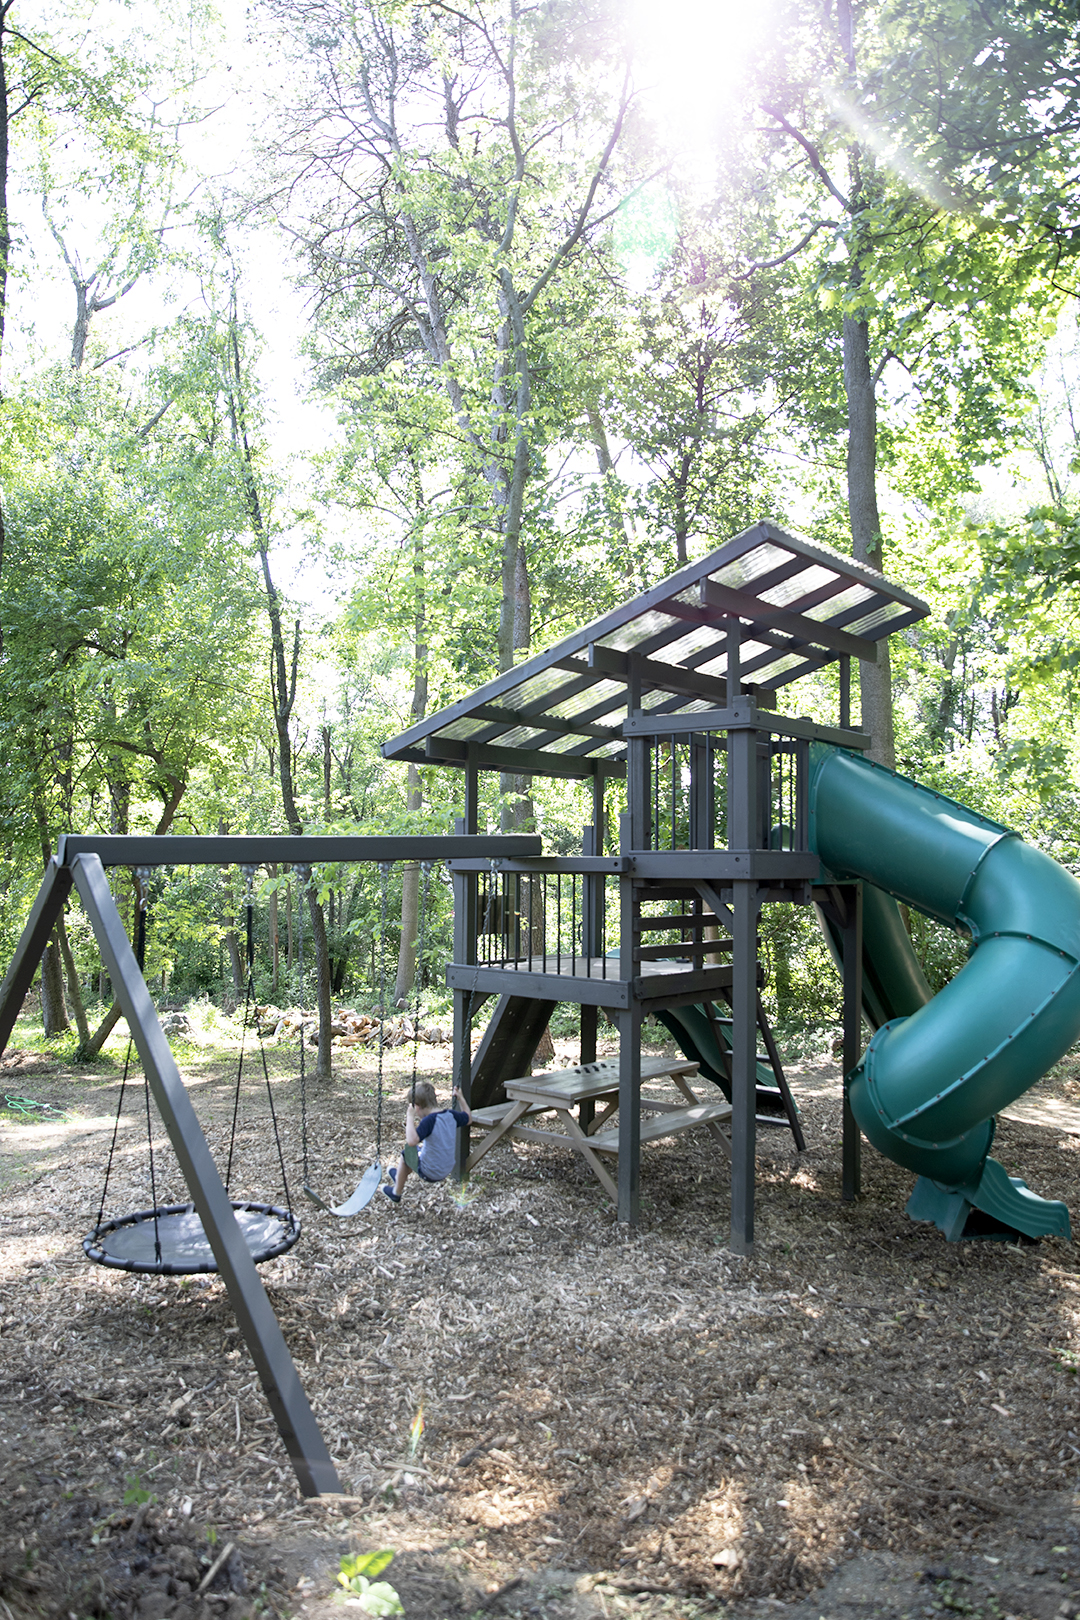
I love how it turned out!! It’s modern, updated, and most importantly will grow with our kids. They grow so fast! I wanted something that they wouldn’t outgrow quickly.
We completely refreshed the playhouse by replacing the deck boards, railing, roof and painting! I’ll be sharing additional details (including our budget friendly tips!) Anything specific that you want to see?
Leave a Reply