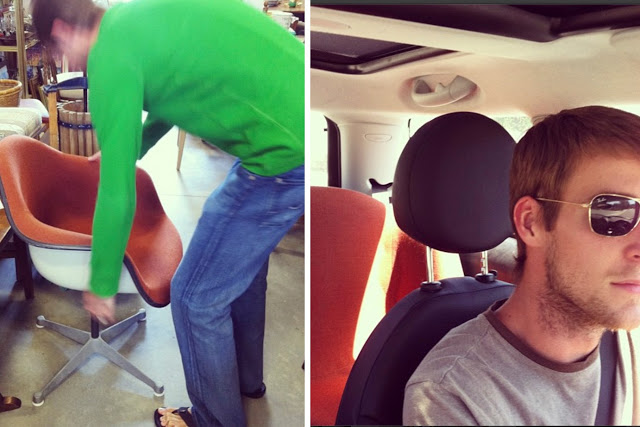
A few weeks ago we found this Eames shell chair in a consignment store. It was love at first sight for David (he’s been wanting an armchair version for a while now) and a “don’t you remember how much work the first Eames chairs were”, coming from me
We went home and a few hours later, David brought it up again, so I knew that if he couldn’t stop thinking about it (which never happens) So I figured we should probably get it. He always supports my crazy ideas, so I could definitely let him have one (even if it did mean sanding it down to the fiberglass).
The chair was in good condition, the upholstery wasn’t torn, but nothing screams the 70s like pumpkin orange! Nothing wrong with it, just not our cup of tea 🙂 We tend to prefer brighter, bolder colors.
Our plan of attack was to dye it, then if that didn’t work fabric spray paint and if that didn’t work reupholstering it and finally, worst case scenario, sanding it down to the fiberglass (SO glad we didn’t need to do that!)
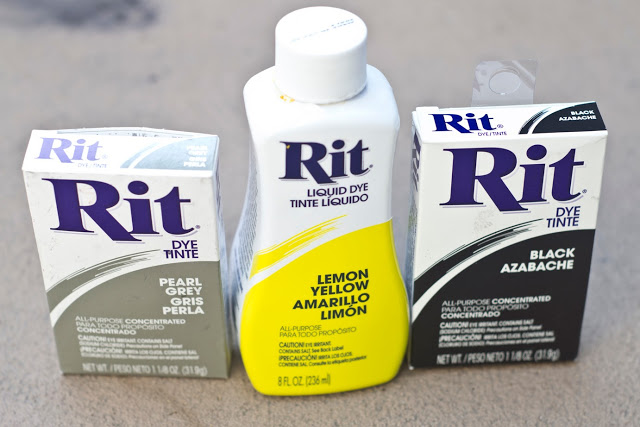
First we did a little research, and found that Kara Paslay dyed a chair with similar fabric using Rit dye. She went from blue to purple, so we figured that our only chance would be dark gray or black since we didn’t want to go orange to red.
First off, items are supposed to be submerged in a dye bath and then rinsed with water and washed. This is basically impossible with a chair, unless you had a lot of dye and a way to soak it .. So please note, this isn’t the intended use for Rit dye.
I boiled water on the stove and added 3 ladles (I think about 1.5 cups) to half a packet of dye and a little vinegar (recommended when dyeing wool) to a large container (good for one coat). I stirred and it looked a little purple, hmm .. So I added a little yellow dye until it looked more neutral. Yellow is the opposite of purple on the color wheel, so it helped neutralize the color.
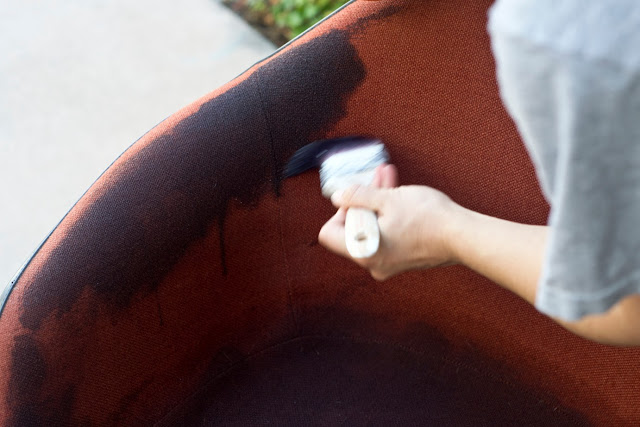
We applied it with a paint brush, the first coat looked a little patchy, especially when it dried because the water puddled down to the seat and didn’t sit on the arms long enough … We ended up doing 4 coats, and it still looked a little patchy. Wear gloves if you want to avoid dyeing your hands 🙂 Also, put a tarp down to avoid getting dye on the floor.
Here’s how I mixed each batch
coat 1 – just gray dye + boiling water + vinegar
coat 2 – gray dye, black and a little yellow + boiling water + vinegar
coat 3 – gray dye, more black, more yellow + boiling water + vinegar
coat 4 – black dye, yellow (higher dye to water ratio) + boiling water + vinegar
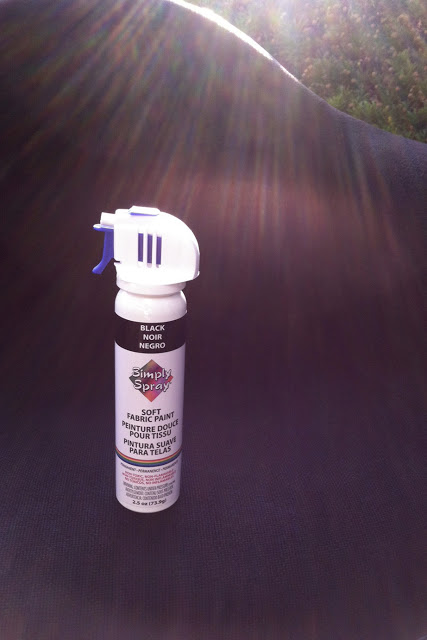
I increased the dye in the final coat which was a mistake because it crystallized and got a little powdery in areas. (1.5 cups of water to 1/2 packet of dye worked for me.) I scraped most of the crystals off and decided to try a coat of Simply Spray Soft Fabric paint.
I opted for the soft fabric paint in hopes that it wouldn’t change the texture of my fabric and it worked! My fabric doesn’t feel at all different!! I emailed Simply Spray and asked about durability for upholstery, but haven’t received a response, so time will tell. Simply Spray does make an upholstery spray paint, but I’ve heard that it changes the texture slightly.
I snapped this pic before applying the second coat (sorry the lighting is weird). Our chair took two coats, and two cans. I taped the plastic edging with packing tape to avoid the dye getting on it and placed a cloth over the base. It was pretty windy, so some got on the back, but it wiped off easily.
It covered well, and removed the unevenness left from the dye AND the fabric feels exactly the same!
Since there was so much liquid from dyeing the fabric, it did take a while to dry, but a few days later, I sat in it and NO dye came off on my clothes, so I’d say it’s a success!
What a difference!! I LOVE how the black instantly modernizes it!
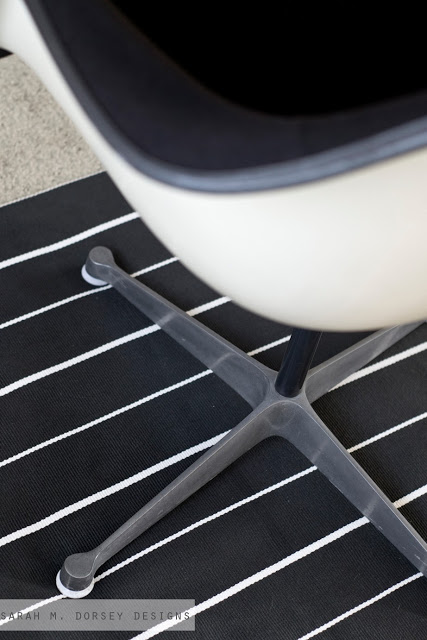
We’ll most likely sand and polish the base a little later, but for now I’ll take it!
What a difference from restoring our last Eames chairs! This took a couple of hours verse several days!!
I’ll keep you updated on how it wears with use. If we do end up reupholstering it, this is pretty high on my list (probably not David’s though)!
What do you think, would you try dyeing and spray painting a chair?





Amazing! Turned out gorgeous! Perfect addition to your desk.
Looks amazing Sarah!
You guys did an awesome job! What a complete transformation, I love it 🙂 I never would have thought a chair like that could actually end up looking so good! lol
nice! looks great! i'm glad this one went easier than the last one!
love it!! you guys have a crazy amount of patience 🙂
wow- amazing!!!!!! you guys are a great team!
That looks so dang good! And it really adds a strong, modern statement to your space. Really love it, Sarah!
So question… Do you think if you had another one to do would you skip the dyeing with Rit dye and go directly to the spray dye? that is what I think I would do. I'm thinking it might take an extra coat but might be less messy? LOVE how this turned out! Amazing!
Hi Anne! It's hard to say because I've heard that the spray alone can be uneven (not sure of the brand/type).. I'd say it's worth a try, if it works, the extra cost might be worth it!
I love this! I have been following the progress on Instagram. Love that you tried something different than reupholstering which can be such a daunting task to so many people wanting to change the look of a chair! Great unique idea!
Laura
House Envy
Stunning! I can't believe I passed up the opportunity to purchase one of these off craigslist 'cuz it was in pretty bad shape. I wish I saw your post earlier! 🙂 Great job Sarah!
Great project! I love the two colors on the chair.
oh goodness, i love it! what a transformation, it looks so high end now with the black upholstery. great work!
Love that you went b + w with them. I have always wondered about those rit dyes…looks like spray might be the way to go. xo Kristin
I love the black and white combo. And that fabric looks as though it has always been black. Fab work!!!
It looks SO good! I love way the black looks.
Seriously obsessed with this makeover!!
xo, amy
It looks beautiful! I know there's specific fabric spray paint you can buy. My dad used some for his boat top that was water proof and made for fabric. I believe he got it from an automotive shop.
Blessings,
Kayla
http://adelightfulplacetodwell.com
David doesn't want a pink desk chair? What man doesn't?? The black looks fantastic, though, I suppose it will do 😉
Sarah, this so so simple yet so amazing. I would never think to dye upholstery but it turned that chair from funky-bad to funky-good.
Do you worry about sitting on it while sweaty and having a blackened bum? I would worry about that…
We have a couple of tweed upholstered chairs in a similar shape that our cat is just demolishing. These simple Eames chairs would be an excellent replacement! Nothing for him to claw on the back.
Hi Amy! We haven't been able to use it on a day to day basis yet, but I am planning on using it as my office chair when we move into our new place, so I'll share an update in a month or so, stay tuned! 🙂
any updates….
It's currently in the office of my other home – so I haven't been able to sit on it consistently. We'll most likely be there full time in April – look for an update in about June! 🙂
I also used Simply Spray on a rug, at almost $9 a can the rug cost me more in spray paint than would be for the price of rug. I was so far into it in materials I had to finish the project.I had over $25 in spray paint.
I am obsessed with this chair! Do you know if they sell them anywhere, or only in thrift stores
I'm slightly late commenting on your chair …. but brilliant…. By now there should be a really good answer to: Did the dye hold up? I have a chair that is really really cute and really really old, so I thought what the heck — could not damage it any more and could, maybe, revitalize it it – the entire back is rolled upholstery. I just thought I would put some dye in a spray bottle and get after it….. Will check out the fabric spray paint you recommended, but I'm going for the most economical solution first — which is Rit….. I'll just spray it over and over until I get the color I want. It's a pale green now — so trying to decide which color may mix with that to give the best results. I'm looking for gray….. so hmmm… or perhaps taupe…. Thanks for the posting.
Hey Sarah, can you give us an update on the aging of the paint on the upholstery? I just recently bought the exact same chair(color and all) but I really want it for daily use and in Black, so I'm looking for DIY techniques before reupholstering it.
Thanks!
Luis