Hi! I’m back! We just got the wifi set up today, so I wanted to give you an update on us and where we’re at with our mudroom / entry renovation.
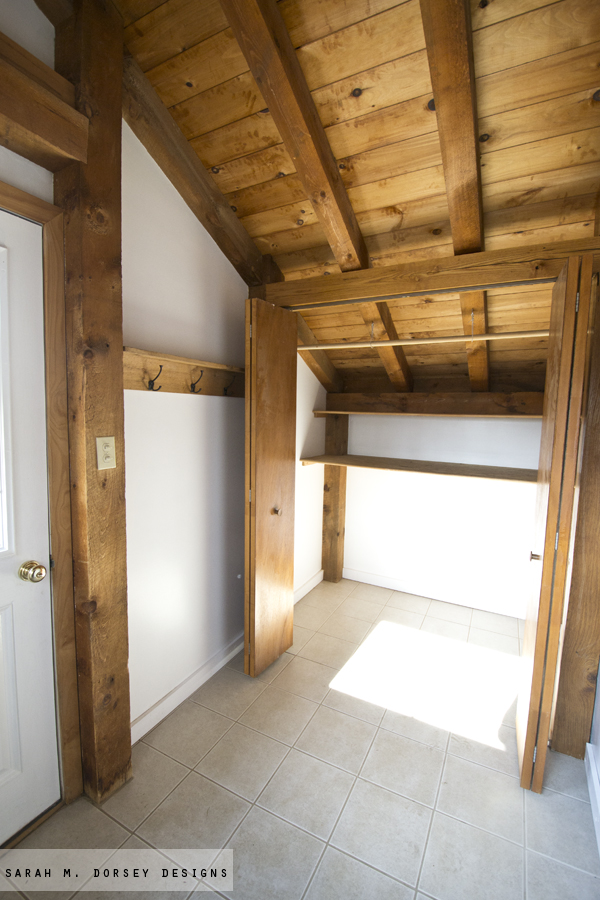
Here’s what we started with.
We had BIG plans to complete this room in the 1.5 weeks that we had between jobs. David works for a project based construction company, so we move to where the project is. Depending on the project, it can last about 6 months to a few years. But our home base is in Maryland. Hopefully that makes sense. My head spins thinking about our past 6 months – September, started in California, moved to Ohio (had to move our stuff twice), bought a house in Maryland (needed a home base!), and April, now we’re in Tennessee. Whew! Anyone else tired reading this?
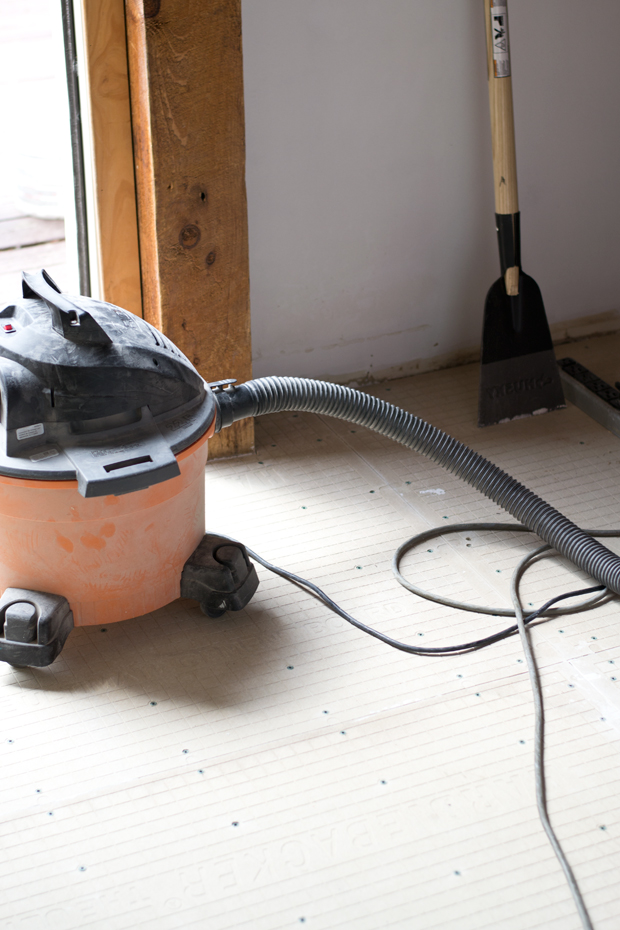
Ok, back to our progress. A few days in, we realized we wouldn’t have time to finish, a few days later we were hoping to start on the custom closet, a few days later we were hoping to finish painting and tile floor. Then towards the end of the week, we realized that we would only have time to get the primer and backer board down for the floors. It’s not where we wanted to be, BUT we did get most of the planning and all the prep done. DIY takes LOTS of planning, shopping for supplies, multiple trips to the home improvement store, and then there’s actually doing the project! So when we make it back (probably for Easter) we’ll be ready for the top coat of paint and tile (aka the fun part, I hope.)
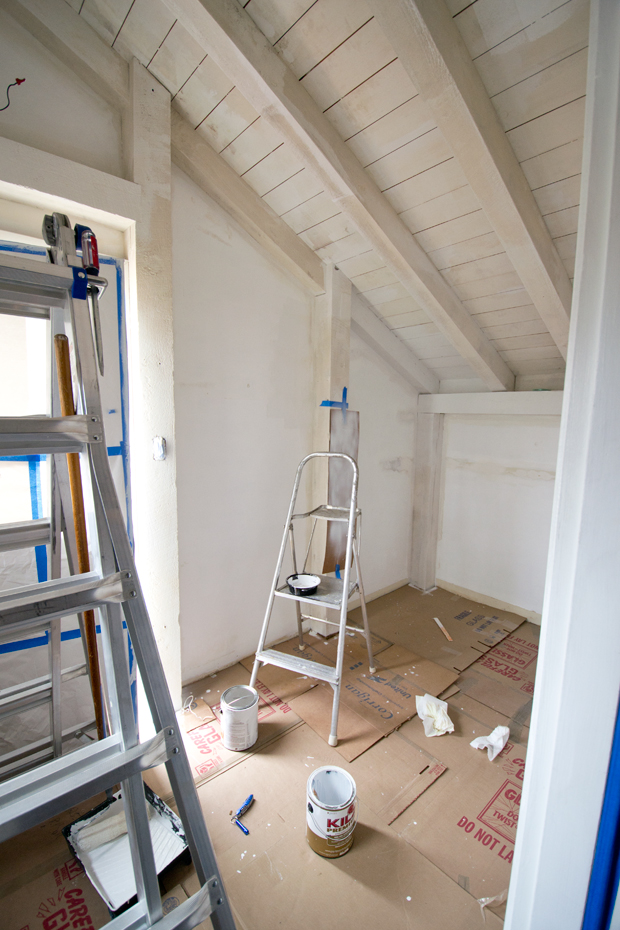
Today, I’m talking about paint. Since this room is enclosed and separated from the rest of the house we decided to use this as a trial run for the rest of the house. Our experience got us seriously questioning whether we’d be able to paint the rest of the house ourselves. The beams are roughly cut which = time consuming. Going back to paint or not to paint posts, (here and here) we’ve concluded that doing any sort of staining or white washing would be a major pain, so that’s out. To me, the wall beams have to be white, it chops up the wall and looks heavy. I’d like to leave the ceiling beams natural wood, but it doesn’t work with the style of the house. Since the line of the wall beam continues to the line of the ceiling beam, if one was wood and the other was white, it would look unintentional. So right now, we’re thinking all white for the rest of the house. I know everyone won’t agree, but in the end, we have to do what makes us smile 🙂
First, we vacuumed all the wood. It was so dirty. Since it was rough cut, we couldn’t wipe it down…
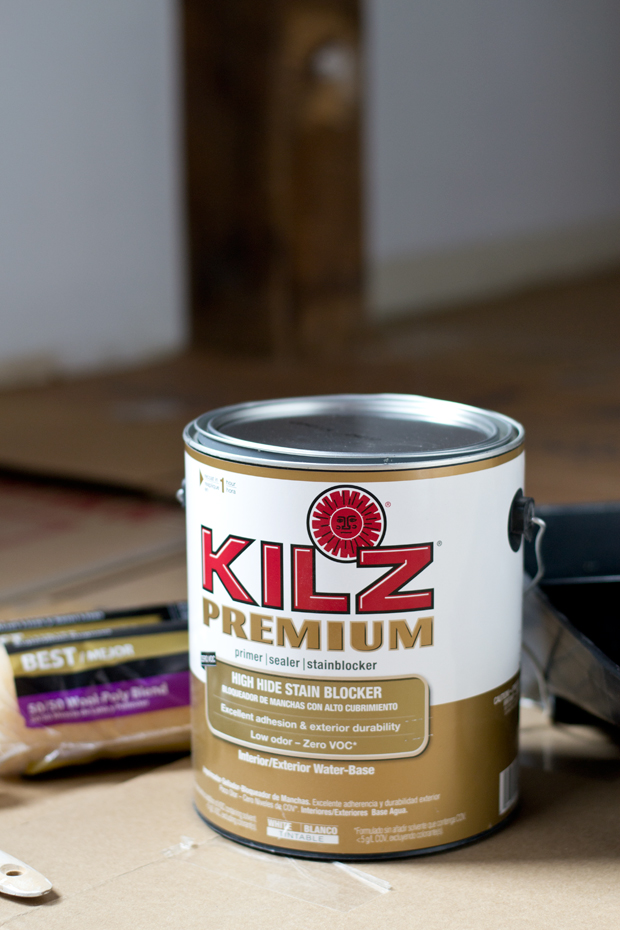
I liked using Kilz high hide stain blocker primer on the credenza, so we decided to use it here to prevent the wood from bleeding through the top coat.
Here it is after one coat. We quickly learned that even after vacuuming, the wood was still dirty. So a large portion of the color was from dirt. I’m not sure how to remove all the dirt without pressure washing it, which doesn’t seem like an option for inside .. If you have experience with this, I’d love to hear about it!
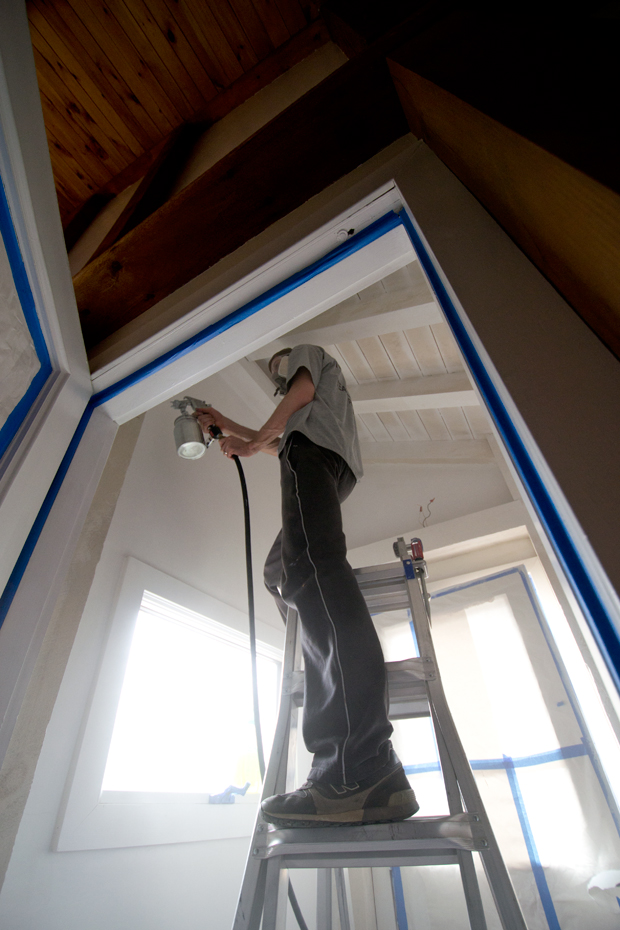
We quickly realized that a roller and paint brush wouldn’t cut it .. so we bought a paint sprayer and borrowed a compressor from David’s dad. The output of the spray was pretty weak – the size of the compressor was on the lower end of the recommended, so that was probably why. As is, I think it would work fine for furniture, but not to paint a room. We used it to spray the crevices between the planks in the ceiling and brushed and rolled the rest. For the rest of the house, we’ll have to rent a commercial sprayer or hire it out.

Here it is after two coats of primer (the second coat went on a lot faster). There was a little bleed through on a few of the knots, so I put a little extra primer on those spots and it’s perfect! The coverage was great and I love that it has practically zero odor (oil based works well too, but the smell is horrible!) Prior to applying the top coat, we’ll have to remove the paint build up between the ceiling planks, but other than that we’re ready for the top coat of paint!
We decided to finish working on the entry Friday, so we could clean up on Saturday and leave for TN on Sunday. We pushed all week to get as much done as we could and we were both exhausted. We were going to drive both cars down, but decided last minute to just drive one. We got in late Sunday night, the movers came on Monday, that afternoon when David got home, we unpacked the mattress and passed out before putting mattress cover, sheets etc. These past 6 months have been A LOT.. David’s been working tons and helping me with projects when he’s at home. So while his job has us moving around a lot, I’m so thankful for his constant support and willingness to help. Our 5th wedding anniversary is in May, so we’re definitely planning a much needed vacation. We haven’t taken a real one since our honeymoon ..
We’re hoping to have another update around Easter (maybe all the tile finished? We went with a 3×12 of this, it’s a little darker in person) All the supplies are ready to go, we just need time to finish!
In the meantime, I’ll be working on projects in our Tennessee rental!
Thanks so much for sticking with me in this transition .. I’m thinking that 2014 will be a BIG year for us with the house and projects. So hopefully it will be worth it! 🙂
p.s.
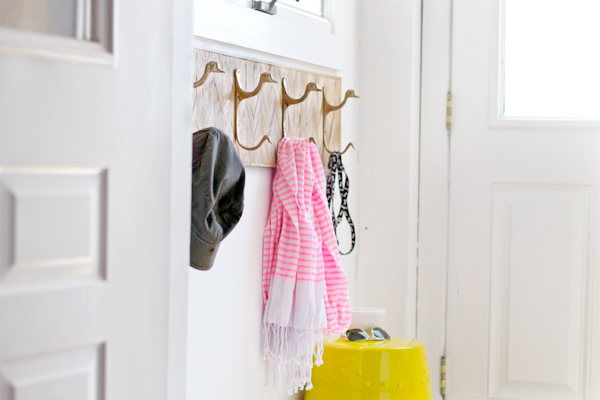
today I’m at ECC sharing our upcycle project for the mudroom! Stop by!
Beautiful! I absolutely love the all-white look, GREAT choice, even if it was more out of necessity than choice. This is such a huge project with such promising potential. I love following your journey with it, even if it takes years so slowly work at. Thanks for documenting all the little steps and planning! You go girl!
This entry is turning out to be so lovely! We live in NM and have dark wood beams on our ceiling… this is quite inspiring for me to give it a brightening up! Thanks for rocking it, like always.
Amy @ http://www.delineateyourdwelling.com
I really have to say that white paint just makes me so so happy. It's not a new thing but this just proves it once again. It looked good before but this is just so much better.
Man o man! I have no idea how you possibly keep up with it all! I can only imagine how hard it is to cover all that dark wood. the White looks awesome though. So bright and fresh. The perfect intro to your new home:)
i love how it is looking- so light and coastal feeling!!!
So I'm a little confused… do you buy a new home/update and renovate each time you move? I would be exhausted just from moving let alone projects! Either way more power to ya- it looks great!
Totally love those duck hooks. I think white was the right call for the wood – looking great already. I was contacted by Wagner last year about trying one of their sprayers – maybe reach out to them and see if they have something that would be good for this kind of job!
Wow what a ton of work, it's looking great and totally worth it! FYI if your knots keep bleeding through with the water based killz, use their oil primer over those spots, it will stop it.
I love the white, and you haven't even painted yet! It's going to look awesome. It already looks SO much better! I love following along with your projects and I'm pretty excited about your new house because it means we'll see even more along the way!
so much work already, but it's already looking so pretty and bright! lovely change already!
wow, the power of paint! looks so much brighter and cheerier!
So bright! Can't wait to see it 🙂 xo Kristin
You both did so much in such a little amount of time. And the white makes such a difference. It looks wonderful.
Man oh man are you guys busy bees! I can't believe all that you guys have been through/done in the past few months! You definitely deserve that vacation in May! When is your anniversary? Ours is May 7th. 🙂
PS-I'm super excited you decided to paint it all white!!!! 😉
Ours is May 10th! 🙂
You guys don't waste anytime! I love your entry so far with all the white paint. Ahhhh! The hooks are so fun!
Wow, Sarah, it already looks like a totally different space! So glad you got a little bit of time to work on your home!
Love it!