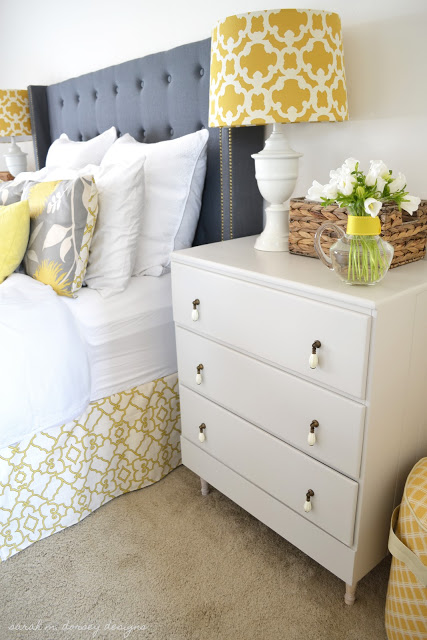
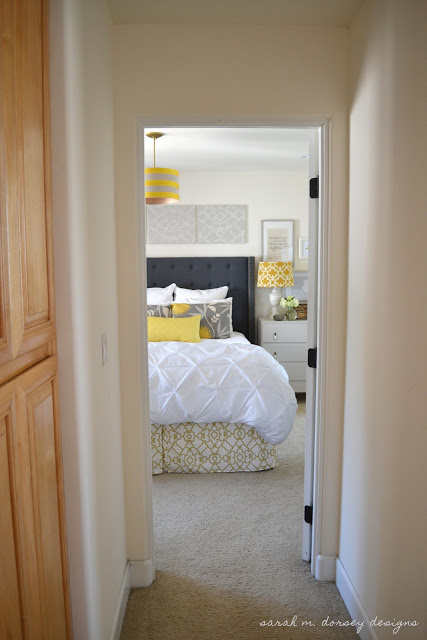
I’ve gotten a few requests for how I made my bedskirt, since I
made it before I started my blog I thought I would do a quick post on
how I did it.
Here’s how!
I started with an existing queen bedskirt that I got on clearance from Target for around $6 and about 3 yards of fabric, Covington Windsor Citrus.
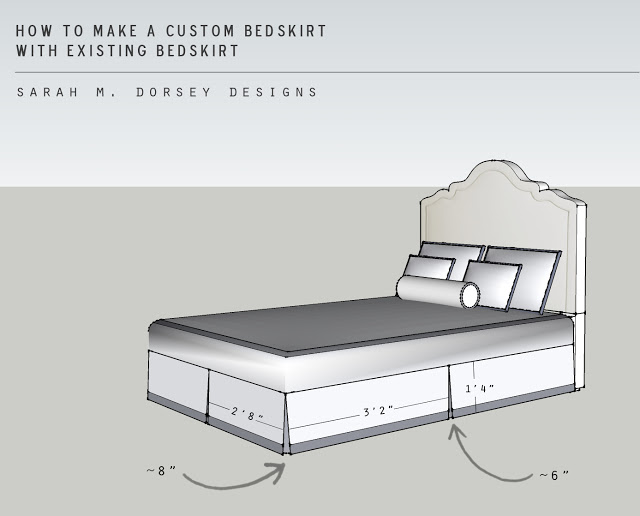
I cut a few rectangles for my panels with allowance for hems 3’3″ x 1’5″ (x4) 2’9″ x 1’5″ (x2) and the piece to go behind the seams 6″ x 1’5″(x3) 8″ x 1’5″ (x2)
I sewed the raw edges, and then attached it to the bedskirt by sewing at the top. The 6″ pieces were placed behind the larger rectangles, 8″ in the corners, pinned and then sewed.
This could easily be turned into a non sewing project by using no sew tape (just make sure to do a test piece first to make sure you can’t see through once ironed) Heat n’ Bond is my favorite no sew adhesive, I purchased it at Joann fabrics.
I found this method very easy! Since I am a visual person, having an existing template to work with was very helpful to make sure that it was going to fit.
Tips:
1. If purchasing a new bedskirt, make sure to put it on your bed first to see if it will work. Mine was about an inch too short, so I increased the length of my fabric.
2. Make sure that your 6″ and 8″ pieces are wide enough to hide the bedskirt behind.
3. Make sure to check your yardage needed, it may differ based on the height of your bedskirt. With the way the pattern was run, I was able to use the entire 54″ width and non printed edges of the fabric and get the two 2’9 x 1’5″ on the side of the 3’3″ x 1’5″ pieces. I think I only used about 2.5 yards of fabric …
and that’s it! I would say the whole project took about 3-4 hours.
Please let me know if something isn’t clear, I made it a while ago so I might of missed something!


I have bookmarked and pinned this tutorial! Thanks so much for sharing. I have 3 bedskirts that I need to get done.
Leslie
Thanks so much Leslie! 🙂
Where did you get your headboard? Love it!
Thank you! 🙂 We made it, here is the tutorial: http://sarahmdorseydesigns.blogspot.com/2012/04/diy-headboard-complete.html
hi – can you expand on this step: I sewed the raw edges, and then attached it to the bedskirt by sewing at the top. The 6" pieces were placed behind the larger rectangles, 8" in the corners, pinned and then sewed.
Thanks!
Kelli
Hi Kelli – Essentially, I mimicked the bedskirt underneath by creating panels and then over lapping them so that the bedskirt underneath couldn't be seen.
I finished the edges of the panels and then pinned them to the bedskirt. The smaller pieces (any size will work as long as it will overlap the larger panels by at least a few inches) were placed behind the larger panels. This was done since I couldn't get the width needed for an entire length from the yardage I purchased.
The the panels were attached to the existing bedskirt by sewing around the top edge. Hope this help! 🙂
Hi Sarah,
I have been searching for a white duvet cover and when I saw this fell in love. Can I ask where you got it from? Thank you so much!!! ~Ashley
Hi Ashley – the duvet is from target (http://www.target.com/p/threshold-pinched-pleat-duvet-cover-set/-/A-14106220#prodSlot=large_1_7)