• Home
  • About
  • Services
  • Shop
    • Bloglovin
    • Email
    • Facebook
    • Instagram
    • Pinterest
    • Twitter

Dorsey Designs

DIY and Interiors by Sarah + David

  • Home Tour
  • DIY TUTORIALS
  • friday favorites
  • design + build
  • art

get the latest straight to your inbox

Ikea Expedit TV Stand with Birch Plywood

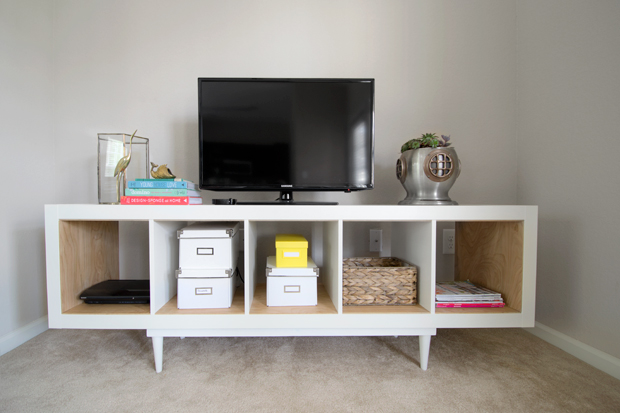
Hey! If you missed the tutorial for our TV stand at Infarrantly Creative last month, make sure to check it out below! This space looks SO much different with our fabric panel wall now!

Several months ago, I saw this project on Ikea Hackers, I loved the simplicity, added durability, and warmth that the wood added. Here’s my spin on it!

You will need:
Shelving unit (I used Ikea Expedit, which is now discontinued, Ikea Kallax is similar)
1/4 Birch Plywood 
Liquid Nails
Wax (to seal the plywood)
Primer/Paint
2×4 (for the base) 
Legs (x4) (I used the legs from a thrifted chair) 
Table Saw
Clamps
Drill
Sander 
Here’s how to do it:
First, cut the 1/4″ birch plywood to fit inside the shelving unit cubbies. I decided to cover the interior perimeter (bottom, top, and sides) 
Measure the length and width of each section and cut the plywood on a table saw to fit. 

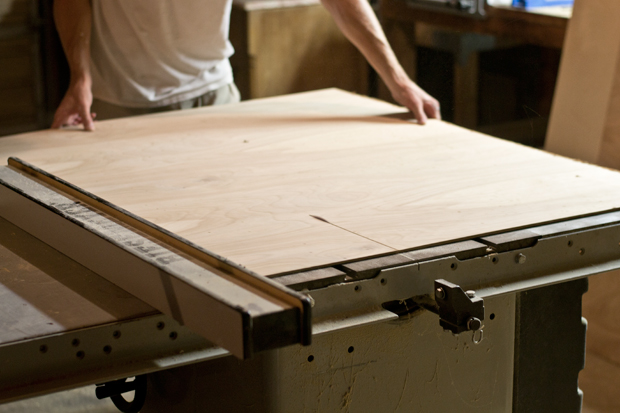
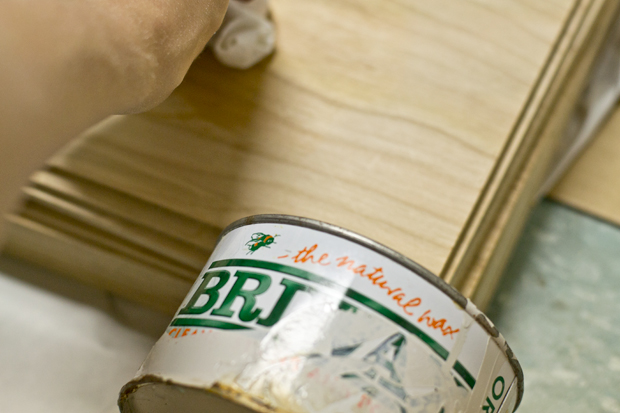
Once you’ve cut the plywood to fit, protect the wood with clear wax, stain or polyurethane.

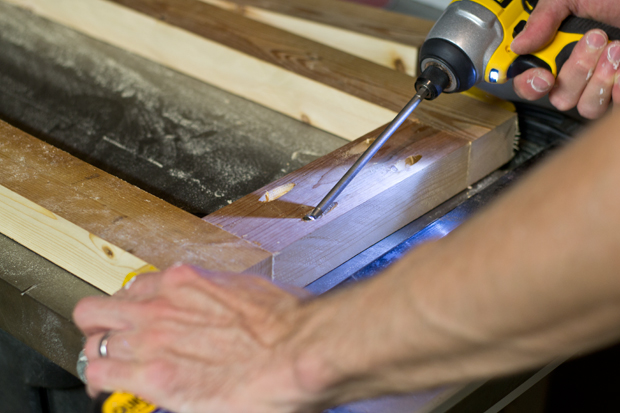
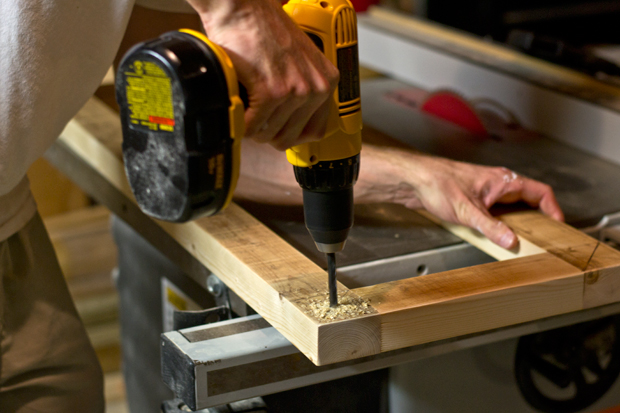
Next, move onto the base. Measure your base and determine alignment – ours lined up with the outer vertical sections. Rip the width a 2×4 pine board to 2.5″ inches and cut to make a box. Create pocket holes (we used the Kreg Jig) and join the base together.

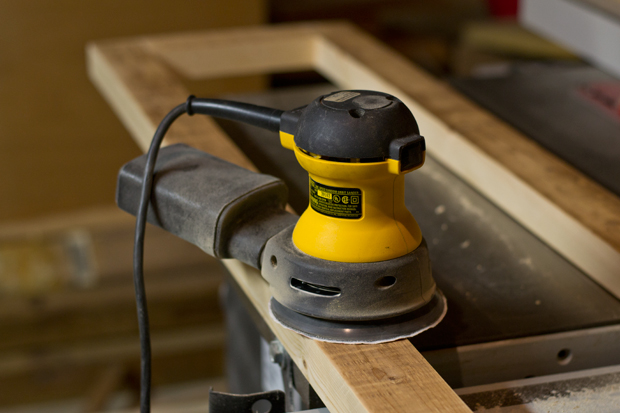
Sand any rough edges with 120 grit sandpaper.

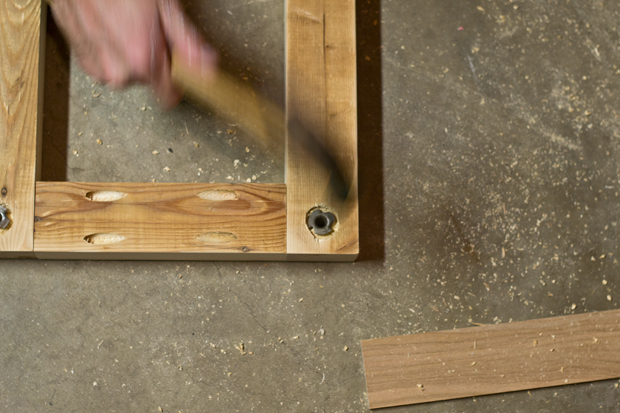
Prepare to attach the legs. We repurposed legs from a $6 thrifted chair (a great way to save money!)

The anchor included with the chair was placed into the new base.

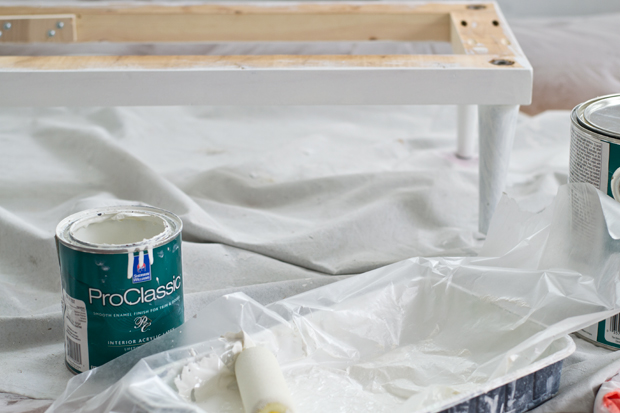
Finish the base. Screw the legs into the base and paint it to match the shelving unit. Attach the base to the shelving unit with liquid nails and use screws from underneath, going through the base and shelving unit.

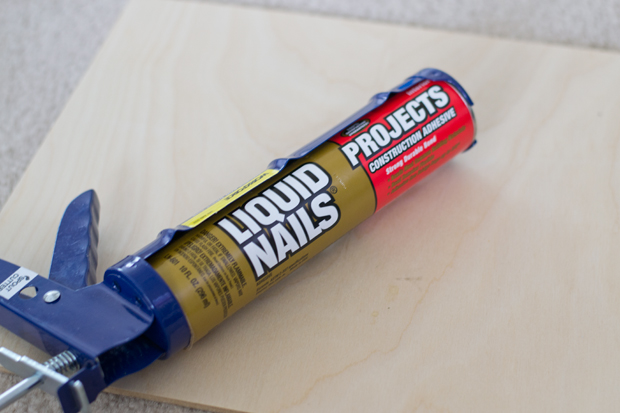
Finally, the 1/4″ birch plywood was installed. Using liquid nails formulated to join wood, adhesive was placed all over (tip: apply the adhesive about 2″ from the sides to avoid it seeping out when compressed.

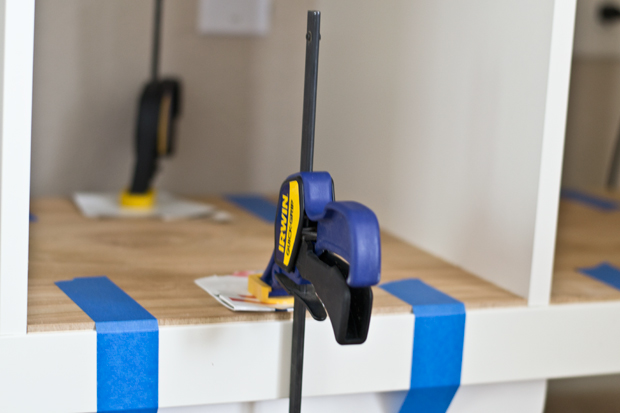
The plywood was clamped in place with cardboard between the clamp and wood to protect the surface. Clamp until the adhesive has set.

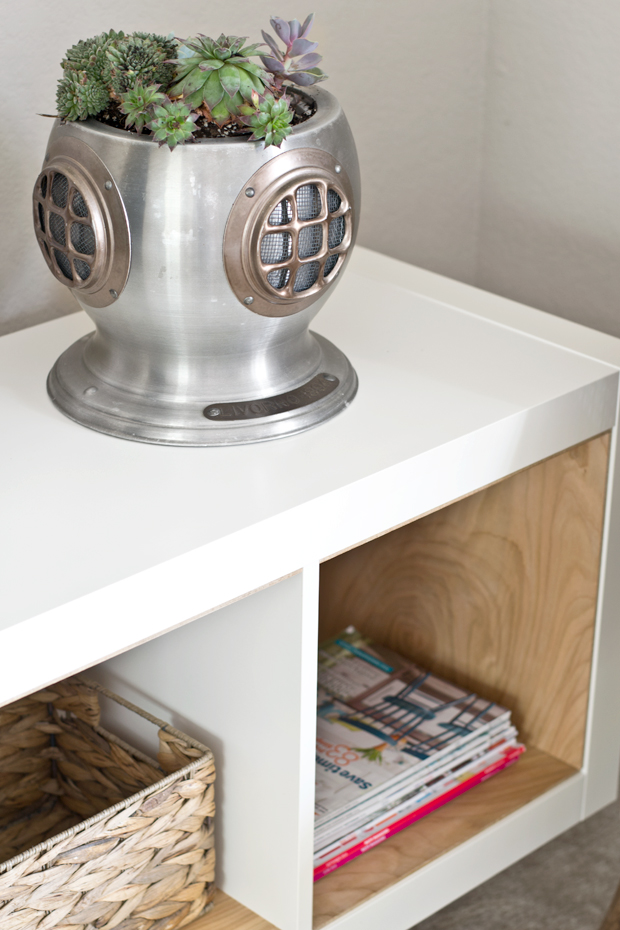
Once dry, fill it up with your favorite accessories!

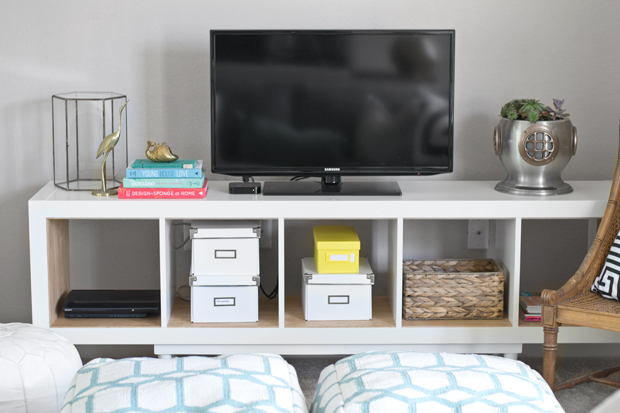
The plywood will help prevent scratches from baskets sliding in and out.

The legs makes it the perfect height for watching T.V.

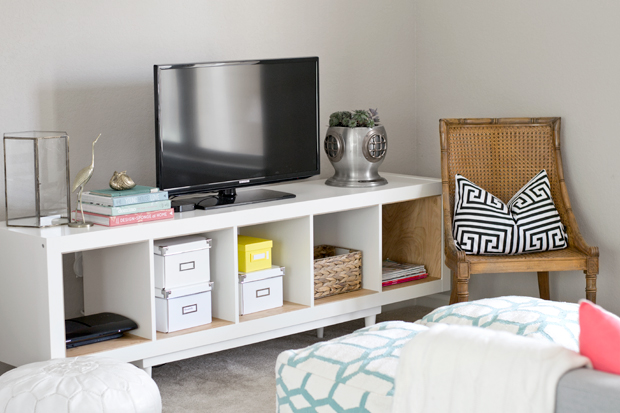
I found a diving helmet (formally an ice bucket), minus the top at a thrift store for $1, it makes the perfect planter for succulents!

This was a super fast project, complete in about one evening!

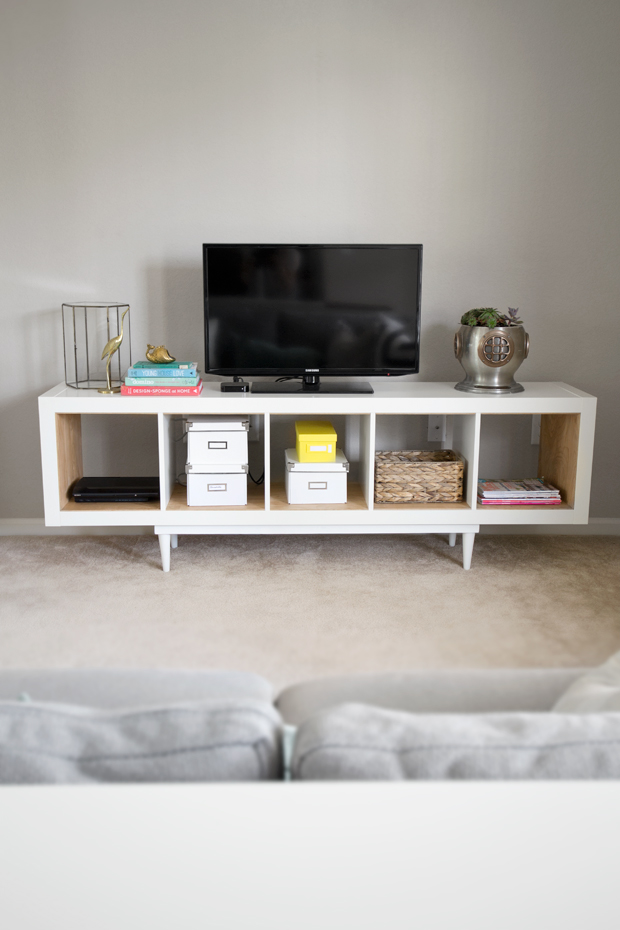
Total cost was about $90 ($60 shelving unit, $6 legs and $24 birch plywood) I hope you’ll give it a try!

DIY TUTORIALS// furniture redo// Uncategorized// Uncategorized6 Comments

Subscribe

get the latest straight to your inbox

« Chinese Chippendale Chairs | Real Time Progress Round 2
Friday Five | 10.10.14 »

Comments

  1. Julia Konya says

    October 7, 2014 at 9:47 pm

    Pretty and I adore the legs

    Reply
  2. Elizabeth @ The Little Black Door says

    October 8, 2014 at 1:51 pm

    Those pretty legs add so much!

    Reply
  3. Carrie Waller says

    October 9, 2014 at 2:21 pm

    This is FABULOUS!!! Must give it a try =)

    Reply
  4. Tracy Laverty says

    October 9, 2014 at 6:58 pm

    Sarah, love this idea! Fabulous job as usual!

    Reply
  5. jana bek says

    October 10, 2014 at 1:22 pm

    So good! you are crazy creative! Xj

    Reply
  6. homefornowblog says

    October 11, 2014 at 5:08 am

    The legs make it look so much more sophisticated. So fab!

    Reply

Leave a Reply Cancel reply

Your email address will not be published. Required fields are marked *

Contact Me

sarahmdorseydesigns{@}gmail{.}com

Stay Updated!

Get all the latest goods straight to your inbox!

This error message is only visible to WordPress admins

Error: No connected account.

Please go to the Instagram Feed settings page to connect an account.

Must Reads

Custom Peg Board + DIY Circle Art | FrogTape

Custom Peg Board + DIY Circle Art | FrogTape

Main Level Refresh with The Home Depot

Main Level Refresh with The Home Depot

Sponsor

2016 Daily Simplified Planner

Popular Projects

Grasscloth Mat + Succulent Prints + Walls Republic

Grasscloth Mat + Succulent Prints + Walls Republic

February 25, 2015 By Sarah 20 Comments

How to Embellish Simple White Draperies for Less

How to Embellish Simple White Draperies for Less

April 19, 2013 By Sarah 14 Comments

Anthropologie Inspired Drapery Update

Anthropologie Inspired Drapery Update

March 16, 2012 By Sarah Leave a Comment

Black and White Stripe Chair

Black and White Stripe Chair

January 23, 2014 By Sarah 30 Comments

Eames Chairs FINISHED (finally + for now)

Eames Chairs FINISHED (finally + for now)

July 8, 2013 By Sarah 20 Comments

  • DIY TUTORIALS
    • design + build
    • furniture redo
    • diy in 1 hour or less
  • free printable
  • friday favorites

Disclosure

Occasionally, affiliate links are used when they are available. I do earn a small commission when items are purchased using those links. As always, I only link to things that I truly love. I also link to items that I love when an affiliate link is not available. Thanks so much!

  • Home
  • About
  • Services
  • Shop

Copyright © 2025 Dorsey Designs

MENU
  • Home
  • About
  • Services
  • Shop