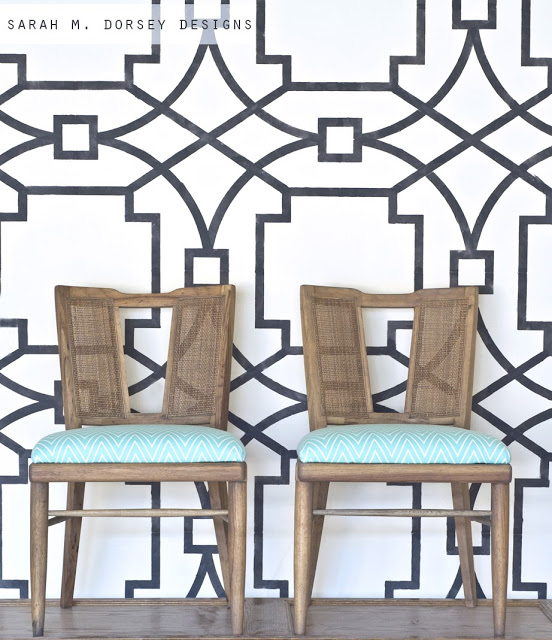
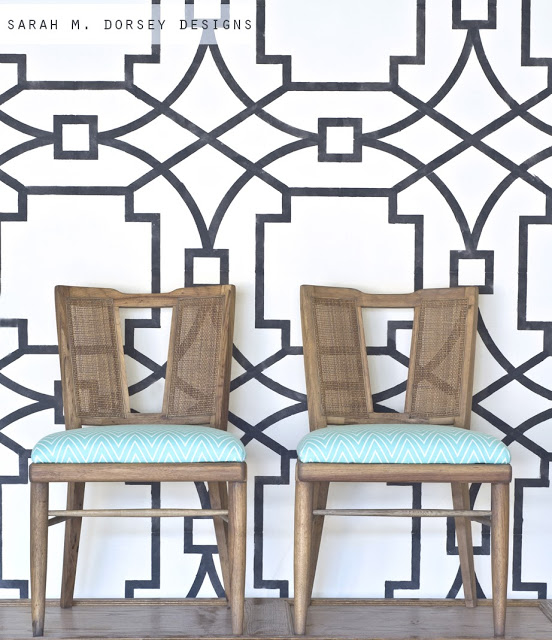
Hi! I hope that you had a great weekend! We finished our Mid Century Modern chairs. Yay! So today I’m sharing photos and a few tips and tricks on how we refurbished them.
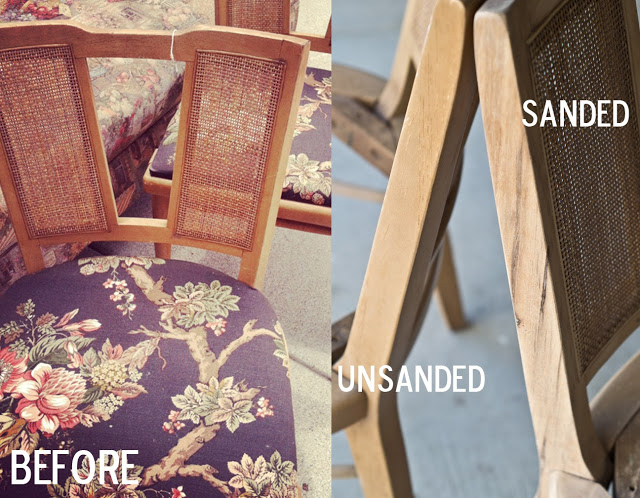
We started with two solid wood chairs from a local consignment shop. The wood was in pretty good condition, so we decided to refinish the wood verse paint it.
The finish was worn, so I decided to completely sand it down and re-stain. I’m glad that I did because it revealed pretty wood grain underneath. The stain seemed to be semi-opaque because some of the grain showed through and some didn’t.
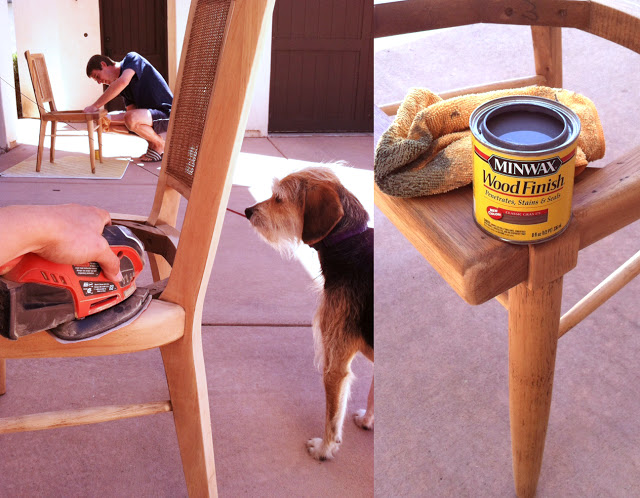
We started with the orbital sander – 80 grit sand paper to quickly remove the finish (being careful on the round legs not to flatten them). Then to get into the crevices, we wrapped a putty knife (I used) and a wood shim (David used) with sandpaper. The thin, firm but slightly flexible tip allowed us to quickly remove the finish in the hard to reach spots. We then finished sanding with 220 grit sandpaper to give the wood a smooth finish. (ps, don’t worry Annabelle wasn’t actually this close when I was sanding, she just came to visit 🙂
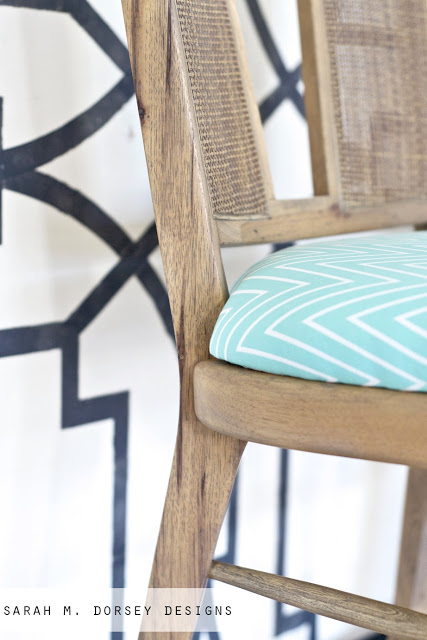
Finally, we stained the chairs with Minwax Classic Gray. I wanted something fairly neutral so that the color wouldn’t change drastically, and this was perfect!
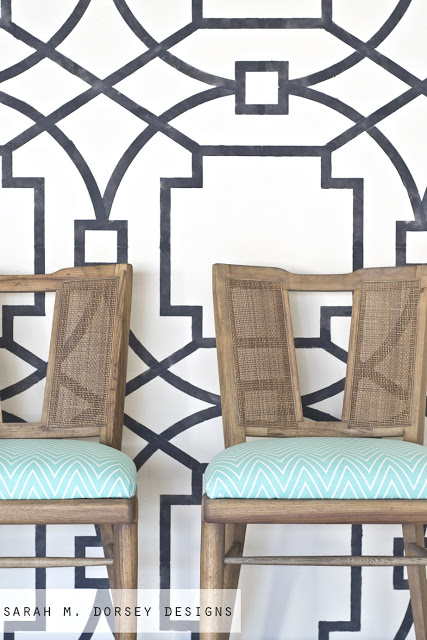
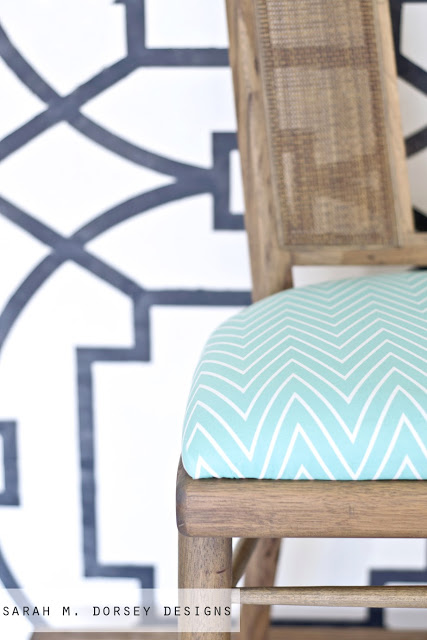
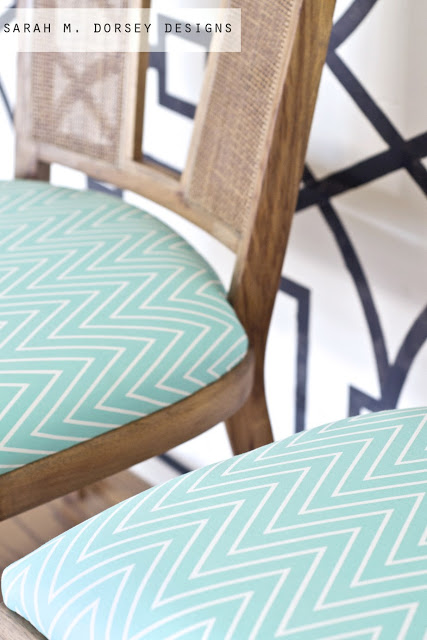
We upholstered the cushion with Caitlin Wilson Textiles, Mint Tall Chevron. I LOVE the bright subtle chevron pattern! Isn’t her fabric the best!?
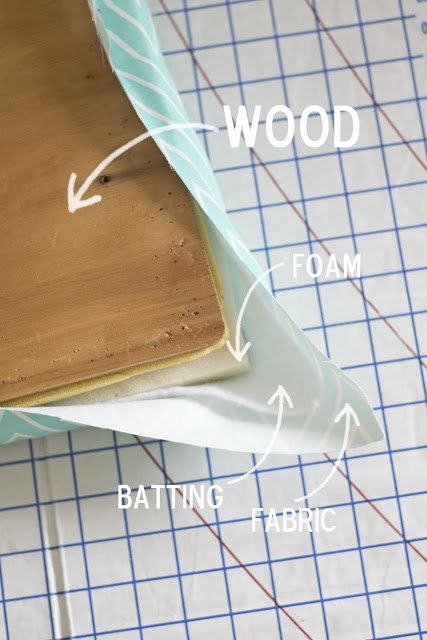
The foam was in decent condition, but we wanted it thicker, so we decided to to put in underneath a layer of new foam (which was cut a little larger so that there wouldn’t be any lines). We then topped it with batting and fabric.
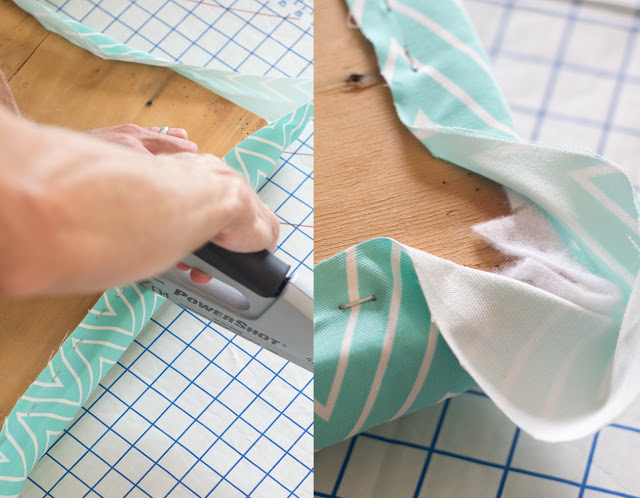
Pulling tight, we put a few staples in all four sides and then worked towards the corners. We like to look at the sides every time we pull, to make sure that it looks even and then staple. For the corners we cut off the extra batting and then staple the side under and then tuck the fabric in and fold the front over.
We reattached the seat to the base and then we were finished!
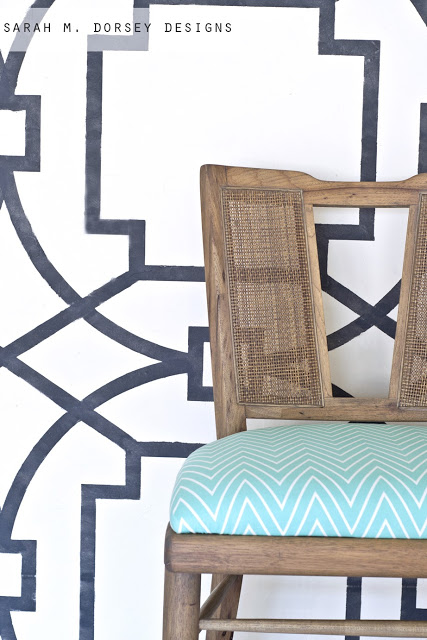
I decided to take a few photos in the garage using the feature wall that we stenciled back in March for Creating with the Stars. I wanted to take advantage of it before we have to paint it over in a few weeks when we move out … I’ll have photos in the office for the room tour (coming soon! 🙂
I love the wood grain! So glad that I decided not to paint!
Love the brightness that the fabric brings!
I’ve been painting everything recently, so it felt great to stain something instead! Sanding it completely takes a little longer, but the stain goes on so quickly so it definitely balances out.
This is our last (planned) furniture redo before we move at the end of summer, so I’ll be sharing full room reveals soon. I still have some projects that I want to add to finish the spaces, so look out for those soon!
love the stain color so much! I've been refinishing a table, but couldn't decide on a new finish…I'll have to try this!
Thanks Emily! I'd definitely recommend the stain, it stays neutral and just darkens a little bit!
They have a great shape! The bright fabric definitely updates them 🙂 xo Kristin
Thanks Kristin! I love the shape too – so different!
those are so cool and unique! and i am into that amazing fabric!
Thanks so much Cassie! 🙂
i especially love the stain that you went with! it looks fabulous. I am going to be sanding a night stand pretty soon — i might consider your color if it looks good! but we'll see!
Thanks Erin! I'd recommend the stain, it slightly deepened my wood, but it stayed pretty neutral 🙂
I love that fabric paired with the wood!
Me too! I originally ordered different fabric which didn't work out, but I love Caitlin Wilson's so much more!!
Such unique chairs and I love that you just re-stained the wood and didn't paint this time.
Thanks Julia! Definitely felt good not to paint this time … I've been painting WAY too much recently!!
I LOVE them! They look fabulous!
Thanks so much Shannon!! 🙂
Great fabric choice! And love the color of the wood stain. So pretty!
Thanks Jesse!! 🙂 Love Caitlin Wilson's fabrics, I want them all!!
These turned out great! I think too many pieces of furniture gets painted and would look nicer stained like you've done here! I've been waiting to see what you did with these chairs, I love the shape of them! Nice work, again!!!
Thanks Janna! I agree – definitely think that re staining was the best option for these chairs. I love them so much, I think I'll keep them when we move!
The wood looks great! Especially with the fabric selection. Love it!
Thanks so much Elisa! This was my second fabric selection – so glad that the first fell through since I think this works so much better!! 🙂
Great tip on using a putty knife or shim to get in tight spots. Agree on CW fabrics – so lovely! Did you sand the caned parts?
I did lightly sand the caned part, but not the crevices since it is so delicate (and would have taken forever ha!) The stain still stuck well and the color blends in, so win win 🙂 And the putty knife/wood shim worked so well! It only took about 10-15 minutes to finish sanding! 🙂
These are beautiful! That shape is lovely and I'm really glad you let the grain shine. Ok, I must have missed the memo about you all moving! I look forward to seeing the finished spaces and also your new home!
Thanks Gwen! 🙂 Yep, we're moving at the end of August, bittersweet :/ since we love CA, but we'll be closer to family. Here's a post where I talked a little more about it http://sarahmdorseydesigns.blogspot.com/2013/06/why-were-moving.html
Wow! I really like the way these turned out. The stain is a lovely color, and goes great with that fabric. I love the unique shape of the chair backs too.
Thanks so much Barbara!! 🙂
Love that the wood grain became more pronounced. Lovely!
The wood grain is definitely one of my favorite parts!! Love it! 🙂
Love love and love.
Thanks so much!! 🙂
They look amazing!!!
Thank you Therese!! 🙂