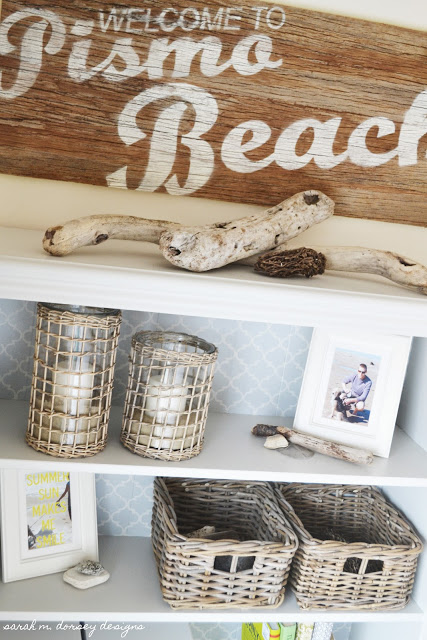
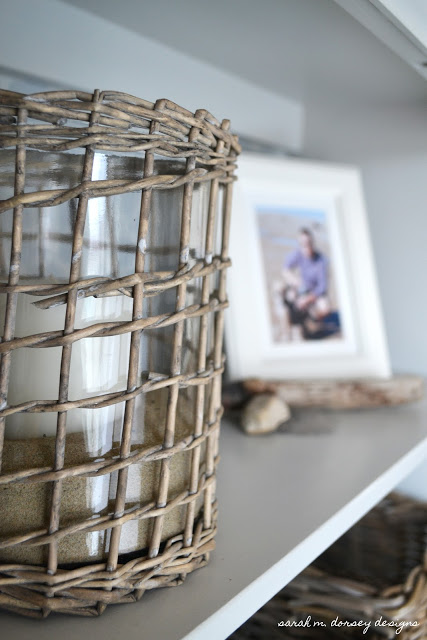
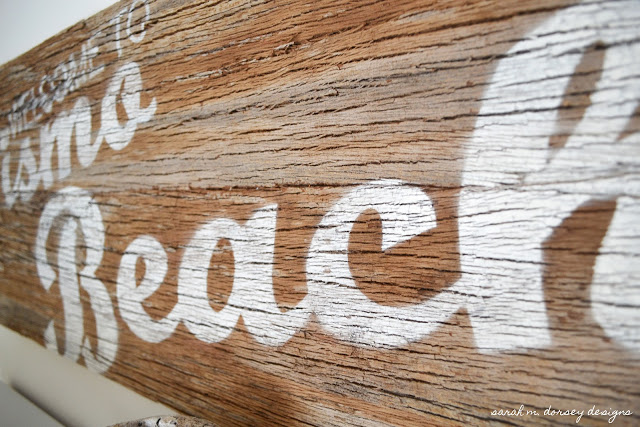
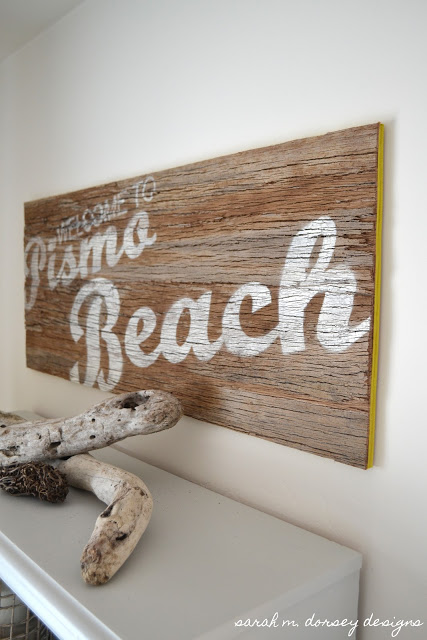
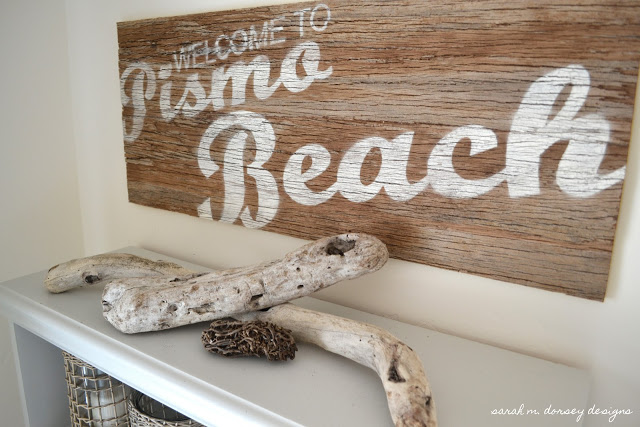
Yesterday we gave the bookshelf a summer makeover! We went with a beach theme … naturally since we are currently living at the beach 🙂 We made a welcome to Pismo Beach sign, added sand, beach rocks, drift wood and some summer themed prints!
A few months ago I found a piece of bark that had fallen off of a tree nearby, loved the texture and decided that we could use it for something. Over the weekend we found its purpose …
We used two rows of bark putting them closely together and adhered (using craft glue) them to 3/8″ plywood (leftover from the headboard)
We filled in the larger cracks with little pieces of bark, and let the whole piece dry for an hour or so
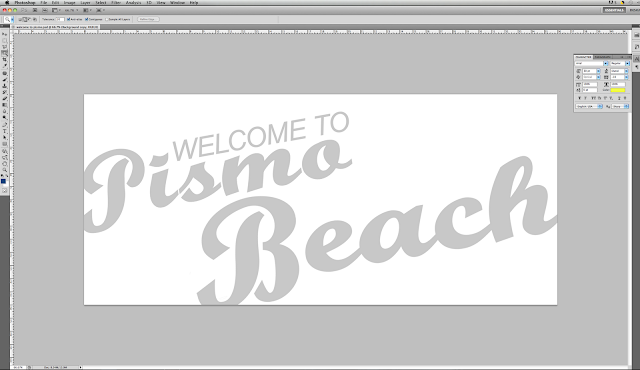
Created a design … and printed on several 8.5 x 11 pieces of paper so that it was the same size as our plywood.
The sheets of 8.5×11 paper were taped together – then the text was cut out of contact paper (I’d recommend flattening the contact paper first by cutting off a piece and laying heavy books etc on top)
We squared up the edges and cut with a jigsaw … to keep the line straight we attached a straight piece of wood to run the saw along
The temporary board was screwed into place outside of the area to be used – once the cut was made the board was removed – a great solution for someone without a table saw!
Once the contact paper was adhered – we spray painted with Rustoleum Heirloom White
Removed the contact paper and painted the edges with Benjamin Moore Citron
Let it dry and then attached it to the wall over the bookshelf with 3M Command picture hanging strips
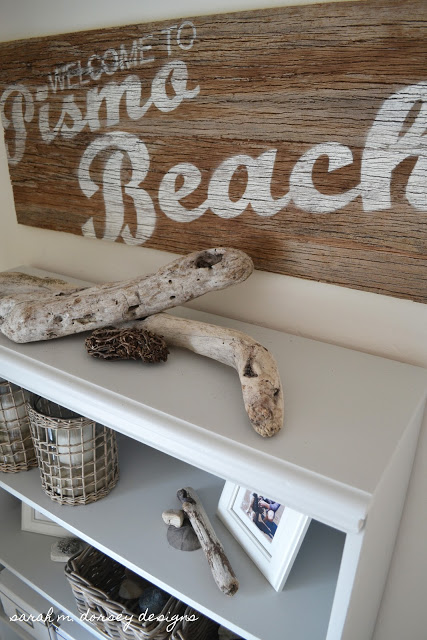
and there you have it, a custom beach sign!
We collected driftwood from a beach when coming back from a trip up north …
added some local sand …
I love the texture!
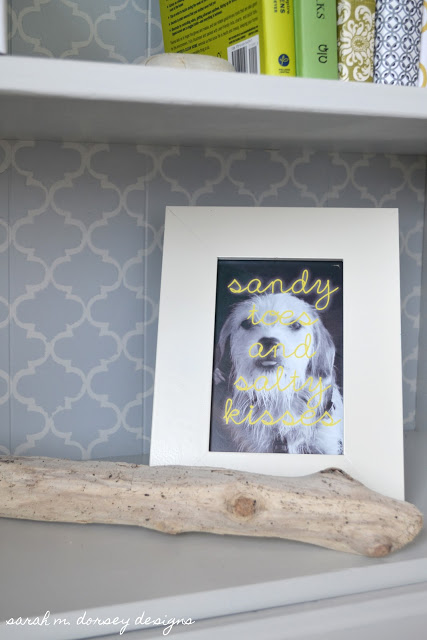
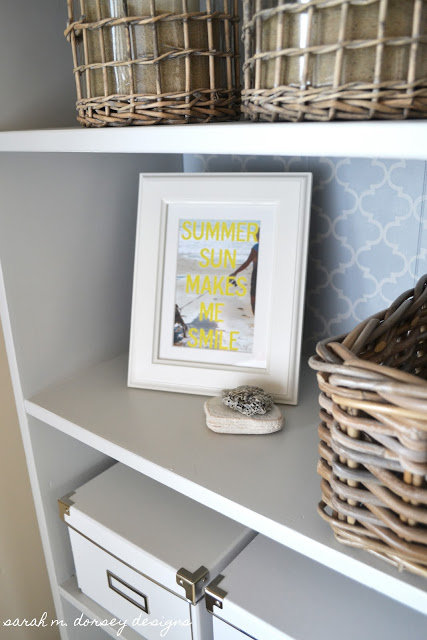
One of my favorite photos of Annabelle sticking her tongue out “sandy toes and salty kisses”
Love how a quick coat of citron paint finishes the edges!
“Summer Sun Makes Me Smile”
The best part about this sign is that I only had to buy a can of spray paint … pretty good for $3!
I’m loving the summer addition to our house!




Your mantel is beautiful, but that sign is amazing! love it all!
Debbie
Hi Debbie! Thanks for stopping by! I love the sign too, thank you!
Love that sign (and the rest of the decoration, too, of course)! It looks really weathered and used, like it's been around for ages. Do you know what kind of bark you used? It looks so thin and flexible.
Thanks for your sweet comment! I love the weathered look too! I am not sure what type of tree it is, I'll to try to track it down today, and get back to you. The bark was so easy to work with!!
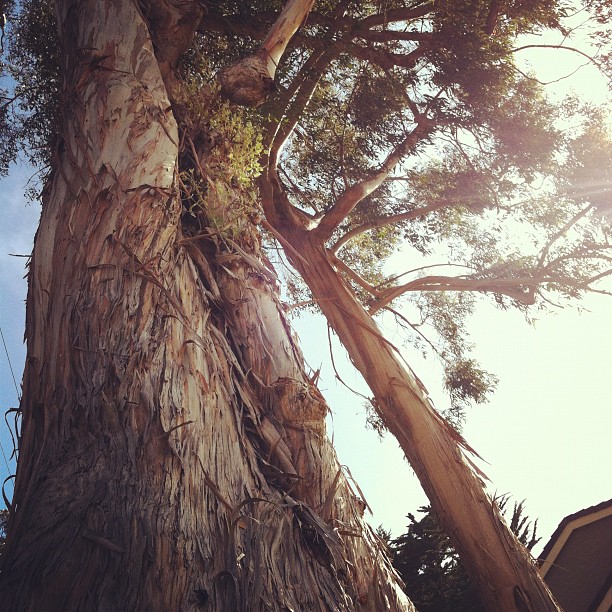
I just snapped a photo of the tree (included in the post). I am still not sure what it is … I'll let you know if I find out!
This sign is awesome. I can't believe you made it out of bark, that's amazing. So where did you buy the contact paper? And how did you cut it out so perfect?
Hi Emily! I bought the contact paper a while back at Target, it is Con-Tact brand, transparent. I taped the contact paper down and then taped the paper over top and cut out with an X acto knife blade with a healing mat underneath. The X acto blade works well for curved cuts because it is slightly flexible.
Do you live in Pismo Beach? We did several years back. LOVE IT! And love the sign. I added a Pismo Beach sign to our Summer mantle too. But ours is a mileage sign…516 l~o~n~g miles. Sweet picture of your puppy too.
Hi Jeanette, thank you! We do live in Pismo, Love it here!
I would of never guessed that was bark! awesome! I LOVE it!!!
Thanks for stopping by!! The bark I found was so easy to work with, I'll be looking for more!
wow! love the sign you made. very clever.
x
thank you so much!!
Hi, I'm joining you from Layla's Summer Fun Linky Party.
I love your sign! Your bookcase is lovely!
Hi Susan! Thanks so much for stopping by and for your kind comment!
Discovered you on Layla's party.
LOVE the sign! And how you used contact paper.
Glad I found you.
Hi Beth! Thanks for stopping by! The contact paper left some of the edges feathered with the dips in the bark, but I think it adds to the weathered look. I plan to use contact paper again 🙂