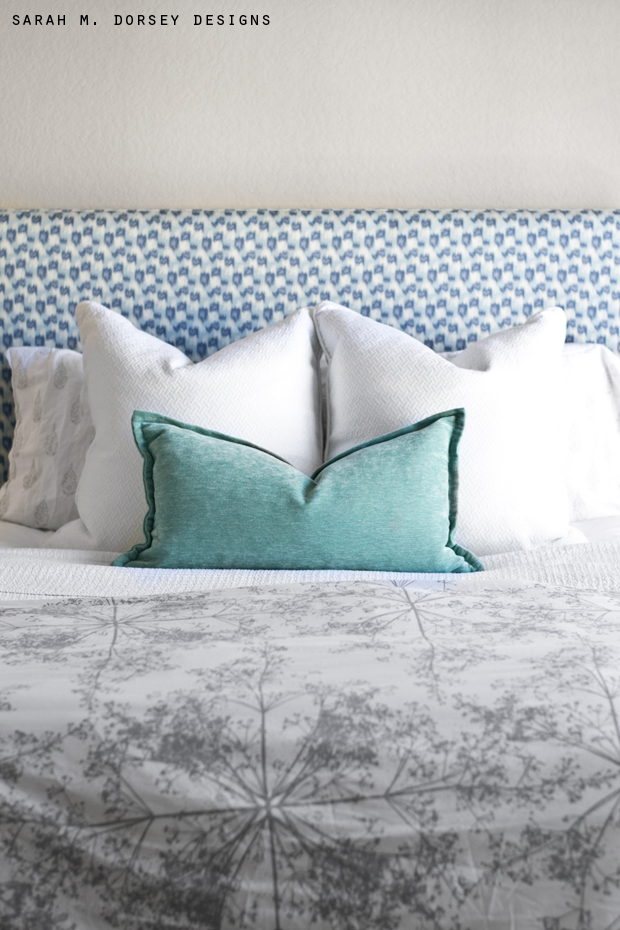
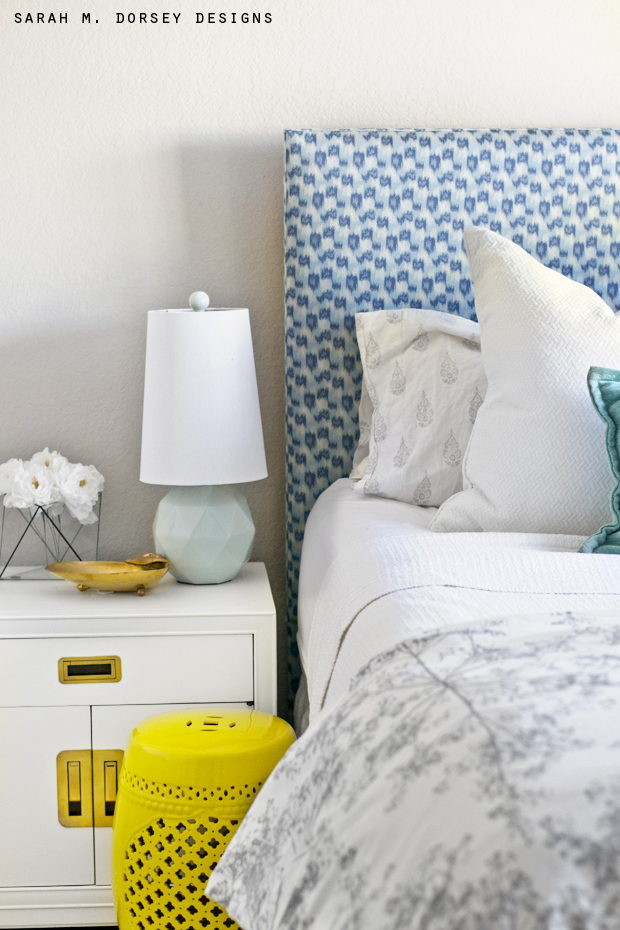
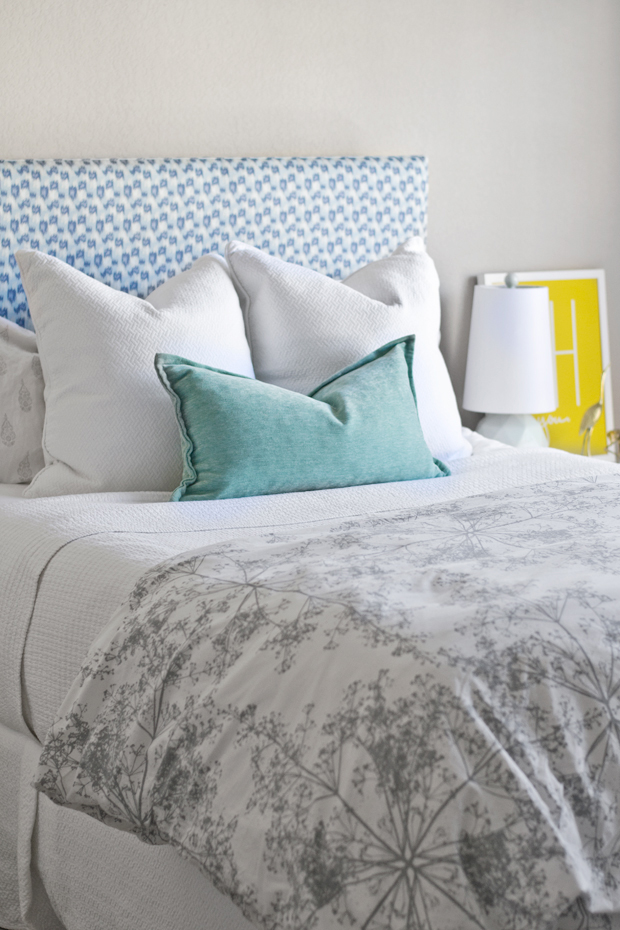
Hey! Did you have a good weekend? I hope so!! Today, I’m sharing a headboard that we finished a few months ago for our Tennessee rental bedroom. I was originally going this direction, but completely changed my mind when I styled it for my Mengel nightstand.
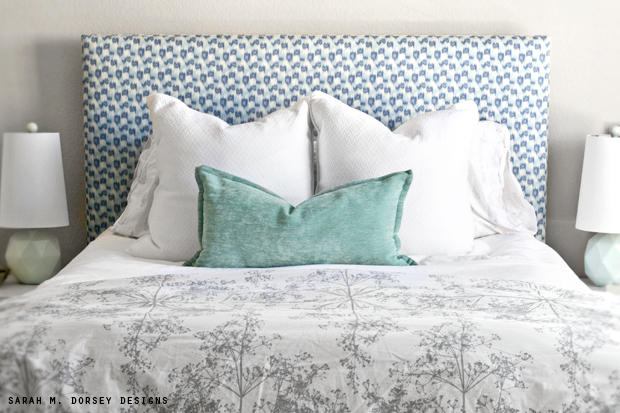
I wanted something a little lighter, so now our bedroom is looking completely different (reveal coming soon!) But first, here’s our original headboard.
If you’re looking for a quick and easy DIY headboard, this is it! It’s SUPER simple! You can easily be done in just a few hours!
To get started, you will need:
Materials:
Plywood (3/8″ to 1/2″) cut to size 60″ wide for a queen bed (height is variable, but about 3′ – make sure that the plywood goes behind the mattress)
2×2 (qty 4)
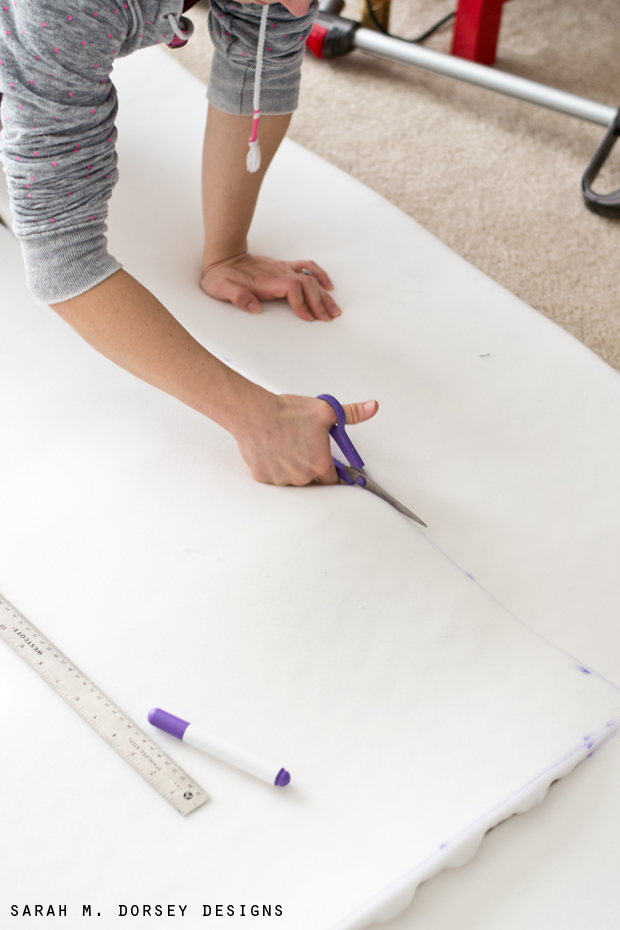
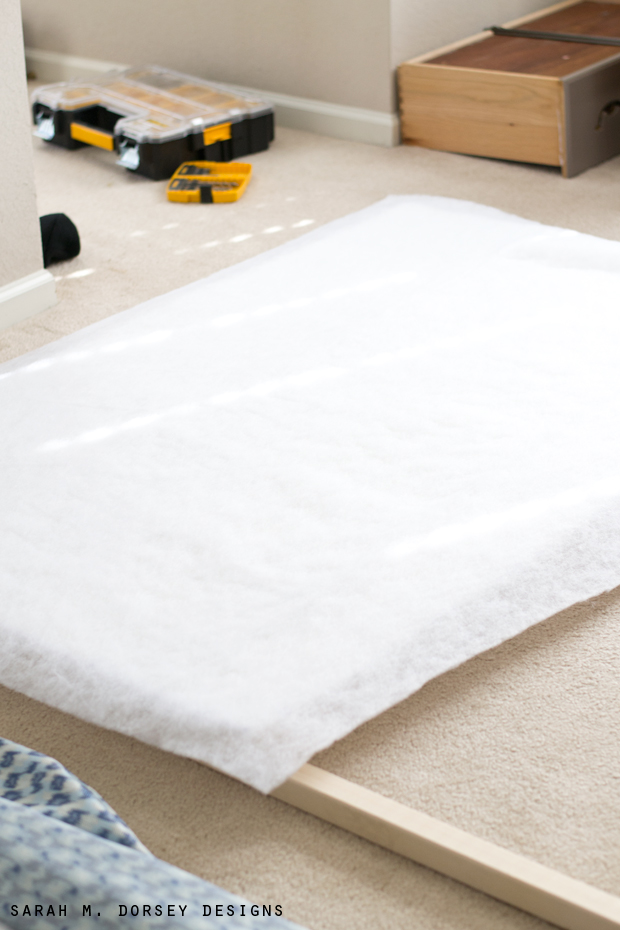
Foam (bed topper, from Target, Wal-Mart etc. – smooth side out – size full or Joanns, Hobby Lobby, etc.)
2 yards of fabric (I used this) Since home decor fabrics are typically 54″ wide – for a queen bed and larger, you will need to railroad the fabric – so run the pattern the opposite direction as shown online. If you’re using a print, make sure that it looks good running the opposite direction.
Batting (size full)
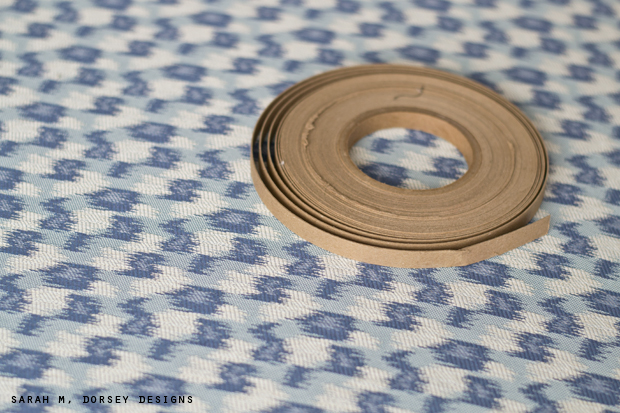
Cardboard upholstery strip
Tools:
Drill
Saw – chop saw or jigsaw to cut the 2x2s (most home improvement stores will cut the plywood to size)
Scissors
Screws (1.25″)
Staple gun
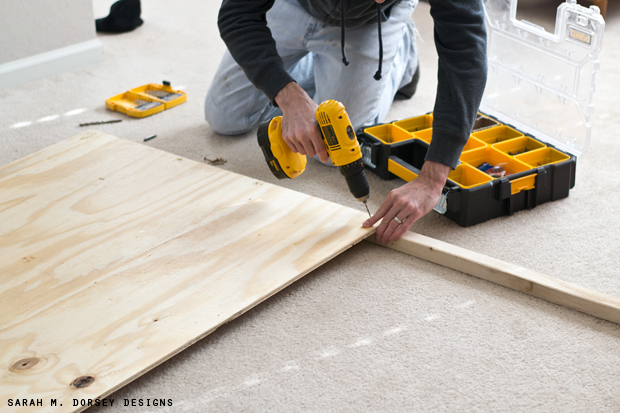
Cut the 2x2s to size and frame the back of the plywood.
From the front – pre drill holes and secure the plywood to the 2x2s using 1.25″ screws.
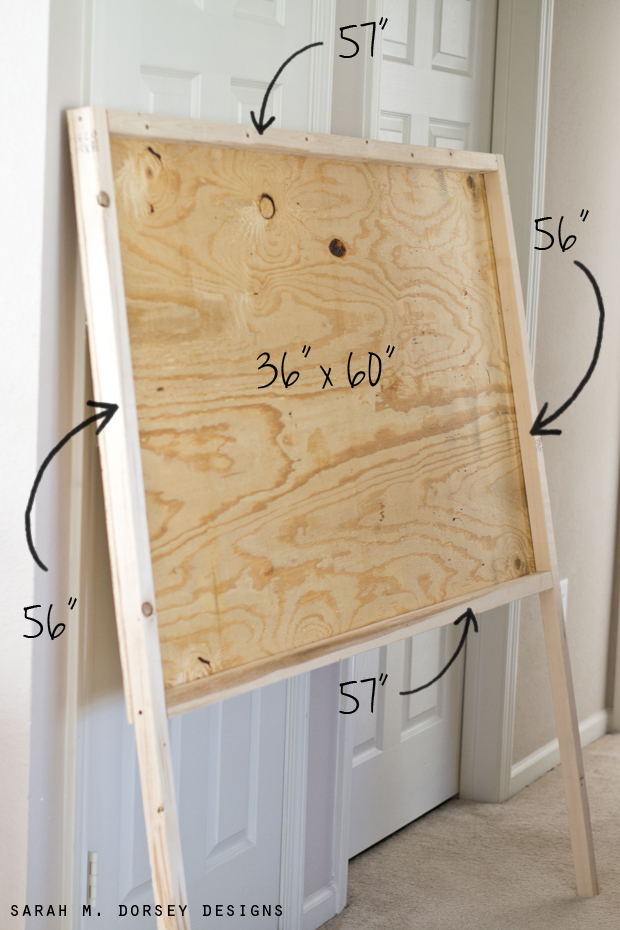
Here are our cuts – image below shows back of headboard:
Plywood 36″ x 60″
2x2s (sides) 56″(x2)
2x2s (top and bottom of plywood) 57″ (Note: 2x2s actually measure 1.5″, so 1.5″+1.5″+57″ = 60″)
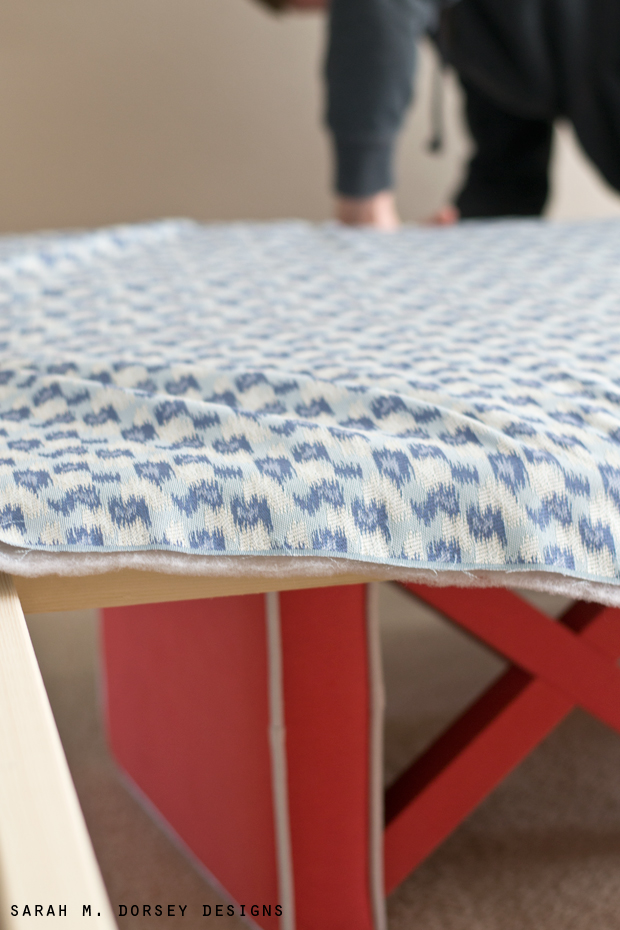
Secure the fabric. For a more finished look, we applied the fabric in two steps. The first is stapled about half way down the 2×2 (it will be visible from the sides, but it will be covered in the next step.)
We like to apply a few staples on the top and bottom – pulling tight as we go – alternating top and bottom (apply about 10 staples at a time) – then we repeat with the sides.
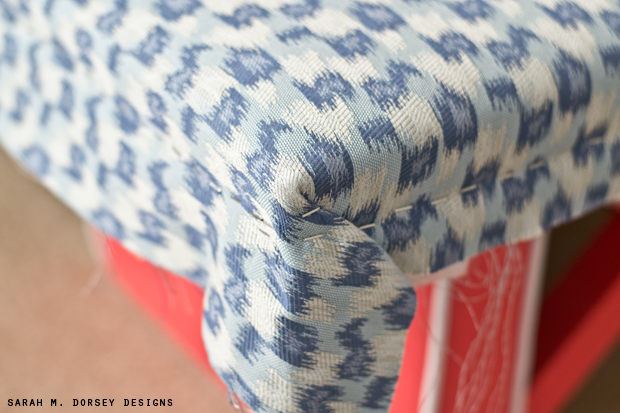
Here’s a close – up of the corner.
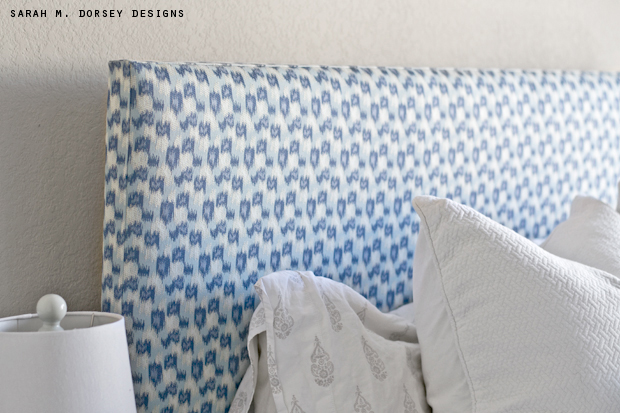
Next, finish the edges. To get a super crisp line, we used a cardboard upholstery strip underneath the fabric.
First, we placed a strip of tape along the edge of plywood to keep a guideline.
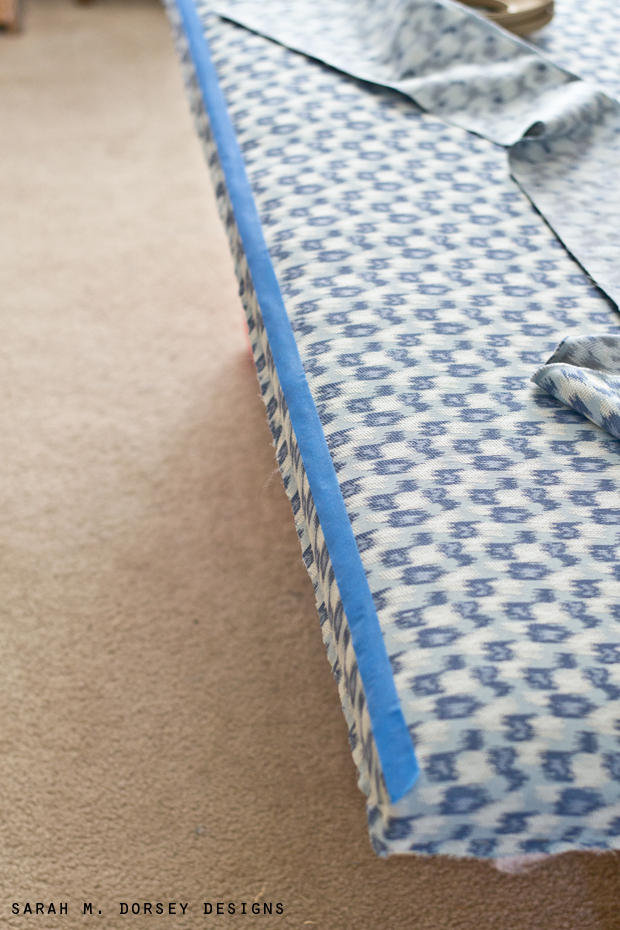
We cut a strip of fabric to go across the top (about 66″ x 5″) Using the guideline, we secured the fabric in place. We like to cut our fabric a little large – it’s easier to work with and you can always trim the excess off.
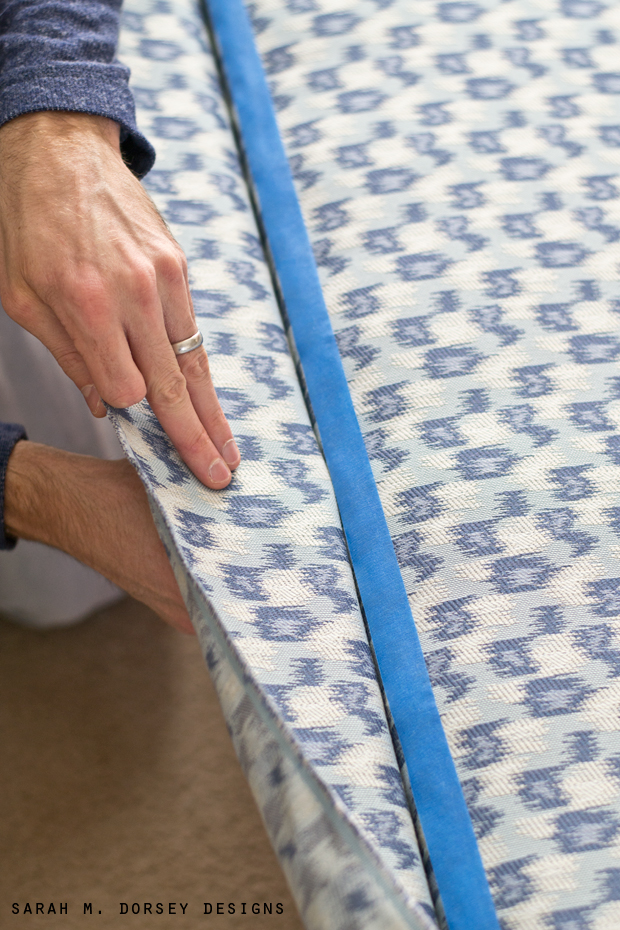
Lining the cardboard strip with the tape guideline, we stapled in place.
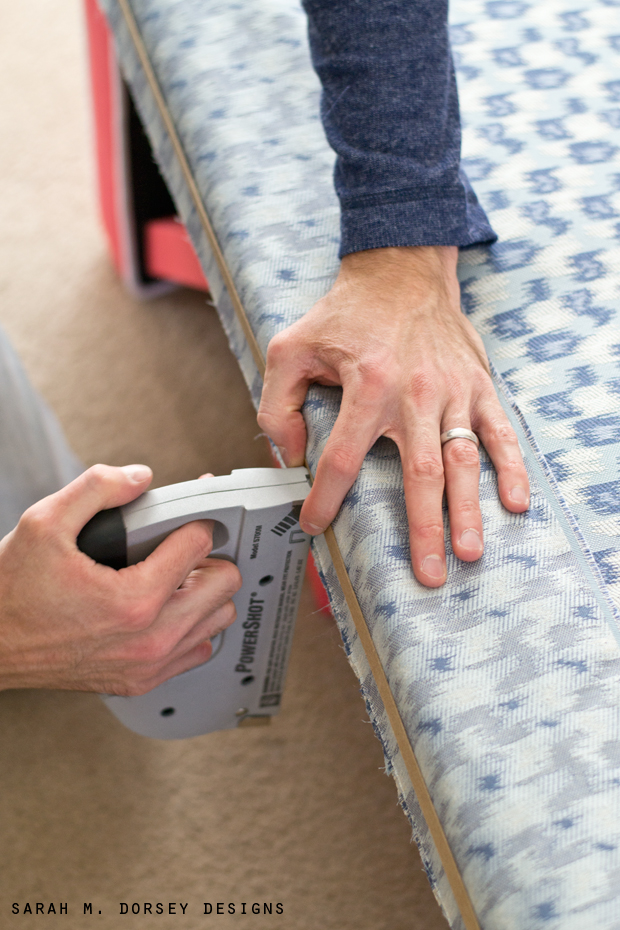
We repeat for the sides. And folded the fabric at the corners.
Then, we flipped the headboard over and secured the side pieces on the back with staples.
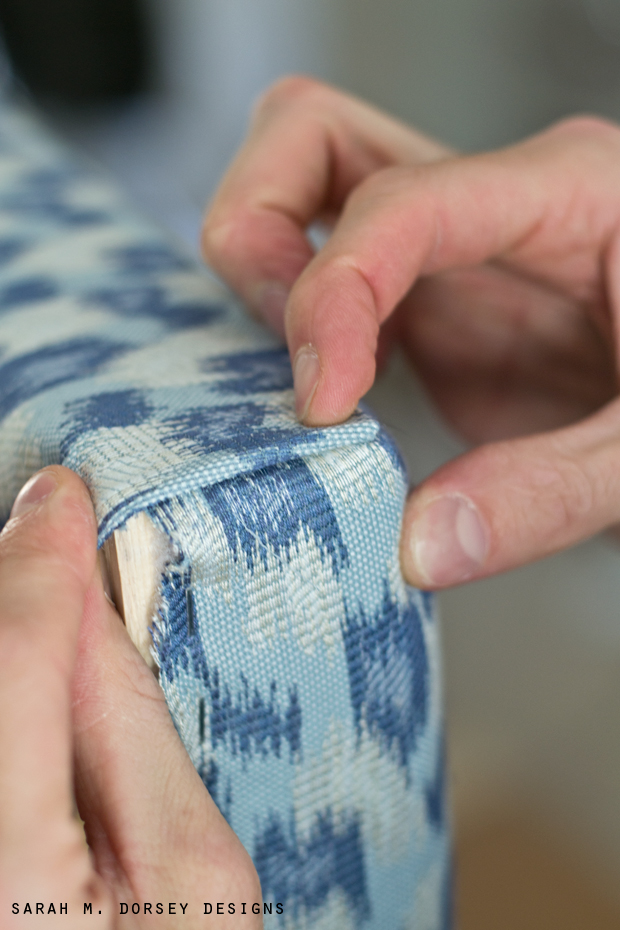
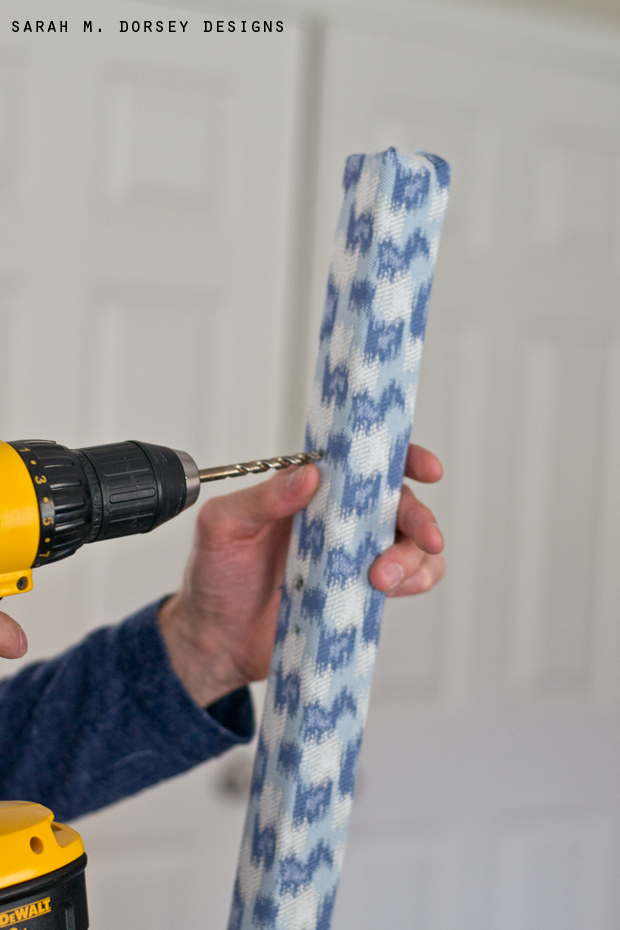
To finish the legs, we wrapped them with fabric and stapled on the back. The headboard was attached to the bed by measuring the holes on the frame and drilling two holes (trim fabric where drilling so it doesn’t catch) – bolts and nuts secure the headboard to the frame.
That’s it!
This headboard can easily be done in an afternoon or evening!
Wrapping the fabric around the cardboard strip gives it a super crisp edge.
Duvet is from Crate and Barrel (Marimekko a few years ago) Lumbar pillow is from Marshalls. Sheets and coverlet are from TJ Maxx. Euro shams are from Target.

Approximated total cost:
Plywood: $13
2x2s (qty 4): $8
Fabric (2 yards): $60
Foam: $15
Batting: $10
Total: $106
The fabric made this a little pricier, but it could easily be done for under $100 if you save on fabric. (Check out the clearance section of Home Goods, TJ Maxx, etc. for tablecloths, typically, you can find enough fabric for under $20!) So you could make it for about $60!
If you’re looking for a super simple headboard, this is it!! SO easy!
P.S. This headboard (and lots of other things) will be included in a moving sale that we’ll be having in a few months. If you’re in east TN and would like to be first on the list for an item, let me know – you can email me at sarahmdorseydesigns@gmail dot com (dot added in place of . to reduce spam)
I am actually recovering a headboard today and I love the tip about the cardboard strip! Perfect timing!
Super idea using an egg crate rather than trying to get custom sized foam–what a time and money saver! This is a great, simple tutorial, and it's easy to see how it could be endlessly embellished with nailhead, tufting, different fabric combos, etc. I'm looking at making an upholstered bed frame & headboard to fit under a low window, and I'm definitely going the egg crate route. Thanks for sharing!
Brittany
http://whitedogvintage.wordpress.com
wow, it's gorgeous!!! love it!
So pretty! Love the colors you have in there, so soothing yet happy!
Nice timing with the tutorial! I've been asked to help make a headboard for my father in law and his wife. This will be a great reference!
This is a great little tutorial. Nice photos and I like the tape and cardboard upholstery strip.
Thanks
Ashley
Blessedmess.ca
So pretty! I love the fabric you chose.
It looks really beautiful. My first EVER blog post was about doing an upholstered headboard, and I want to stab my eyes out when I go back and read it. I did so many things wrong. I love how simple and correct this is 🙂 I would have never though of using eggcrate foam. It's such a good idea!