• Home
  • About
  • Services
  • Shop
    • Bloglovin
    • Email
    • Facebook
    • Instagram
    • Pinterest
    • Twitter

Dorsey Designs

DIY and Interiors by Sarah + David

  • Home Tour
  • DIY TUTORIALS
  • friday favorites
  • design + build
  • art

get the latest straight to your inbox

TALL Ombre Gallery Wall for the Landing

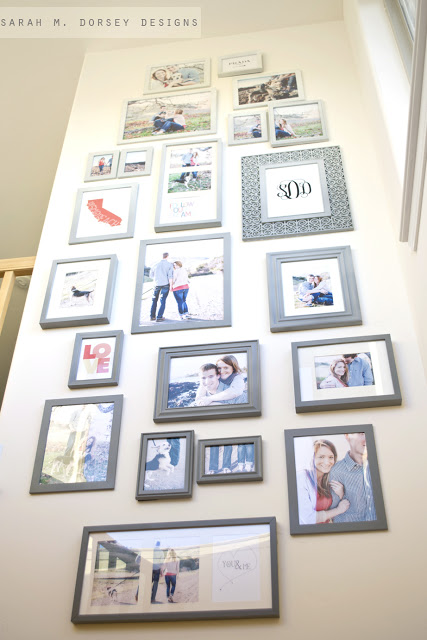
In case you missed it over the weekend at Kristen’s, we recently added a tall galley wall to the last landing going upstairs.

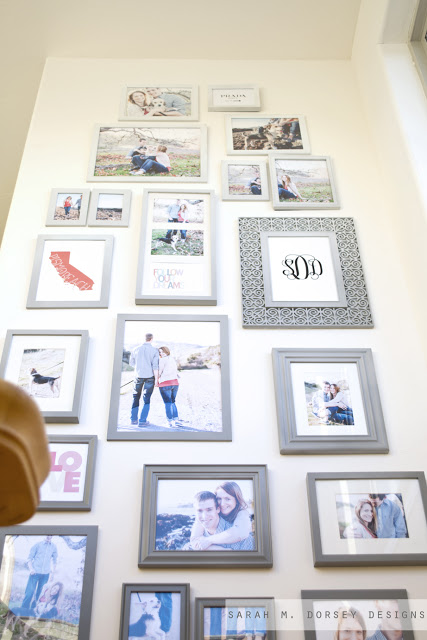
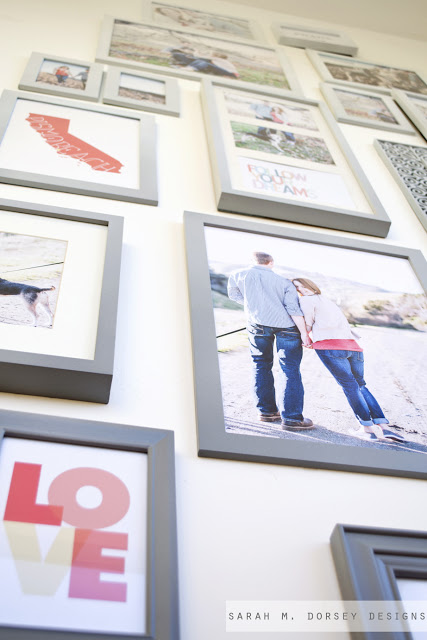
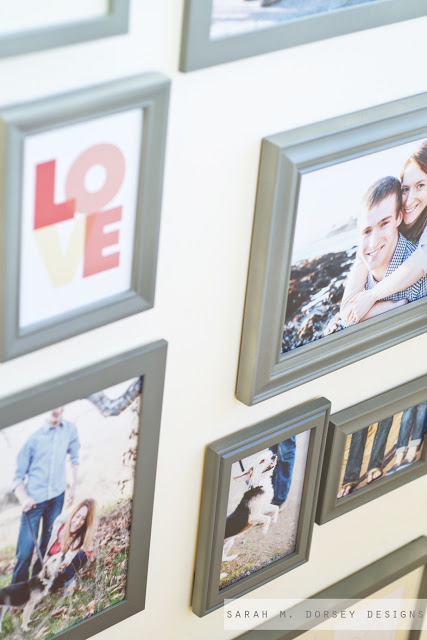
When I first saw this 12′ wall, it was just screaming to be a gallery wall! After collecting frames from various places, we decided paint them with a subtle ombre from white to dark gray. I love how it unifies the different frames, but adds a little visual interest.

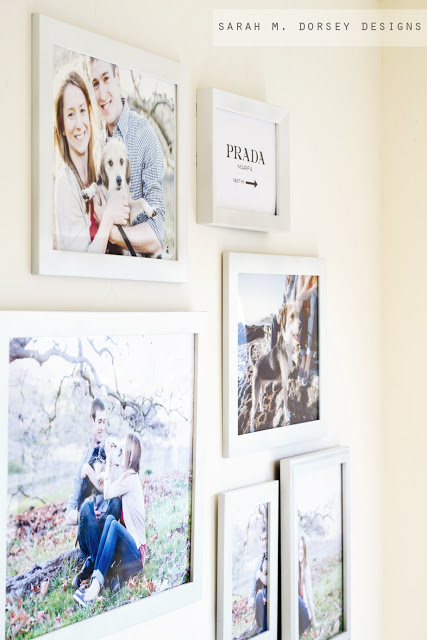
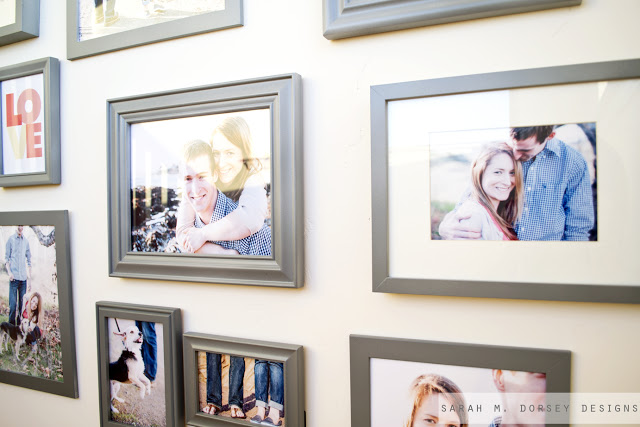
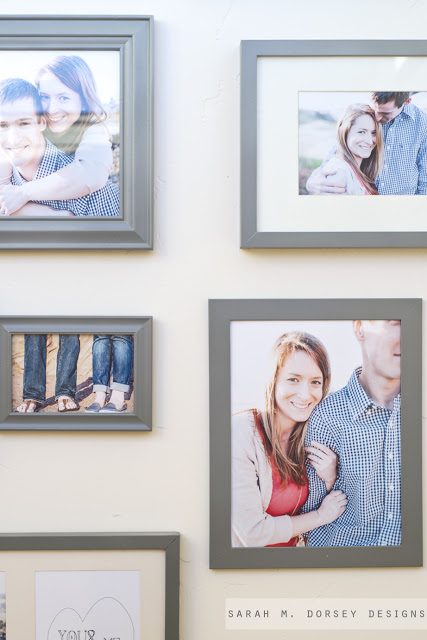
We recently had family photos taken by the talented David Pascolla, so this was the perfect place to hang them! David was super easy to work with and I just love his style! Be sure to take a look his gorgeous portfolio.

To start, we used a combination of frames from my stash (mostly Ikea), and slightly damaged frames on clearance at our local craft store. 
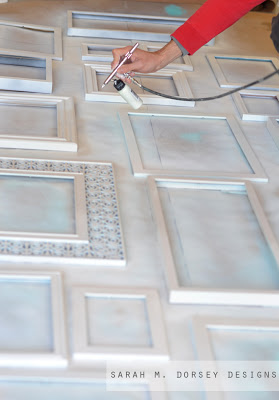
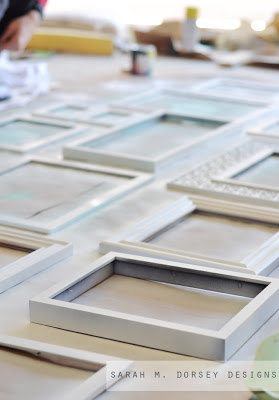
After lightly sanding them, we laid them out on brown kraft paper (the height and width of the wall) and sprayed the frames with primer. 

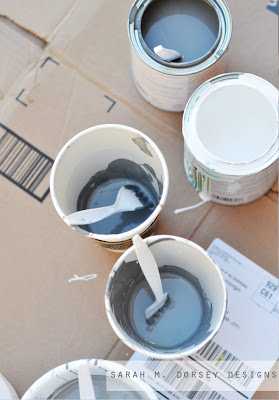
We picked up a sample of BM Amherst Gray and also a sample of white to make a few lighter shades.

Then starting with the lightest shade at the top, we used our airbrush to make a gradual transition to the darkest shade at the bottom. We’ve purchased our airbrush a few years ago for another project and use it pretty frequently now. It is good for painting smaller surfaces but for larger areas it takes way too long! This went pretty fast (considering the area to be covered), probably about 2 hours. 
I know using an airbrush isn’t practical for a lot of people. For those without an airbrush, a similar effect could be achieved by brushing on and blending as you go. A subtle color transition would probably be easiest. 

Once dry, we finished with a few light coats of water based polyurethane for extra protection.

Spraying on the kraft paper was perfect because the frame outlines were already there. We just made a mark for the nail placement, attached the paper to the wall with painters tape, hammered the nails and then took down the paper. So much easier than measuring each individual frame!

Taking photos with Annabelle was challenging because she is SO active, but we got a few great ones!

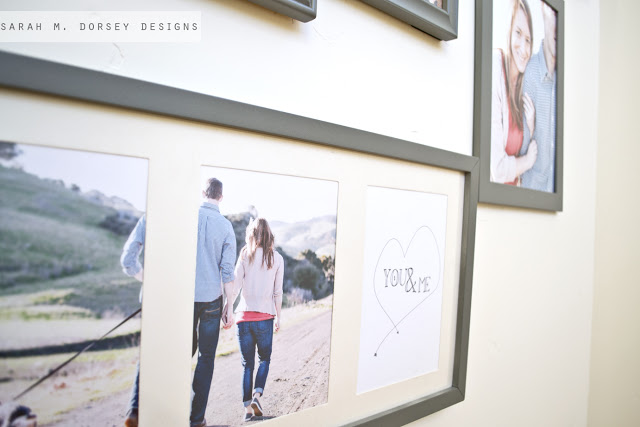
I also like mixing prints in to break up the photos. I made a few new ones for this project.

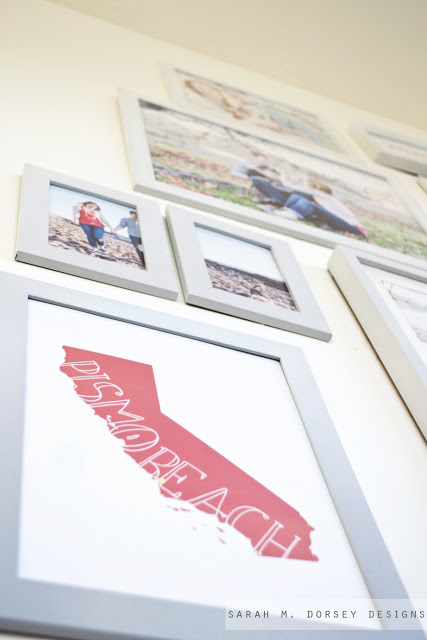
Like a Pismo Beach CA state outline.

and a large scale Love print.

I love this shot of Annabelle jumping, it really captures her happy spirit! 

I’m loving the new addition to our rental, I was hesitant to make a gallery wall that was so big because it will be a lot to take down/patch when we move out, but I couldn’t resist! I’m thinking that it was worth it 🙂

We made a stop at Ikea this weekend to prep for some new projects, can’t wait to start! Check back soon for updates!
Landing// Uncategorized// Uncategorized6 Comments

Subscribe

get the latest straight to your inbox

« Sarah M. Dorsey Designs at Kristen Duke Photography
Weekend in Photos and My Favorite Ikea Finds »

Comments

  1. Mrs. DeVore says

    February 18, 2013 at 3:06 pm

    love the ombre look, great idea!

    Reply
  2. David Pascolla says

    February 18, 2013 at 5:51 pm

    Love your display Sarah. So honored to have played a part in it all 🙂
    David

    Reply
  3. Jennifer Bridgman says

    February 18, 2013 at 6:16 pm

    The wall looks great! And I love the photos of you and David, really beautiful of both of you 🙂

    Reply
  4. Ashley Travers says

    February 18, 2013 at 8:14 pm

    I love this so much!!

    Reply
  5. second life of a blue house says

    February 22, 2013 at 3:17 am

    Great job! The wall looks fabulous. Lisa xo

    Reply
  6. Lindsay Redd says

    February 28, 2013 at 8:49 pm

    This is one of those brilliant ideas I wish I would have thought of! Genius! A real simple beautiful detail!

    Reply

Leave a Reply Cancel reply

Your email address will not be published. Required fields are marked *

Contact Me

sarahmdorseydesigns{@}gmail{.}com

Stay Updated!

Get all the latest goods straight to your inbox!

This error message is only visible to WordPress admins

Error: No connected account.

Please go to the Instagram Feed settings page to connect an account.

Must Reads

Custom Peg Board + DIY Circle Art | FrogTape

Custom Peg Board + DIY Circle Art | FrogTape

Main Level Refresh with The Home Depot

Main Level Refresh with The Home Depot

Sponsor

2016 Daily Simplified Planner

Popular Projects

DIY Wood Veneer Art | Tutorial

DIY Wood Veneer Art | Tutorial

February 7, 2018 By Sarah Leave a Comment

Damage Free Renter Friendly Draperies with Black Tassel Trim

Damage Free Renter Friendly Draperies with Black Tassel Trim

May 20, 2014 By Sarah 11 Comments

art above the headboard finished!

art above the headboard finished!

May 15, 2012 By Sarah 27 Comments

Guest Bedroom Headboard Progress

Guest Bedroom Headboard Progress

June 7, 2012 By Sarah 2 Comments

Dining Room Update | Chippendale Chairs + Renter Friendly Accent Wall

Dining Room Update | Chippendale Chairs + Renter Friendly Accent Wall

March 12, 2015 By Sarah 16 Comments

  • DIY TUTORIALS
    • design + build
    • furniture redo
    • diy in 1 hour or less
  • free printable
  • friday favorites

Disclosure

Occasionally, affiliate links are used when they are available. I do earn a small commission when items are purchased using those links. As always, I only link to things that I truly love. I also link to items that I love when an affiliate link is not available. Thanks so much!

  • Home
  • About
  • Services
  • Shop

Copyright © 2025 Dorsey Designs

MENU
  • Home
  • About
  • Services
  • Shop