Hey! Thanks SO much for your nice comments on our post yesterday!! You are too sweet 🙂
Today I’m sharing how we transformed a cheap laminate campaign dresser – making it more durable and look more expensive!
I feel like I turned a corner painting furniture, so I included those using CAPS and bolding. These are tips that I’ll be using from now on!
It’s come a long way ..
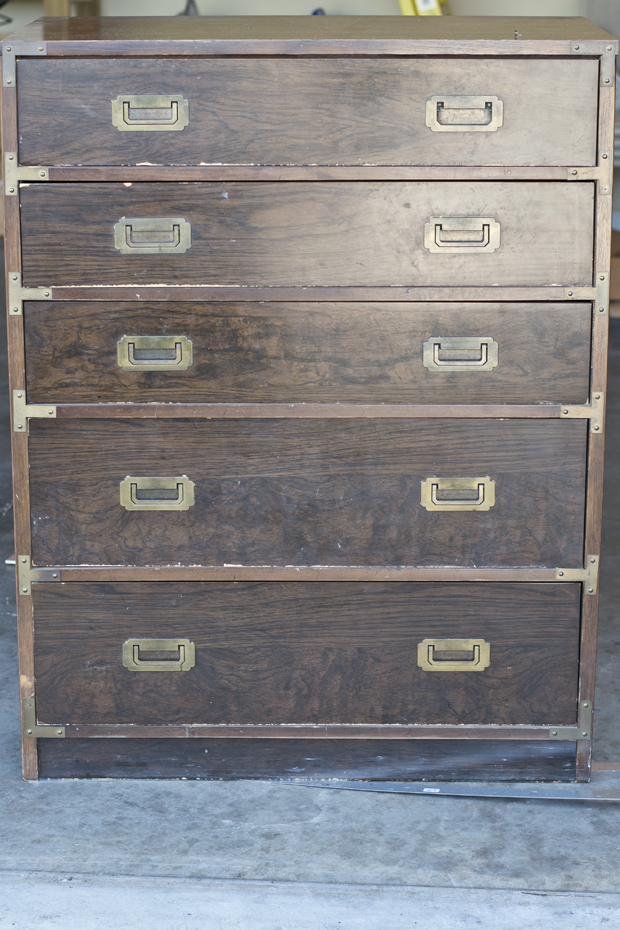
Here’s the before. Peeling plastic finish – it’s primarily MDF with this finish. BUT look at that hardware! It was missing one pull (I’m hoping to find one or make one soon ..) At $40, it was hard to pass up.
First, I tackled the hardware.
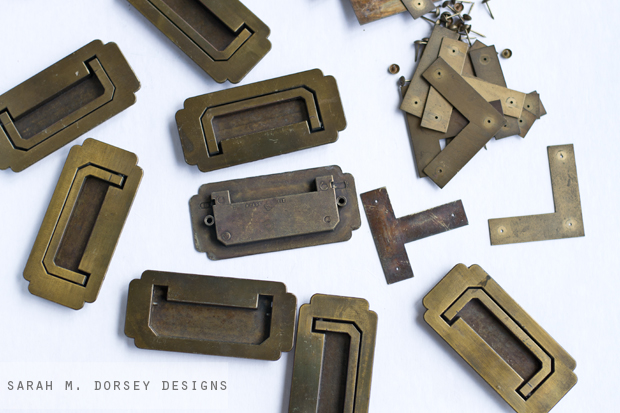
It has a lot.
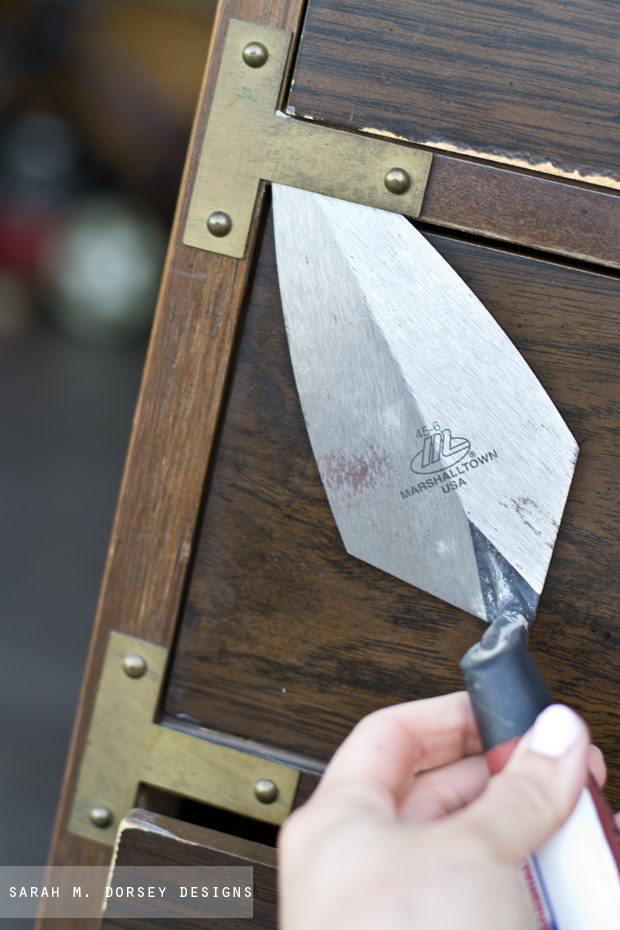
I removed all of the corner plates, carefully! I used a thin wide trowel with a pointy tip. On the underside of the plate (if I messed up, at least it would be on the underside, since most of the time you’re looking at it from the top) I pushed it in a small gap and wiggled it back and forth.
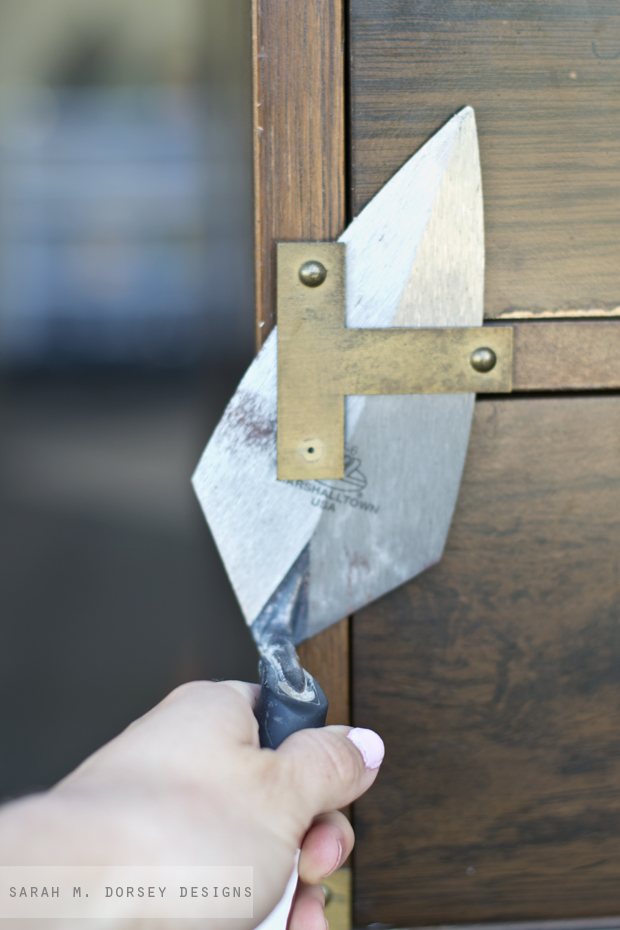
Then I removed the remaining pins by wiggling the trowel back and forth. The wide surface helps distribute the pressure, reducing the risk of damage.
I was able to remove all the corners without any damage.
For the pulls, you just remove the screws from the inside of the drawer.
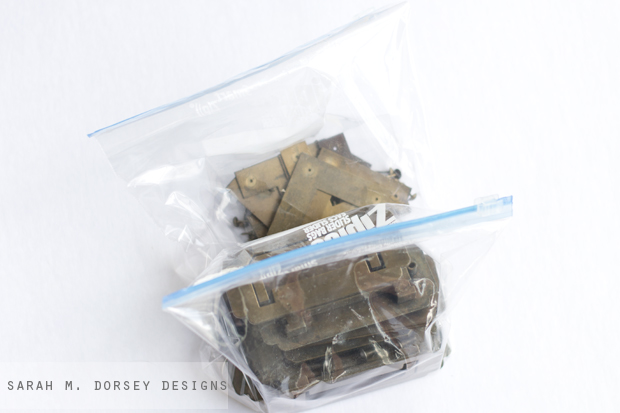
Place all of the hardware in zippered baggies, you don’t want to lose anything!
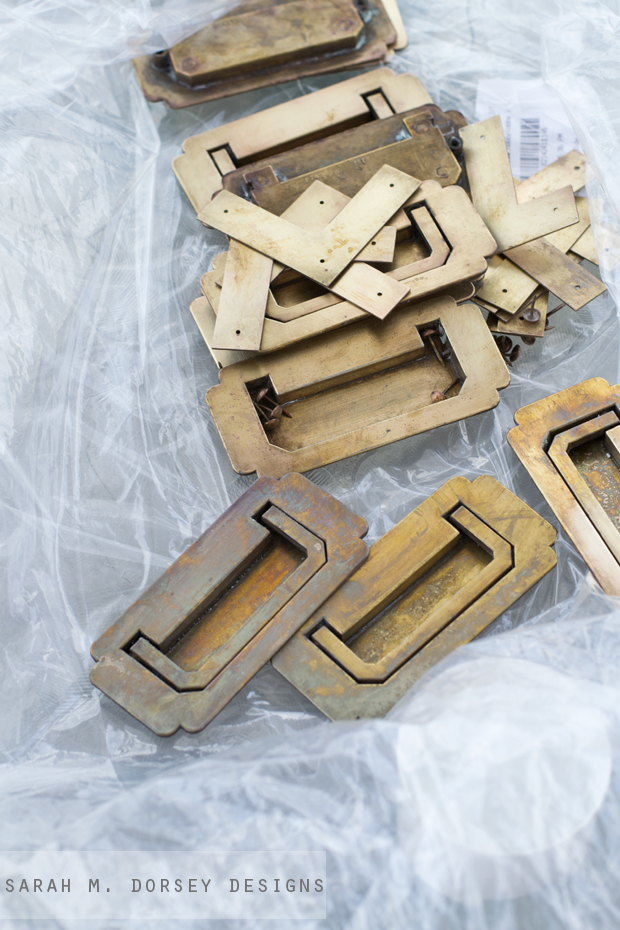
Then, I started polishing. I love the look of shiny brass with crisp white, but you could just give it a gentle cleaning with soapy water if you want to keep the patina.
I tested mine with a magnet, it didn’t stick, so I think they are solid brass instead of brass plated. The process is almost the same, but you can polish solid brass a little more aggressively.
First, here’s what didn’t work for me.
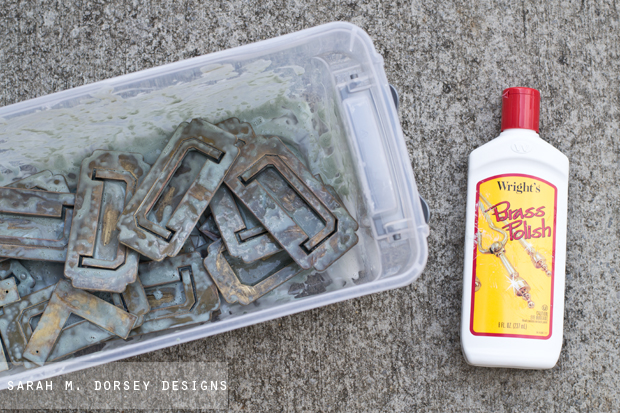
I tried a brass polish (my local store didn’t have Brasso, but I think this is the same). This stuff is stinky, so it should be done outside. I covered it with the polish and let it sit for about 30 minutes. It was hot, so I didn’t scrub it too long (I used a 3m scotch brite pad cut into sections), I rinsed it and it still needed some polishing. It was messy to clean up too ..
Then, I tried lemon juice and salt .. I still wasn’t able to get the look that I wanted. I rinsed and dried it .. it looked like this.
Not sure what I did wrong, maybe mine actually aren’t solid brass?
Then, I tried Bar Keepers Friend. This is the stuff to use! It easily polished up. I’m not sure how it would work when starting with it (instead of Brasso/lemon+salt), but next time, I’d try this first. It didn’t have an odor, so I could use it inside and it was easy to remove the excess cleaner from the hardware. Plus it’s cheap, I think under $2.
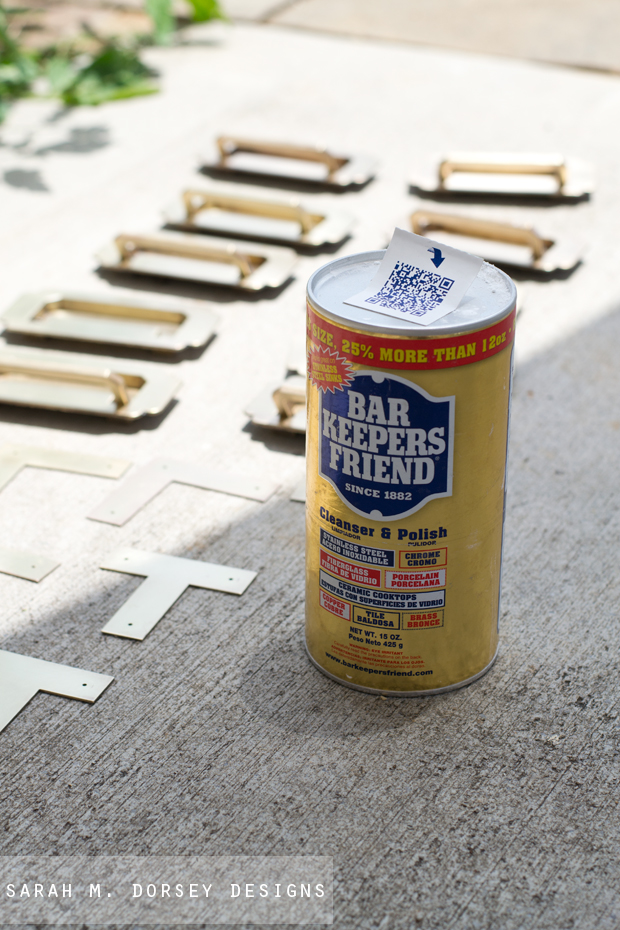
Here’s how I used it. First, I got two containers of water (easier than turning the water on and off at the sink), 3M Scotch Brite pads (cut into small sections), a plastic drop cloth to catch water/cleaner, and a few old towels. I dipped one or two pieces of hardware and the Scotch Brite pad in a bucket of water, then I sprinkled it with Bar Keepers Friend and scrubbed. Then I dipped it in the same bucket of water to remove the excess cleaner, then I dipped it in the clean water to remove the rest of the cleaner and throughly dried it with an old towel. I did this one round and then found that the finish oxidized again, so I repeated and at the end, applied a layer of spray on car wax to protect the finish (wiping off the excess) and it still looks good!
Clear furniture wax would work as well, though the car wax is thinner, so I’d guess it would be easier to remove the excess.
This took a lot of effort, trial and error, as the first time doing something typically does .. just a reminder not to give up, next time will be much easier!
INCREASE THE DURABILITY.
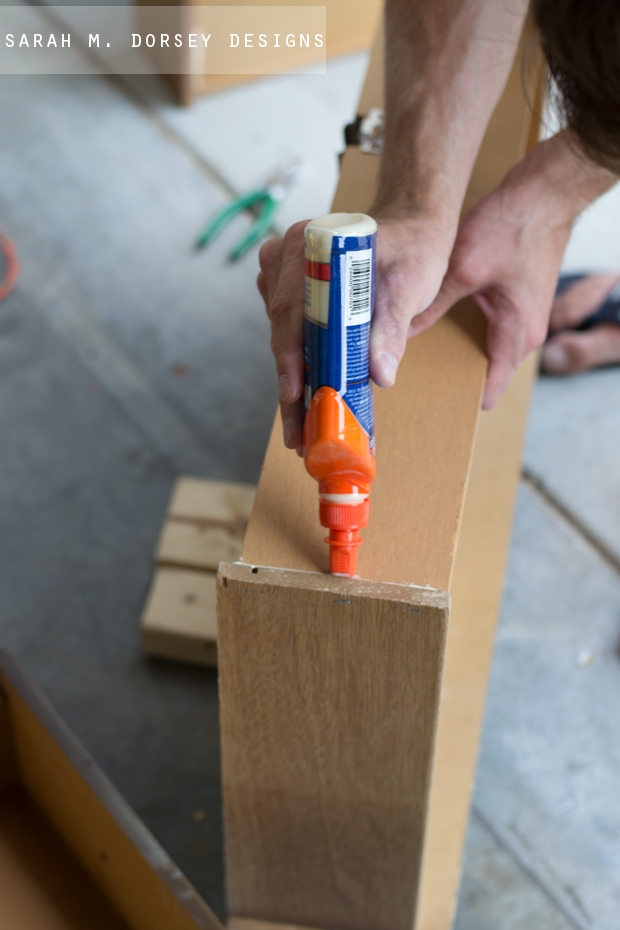
Then we started working on the dresser. Like I said earlier, the quality wasn’t amazing, including staples instead of dovetailed drawers .. a few of the drawers were falling apart so we fixed with a little wood glue (We like this wood glue from Elmers). It’s amazing how strong this stuff is! We also ran a bead of glue along all the bottom seams on the drawers to increase the durability down the road – a great, quick solution! You could also remove the staples and replace with screws, but we felt that the glue was strong enough – down the road we could always add screws.
First, fill any gouges, dents, etc. with wood filler (we like this wood filler from Elmers), let it fully dry.
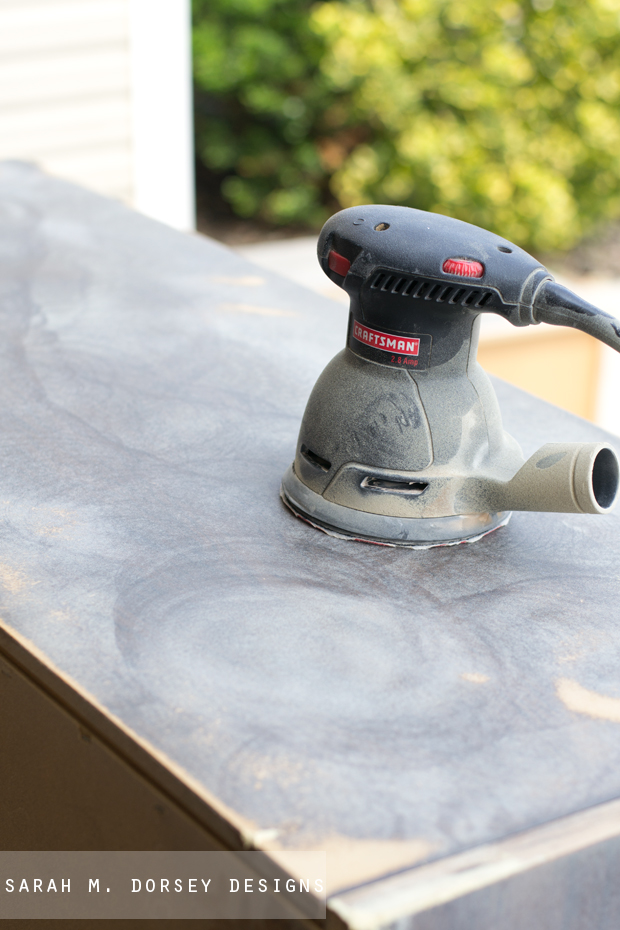
Next, prep for paint. USE A RANDOM ORBITAL SANDER. I’ve been using a mouse sander, which I loved because it is light and can get into the crevices, BUT it did leave some sanding marks .. not ideal. David had a random orbital sander in his tool box in Maryland (we don’t take everything with us for our rental .. ) and I recently used it. This is the thing to use!! It doesn’t leave sanding marks and you don’t have to press as hard. It’s more powerful, so you have to be careful not to over sand .. I found that it worked best when sanding a horizontal surface (verse holding it vertically) so I rotated the dresser as I went so I was always sanding a horizontal surface (placing the dresser on styrofoam to protect the finish). The mouse sander is good to have since it’s easier to control and gets into tight spots, but I won’t use it on an entire piece again ..
I used 100 grit and then 220 grit to finish. Moving the sander in a small circular motion as I went.
Wipe it down with a micro fiber cloth. Tape the edges of the drawers and the interior drawer openings with painters tape. Remember that the drawers don’t fit perfectly flush, so make sure to paint about 1/4″ to 1/2″ into the dresser so you see white and not wood.
GET A DURABLE SMOOTH FINISH.
I was recently sent a new bonding primer from Kilz, and THIS is my new favorite primer. It’s water based (so easy clean up verse oil based), goes on easily and resists brush/roller marks, bonds well to slick surfaces (I also used it on a plastic trunk), and it’s durable (super important for furniture!) It is amazing, you MUST try it.
I was sent this to test out from Kilz, but I wasn’t compensated for a review, all opinions are all mine.

Now, the top coat. If you’ve been reading my blog for a while, you know that I’m a fan of Sherwin Williams Pro Classic paint. It gives a hard, enamel like finish, but it’s water based. Last week, I read Mandi’s post about using mohair rollers – stop by Vintage Revivals for the full how to, you won’t want to miss it!! It does work SUPER well to get a smooth finish.
I used the mohair rollers to apply the primer to and found it difficult to apply to the thinner sections of the front since the brush doesn’t hold very much paint, so next time I’d probably use a small foam roller or brush for those. The mohair roller did well on the entire dresser for the top coat, since it goes on a lot easier than the primer (the first coat of paint soaks into the dresser).
For this dresser, I applied two thin coats of primer, did a light sanding with a fine foam sanding block, wiped it with a microfiber cloth, Finally I applied three thin coats of Sherwin Pro Classic in Alabaster, my favorite slightly creamy (but not ivory) white.
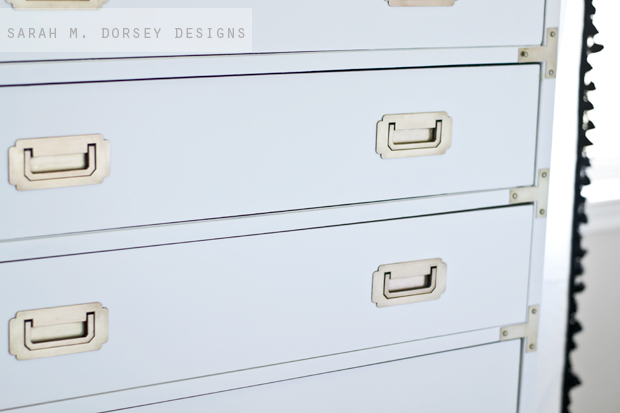
This dresser is nothing special without the hardware ..
I let the paint cure for a few days and reinstalled the hardware.
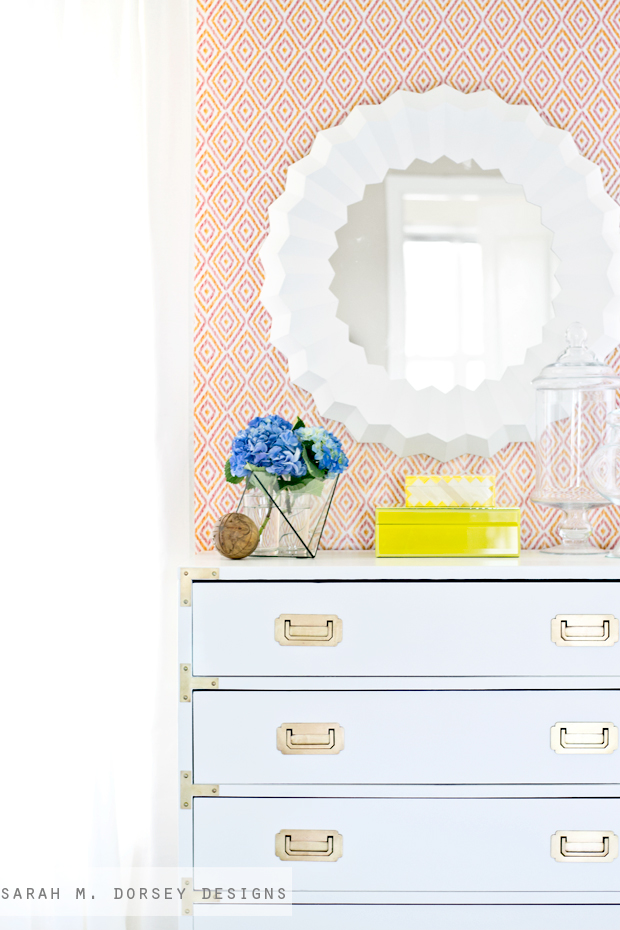
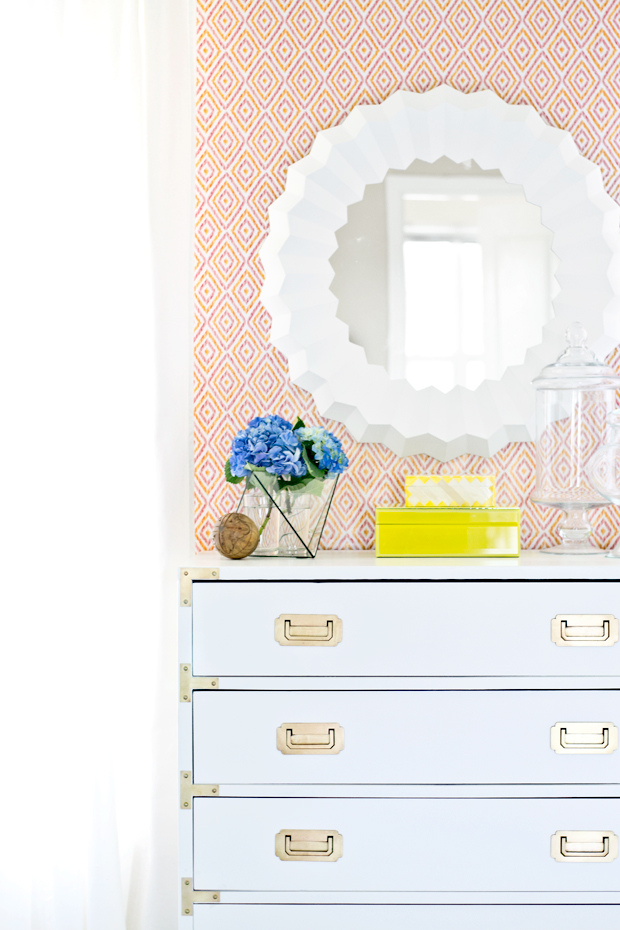
The tassel draperies are Ikea Lenda panels with a tassel trim (found from this seller on eBay) sewn on the edge.
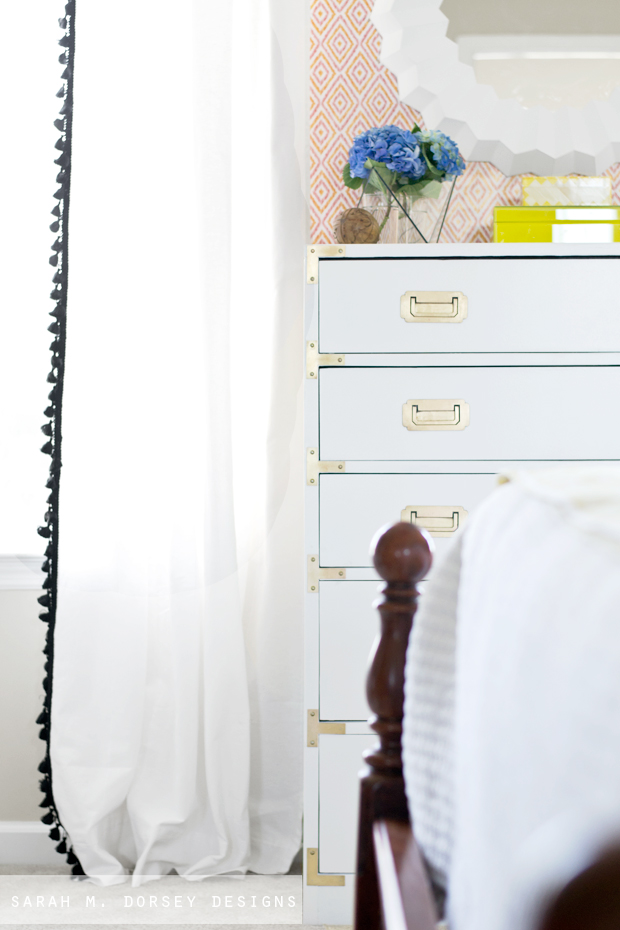
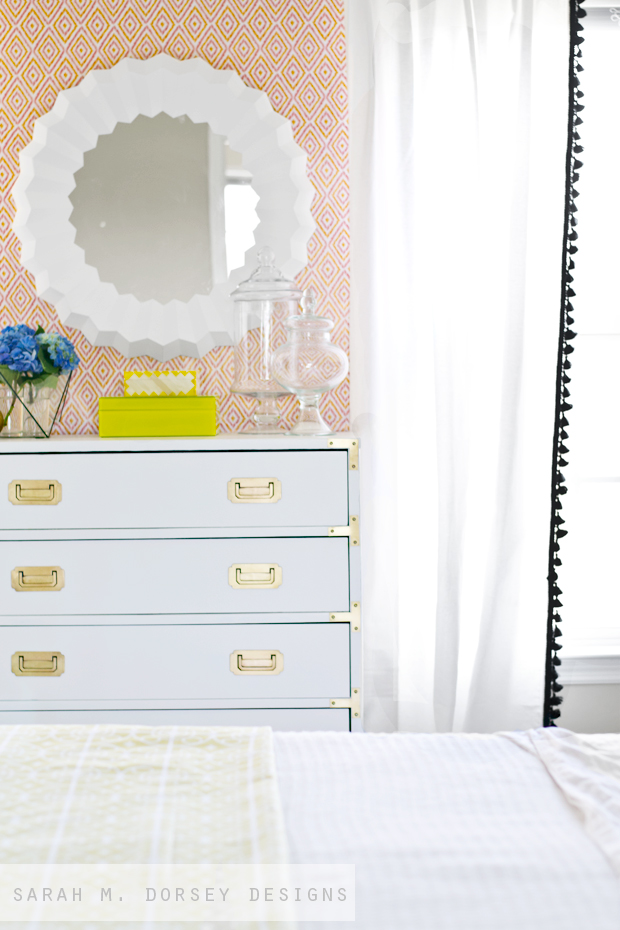
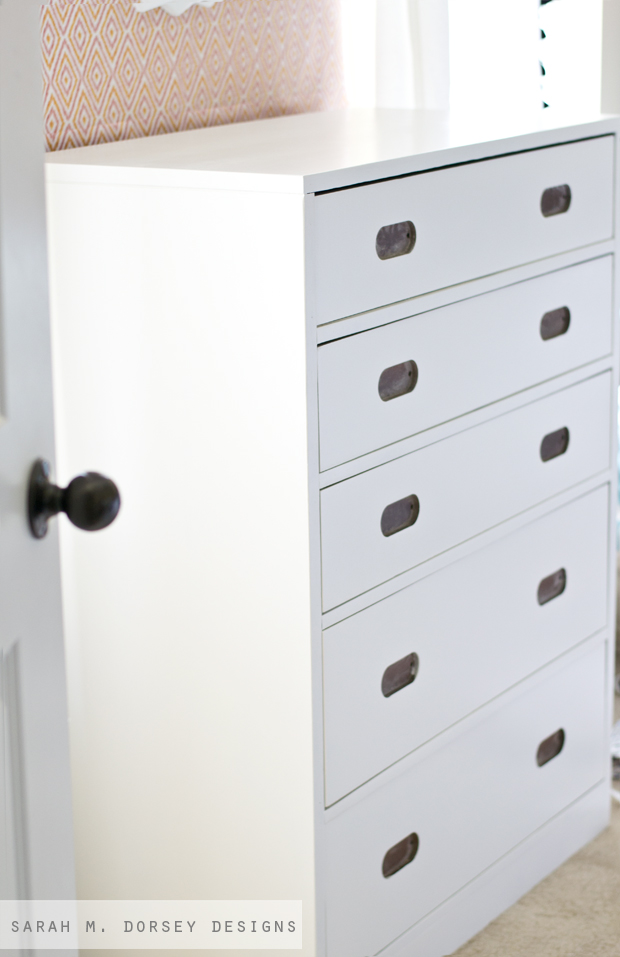
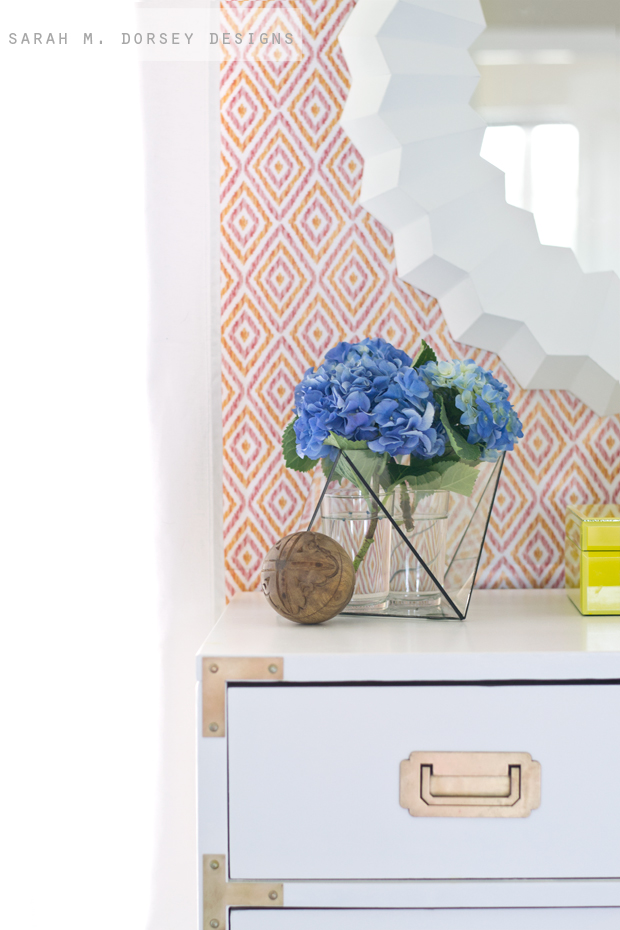
This dresser has come a LONG way from the plastic finish and chipping MDF. It now looks bright, fresh, and expensive! I’m in love.
These tips have been a game changer for me, I hope that they help you too!!
Omg! What an awesome transformation!!!!
it's stunning! i love my orbital sander! 🙂 it's the best! and i love that primer, too!!!
So, so beautiful, Sarah. I would have never thought that piece could turn out so well! I've been using BKF a lot lately on my brass…it's amazing how easily it works! SO much faster and easier than Brasso!
IT came our gorgeous! And, Bar Keeper's Friend is the best stuff to clean so much with. I recently saw a campaign dresser at our local thrift store that is just not selling. I was so tempted to buy it, but hesitated because it is missing so much of the hardware. 🙁
Angela @ Number Fifty-Three
Absolutely gorgeous Sarah! I've never tried Brasso, but Bar keepers Friend is a staple in my house. I use it for my stainless steel sinks and pots, plus it's a miracle worker on porcelain sinks and tubs too. It's a powerhorse! I can't wait to try the kilo adhesion primer. I'm a cover stain and bin 123 girl so it'll be interesting to compare the different formulas. Thanks so much for all the awesome tips. The dresser is just gorgeous:)
I LOVE this dresser! And I love ProClassic too, used it on all of our trim/doors/cabinets and it is super smooth. I too have a Mouse and really thought about stepping up to an orbital when I redid our bathroom cabinetry, wish I had now so good to know 🙂
I LOVE how your dresser turned out! It's perfect in your room. I had the same issue with the brasso/lemon juice. I ended up using brasso like 3 times over before i had a somewhat decent cleanup. I want to try your last trick since mine are already looking a little tarnished! Thanks for all the info 🙂
You're quite the miracle worker- its gorgeous!! Now I wish I hadn't given up on a similar piece I had lying around for forever. Bar Keepers also has a version that's basically already mixed/liquid form. I love for my sink!
Your tips always helps me. This dresser is perfect.
You're so right – that last before and after with and without hardware shows just how much of a statement campaign hardware makes! So beautiful. Oh and I LOVE Barkeepers Friend – I use it for everything from scrubbing bathtubs to polishing metals. Magic, that stuff. Did I ever tell you I left a full set of campaign furniture on the curb about 7 years ago. So stupid, so sad!
It turned out so great! You breathed new life into it for sure! I am missing all my furniture working supplies here 🙁 . What can't Barkeeper's Friend clean!? Have a great weekend! xo Kristin
Fabulous Sarah! I cannot handle how your brought that hardware to life! Hopefully this weekend will have less scrubbing involved! XX jana
Great tutorial! I need this for a campaign dresser I recently scored! Thanks Sarah!
Wonderful step by step instructions. Have a super fantastic weekend. Dresser looks awesome.
what an awesome piece of furniture!!! thanks for the helpful painting tips too! I subscribe to Mandi's posts as well, so I will be checking out her advice also!! you guys rock with all the helpful info!
Barskeepers brings back old furniture into a new light! This is amazing ! Looks beautiful
Can you share your wallpaper source! Looks great!
It's a wrapping paper from Home Goods 🙂
Hi Sarah. I just scored a Drexel campaign desk. It's hardware has square
pyramid nails. First one I've re-done that didn't have the small round
nails. Anyway, the head is about 3/16" or 7mm (ish?)
It's missing a few. Now either I can replace those or replace all of the
others to match some new ones. Having a hard time finding tacks/nails that
are this small. Any ideas?? Been on Etsy and ebay,,,,also looked around
online. 3/8" is about the smallest. I need something under 1/4" with the
shaft length at 1/2". Any ideas in your bag o'tricks??? I don't have any
pics posted yet on my blog, but this blogger did the exact same desk. if
you look at the close-up shot, you can see the square nail heads.
thanks..http://www.krystineedwards.com/finished-diy-campaign-desk-makeover/
Hi Beth! I haven't had luck finding small nails online, DIY upholstery supply has 3/8", but that's the smallest I've found. Wish I could be of more help!
I have that exact dresser. We bought it at Sears 43 years ago. I need 3 of the pulls you have missing. Did you find a supplier? If so, where?
Beth, the dresser is beautiful. I have that exact dresser. We bought it at Sears 43 years ago when we were first married. I am missing 3 pulls you were missing. Did you ever find a supplier? I appreciate any help you could give me.
Hi Kathy! So sorry, as far as I know, there is no replacement for the handles – there are a few that are similar, but not the same. Wish I could help more!
I love your dresser! Thanks for sharing your DIY experience. 🙂
xo,
S.
I know I'm 2 years after this post. Did you fill in the nail holes before you painted? I'm painting one of these for a nursery, and I'm worried the nails will be loose in the old holes. Thanks!
I didn't fill in the nail holes since I put all of the hardware back. Prior to putting the nails back you could put a little strong glue if you are worried about the nails coming out
Hi – What sheen did you use of the ProClassic paint? I know you have the option of Satin, Semi-Gloss, Gloss, and High Gloss.
Also, any suggestions on where to buy additional hardware? I have a piece that is missing a corner brass piece.
Thanks!
Hi Nancy! I like to use semi gloss for furniture, it’s durable and has a nice sheen, but not too shiny. Happy painting!