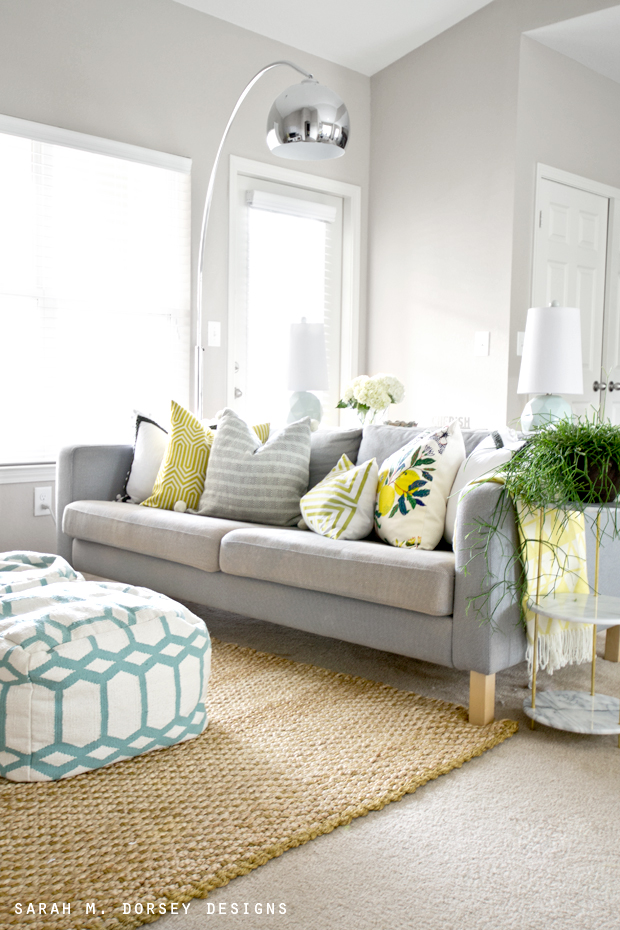
I hope you had a great weekend! Today, I’m sharing our new spring pillows – I love this combo! Normally, I DIY most of my pillows, but this time they were all purchased – I only added trim to the white pom pom pillows.
Even though I didn’t DIY everything, it’s still budget friendly – read on to see how!
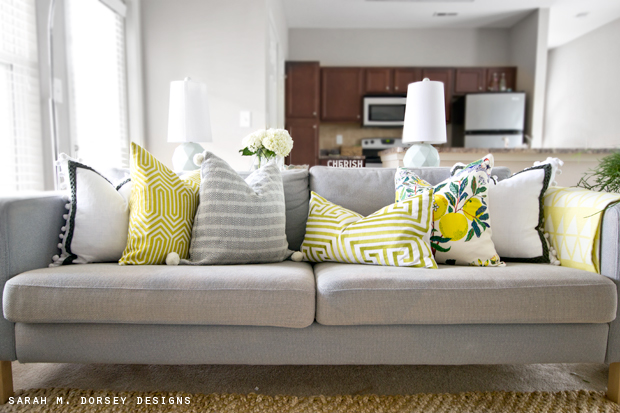
Green Greek Key pillow is Trina Turk – I watched Amazon and got a great deal, around $30 or $40! So make sure to keep an eye on Amazon for a price drop, you never know!
Schumacher Citrus is from Motif pillows. Designer fabric pillows are pricey, but they can make a space! Adding one or two, and supplementing with cheaper pillows is a great way to save money, but still get a high end look. I LOVE this print, the colors are super gorgeous too!
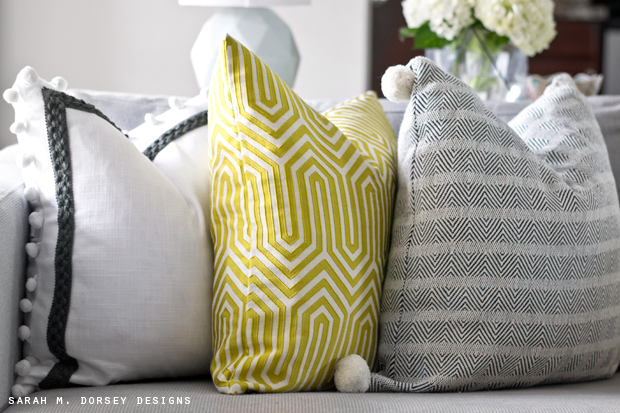
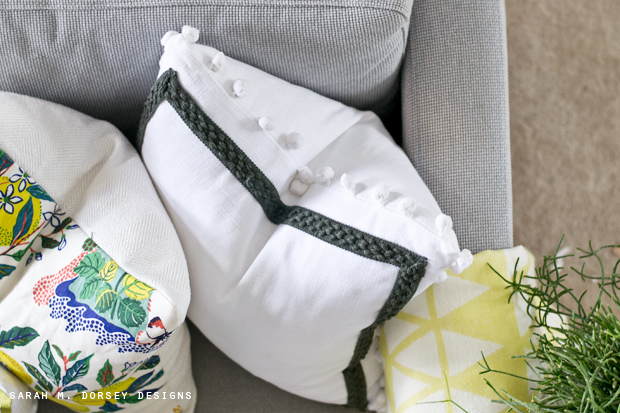
White pom pom pillows are from H&M. I was very impressed with the quality! I added the gray trim (details below, if you’re interested) Throw is from Home Goods.
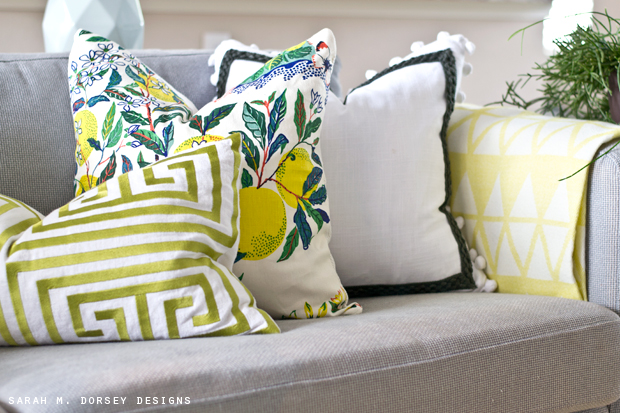
Green maze pillow is from Home Goods, $16.99. The pattern is reminiscent of this Schumacher, Mary McDonald fabric. Last but not least, Diamond pom pom pillow is from H&M (color is natural and black, online it looks a little brown to me). I love how soft this fabric is!
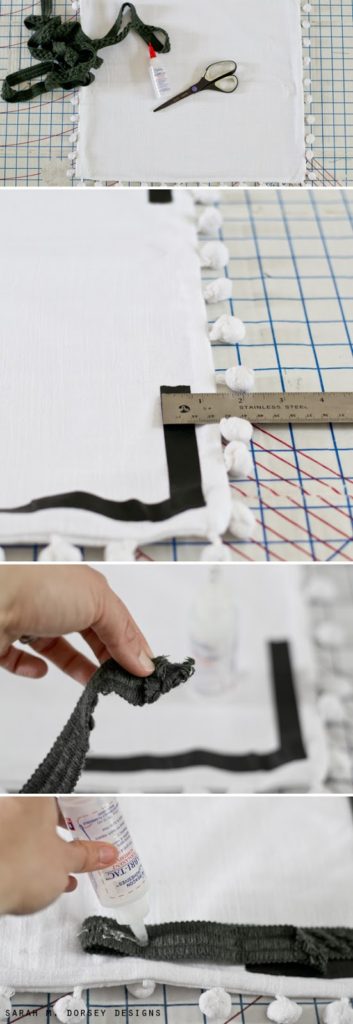
Finally, here’s brief tutorial on attaching trim to the front of a pillow. It’s SO easy – in a matter of minutes, it transforms a pillow from plain to high end!
1. You will need:
Pillowcase – mine is 20×20 from H&M
Trim – mine is from Joanns, it was on clearance (though it wasn’t marked – it was $1 something a yard!) $4 yards for two 20×20 pillows (inset 1.5″)
Permanent Fabric glue – I used Fabri Tac
Scissors
Ruler and Tape for guide
2. Measure where you would like the edge of the trim to end – mine is about 1.5″ from the edge. Add tape at all of the corners.
3. Add a little fabric glue to the end of the trim, fold at a 45. Hold it on one of the corners of the tape guide. Pull it straight to the other end of the tape guide, cut a straight line so it meets the guide. Fold the other end at a 45 (make sure they are angled the right way, like a picture frame)
4. Glue the trim down, making sure it lines up with the guide. If you’re using a fast dry fabric glue, glue about half way and apply immediately, then finish that section.
So easy!
I’m loving this new combination!! It’s amazing how new pillows can make a space feel so refreshed!
I’ve been working on lots of new things, I’ll be sure to share as I’m able! See you soon! 🙂
loving the mix of citron with neutrals! so pretty and fresh!
Love your great combo Sarah, I've been seeing lots of fun pillows at H&M lately, and the price can't be beat!
Very pretty!!!!
How cute! Love this combination!
Super pretty…love the color combo! 🙂
fantastic color palette!!!